Hello, aspiring ethical hackers. In our previous blogpost, you learnt what is fuzzing. In this article, you will learn about wfuzz, a web application fuzzer or brute forcer.
New to Ethical Hacking?
Start your journey with The Beginner Ethical Hacker Starter Kit (2026 Edition).
Inside the free guide, you’ll learn:.
- Ethical hacking fundamentals
- Beginner cybersecurity roadmap
- Essential hacking tools
- Common vulnerabilities explained
Wfuzz is a tool designed to bruteforce web applications and can be used to find directories, servlets, scripts etc. It can also be used to brutefoce GET and POST parameters for checking different kinds of injections like SQL, XSS, LDAP etc, bruteforce forms (usernames and password) etc. Its features include,
- Multiple Injection points capability with multiple dictionaries
- Recursion (When doing directory bruteforce)
- POST, headers and authentication data brute forcing
- Output to HTML
- Colored output
- Hide results by return code, word numbers, line numbers, regex.
- Cookies fuzzing
- Multi threading
- Proxy support
- SOCK support
- Time delays between requests
- Authentication support (NTLM, Basic)
- All parameters bruteforcing (POST and GET)
- Multiple encoders per payload
- Payload combinations with iterators
- Baseline request (to filter results against)
- Brute force HTTP methods
- Multiple proxy support (each request through a different proxy)
- HEAD scan (faster for resource discovery)
- Dictionaries tailored for known applications (Weblogic, Iplanet, Tomcat, Domino, Oracle 9i,
Vignette, Coldfusion and many more.
Let’s see how this tool works. For this, we will be using Kali Linux as attacker machine as wfuzz is installed by default on it. As target system, we will be using Metasploitable 2. Both machines are installed as part of our Simple Hacking Lab.
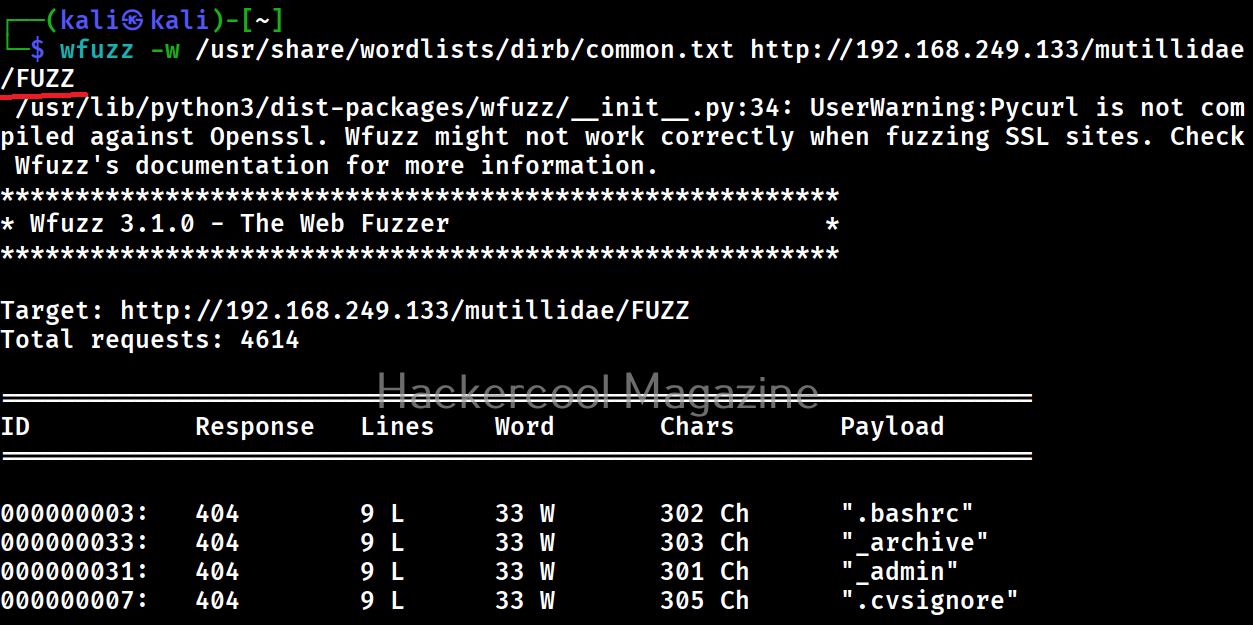
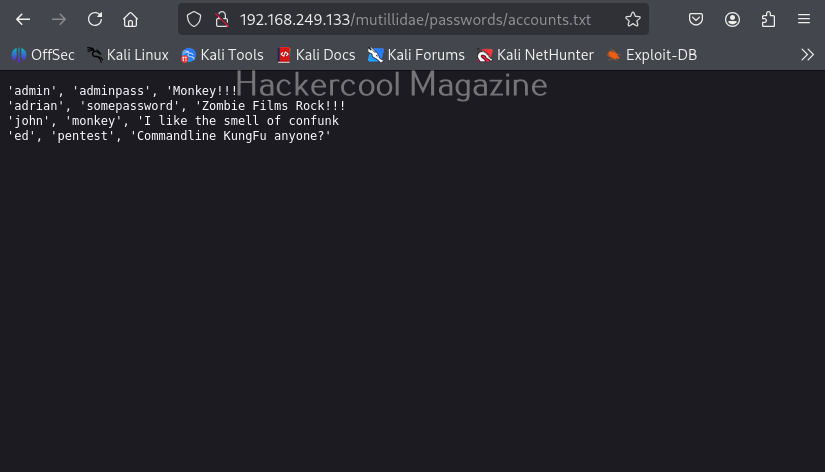
Let’s scan for directories first. All you have to do to scan for directories with Wfuzz is as shown below. Just specify a wordlist to use and the URL to be fuzzed.
wfuzz -w <path to wordlist> <URL>
But remember that, the parameter that you are trying to fuzz should be specified with keyword “FUZZ” as shown below. For example, here, we are busting directories. So, we are have added the word “FUZZ” after the URL.
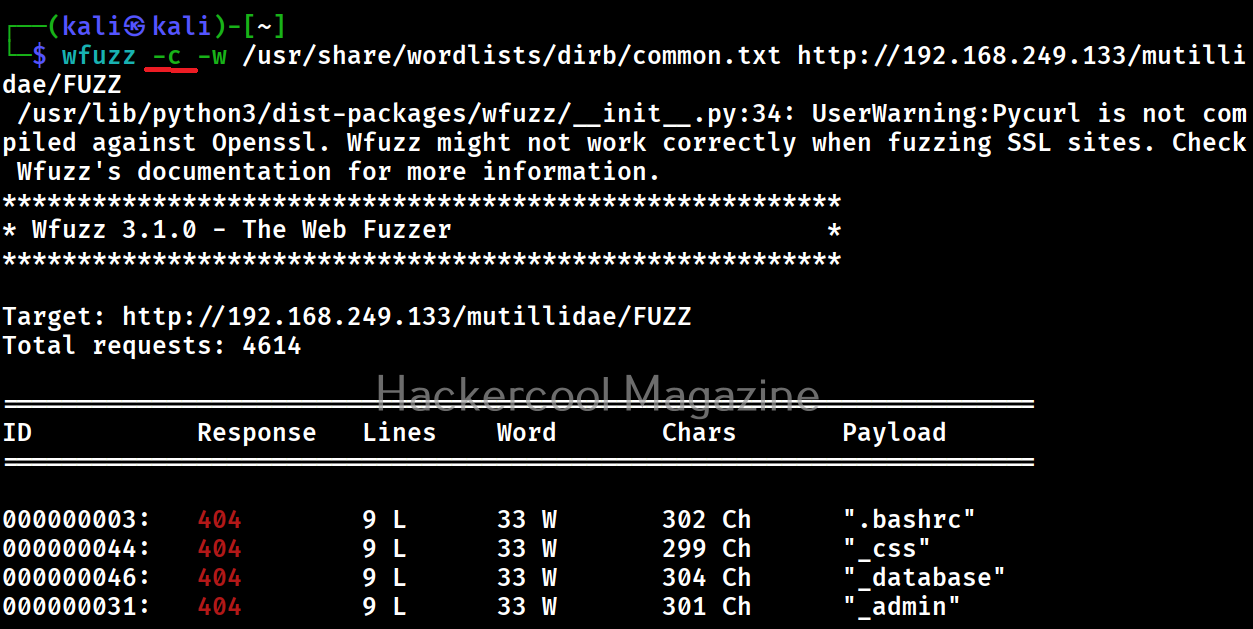
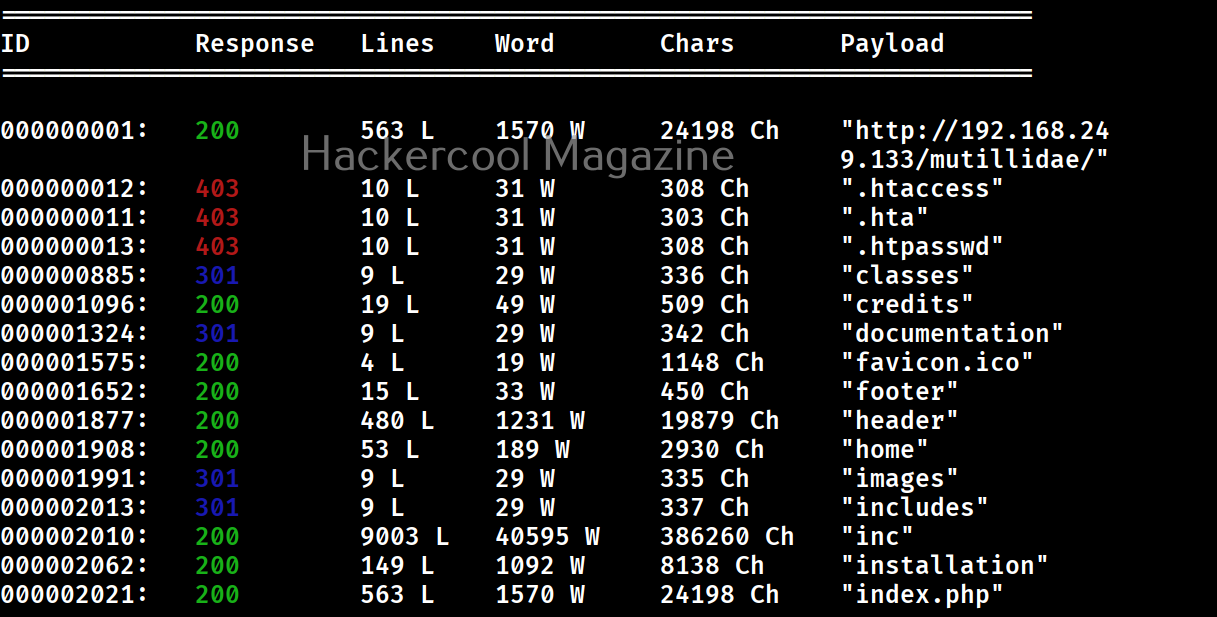
Get colored output (-c)
Sometimes the output of wfuzz can be monotonous and boring. This option can be used to get colored output.
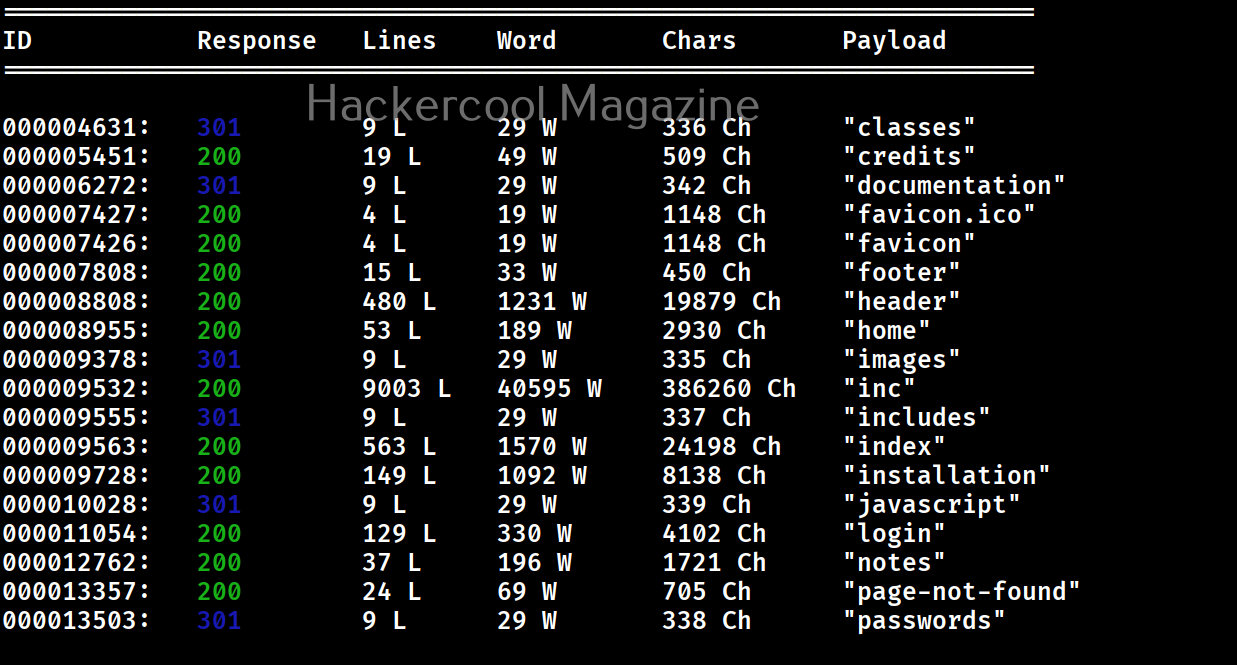
Hide responses with specified HTTP codes (-hc)
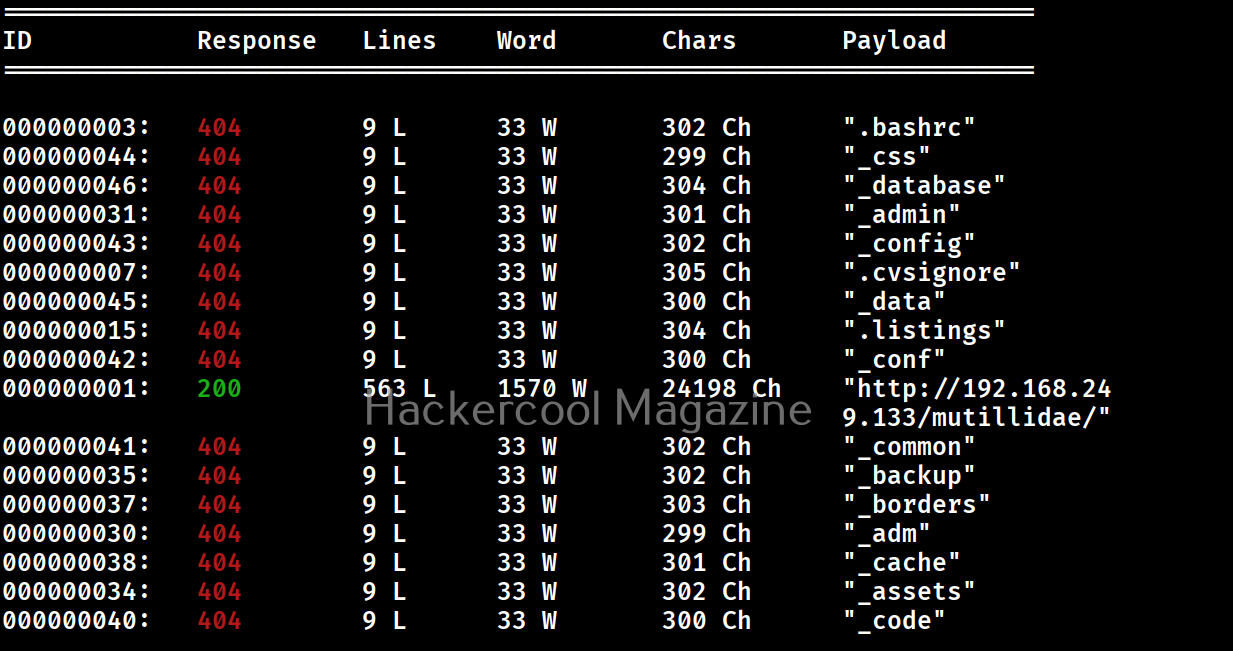
In the above images, you can see that wfuzz displays results with all HTTP response codes 404,200,403,301 etc. Using this option, we can specify wfuzz to hide results with specific response code. For example, let’s hide results with response code 404.
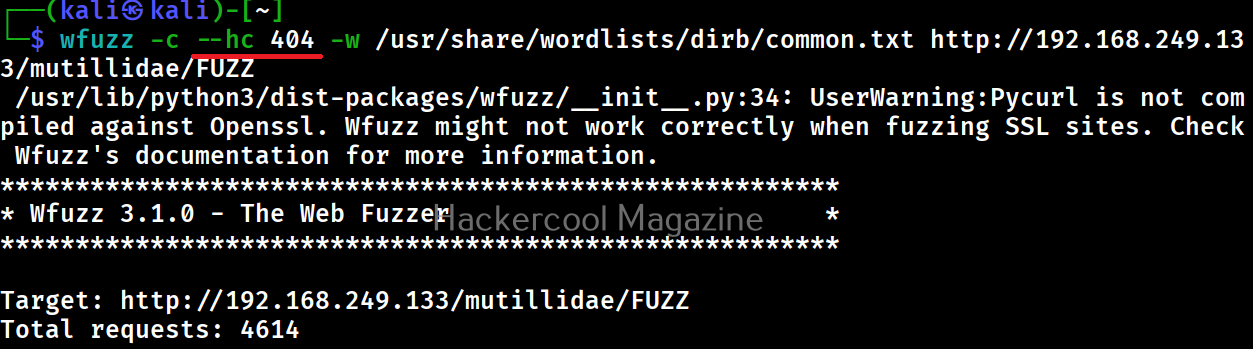
As you can see in the above imagers, there are no results shown with response code 404.
Want to Learn Ethical Hacking Step-by-Step?
If you’re serious about learning cybersecurity, a structured roadmap makes the journey much easier.
Download The Beginner Ethical Hacker Starter Kit (2026 Edition) and discover:
✔ The ethical hacking learning path
✔ Beginner-friendly security concepts
✔ Essential tools ethical hackers use
✔ The most common vulnerabilities explained
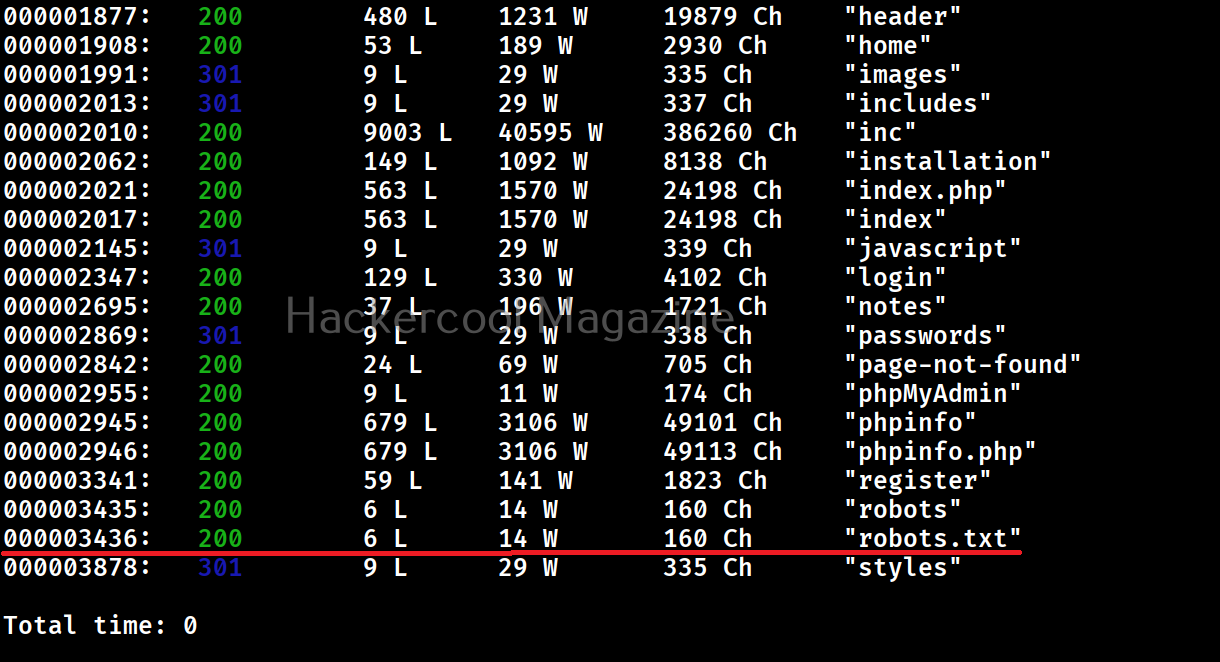
Show responses with specific codes (–sc)
Apart from hiding responses of specific codes, we can also specify Wfuzz to show responses with specific codes with this option. For example, here we can specify to view only responses with 200, 301 requests.

Here’s the result.
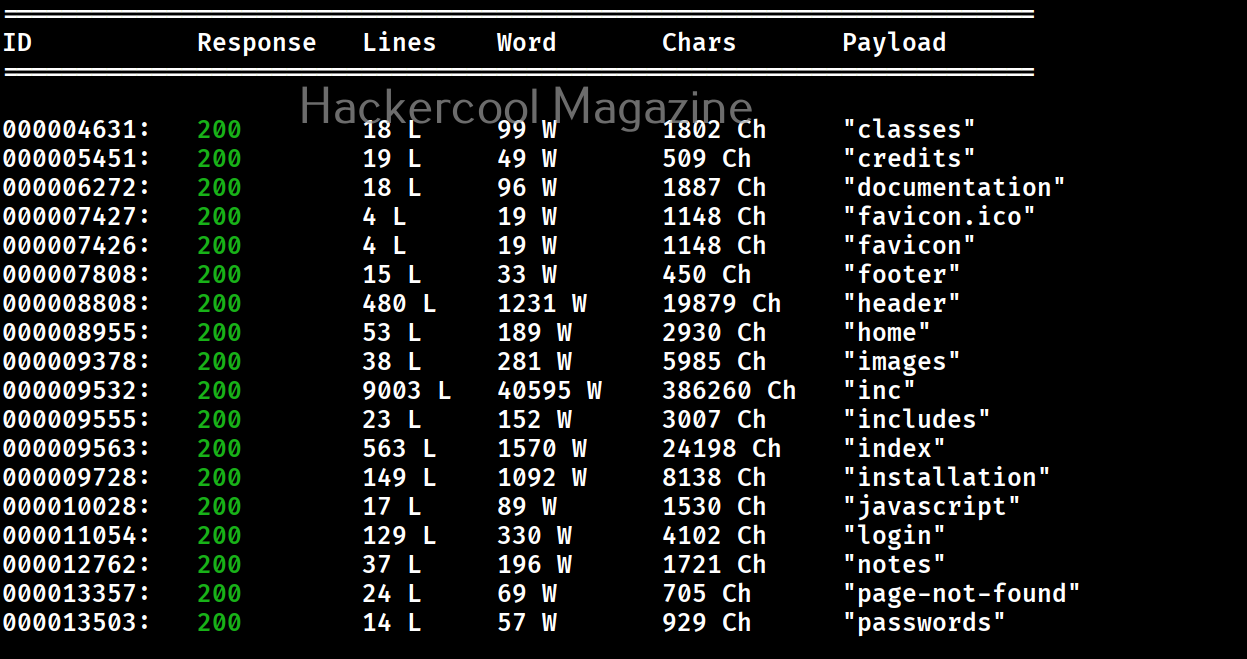
Follow redirection (-L)
This option is used to specify wfuzz to follow redirections of URLs if specified.

Here’s the output.
Recursion (-R)
This option specifies the depth of recursion level with wfuzz. For example. let’s set recursion to “2”.

Number of connections (-t)
By default, Wfuzz makes 10 concurrent connections at once. This option is used to change that. For example, let’s set the number of concurrent connections to 19.

Time delay between each request (-s)
By default, wfuzz doesn’t add any delay between each request it makes. This can be noisy and raise suspicions on Blue team side. This option can be used to specify some delay in seconds. For example, let’s set delay of 10 seconds between each request.

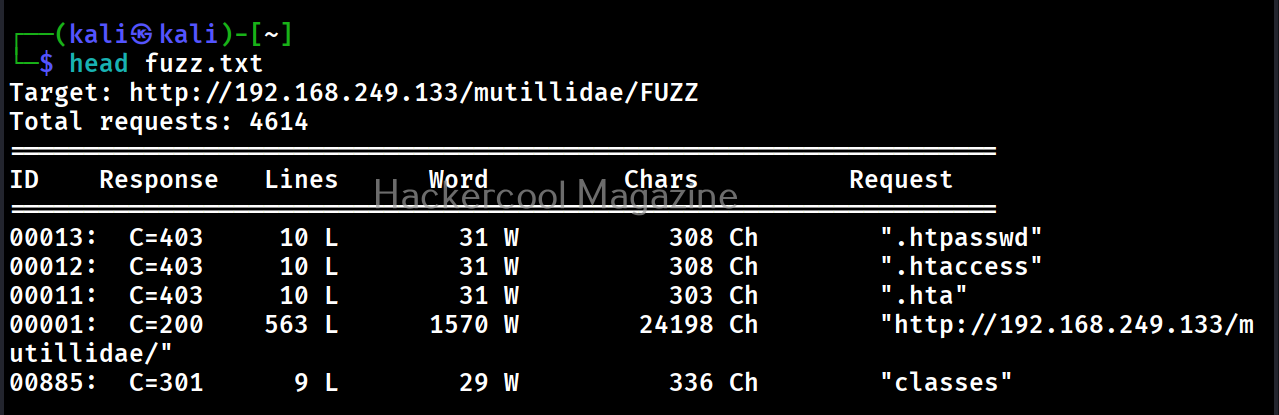
Save the output to a file (-f)
This option can be used to save output of wfuzz to a file.

Next, learn how to fuzz with ffuf.
Start Your Ethical Hacking Journey Today
Learning cybersecurity can feel overwhelming at first. The best way to start is with a clear roadmap and the right resources.
Download The Beginner Ethical Hacker Starter Kit (2026 Edition) and get instant access to:
✔ Ethical hacking fundamentals
✔ A beginner cybersecurity learning roadmap
✔ Essential hacking tools every beginner should know
✔ Common vulnerabilities explained simply