Hello, aspiring ethical hackers. In the previous blogpost on DNS enumeration, you learnt what DNS service is used for, different types of records it has, what information can DNS enumeration reveal to hackers or pentesters. In this blogpost you will learn about a tool named DNSenum that can be used to enumerate DNS. DNSenum is a multithreaded perl script that is used to gather information from target DNS servers.
The features of DNSenum are,
- Get the host’s address (A record).
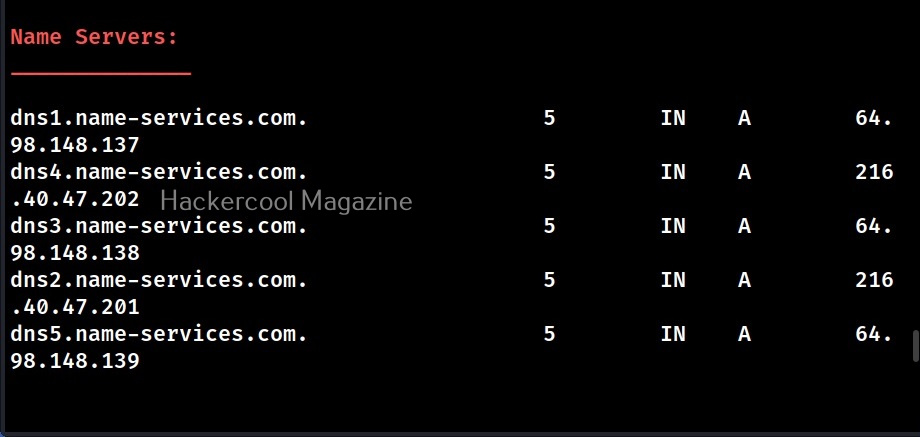
- Get the nameservers (NS).
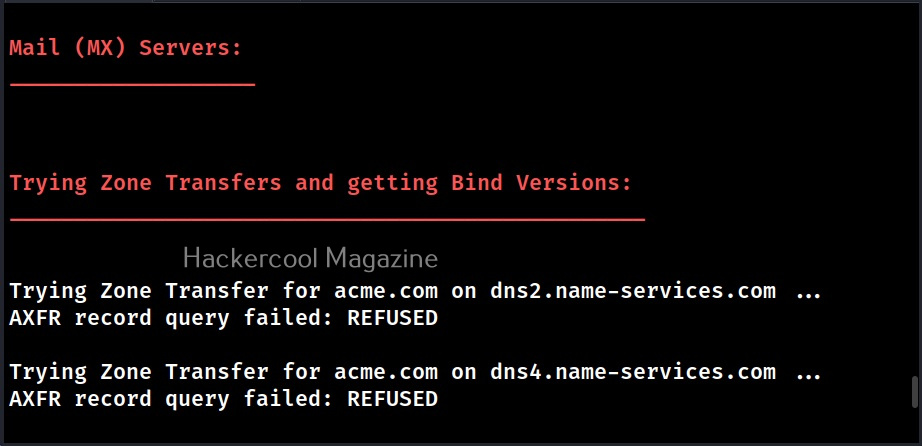
- Get the MX record (MX).
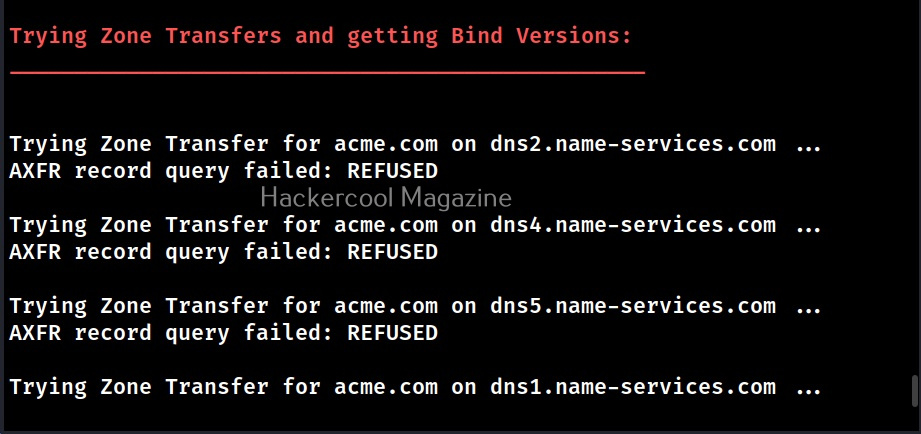
- Perform axfr queries on nameservers and get BIND VERSION.
- Get extra names and subdomains via google scraping (google query = “-www site:domain”).
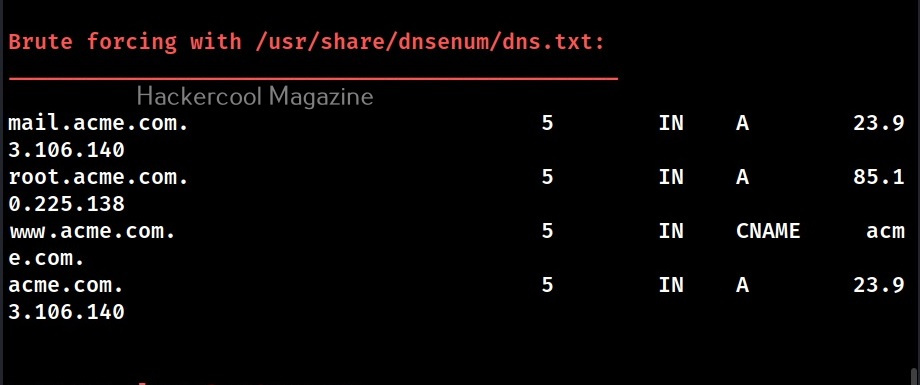
- Brute force subdomains from file, can also perform recursion on subdomain that have NS records.
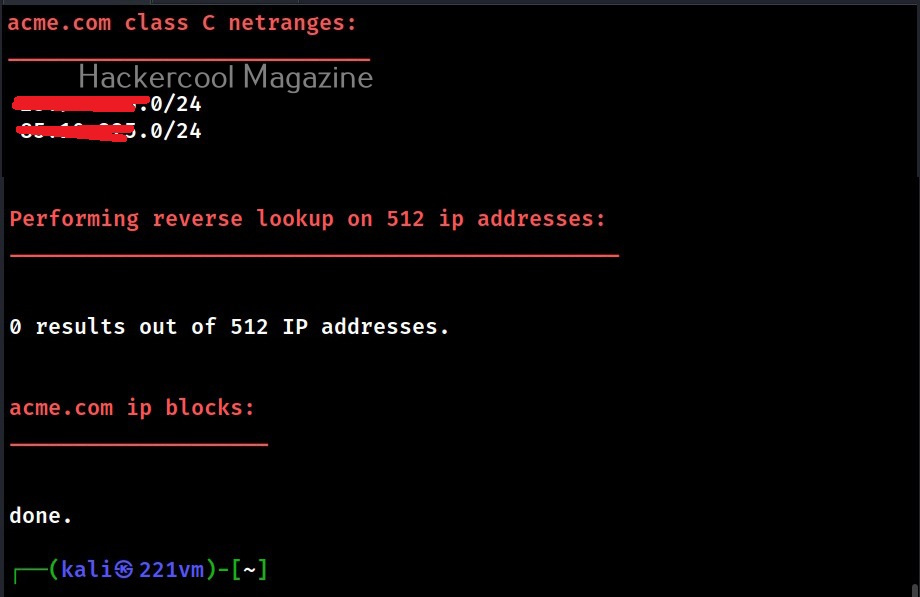
- Calculate C class domain network ranges and perform whois queries on them.
- Perform reverse lookups on netranges (C class or/and whois netranges).
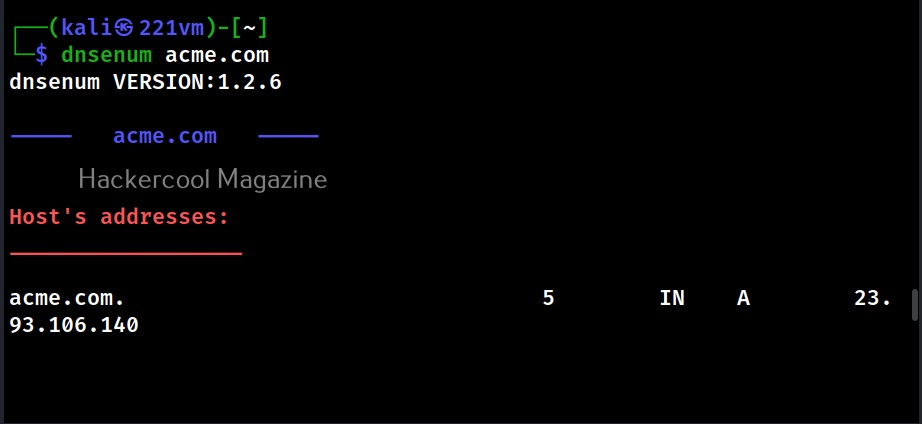
Let’s see how to perform DNS enumeration with DNSenum. DNSenum is included by default in Kali Linux. If you want to enumerate a domain with DNSenum. all you have to do is supply a domain name as shown below.
dnsenum <domain>
When run in default mode, DNSnum first enumerates the host address, then the name servers, then MX records, ACFR queries, extra names and subdomains via google scraping, brute forces subdomains from them, calculates the class C IP network ranges from the results and performs whois queries on them and performs reverse lookup on these IP addresses.
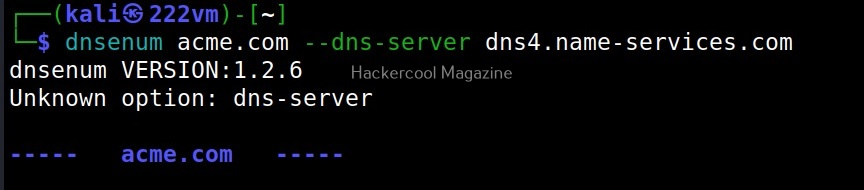
–dnsserver
In some cases, the result from the enumeration can vary depending on the server that is queried. Using DNSenum, we can perform a query by using another DNS server as shown below.
When you first use dnsenum on a domain to perform enumeration, you will notice that there will be a considerable delay at some stages. The delay occurs while dnsenum is brute forcing the subdomain names and then while performing reverse lookup on the IP address range.
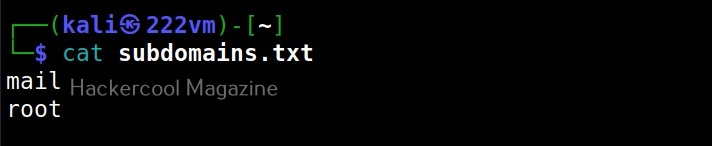
While brute forcing the subdomain names, there is a delay because the file used by DNSenum (“/usr/share/dnsenum/dns.txt”) has over 1506 entries. So, until the tool checks all the entries, there will definitely be a delay. Can we reduce this data? Yes, by using another file instead of the default one. For example, we can create our own “dns.txt” file with entries of subdomains gathered from other type of enumeration.

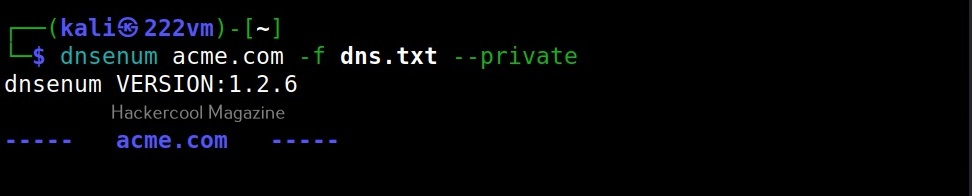
–file(f)
We can specify this custom file with the (-f) option as shown below.

–subfile
We can also save the output of subdomain brute forcing in a file using the subfile option as shown below.

–noreverse
Coming to reverse lookup, while performing reverse lookup on 512 IP addresses (in this case) definitely takes time. But don’t worry. We can skip the reverse lookup by using the normal option.

–private
This option enumerates and saves the private IP addresses of a domain in the file named <domain_name>_ips.txt.

–timeout (-t)
The default timeout option of TCP queries and UDP queries for dnsenum is 10 seconds. The timeout option allows us to change it.

–threads (va)
This option is used to specify the number of threads to perform different queries.

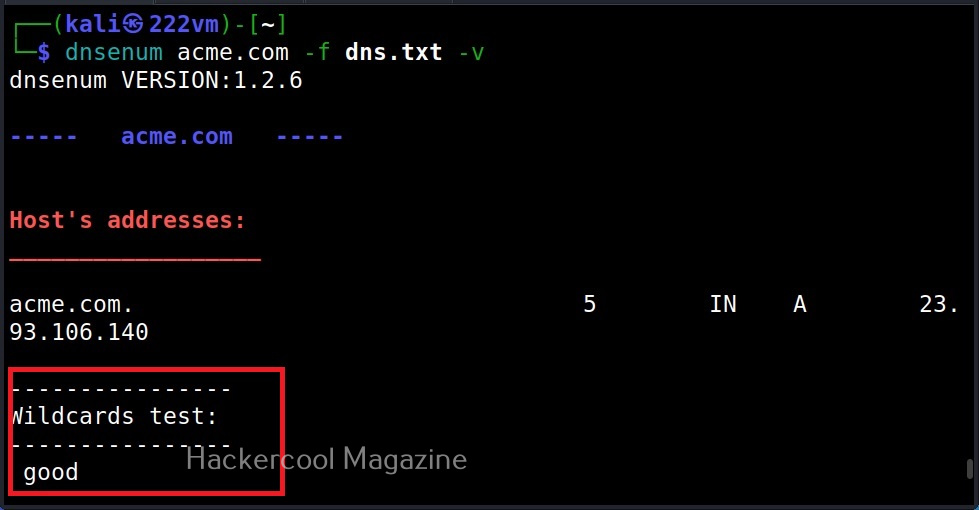
–verbose (-v)
You already know what this option does. It reveals more information. See the differences.

–scrape (-s)
Used to specify the number of subdomains to be scraped from Google.

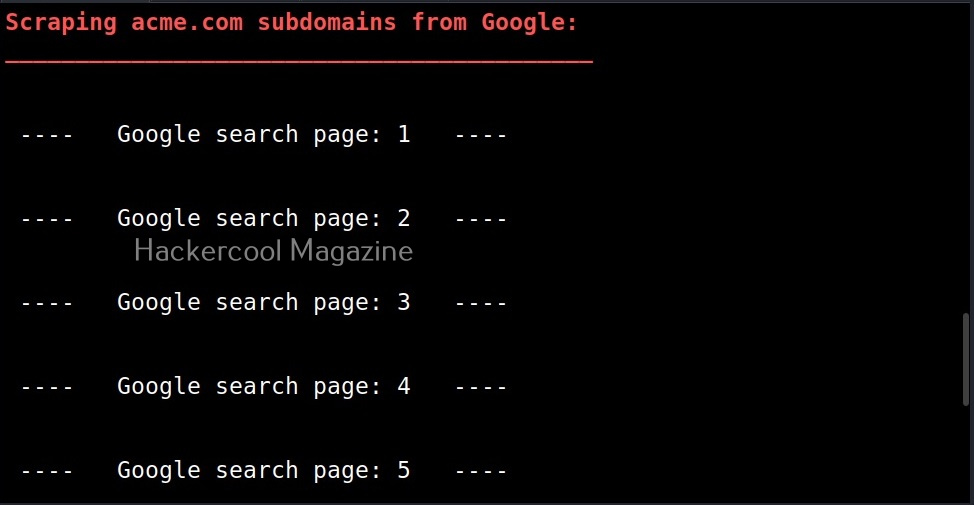
Here’s the result.

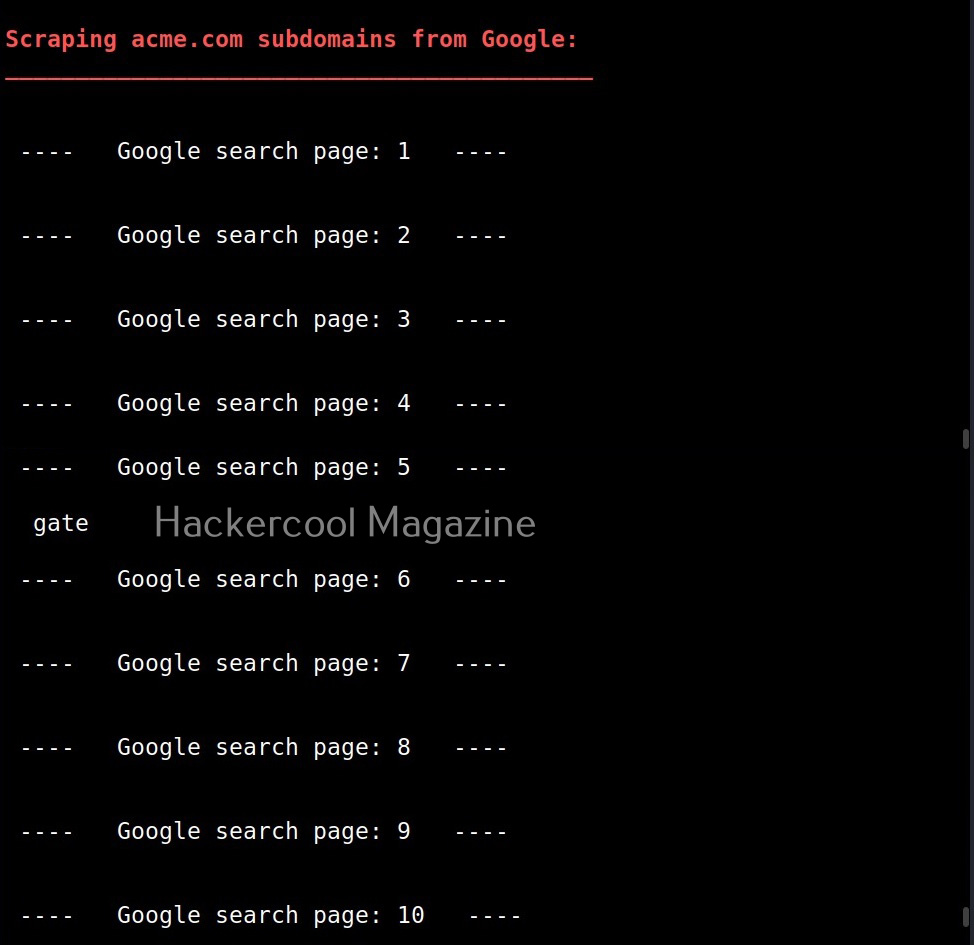
–page (-p)
While scraping the subdomain with dnsenum above, you should have noticed that it queries Google search pages for subdomains related to the domain. By default, it is 20 pages. Using this option, it can be changed. For example, lets set it to 10.

–recursion (-r)
This option can be used to perform recursion on subdomain gathering.

–whois (-w)
As you might have expected, this option is used to perform whois queries on class C network ranges. It can be time consuming. Use wisely. Learn what is whois footpriting.

–delay (-d)
This option is used to specify the maximum delay between each whois query. The default delay is 3 seconds.

That’s all about DNSenum.