Good morning friends. Today we will see how to install SQL server express 2012 in Windows 10. Download the relevant SQL server 2012 express from the website of Microsoft. Right click on the downloaded file and run with administrator privileges. The below window should open. Click on the “New SQL server stand-alone installation” option since we are installing a new version of the database server.
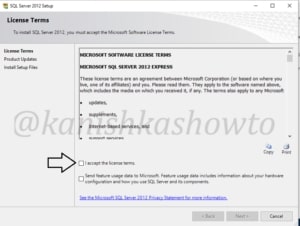
Accept the license terms and click on “Next”.
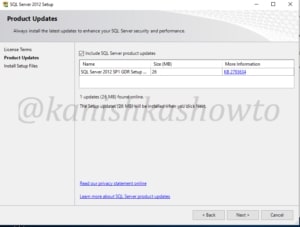
Most probably the server will update to service pack 1. Leave it to update and after successful update, click on “Next”.
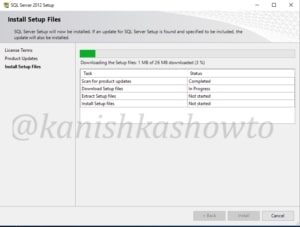
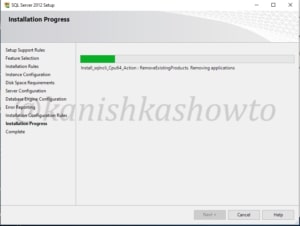
Click on “Install”. The installation process will start. As it will download setup files, it will take some time.
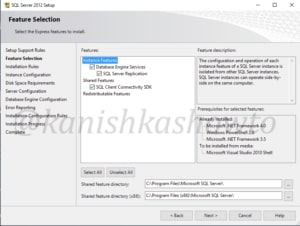
It will prompt you to select the features you want to install. If you are not sure what you want, leave the default selection and click on “Next”.
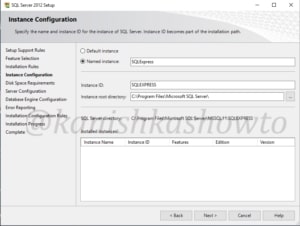
The Instance configuration window opens. Leave the default options and click on “Next”.
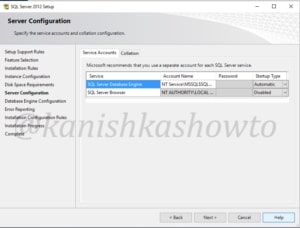
Click on “Next”.
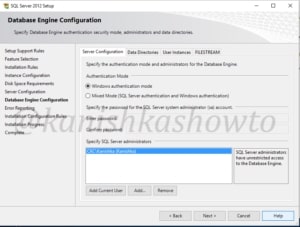
Configure the authentication for the SQL server. If you have no idea, once again leave the default options and click on “Next”.
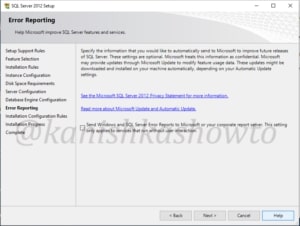
If you want to send any errors to Microsoft, select the option and click on “Next”.
The installation will start as shown below.
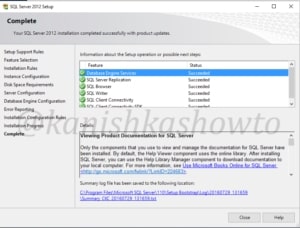
The installation progress will end with the below window. Congrats, You have successfully installed SQL server express 2012 in Windows 10.
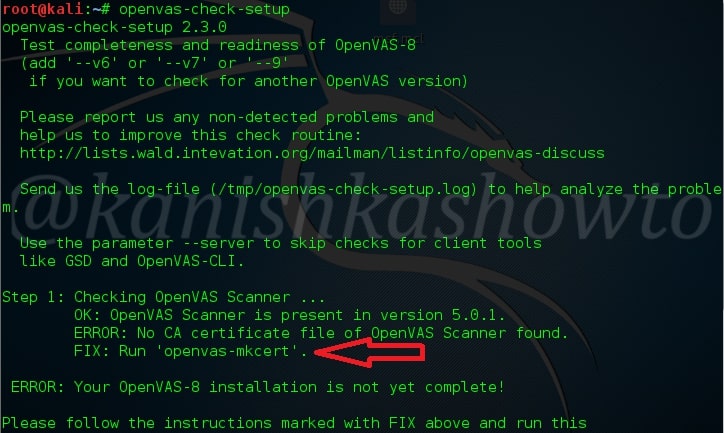
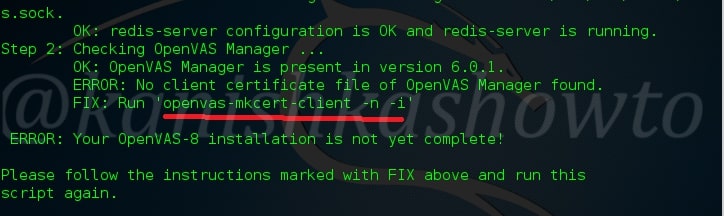
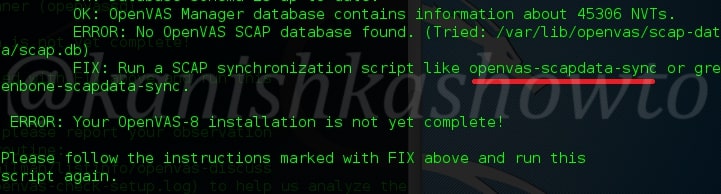
Good Evening Friends. Today our howto is about how to setup OpenVAS in Kali Linux or Kali Linux Sana for that matter. As you already know, OpenVAS is a vulnerability scanner which replaced Nessus vulnerability scanner in Kali Linux. You should already have observed that Nessus is not installed by default in Kali Linux( see here if you are looking how to install Nessus in Kali Linux). Openvas is installed by default in Kali Linux. We just need to configure it to make it available for vulnerability scanning. Let’s see how. Open terminal and type command “openvas-check-setup“. We will use this command many times from now. The good thing about installation of Openvas is it is very simple. Simple in the sense that it will automatically give the fix for the errors we face in configuring Openvas. As shown below, we will get a error and the “fix” to fix that error just below it.
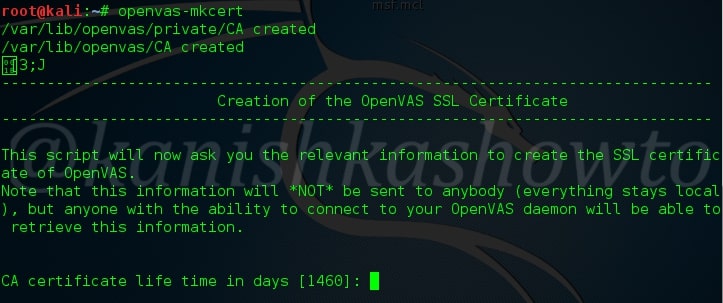
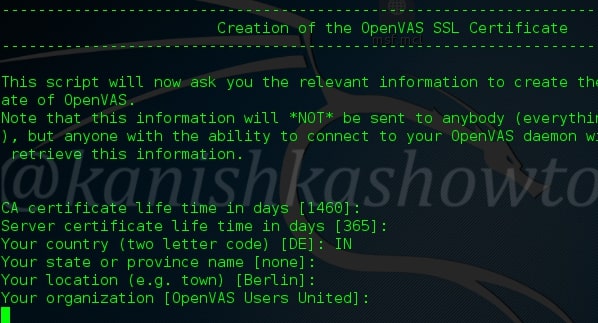
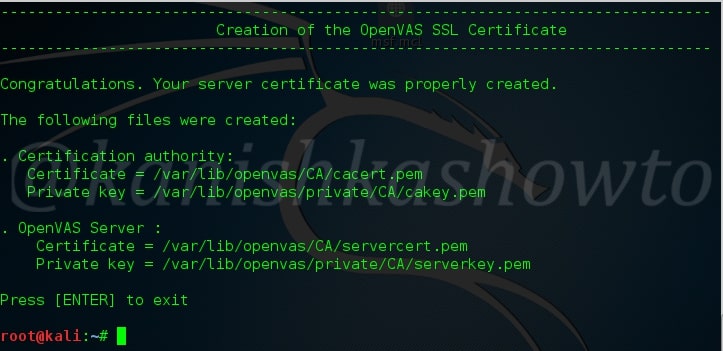
As shown in the “fix” above, type command “openvas-mkcert” . This will create an openvas ssl certificate as shown in the below two images.
The certificate will end like as shown below.
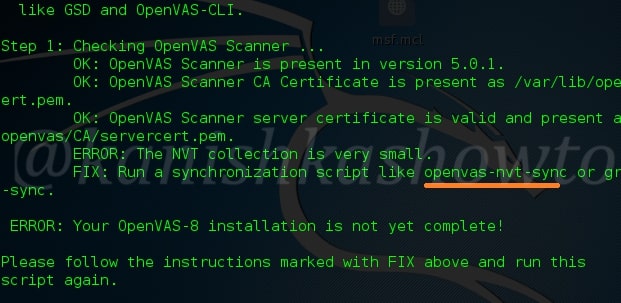
When the certificate is successfully created, once again type command “openvas-check-setup”to check the next step in the process. You can see below underlined what our next command is.
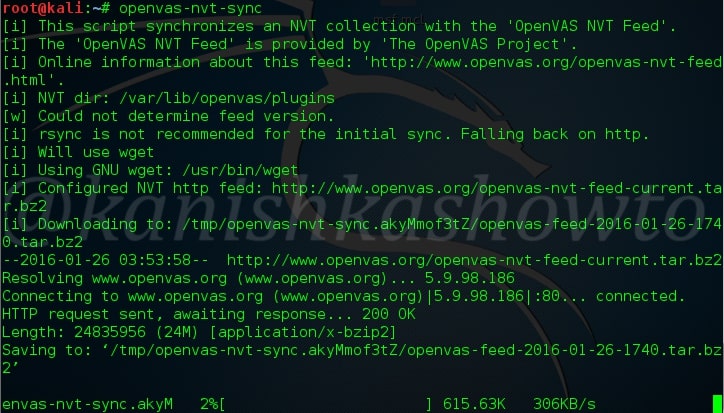
Type the command “openvas-nvt-sync” as shown below.
The process will run and end as shown below.
Once again, type command “openvas-check-setup“. It will prompt you the next command to run.
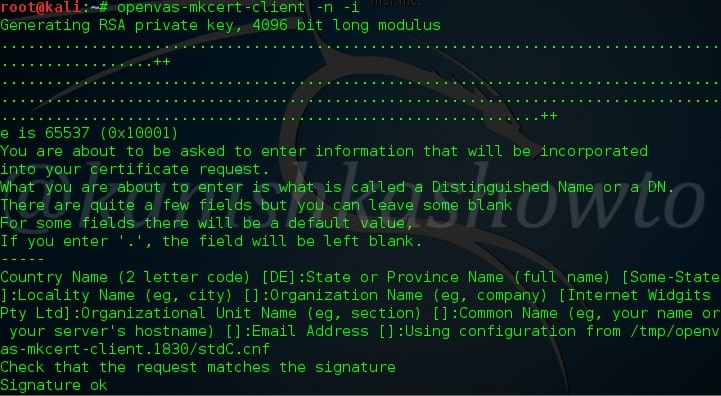
Type the command “openvas-mkcert-client -n -i“. This will create a client certificate for the Openvas manager.
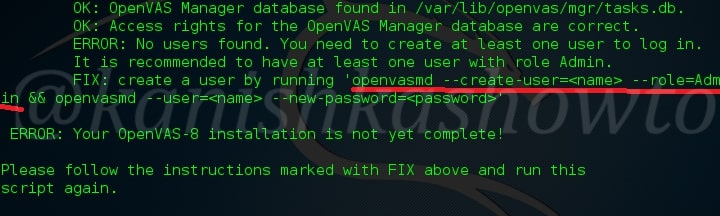
Once the client certificate is successfully created as shown above, once again check the setup by typing command “openvas-check-setup“. This time it will ask you to create a user as shown below.
Type the below command to create a user. Choose your username and password as per your choice. I have chosen “root” and “toor” consecutively.
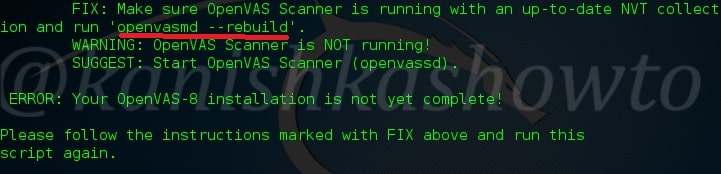
Next type command “openvas-check-setup”.It will ask you to rebuild as shown below.
Before rebuilding, start the openvas scanner as shown below by typing command “/etc/init.d/openvas-scanner start“.
Then type command “openvas –rebuild” to update the database.
Next type command“openvas-check-setup”.
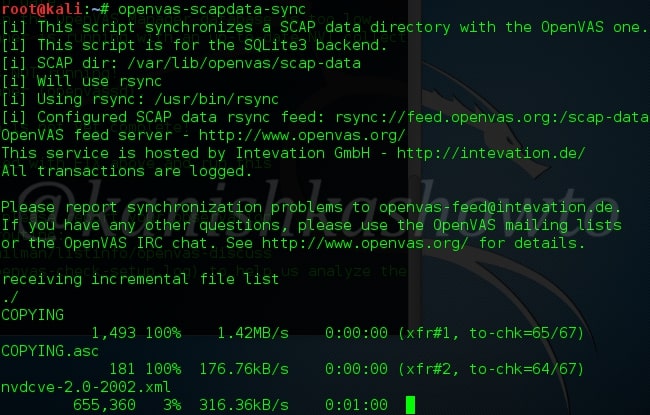
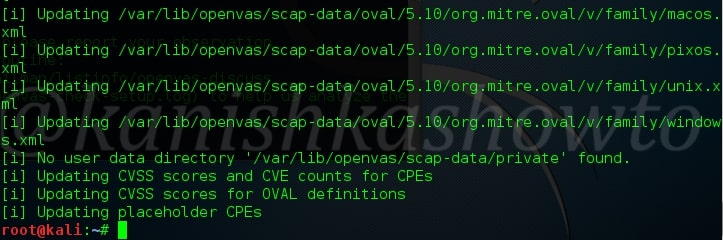
Type command “openvas-scapdata-sync”. This will take a bit long time.
Once the above process is finished, type command “openvas-check-setup” once again.
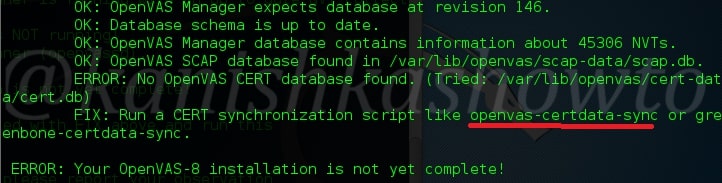
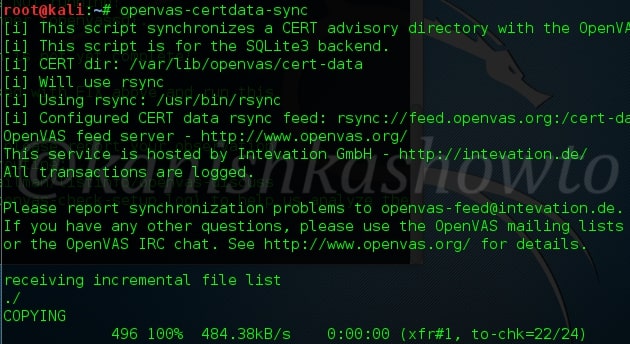
Type command “openvas-certdata-sync“. The process will run as shown below.
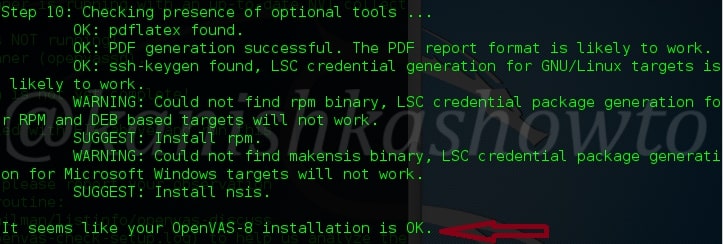
Next, type command “openvas-check-setup” for one last time, hopefully. You will get a message that your OpenVAS installation is OK as shown below.
Restart the system and start openvas by typing command “openvas-start“.
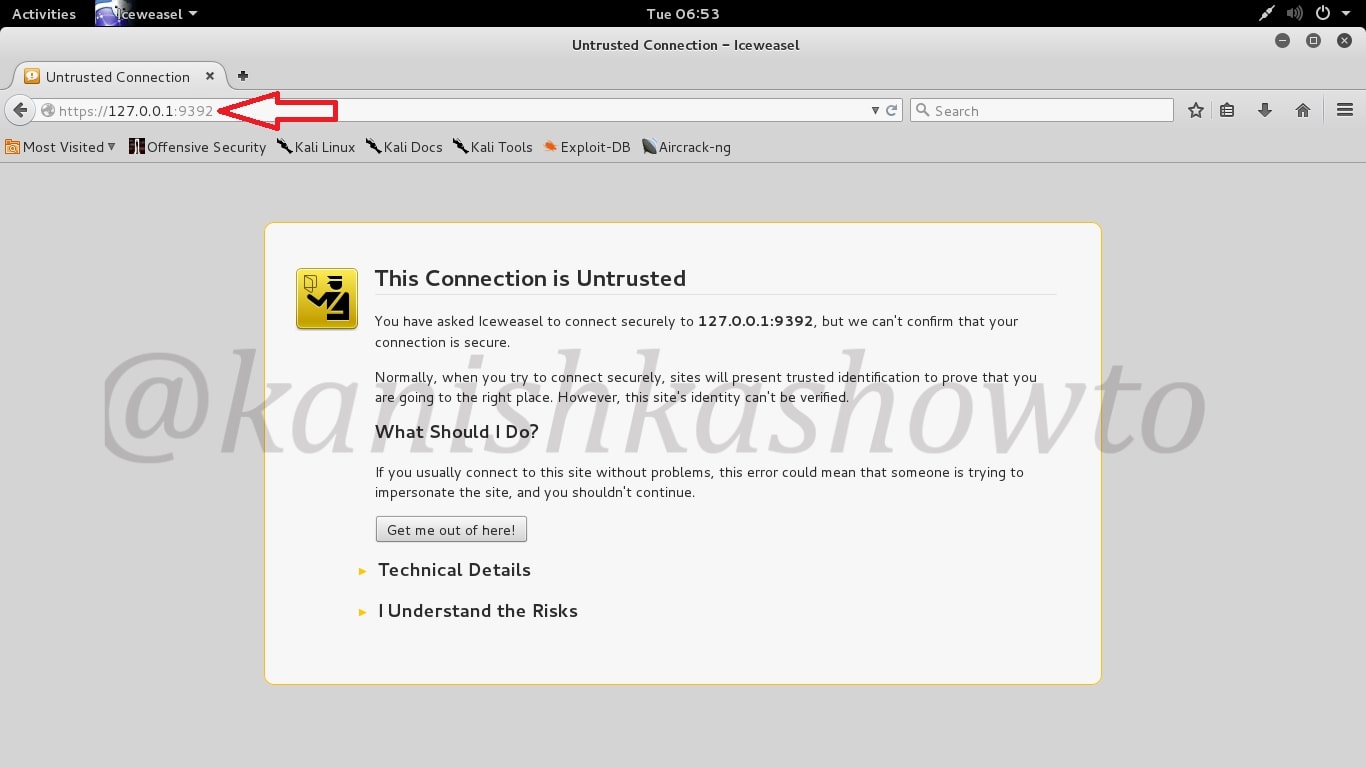
Open your browser and point it to port number 9392 as shown below. You should get a warning as shown below. Click on “I understand the risks”.
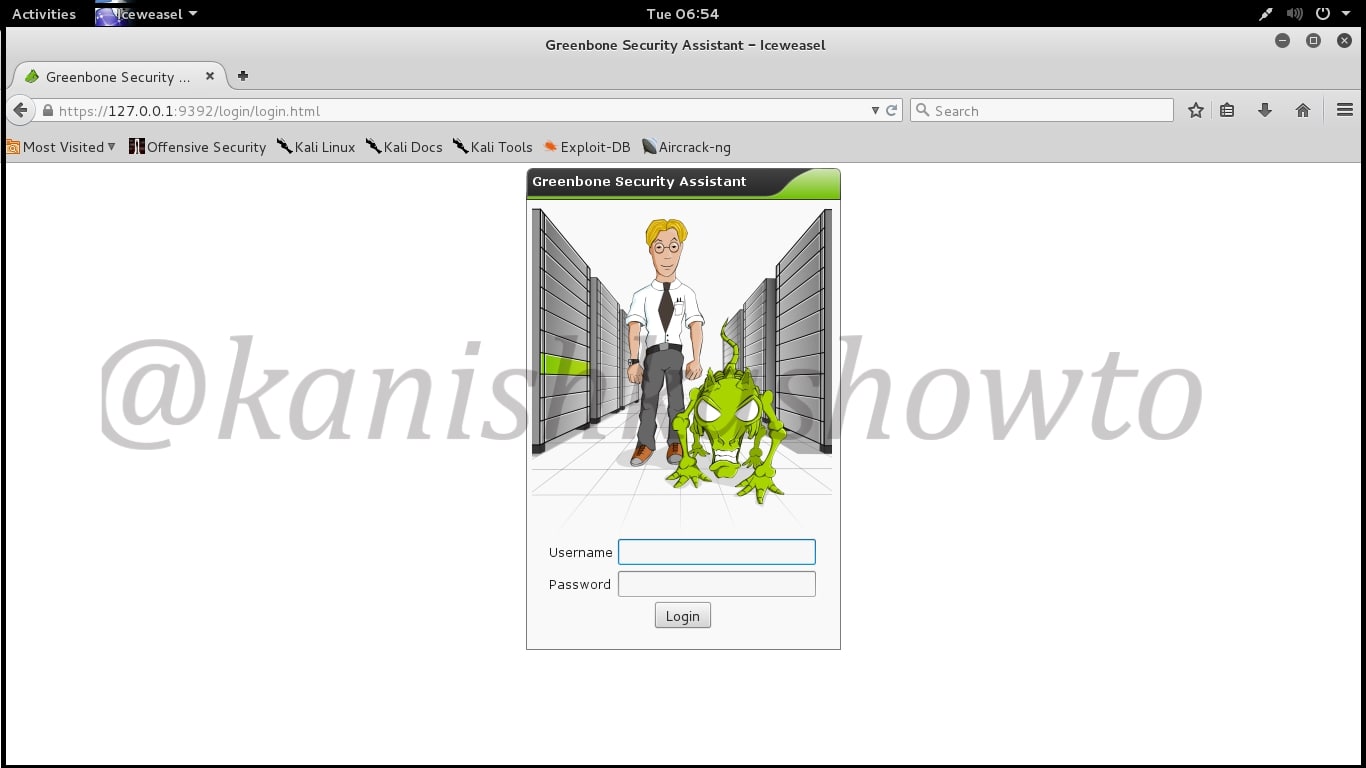
This will prompt you with a login screen. Login with the credentials we created above.( Hope you have not forgotten them).
Once you login you should see the screen as shown below. Hurrah, you have successfully configured Openvas in Kali Linux. Happy hacking.
It is a dream of every hacker to bypass the antivirus solutions of their targets. Recently we have been learning about various payload generators that can bypass antivirus. In this howto, we will see one such payload generator which is designed to bypass antivirus. It’s named Shellter. To say in the words of its makers, “By using Shellter, you automatically have an infinitely polymorphic executable template, since you can use any 32-bit ‘standalone’ native Windows executable to host your shellcode. By ‘standalone’ means an executable that is not statically linked to any proprietary DLLs, apart from those included by default in Windows. ”
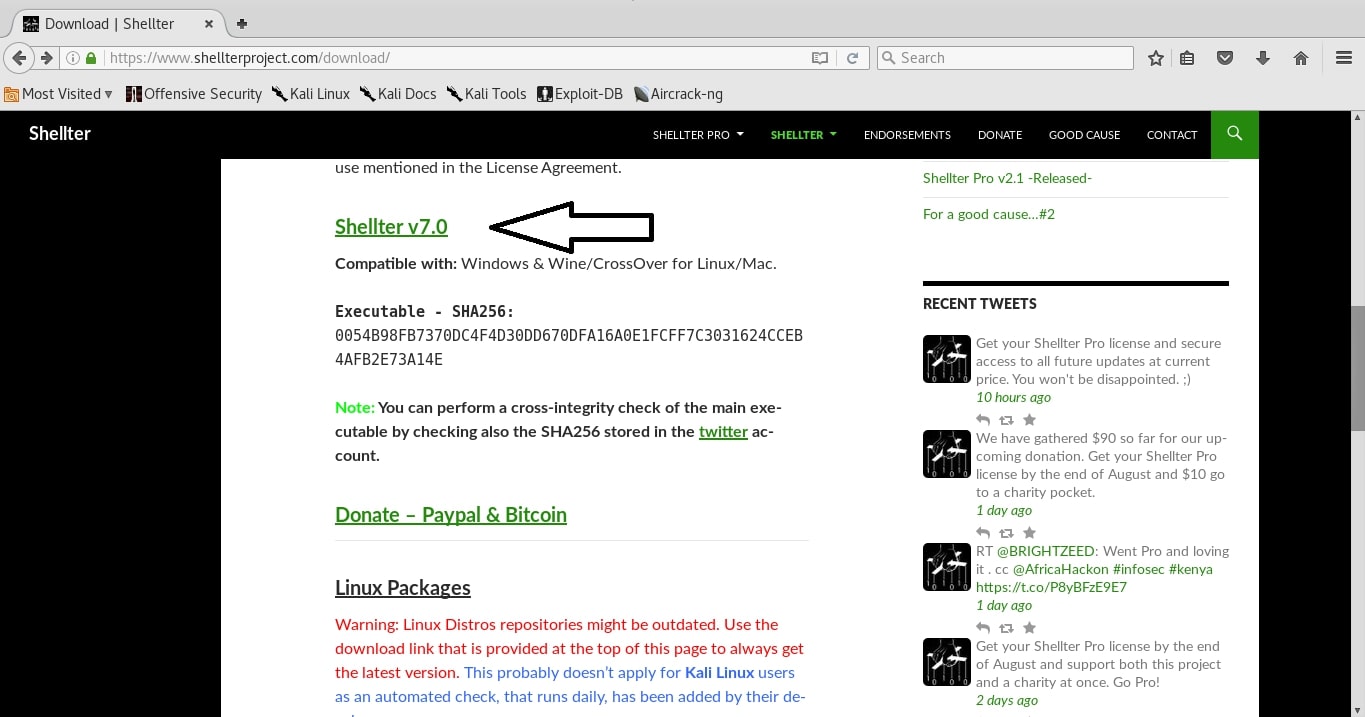
Let us see how to install Shellter in Kali Linux. The version we are using here is the latest version Shellter V7.0 till date which can be downloaded from here. Go to the download page and download the zip file shown below.
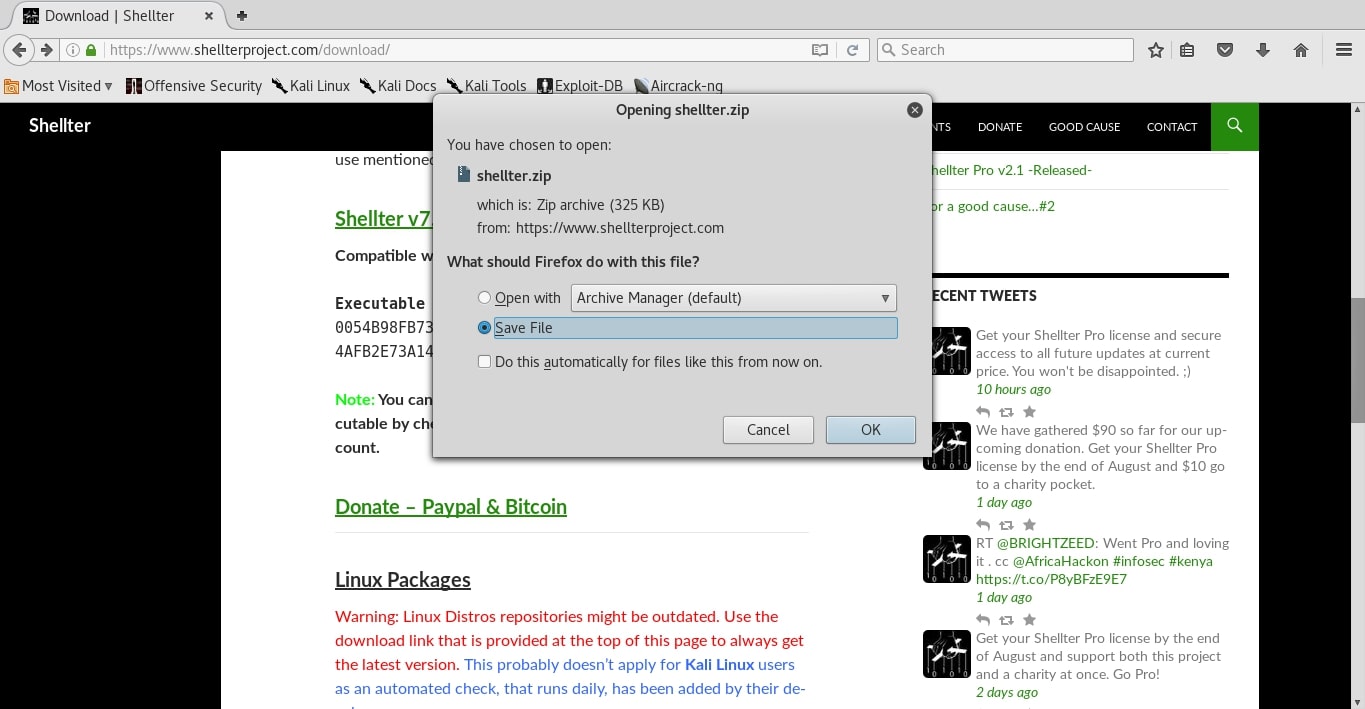
Click on the link and save the file as shown below.
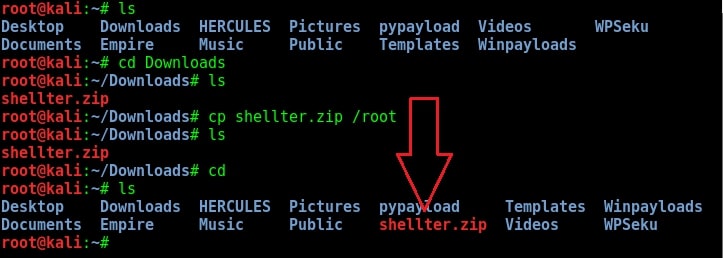
Once the download is finished, go to the Downloads folder. You will see the “shellter.zip” file as shown below. I copied the file to the root folder but if you want to keep the file in Downloads folder you can keep it. This step is not mandatory.
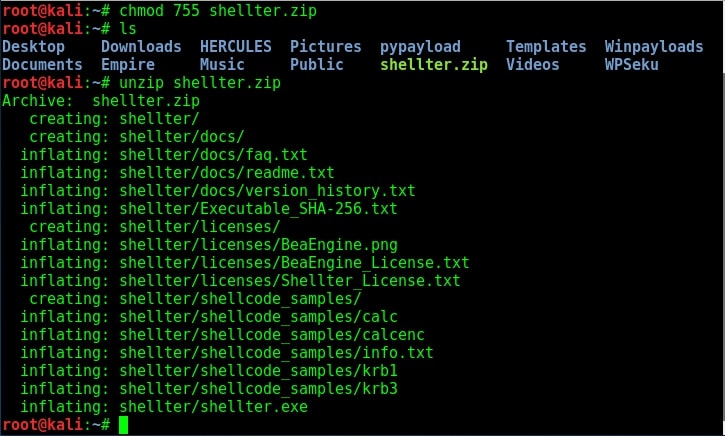
Now change the permissions of the zip file as shown below. Until you change the permission- s, you cannot unzip the files. After you change the permissions of the file, unzip the contents of the file using the “unzip” command.
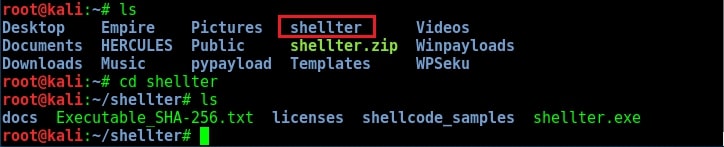
Type “ls“. You will see a new directory with name “shellter”. You have successfully installed Shellter in Kali Linux. Navigate into the directory “Shellter” to see its contents as shown belo- w. We will see how to use Shellter to bypass antivirus in our next issue. Until then, happy hacking practice.
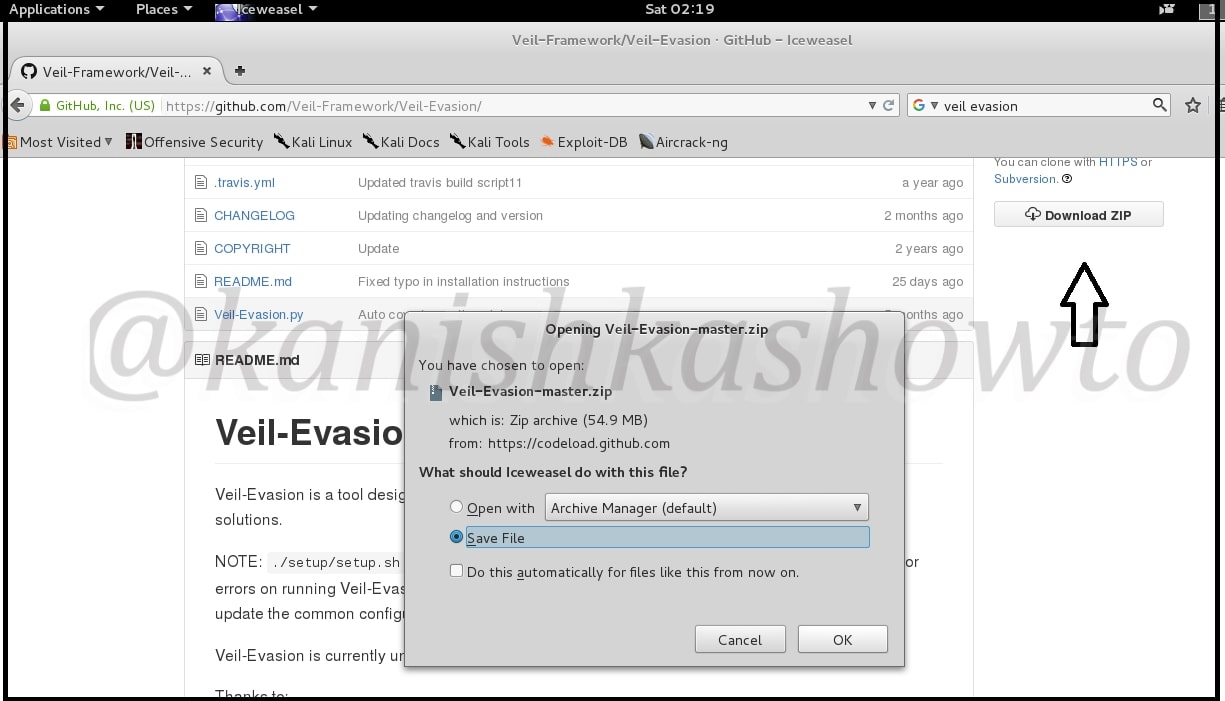
Good evening Friends. Today we will see how to install Veil Evasion in Kali Linux. Although this howto is made on Kali Linux Sana, it is same for all the versions of Kali. For the novices, Veil-Evasion is a tool to generate payload executables that bypass common antivirus solutions. First of all download and save the zip file of veil evasion as shown below from here.
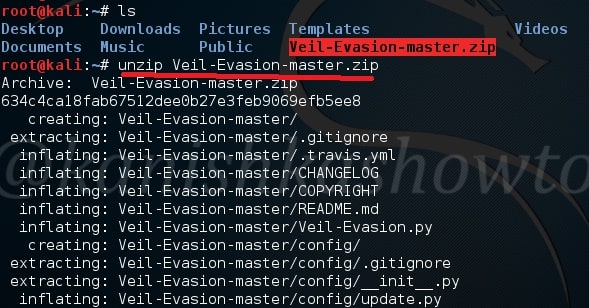
Next, Open terminal and go to the directory where the zip has been downloaded. Commonly it is root or Downloads. Mine is in root. Next unzip the contents of the zip file by using command unzip “Veil-Evasion-master.zip” as shown below.
When unzipping is finished, type “ls” command once again. You will see a new directory “Veil-Evasion-master”. Change into that directory as shown below and type “ls” to see the contents of that directory.
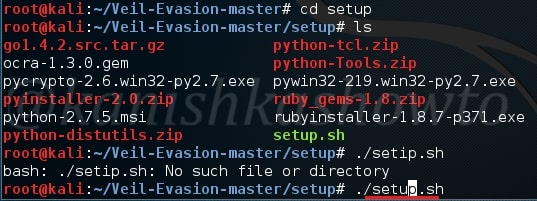
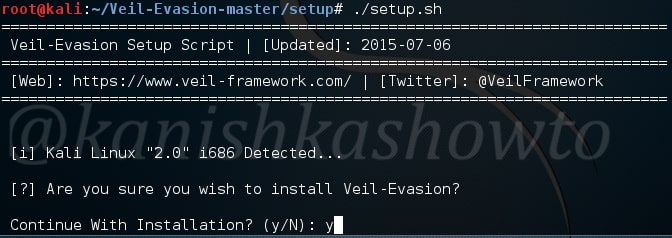
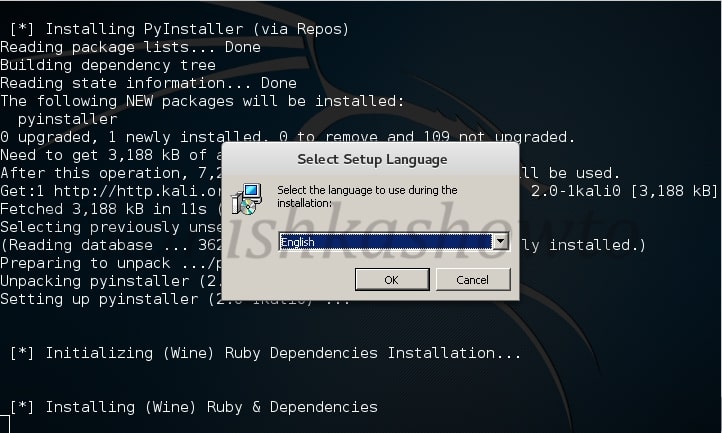
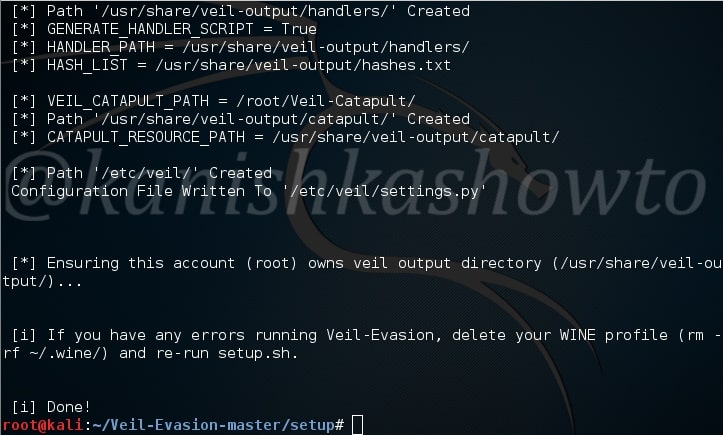
There will be a dircetory named “setup”. Change into that directory. You will see a file named “setup.sh”. Execute that file using command “./setup.sh“
It will prompt you a question whether you want to continue with the installation or not. Type “y”.
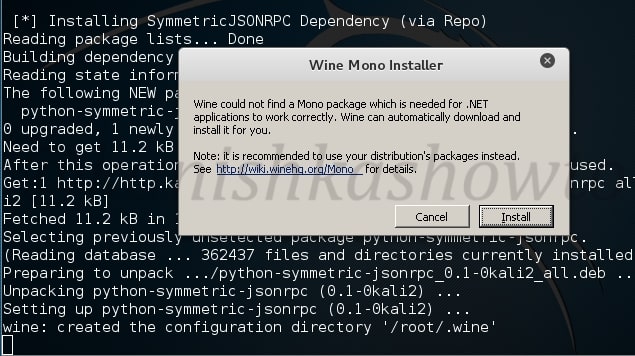
The installation will start. It will ask you whether to install Wine. Click on “Install”.
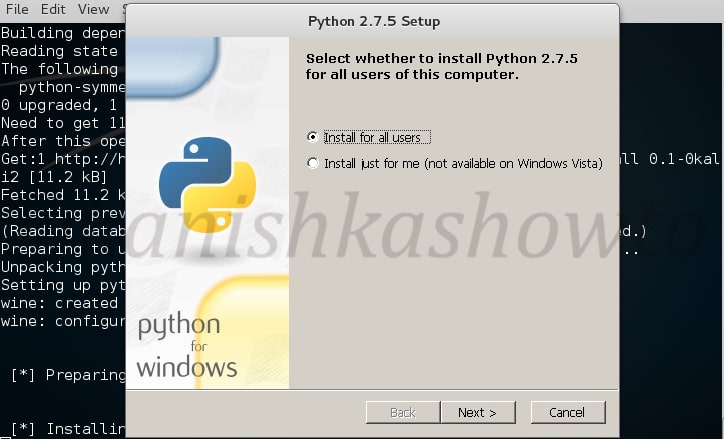
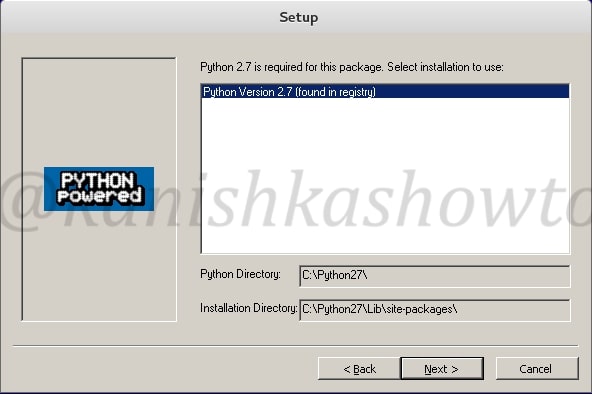
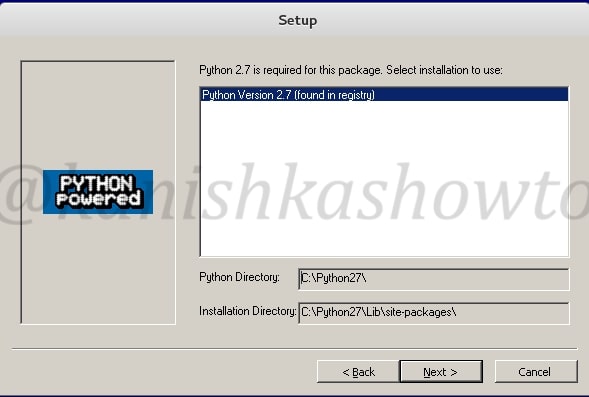
Next it will install Python. Click on “Next”.
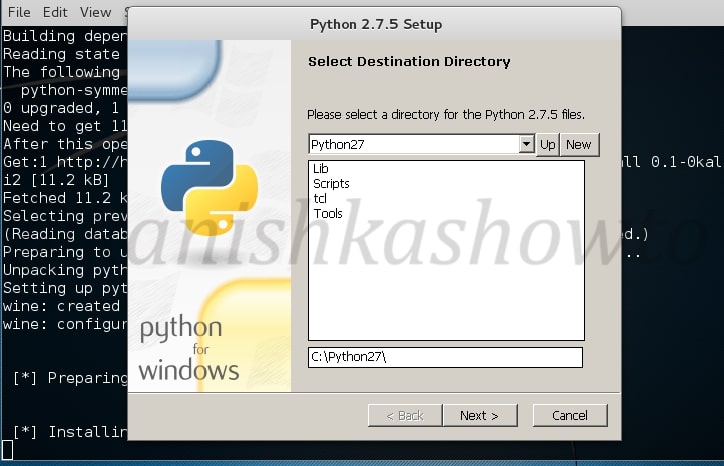
Click on “Next”.
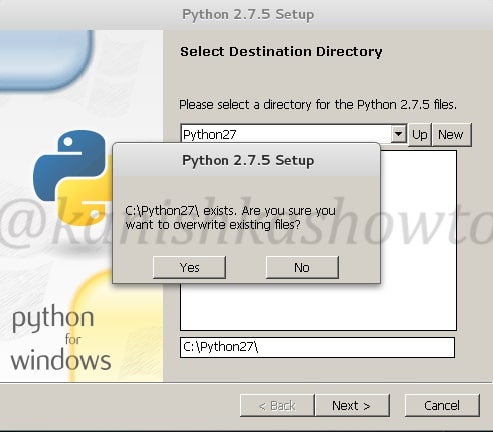
If it asks you to overwrite existing files of any Python, select “yes”.
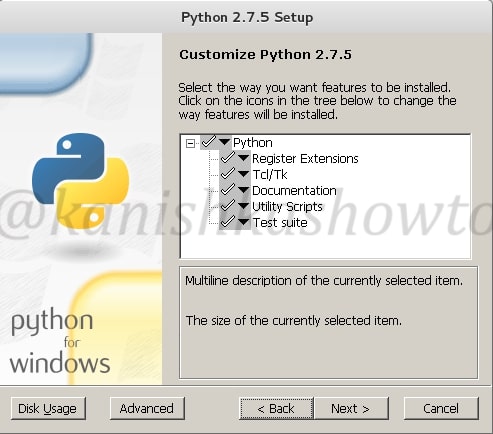
Click on “Next” for the below window.
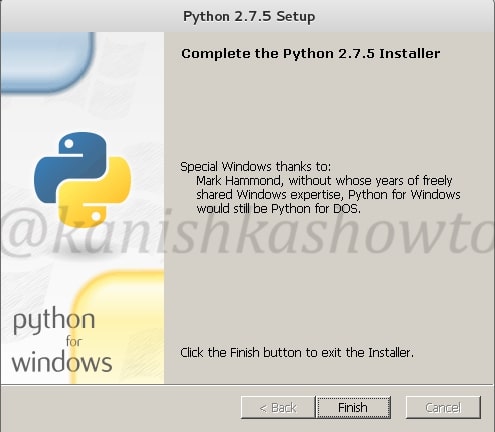
Finsih the installation by clicking on “finish”.
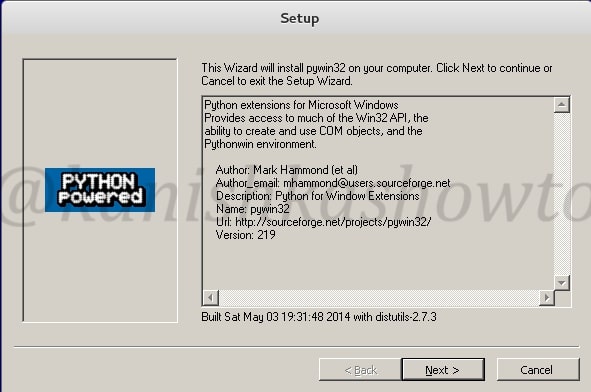
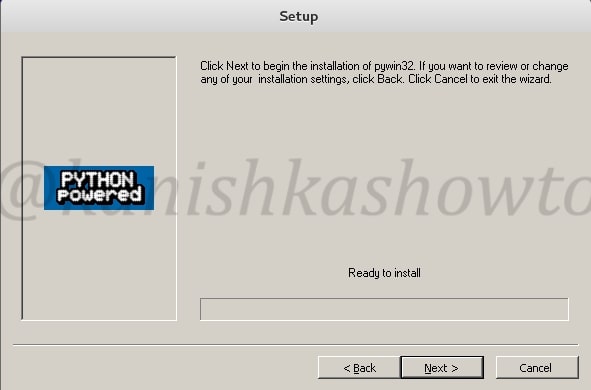
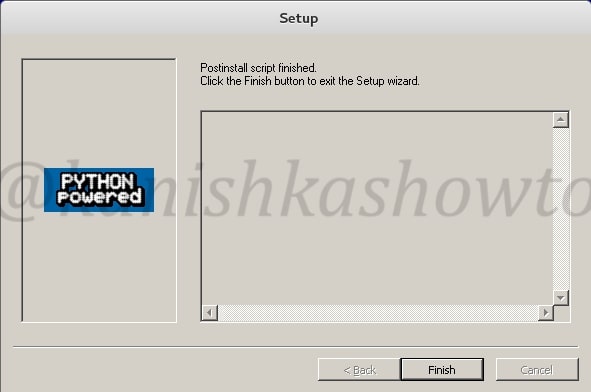
Next, the system will ask you to install pywin32. Pywin32 is a set of extension modules that provides access to many of the Windows API functions. Click on “Next”.
Click on “Next”.
Click on “Next”.
Click on “Finish” the script.
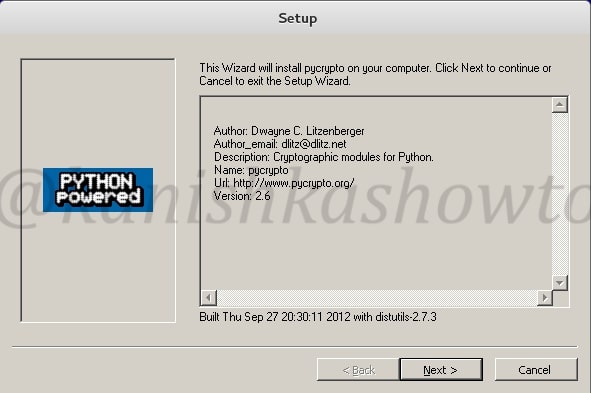
Next it will install pycrypto. Click on “Next”.
Click On “Next”.
Select language as “English” and click on “OK”.
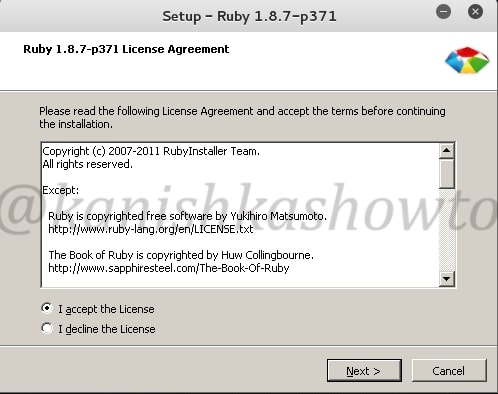
Next it prompt you to install Ruby. Accept the license and click on “Next”.
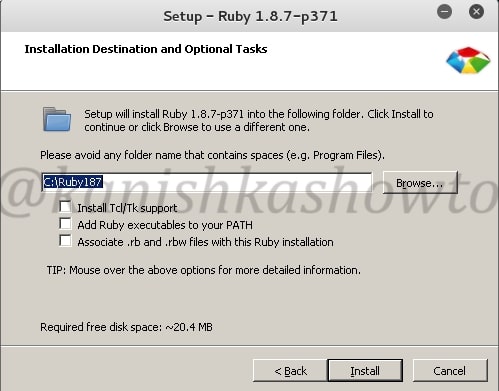
Click on Install.
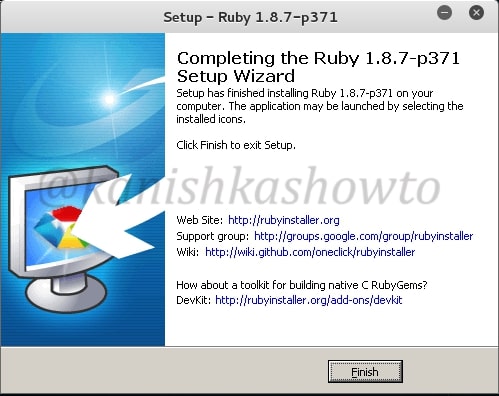
Click on Finish to to finish the installation of Ruby.
You will see the below screen as the installation finishes.
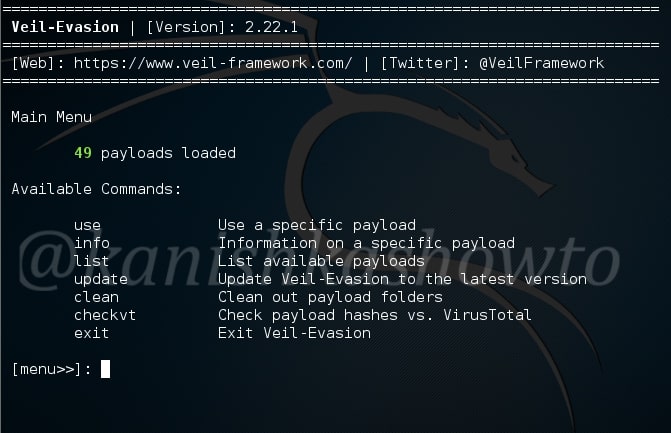
Now let us see if our installation has been successful by starting the program. Go to the “Veil-Evasion-master” directory in which there is a python script called “Veil-Evasion.py”. Execute this script by typing command “./Veil-Evasion.py”.
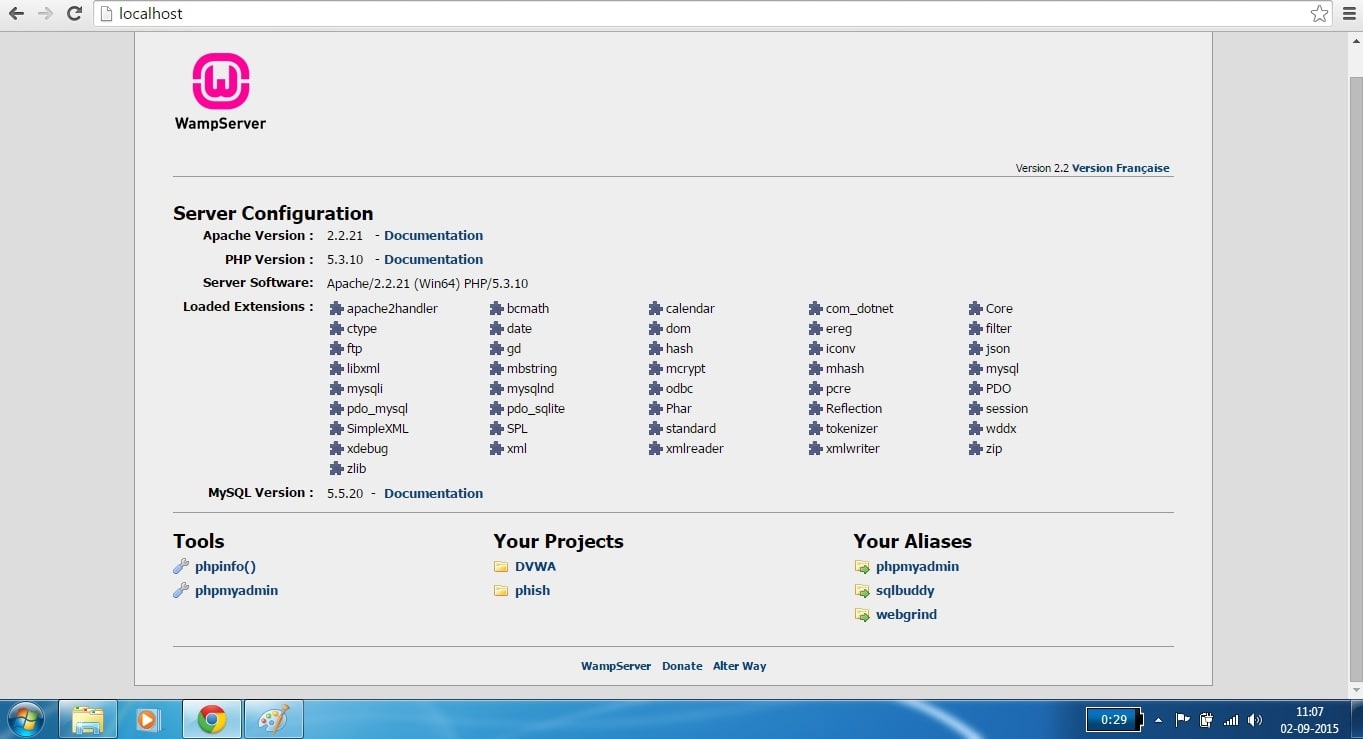
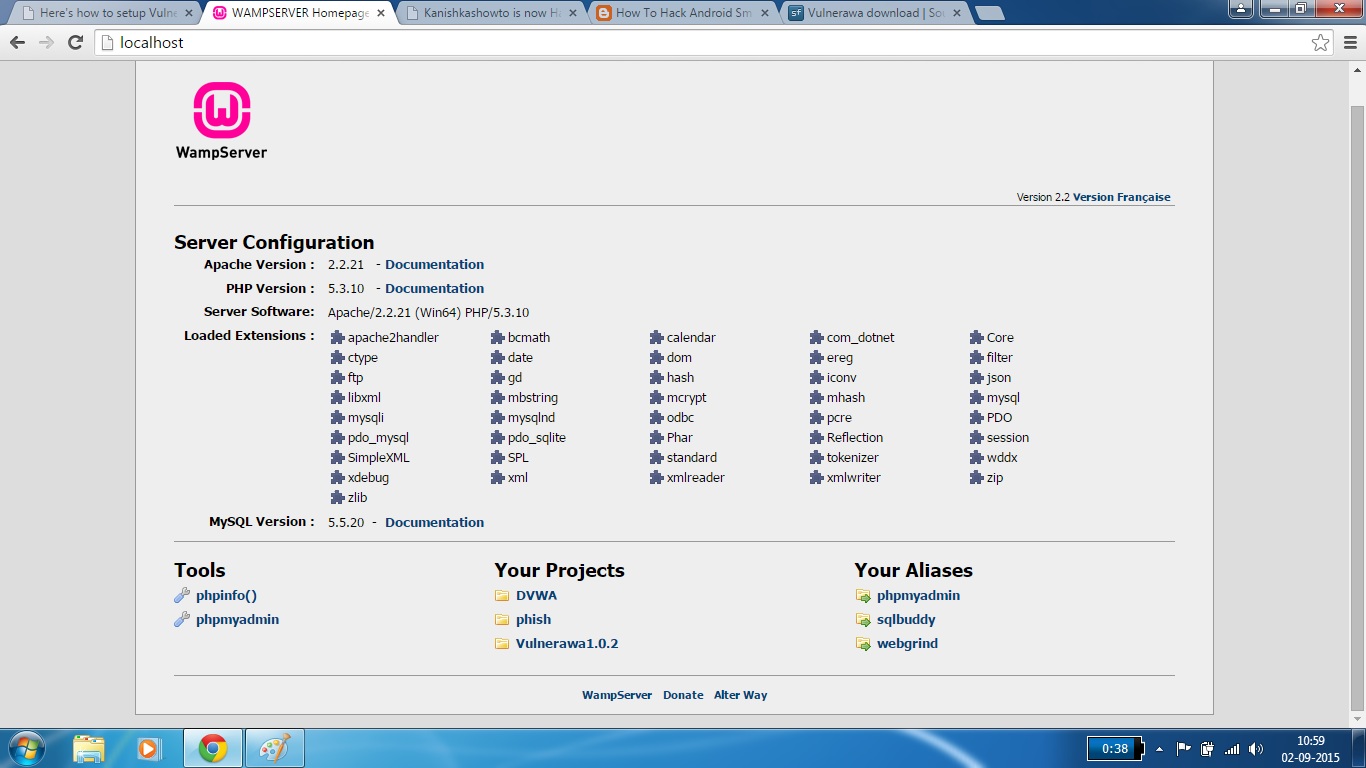
Good Evening friends. Today we will see how to setup Vulnerawa in Wamp Server. For those newbies who don’t know what is Vulnerawa, it is a vulnerable web app coded by me to simulate a real website for practice. Read more about it here. First, download Wamp Server from here as appropriate to your system requirements. We will use “WAMPSERVER (64 BITS & PHP 5.3.10) 2.2d″ for this howto. Install the Wamp Server. Open browser and type “localhost” in the URL bar to see if Wamp server is working as shown below.
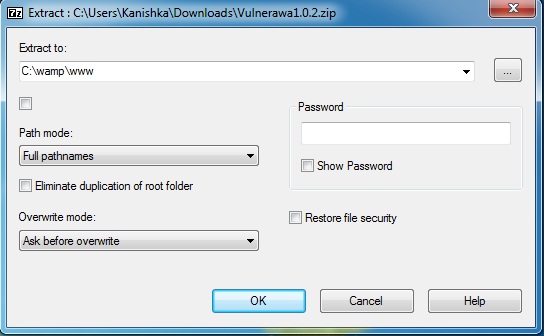
We can see that there are no projects available. Now download Vulnerawa from here. You will find a zip file as shown below. Now we will extract the contents of this file into the root folder of Wamp server. Right click on the zip file, go to 7-zip as shown below ( or any other unzipping software ) and select “Extract files”option. Extract the files to the folder “C:\\wamp\www” which is the root folder for Wamp server.
Now lets check the root folder to see if the files are extracted. Go to wamp server’s root directory and you should see the folder named “vulnerawa1.0.2” as shown below.
Now open your browser and type “localhost” once again. Now we can see our projectVulnerawa1.0.2 listed in the Projects section as shown below.
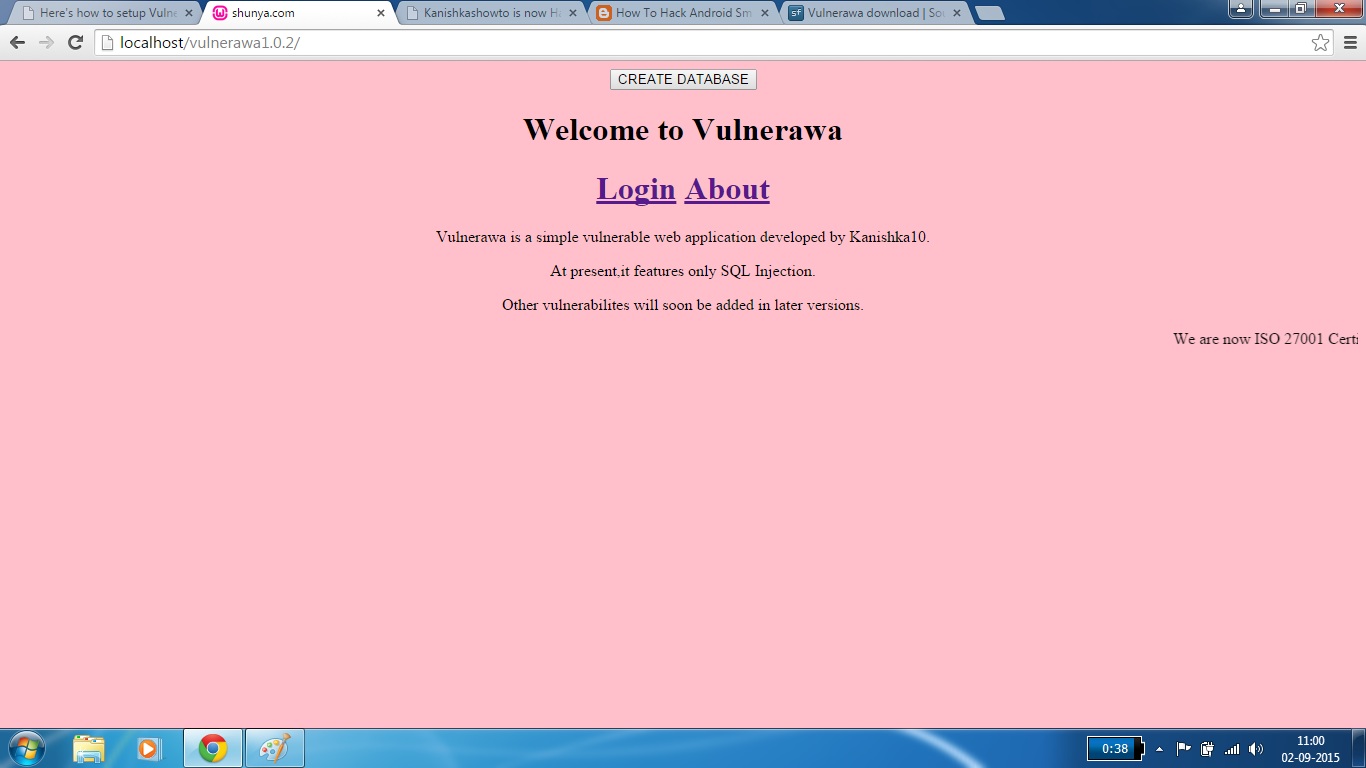
Click on the project. If you see the below webpage, then you have successfully setup Vulnerawa. If it gives you some error go to the url and type “http://localhost/vulnerawa1.0.2” directly. Happy hacking practice.