Posted on

Complete guide to web server hacking

Hello, aspiring ethical hackers. This blogpost is a complete guide to web server hacking. To understand web server hacking, you need to first understand what is a web server.

What is a web server?

A web server is a server that serves webpages. Every organization nowadays definitely has a website which is important for their business. To serve these websites, web servers are needed.

Structure of a web server

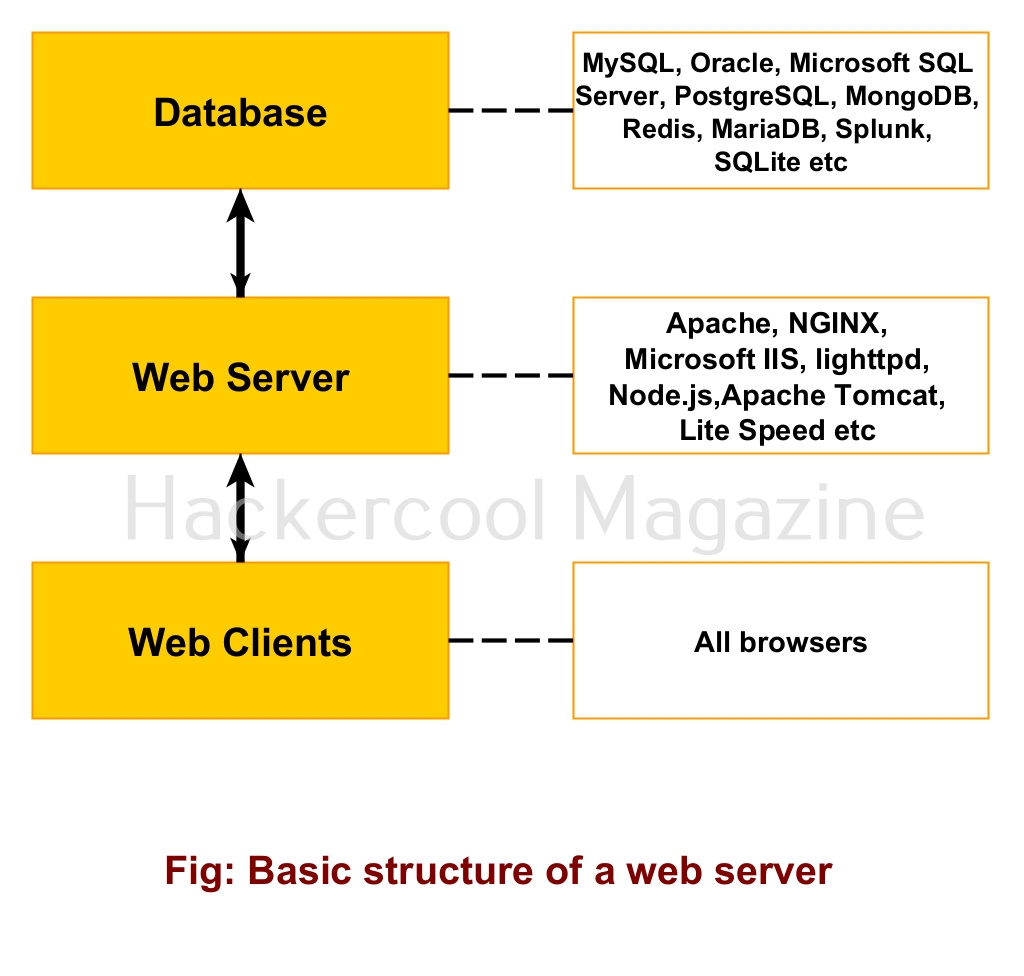
A webserver consists of both hardware and software components. Examples of popular web server software are Apache, NGINX, Microsoft IIS, Lighthttpd, node.js, Apache Tomcat and LiteSpeed etc. To store data, web servers use a database. Most popular databases in use are MySQL, Oracle, Microsoft SQL Server, PostgreSQL, MongoDB, Redis, MariaDB, Splunk, SQLite etc.

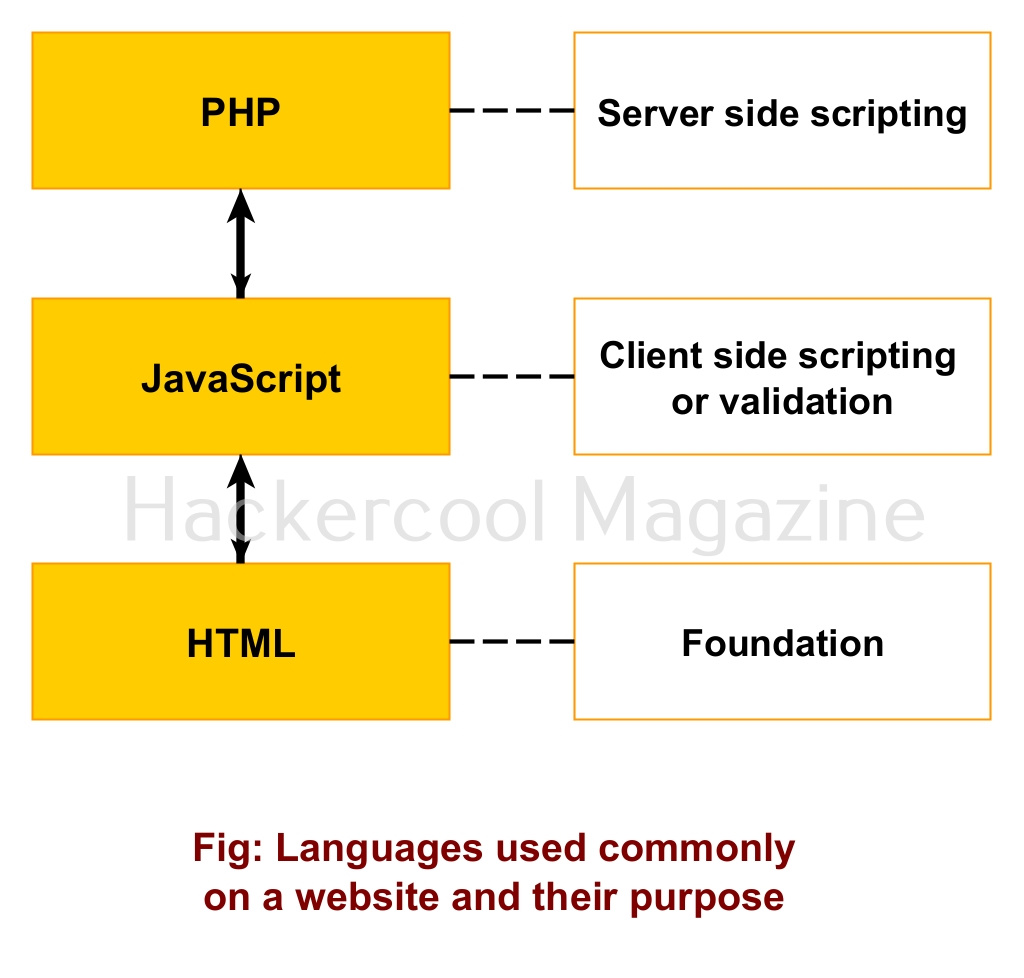
Web pages on the web server can be accused using web clients which are also called as browsers. You already know about various popular browsers. Typical web server uses various languages to build a website. The basic languages and their purpose are given below.

What is web server hacking?

Hacking or compromising of a web server is known as web server hacking. Web servers provide easier access to a company’s network as nobody is blocked from accessing a web server. So, a vulnerability in web server can easily provide hackers access to the company’s network.

Web server Hacking Methodology

The methodology of web server hacking is similar to hacking anything in cybersecurity.

1. Information gathering / Footprinting:

This can be done by whois footprinting, DNS footprinting, website footprinting and banner grabbing.

2. Scanning:

This includes port scanning, service scanning and vulnerability scanning with Nikto and other tools.

3. Exploiting any vulnerabilities and gaining access

Types of web server attacks

There are many attacks that can be used to compromise web servers.

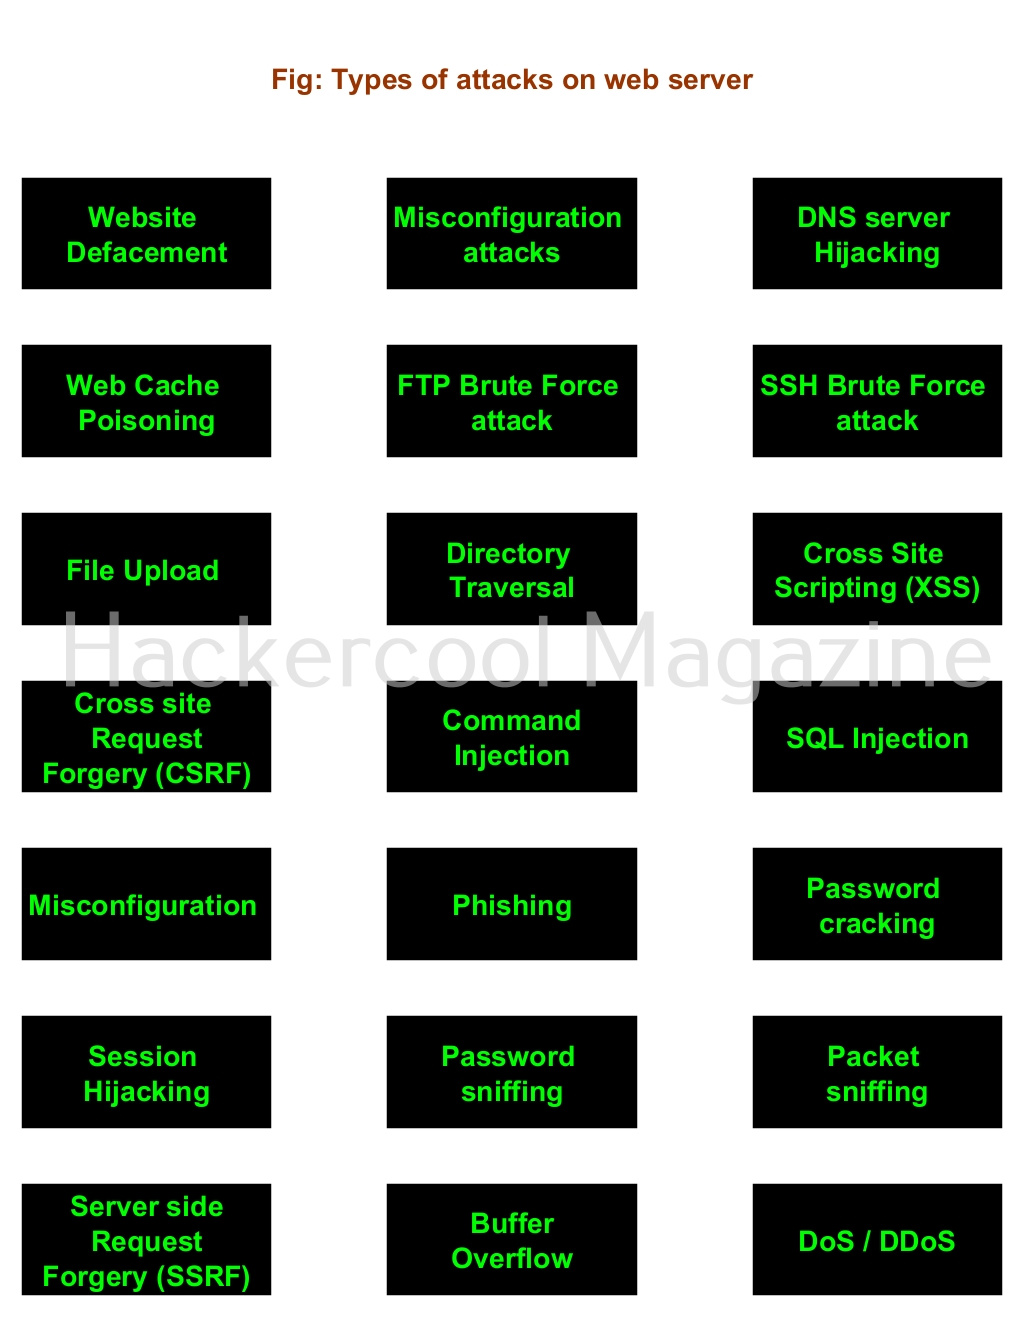
1. Website Defacement:

As you have read earlier, website defacement is the changing of the visual elements of a webpage (most probably, index page) to display a message or simply as nuisance.

2. Misconfiguration attack:

Sometimes, hackers can exploit misconfigurations in the configuration of a web server to hack web servers (For example, use of default credentials or using default setting).

3. DNS Server Hijacking:

A DNS server resolves hostnames to its IP addresses. If the DNS server is breached, hackers can lead genuine users or visitors of a website to a fake website.

4. Web Cache poisoning attack:

The temporary web cache can be poisoned with malicious entries to lure victims to a malicious url.

5. FTP brute force attack:

Many web servers use FTP service to upload files to the web server. If hackers can brute force the credentials of the FTP server, he can upload malicious files to by webserver. Learn more about FTP hacking.

5. SSH brute force attack:

Similarly, if the SSH credentials the web server as compromised, attackers can take control of the entire web server.

6. File upload attack

7. Directory traversal / LFI attack

8. Cross-site scripting (XSS) attack

9. CSRF attack

10. Command Injection attack

11. SQL injection attack

12. Phishing attack

13. Password cracking attack

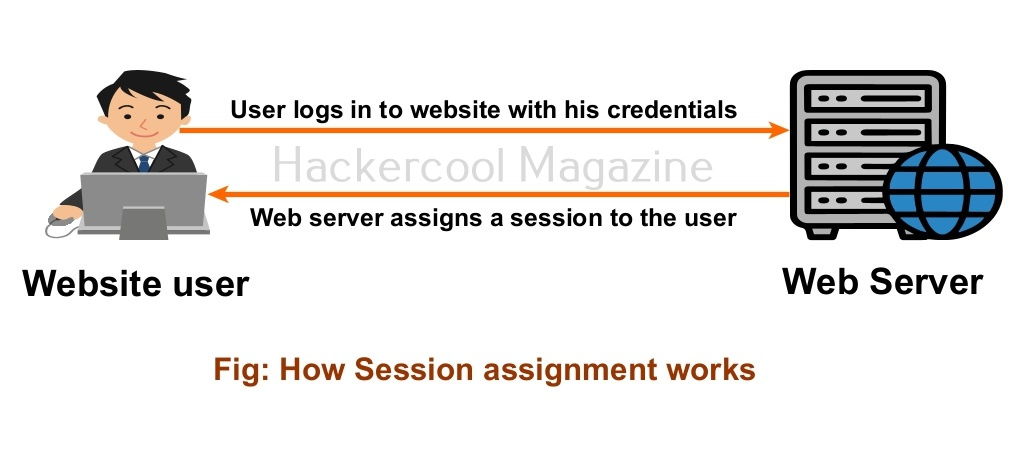
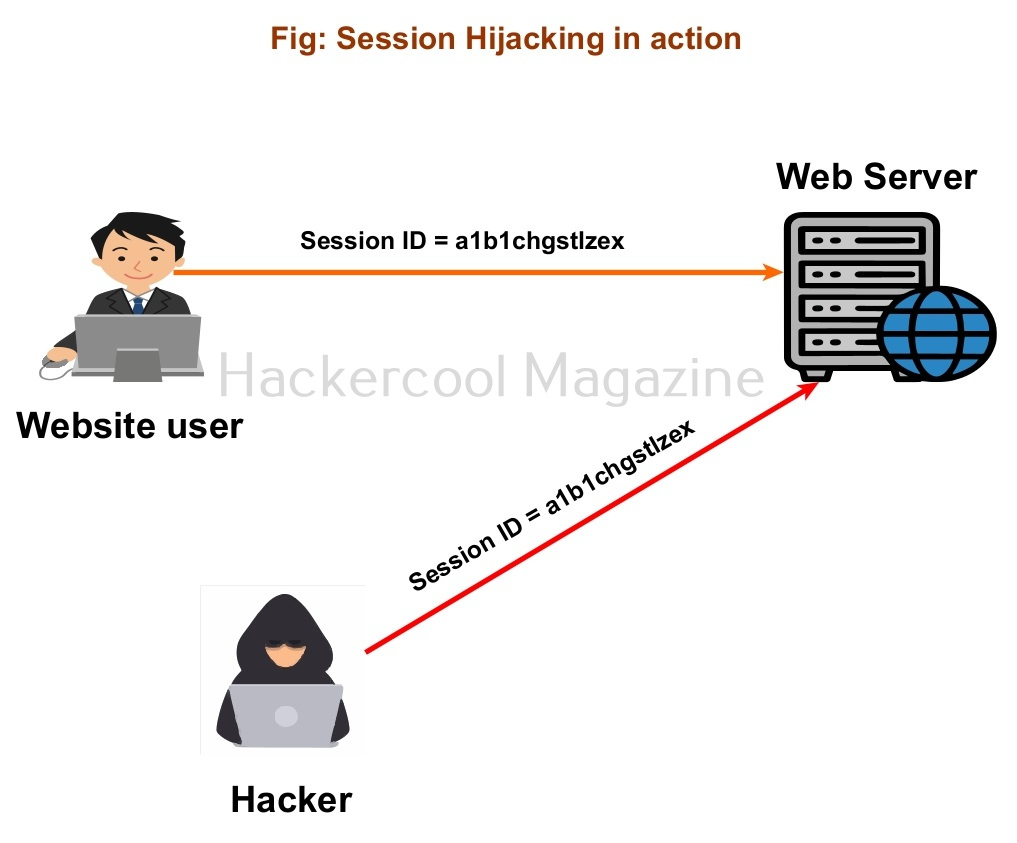
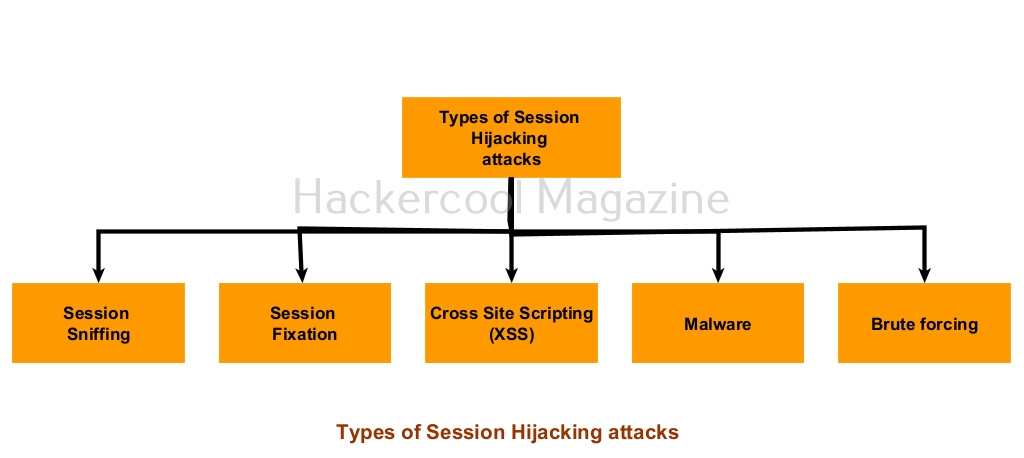
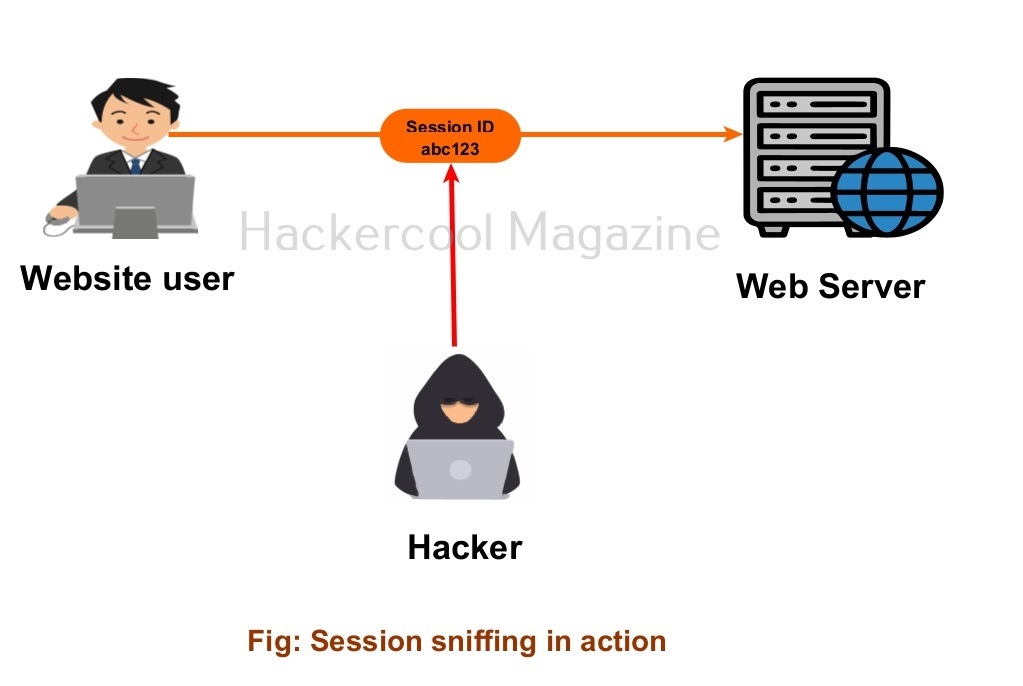
14. Session Hijacking attack

15. Packet sniffing attack

16. Server side request forgery (SSRF) attack

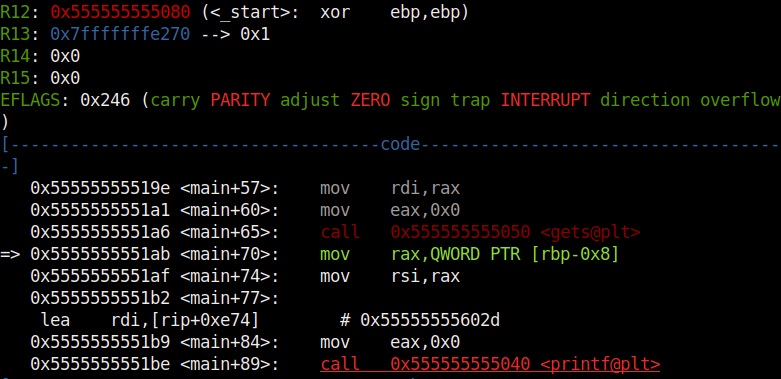
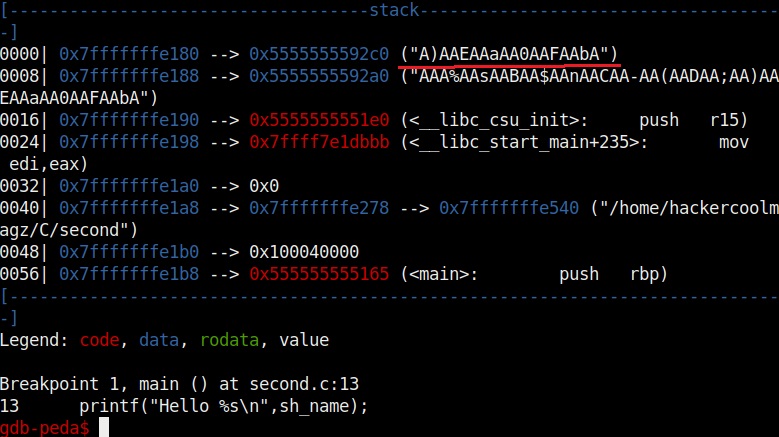
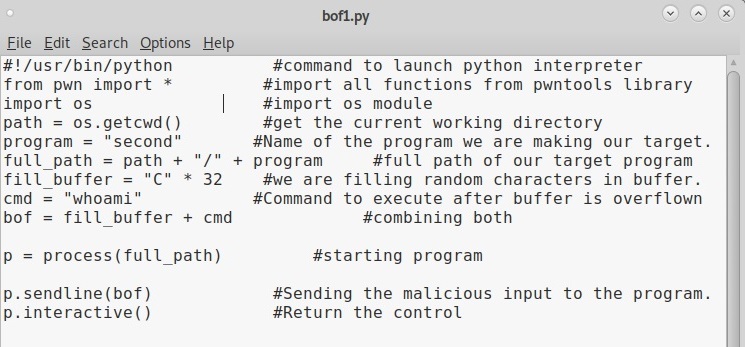
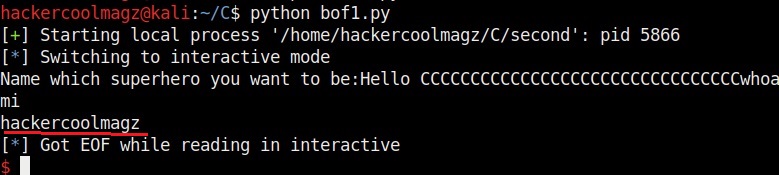
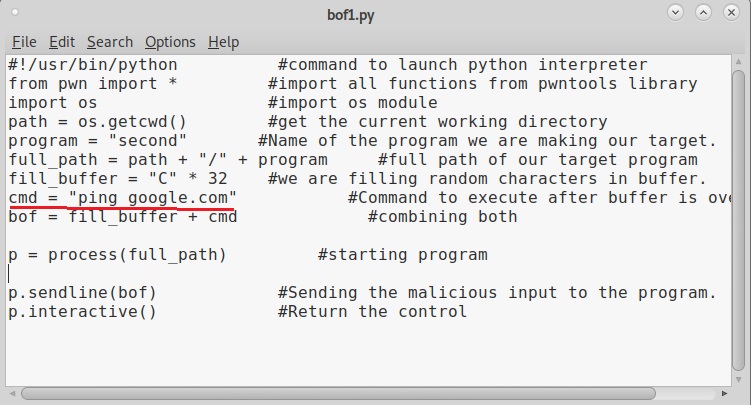
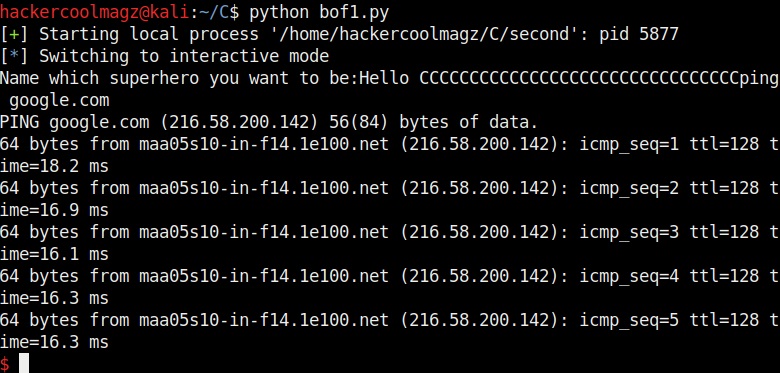
17. Buffer overflow attack

18. DoS / DDoS attack

Impact of a web server hacking

Compromise of a web server can have many affects. Most important of them are,

1. Data breach and Data theft:

Compromise of a website can result in a data breach and data theft.

2. Leak of sensitive information:

Sometimes, a web server compromise can leak sensitive information about a company or organization.

3. Website defacement:

Every website has an index page that is the page that loads when you visit a website. When hackers change the index page and replace it with another page, it is known as website defacement.

4. Secondary attacks:

Once a web server is compromised, it can be used by hackers for other malicious purposes like hosting malware, to perform a DDoS attack or using it as a proxy to perform attacks on other websites.

Posted on

Session Hijacking for beginners

Hello aspiring Ethical Hackers. In this blogpost, you will learn about session hijacking. In March 2023, the YouTube channel of youtuber Linus Sebastian was hacked. Hackers deleted all his videos and uploaded a few videos on crypto currency. It was later discovered that hackers used session hijacking to gain access to Linus Sebastian YouTube channel. With the advent of passkeys, biometric and password less authentication, hackers are finding it difficult to grab credentials using password cracking. So, they are increasingly turning their attention towards session hijacking. What is session hijacking? To understand that you need to first understand what a session is.

What is a Session?

You login into a number of websites daily. You should have noticed that you don’t have to login again and again into some of the websites. I mean you are kept in logged in state on a website and you don’t have to enter your username and password again and again.

How is this possible? Well, HTTP & HTTPS are itself stateless and hence sessions are used by almost all the webservers to keep the user logged in and track him. A session is assigned as soon as user logs in and it is kept active for a particular period of time or until the user decides to log out.

What is a Session ID?

These active sessions are tracked using piece of text called a Session ID. Usually Session ID is included as part of a cookie.

What is Session Hijacking?

A session hijacking or cookie hijacking is the stealing of a session by whatever means. Once a hacker steals a session, he can perform all actions a legitimate user of that account can perform. No need to crack passwords anymore.

Types of Session Hijacking

1. Session Fixation:

In a Session fixation attack, the attacker tries to fix the session ID for another user. This is only possible if the webserver accepts Session ID’s from URL.

2. Session sniffing:

In packet sniffing and password sniffing, you learnt how hackers can sniff the data in transit. Not just these, even session IDs can be sniffed using any packet sniffer like Wireshark, tcpdump, Ettercap, dsniff, kismet and driftnet etc. This is done by sniffing on cookies if they are being transmitted without any encryption as they contain the session IDs.

3. Cross Site Scripting (XSS):

In our previous article you learnt about Cross Site Scripting. Hackers can also use it to steal a session ID.

4. Malware:

Hackers can install session hijacking malware on the victim’s computer and steal the session ID. Learn more about malware.

5. Brute forcing:

Not just credentials, even session ID’s can be brute forced by hackers. However, they need to have some knowledge about the structure of the session ID before attempting brute force.

Posted on

Shellcode Injection into Windows Binaries

Hello aspiring Ethical Hackers. In this article, we will see how to perform Shellcode Injection into Windows executables. In hacking, Shellcode is a code usually written in machine language instructions that starts a command shell from which a hacker can control the compromised machine. Shellcode is normally used as a payload.

Windows binaries are those binaries that are already present by default on a Windows system. Just imagine you are pen testing a Windows machine and you want to gain access to it without bringing any third party Malware to the target system. How about using the files already present on the target system to execute your payload. This is also known as file less malware.

Windows by default has some binaries for its own genuine functions. However these can be utilized by malicious actors to execute their own payload which is not benign. Examples of these binaries are regsrvr32.exe, notepad.exe, calc.exe and rundll32.exe etc. Rundll32.exe is a binary used in Windows to link library for other Windows applications. Of course, readers know about Notepad and Calculator.

In this article, we will see how to inject shellcode into these Windows executables. For this, we will be using a tool named CactusTorch. CactusTorch is a shellcode launcher tool that can be used to launch 32 bit shellcode which can then be injected into any Windows binaries.

Let’s see how this tool works. CactusTorch can be cloned from GitHub as shown below from here.

Once the repository is cloned successfully, we need to create shellcode. Cactus torch is compatible with Metasploit and Cobalt strike. So let’s use msfvenom to create 32 bit shellcode.

The shellcode is successfully created and is stored in payload.bin file.

Next, encode this payload using base64 encoding as shown below.

shellcode injection

This shellcode can be hosted in different formats as shown below. These formats are already provided by Cactustorch.

Let’s see the example of hta file. Open the cactustorch.hta file using any text editor.

We can specify the binary you want to inject this shellcode into. For example, here we want to inject shellcode into rundll32.exe. Copy the base64 encoded shellcode at “Dim code”. Save the file. Start a Metasploit listener as shown below.

Next, all we have to do is make the user on target system execute the cactus torch.hta file. This can be done using social engineering. Now once someone clicks on it, we should get a successful meterpreter session as shown below.

Similarly, this shellcode can be hosted in JavaScript and also VB script and VBA files. That’s how shellcode injection can be performed in Windows binaries.

Posted on

Beginners guide to Antivirus

Hello, aspiring ethical hackers. In our previous blogpost, you learnt about malware and virus. In this blogpost, you will about Antivirus. But what is an Antivirus.

What is an Antivirus?

Antivirus, also called as Anti-malware is the software specifically created to detect and stop malware and virus from performing their malicious actions on the computer or mobile. To identify and prevent malware, it uses many techniques. They are,
1. Signature based detection
2. Heuristic based detection
3. Behavior based detection
4. Sandbox based detection
5. Cloud based detection

1. Signature based detection:

This type of AV detects malware by comparing its code with known malware samples. This samples the Anti Malware uses for comparison are known as signatures. These signatures are regularly updated (in most cases, daily) by the anti malware in order to stay one step ahead of malware. This is the reason why antimalware needs regular updates.

2. Heuristics based detection:

The problem with signature based detection is that it can only detect known malware or malware that is around more. To overcome this problem, many of the antivirus nowadays detect malware using heuristic analysis. In this type of analysis, the Antivirus tries to identify malware by examining the code in a virus and analyzing the structure of malware.
By doing this, the antivirus actually tries to simulate running the code and see what it actually does. If it finds any malicious intention in the code like the malware replicating itself or trying to rewrite itself, it classifies the code program as malware. As already mentioned, this is used by almost all modern antimalware.

3. Behavior based detection:

In behavioral detection, the antivirus detects suspicious activity in the operating system. If the AV notices that any new program is trying to modify or make changes to system like altering files or running a code to communicate with external systems, then it flags the program as virus and blocks it. So instead of scanning the code of -the malware, it just scans for any suspicious activity.

4. Sandbox based detection:

In Sandbox detection, the Antivirus classifies a program as malware after executing the program in a contained environment separated from the operating system. This contained environment is known as sandbox. If the program performs any suspicious or malicious activity in the sandbox, the antivirus classifies the program as malware. This method of detection takes a heavy toll on the system resources.

These are the ways in which antivirus can detect malware or payloads we create in penetration testing. There are a few other concepts you need to understand about antivirus.

Results of an Antivirus scan

As soon as a new program or file touches the hard disk, the AV scans the file using one or all the methods explained above and concludes. An AV can conclude to any of the four results given below after scanning a file.

  1. True Positive (TP)
  2. True Negative (TN)
  3. False Positive (FP)
  4. False Negative (FN)

1. True Positive (TP):

When antivirus detects a truly malicious file as malicious, it is called True Positive.

2. True Negative (TN):

When an antivirus doesn’t classify a genuine and harmless file as malicious, it is called as True Negative.

3. False Positive (FP):

When a genuine file is flagged as malicious by the antivirus, it is known as False Positive. False positive is not a problem but becomes a frustration and can also create some problems. For example, in May 2007, Symantec flagged essential operating system files as malicious and deleted them due to faulty virus signatures. This left thousands of PC’s unable to boot. Similarly, in October 2011, Microsoft Security Essentials, mistakenly flagged Google Chrome browser as Zbot banking trojan and removed it.

4. False Negative (FN):

However frustrating and problematic can be a false positive result, the most dangerous result of an Antivirus is False negative. This occurs when an Antivirus fails to identify a malicious program as malicious and flags it as harmless. Black Hat Hacker groups always try to achieve this False negative result while creating their payloads. It is when they get this result in AV’s it is called FUD payload.

Posted on

Buffer Overflow for Beginners : Part 2

Hello aspiring Ethical Hackers. In Part 2 of Buffer Overflow foe beginners, we will see how to write an exploit for a buffer overflow vulnerability. In Part 1 of this article, readers have learnt practically as to what buffer overflow is and how a buffer overflow vulnerability can be identified in a program using fuzzing. Our readers have also seen how we exploited it.
But manually fuzzing the program can be tiresome sometimes. In the example we have shown in the previous article, the buffer only needed 32 characters to be overflown but what if the buffer has a very large (let’s say 1000) size. Manual fuzzing in such cases becomes a tiresome process.

We need some automation and simplification. It’s time to introduce PEDA. PEDA is a Python Exploit Development Assistance for GNU Debugger. It enhances the functionality of the GNU Debugger by displaying disassembly codes, `registers and memory information during debugging. It also allows users to create a random pattern within the gdb console and also find the offset etc. We will learn more about the tool practically. This tool can be installed as shown below.

Now let’s go into our C lab and load the program “second” with GDB normally as shown below. This is the same program we have used in Part1 of this article. As the program loads, you will see that the interface now shows “gdb-peda” instead of just “gdb” as in the previous article.

Let us test this program once again for the buffer overflow vulnerability. Here’s the disassembled code of the program “second”.

Let’s create a string of random characters of a specific length, say 50. This can be done using the “pattern_create” command in peda. Copy the random string.

Now let’s run the program. When it prompts you the question, “Name which superhero you want to be”, paste the string we just copied and click on “Enter”. Gdb-peda gives us information about the memory registers as shown below.

buffer overflow for beginers

It also shows us the code being executed but the most important thing it shows is the memory stack.

If you observe the stack of the program above, you can see that the string of random characters we provided as input is allocated into two memory areas. The highlighted part went into first buffer and the rest of the random characters went into the second memory area.

Instead of counting how many characters are in the first memory area, we can find the number of characters using “pattern_offset” command. We copy the random characters that went into the first buffer and use it as shown below to find the offset.

We call it as offset as we need to fill this area with random characters as no code will be executed in this offset area (as in the Part 1 of this article). The offset is 32. Well, since we no- w know the offset, let’s write an exploit for this vulnerable program. Open a new file and write the exploit as shown below.

This is a simple python exploit and the comments should explain you what it does. Let us give you more information about it. The first line of the code is basically telling the exploit to launch a python interpreter. In the second and third line, we are importing pwntools and OS modules respectively. The pwntools library has all the functions needed in penetration testing and OS module has operating system functions. In the next line we declare a variable named “path” and assign it a function os.getcwd() . This function gets the current working directory (If the OS module is not imported, this line will not work).

In the next line, another variable is declared with the name “program” and we assign it the program we want this exploit to target. As our target program is named “second” we give that name. In the next line, the “full_path” variable combines both the “path” and “program” variables to get the full working path of the program. Till this part of the code, we have reached the program we want to exploit.

Now the exploitation part. The “fill_buffer” variable fills the offset area with 32 iterations of “C” (It can be any character of your choice, but make sure its 32 for this program). In the next line we are specifying the command to be executed after the buffer is filled. Here its is “whoami”.

The exploit only works when the buffer is filled and then the command is executed. So we need to combine the “fill_buffer” and “cmd” results. The process() command start the target program while the p.sendline(bof) command sends the output of “bof” to the program already started. The p.interactive() gives the user the control after the exploit runs. Once coding is finished, save the exploit with any name you want. We named it bof1.py. Then run it as shown.

As you can see in the above image, after filling the buffer the exploit was successful in executing the command “whoami”. Now change the command to be executed and run the exploit again.

Once again it runs successfully and executes the command. This gives us a shell. This is how buffer overflow exploits are written.

When most of our readers ask as to which programming language to start learning with in the journey of ethical hacking or penetration testing, Our suggestion is always python and yo -u now know why? Python is very simple but still effective. It has a readable and easily maintainable code compared to other programming languages. Hence, it is very easy to learn. In just about ten lines, you have written the first buffer overflow exploit although its for a intentionally vulnerable program.