Hello aspiring Ethical hackers. In this article, you will learn about a new tool named Name That Hash. Name That Hash is a hash identifying tool that can identify over 300 types including MD5 and SHA256. The other features of this tool include displaying summaries for the hashes identified, colored output and displaying in the order of their popularity etc. This tool can be installed from the repository of Kali as shown below.
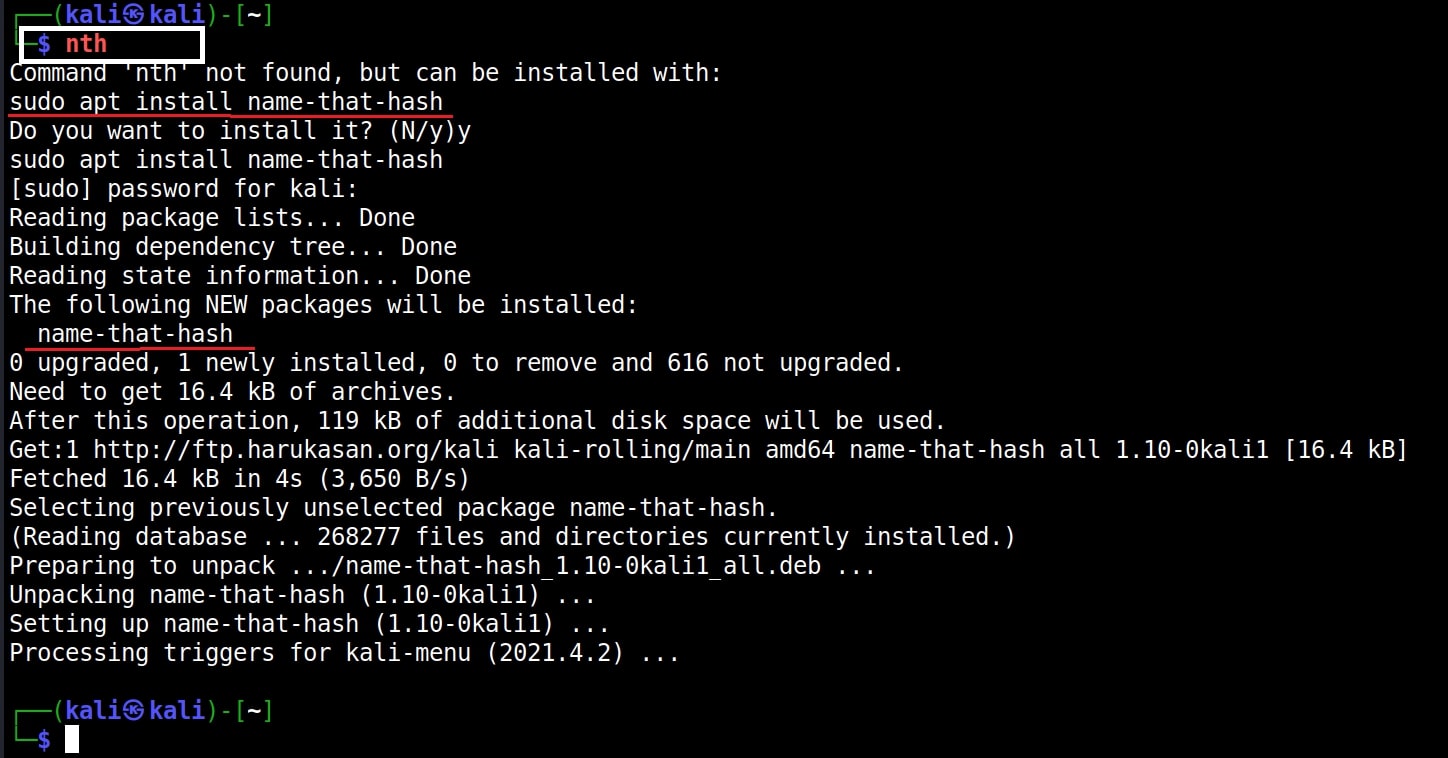
Once this tool is installed, it can be started using command nth. To test a single hash, we can use “nth” with option “-t” as shown below. Let’s first give a MD5 hash.
nth -t <hash>
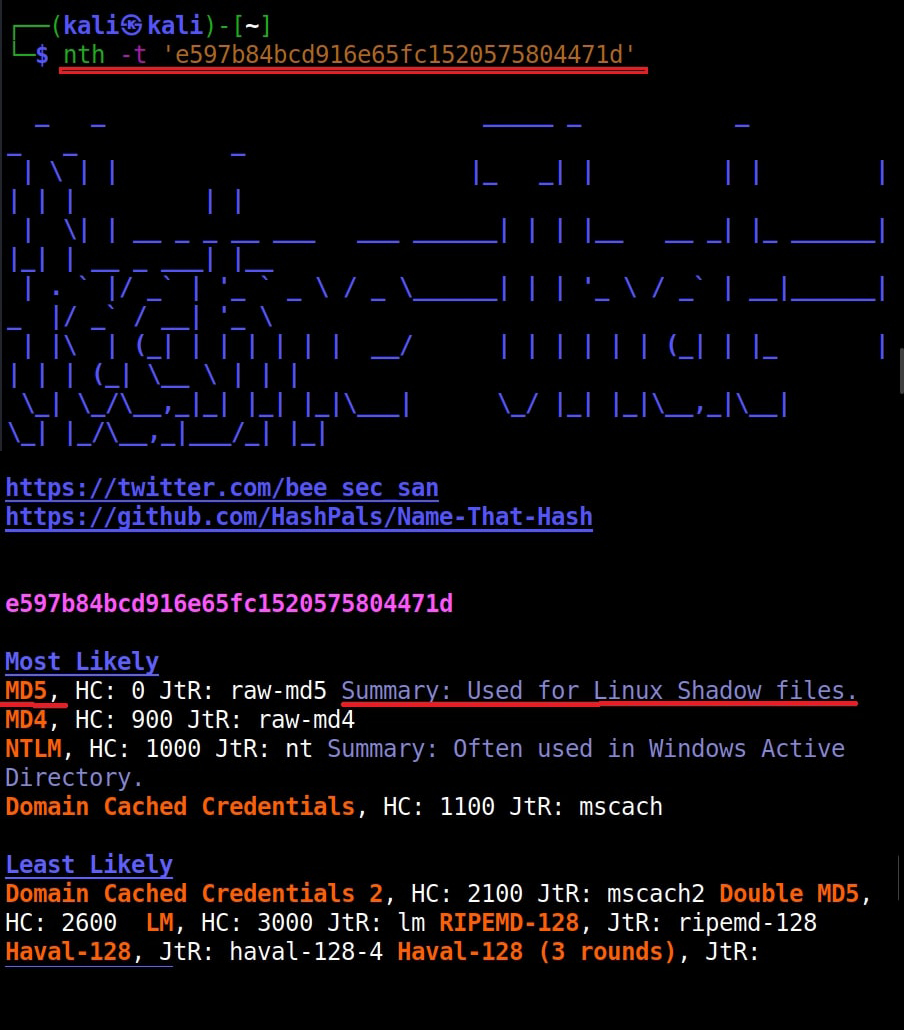
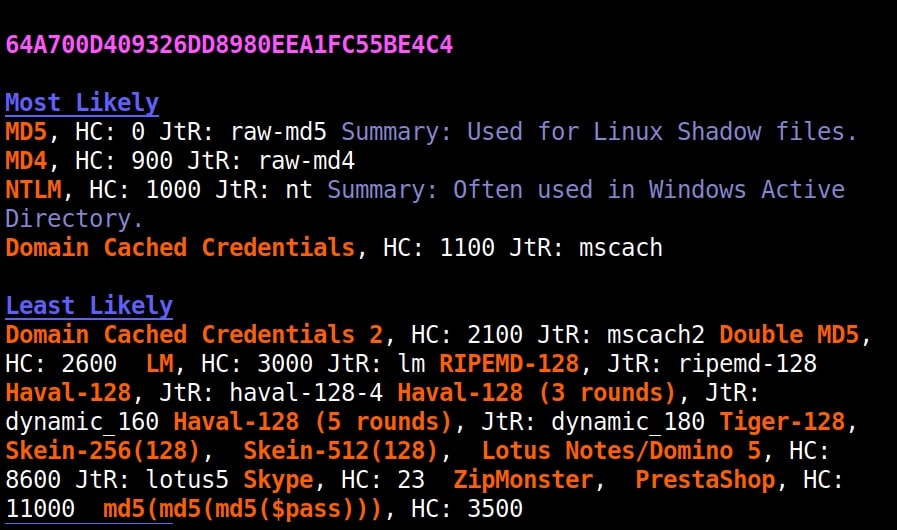
Just like hashid and hash-identifier, this tool also got it right but it is giving us some additional information like where the hash is actually used. For example, Md5 is used in Linux shadow files. What about SHA-1 hash?
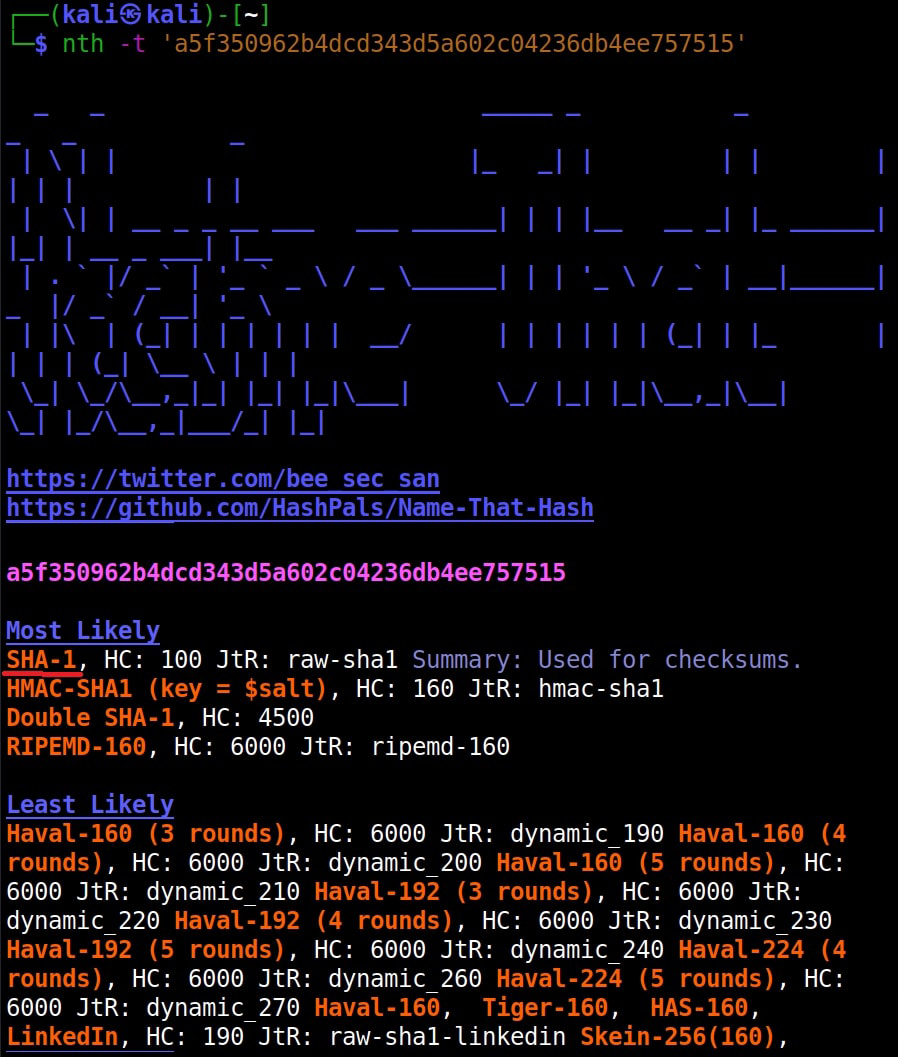
It got this right too. Next, let’s give it a LM hash.
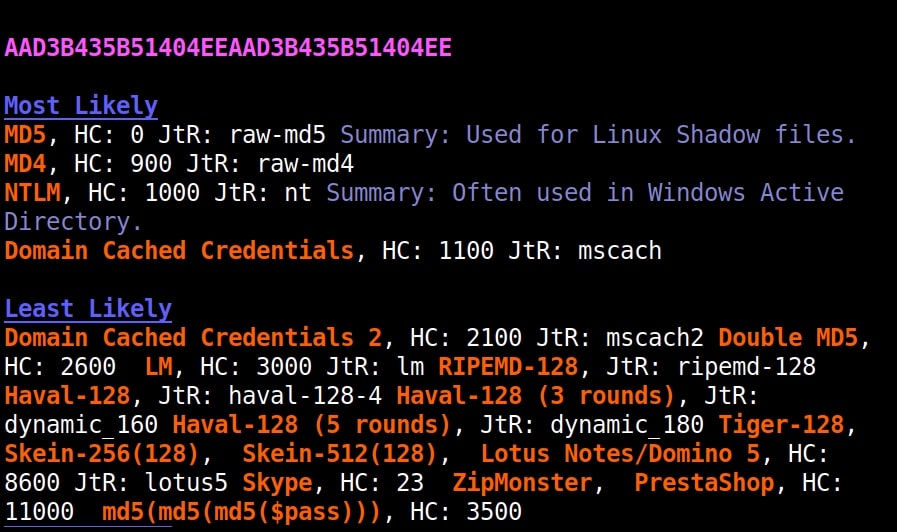
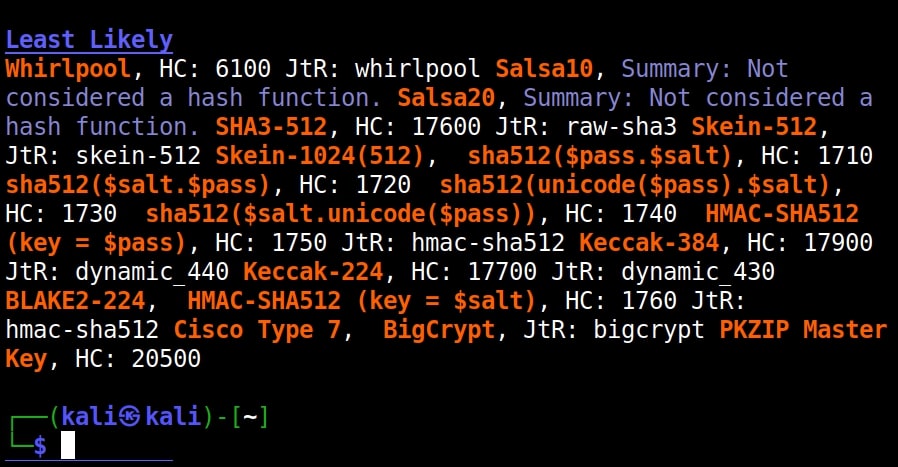
It put this in the Least likely section. Next, let’s give it a NTLM hash.

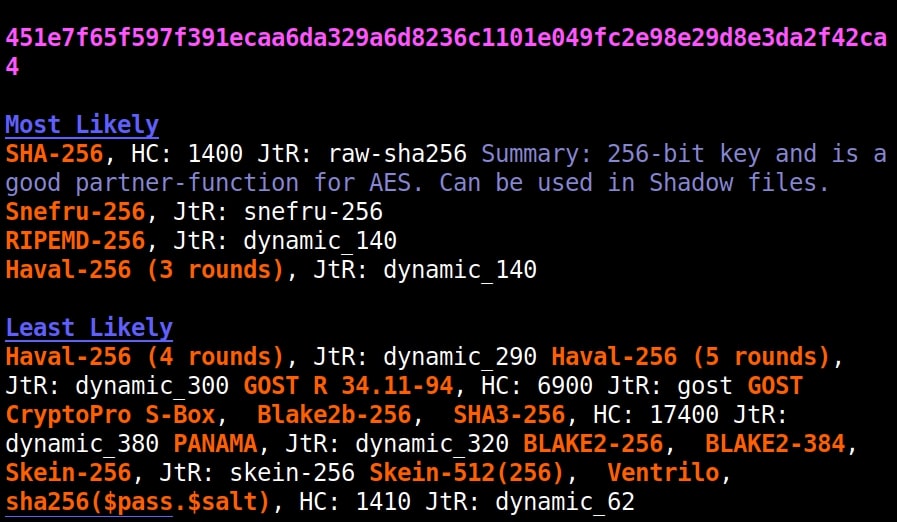
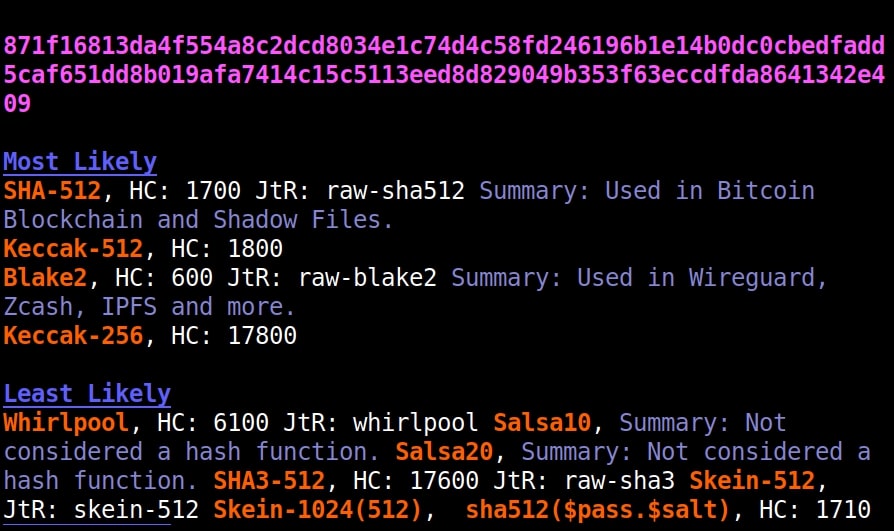
It failed to get spot on NTLM too. Just like its predecessors, it correctly detected the SHA-512 and SHA-256 hashes.
The good thing about name-that-hash is that instead of being blank, it gives us more information about actually where the hash is used. This can be useful when you grab a collection of hashes from a target network. You can easily decide which hashes to crack and which not to crack.
If you have more number of hashes, giving it one by one can be cumbersome. Luckily, you can give them all at once by saving these hashes in a text file as shown below.
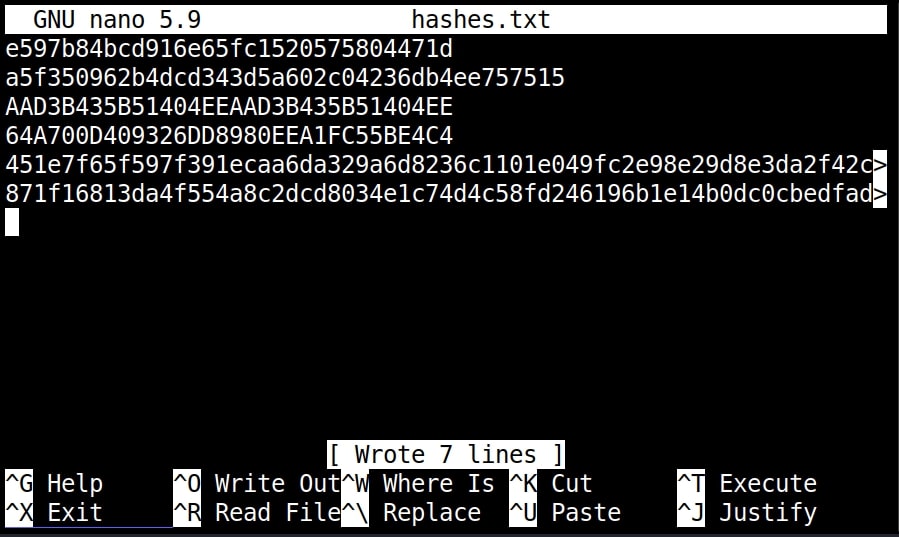
and using “-f” option to specify the file.
nth -f <path to the file that has saved hashes>
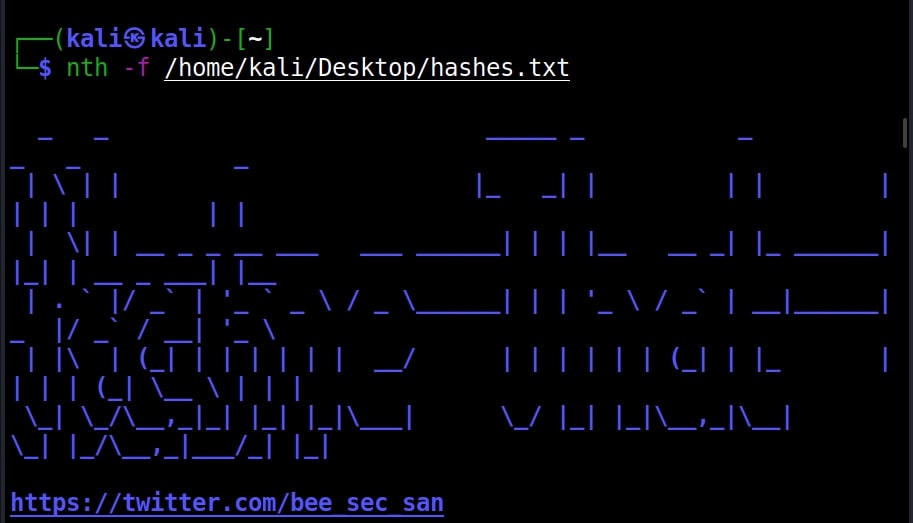
The output which is not shown here is same as above.
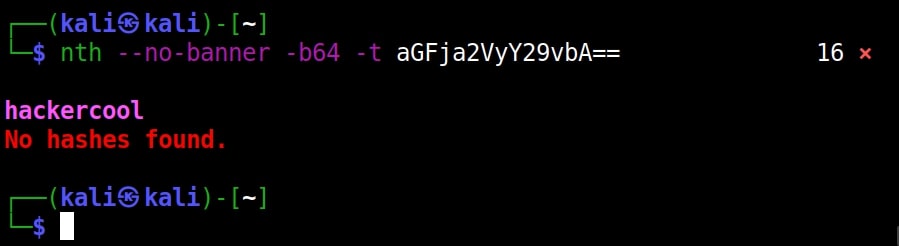
Name-That-Hash is only designed to identify hashes unlike the other two but if you have a base64 encoded string, it can be decoded by nth using the “-b64” option.
nth -b64 -t <base64 encoded string>
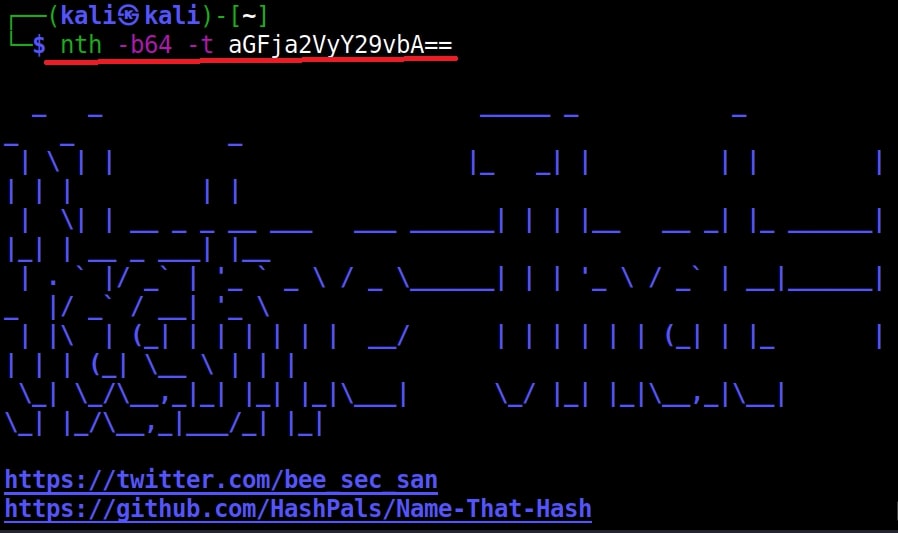
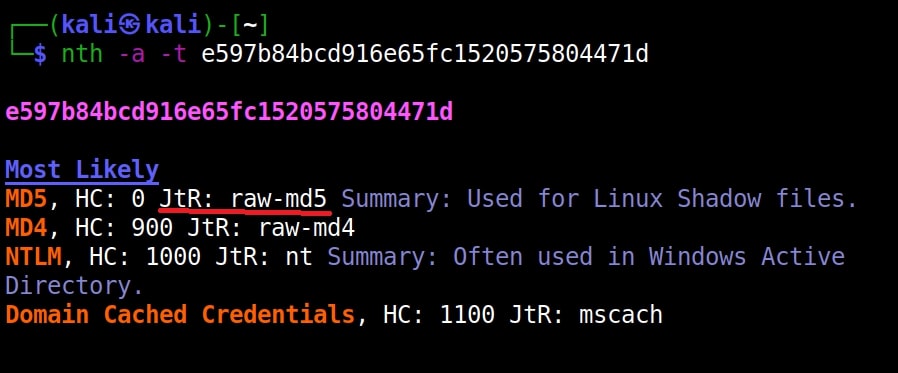
It correctly decoded it as “hackercool” All the above are also encrypted hashes of the text “hackercool”. Suppose you want the result to only display the most likely result, you can get this by using the “-a” option as shown below.
nth -a -t <hash>
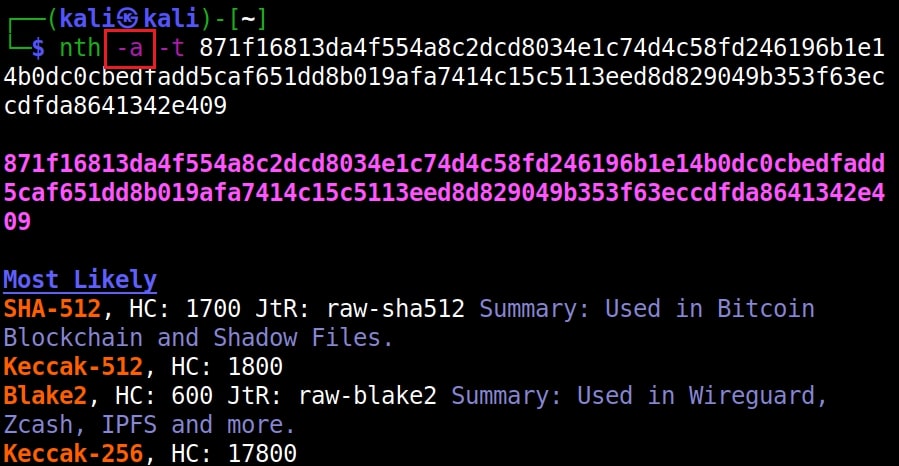
If you observe the above images, you can see the banner of name-that-hash occupying lot of space. Just like me if this is putting you off, you can view result without banner using the “–no-banner” option.
nth –no-banner <hash>
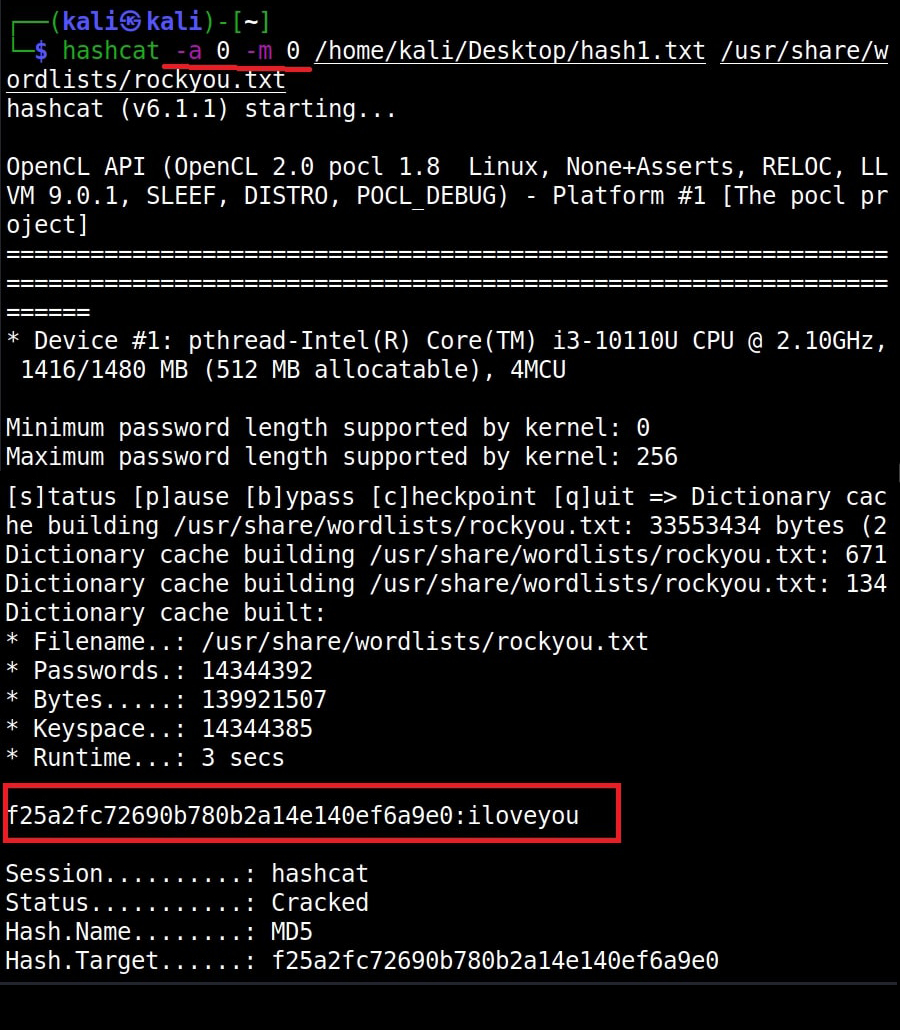
Once go to the image above the above image, the one where we used the “-a” option. Once, carefully observe the result. It correctly detected the hash as SHA-512. Next to it, you can see the text “HC 1700 JtR: raw-sha512”. This is HashCat (HC stands for HashCat) and John (JtR stands for John The Ripper) information being displayed by the tool because the next thing you will do after identifying the hash is to crack it using Hashcat or John. This requires what you need to put into these tools to crack it. For example, let’s take a simpler hash.
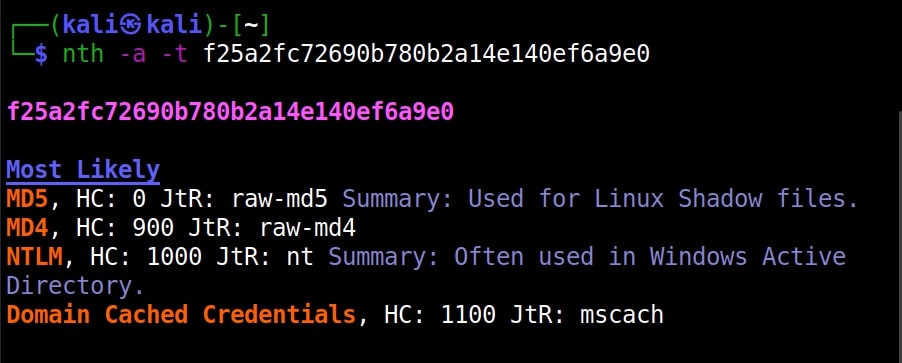
John The Ripper says its raw-md5. We need to just supply this format as shown below in JTR to crack this.
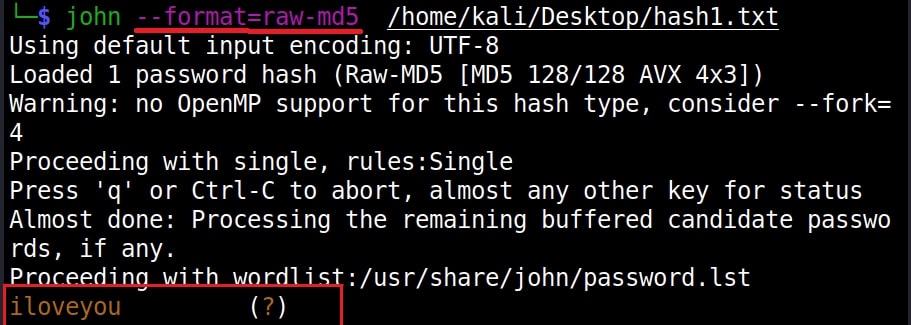
Similarly, the HC number given is “0”. Let’s supply it as shown below in HashCat.
However, if you are an experienced ethical hacker with too much details hurting your ego, you can just view the result without the information of John The Ripper using “–no-john” option.
nth –no-john -t <hash>
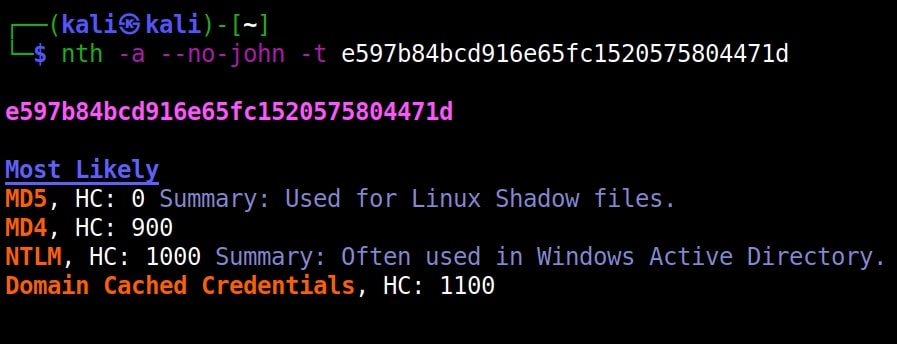
This is the difference.
You can do the same with HashCat information using “–no-hashcat” information.
nth –no-hashcat -t <hash>
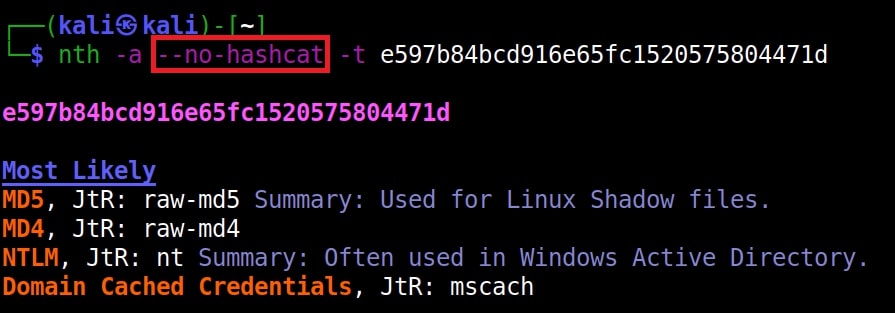
The difference can be seen below.

That was all about this tool.
Follow Us