
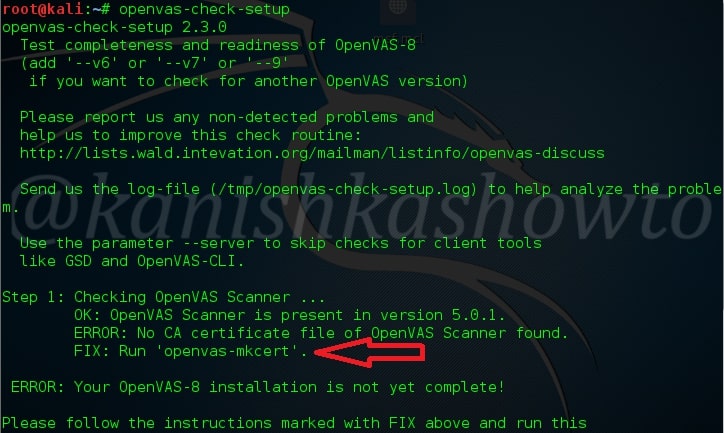
Good Evening Friends. Today our howto is about how to setup OpenVAS in Kali Linux or Kali Linux Sana for that matter. As you already know, OpenVAS is a vulnerability scanner which replaced Nessus vulnerability scanner in Kali Linux. You should already have observed that Nessus is not installed by default in Kali Linux( see here if you are looking how to install Nessus in Kali Linux). Openvas is installed by default in Kali Linux. We just need to configure it to make it available for vulnerability scanning. Let’s see how. Open terminal and type command “openvas-check-setup“. We will use this command many times from now. The good thing about installation of Openvas is it is very simple. Simple in the sense that it will automatically give the fix for the errors we face in configuring Openvas. As shown below, we will get a error and the “fix” to fix that error just below it.
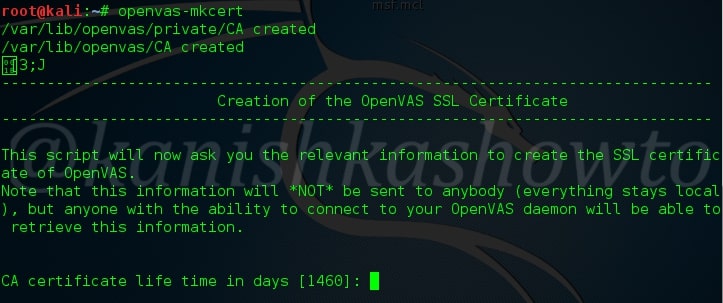
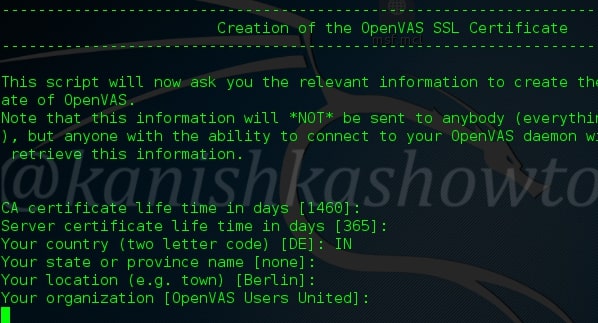
As shown in the “fix” above, type command “openvas-mkcert” . This will create an openvas ssl certificate as shown in the below two images.
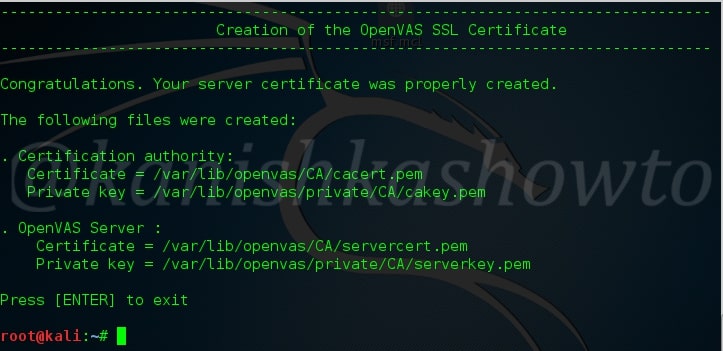
The certificate will end like as shown below.
When the certificate is successfully created, once again type command “openvas-check-setup”to check the next step in the process. You can see below underlined what our next command is.
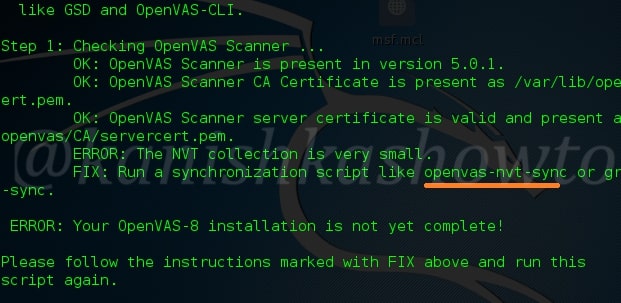
Type the command “openvas-nvt-sync” as shown below.
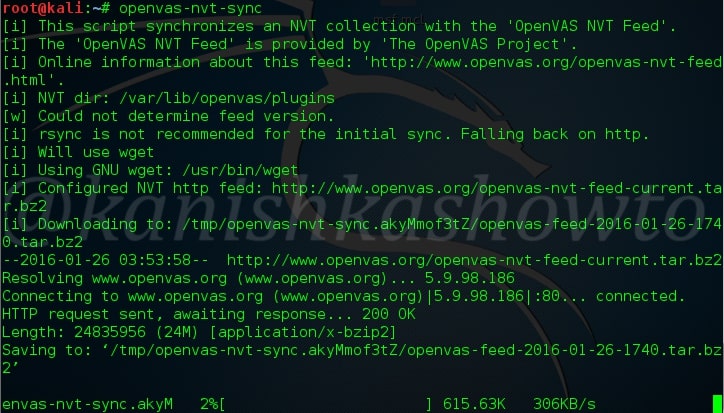
The process will run and end as shown below.

Once again, type command “openvas-check-setup“. It will prompt you the next command to run.
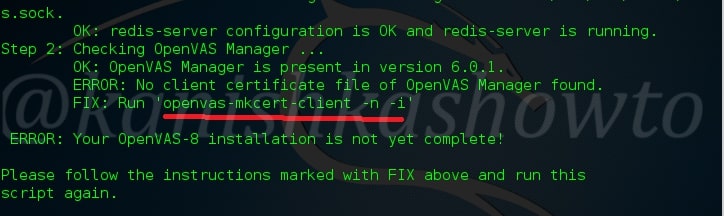
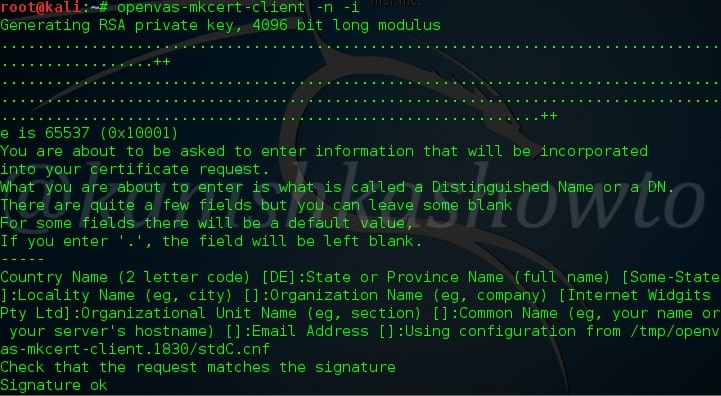
Type the command “openvas-mkcert-client -n -i“. This will create a client certificate for the Openvas manager.
Once the client certificate is successfully created as shown above, once again check the setup by typing command “openvas-check-setup“. This time it will ask you to create a user as shown below.
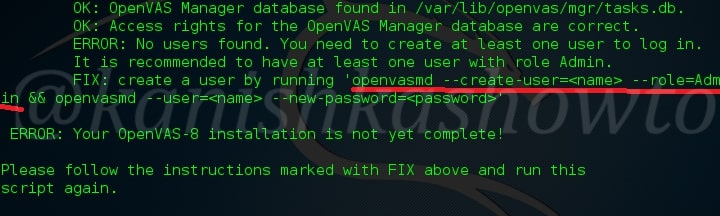
Type the below command to create a user. Choose your username and password as per your choice. I have chosen “root” and “toor” consecutively.

Next type command “openvas-check-setup”.It will ask you to rebuild as shown below.
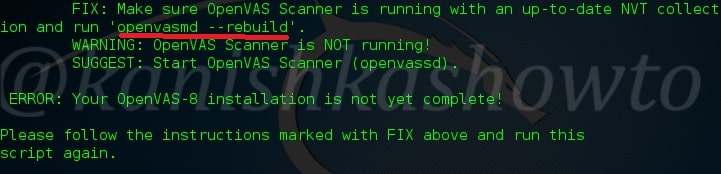
Before rebuilding, start the openvas scanner as shown below by typing command “/etc/init.d/openvas-scanner start“.

Then type command “openvas –rebuild” to update the database.

Next type command“openvas-check-setup”.
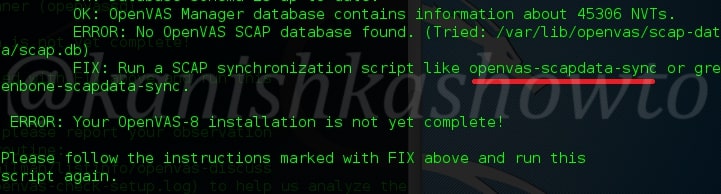
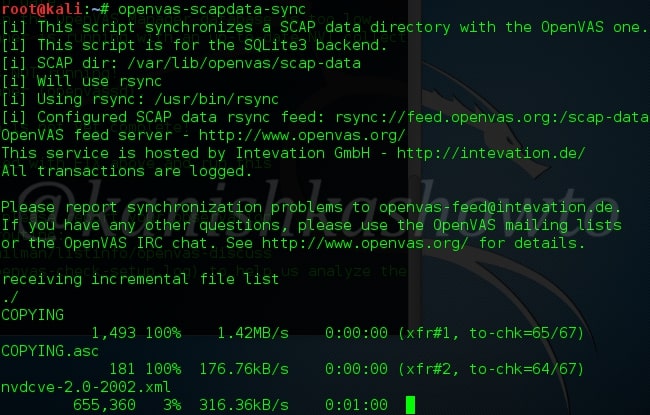
Type command “openvas-scapdata-sync”. This will take a bit long time.
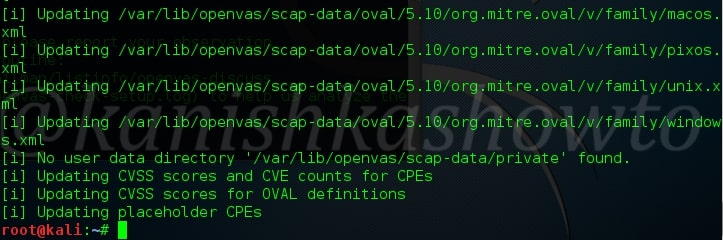
Once the above process is finished, type command “openvas-check-setup” once again.
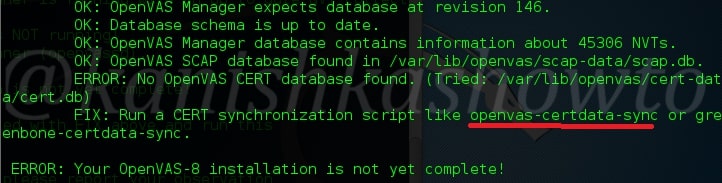
Type command “openvas-certdata-sync“. The process will run as shown below.
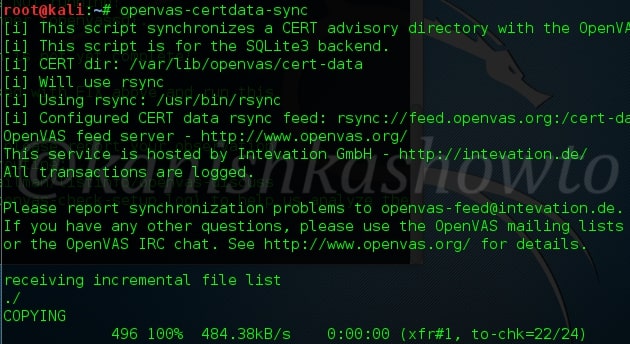
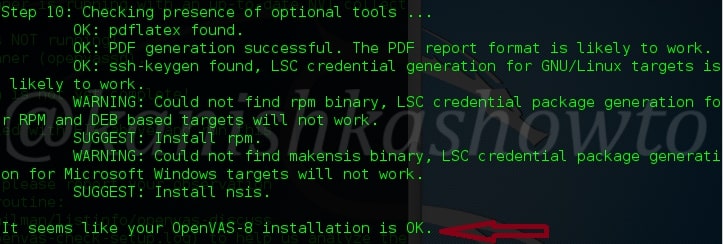
Next, type command “openvas-check-setup” for one last time, hopefully. You will get a message that your OpenVAS installation is OK as shown below.
Restart the system and start openvas by typing command “openvas-start“.

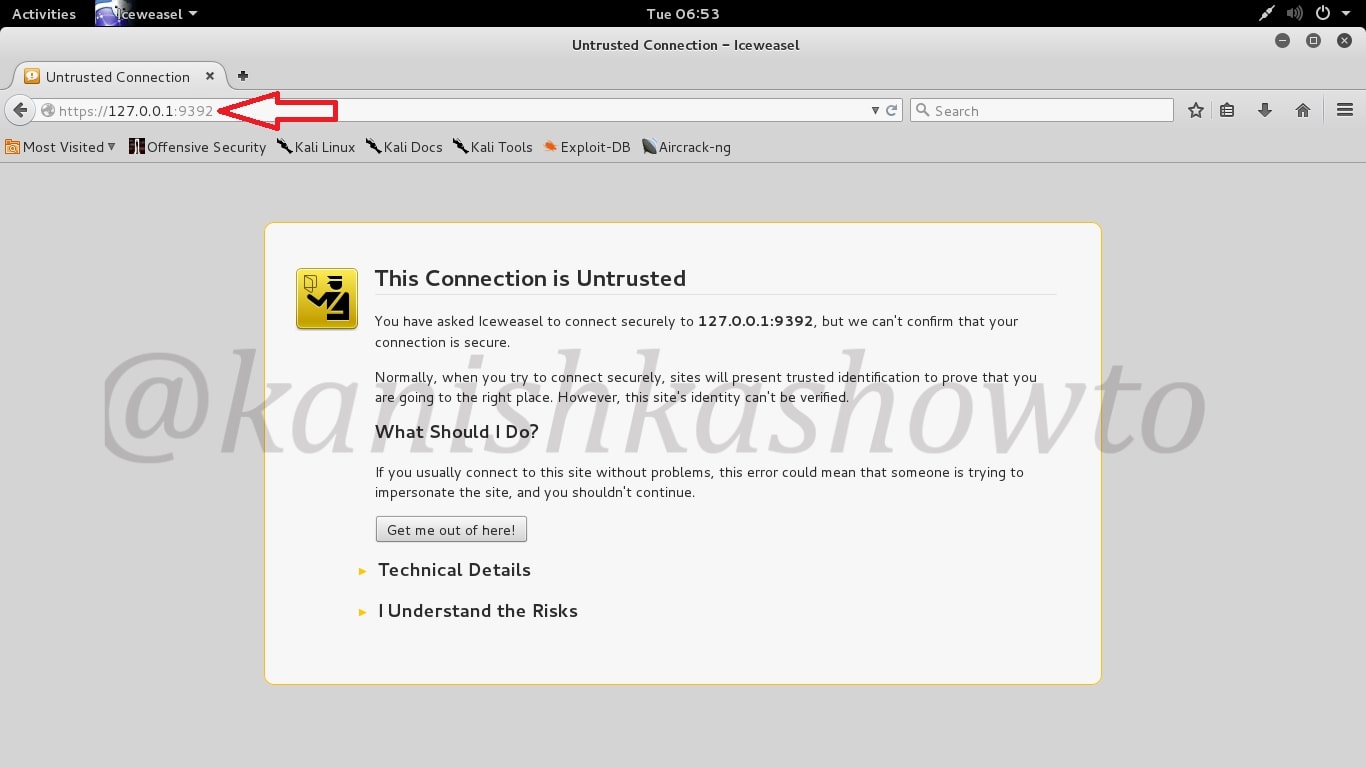
Open your browser and point it to port number 9392 as shown below. You should get a warning as shown below. Click on “I understand the risks”.
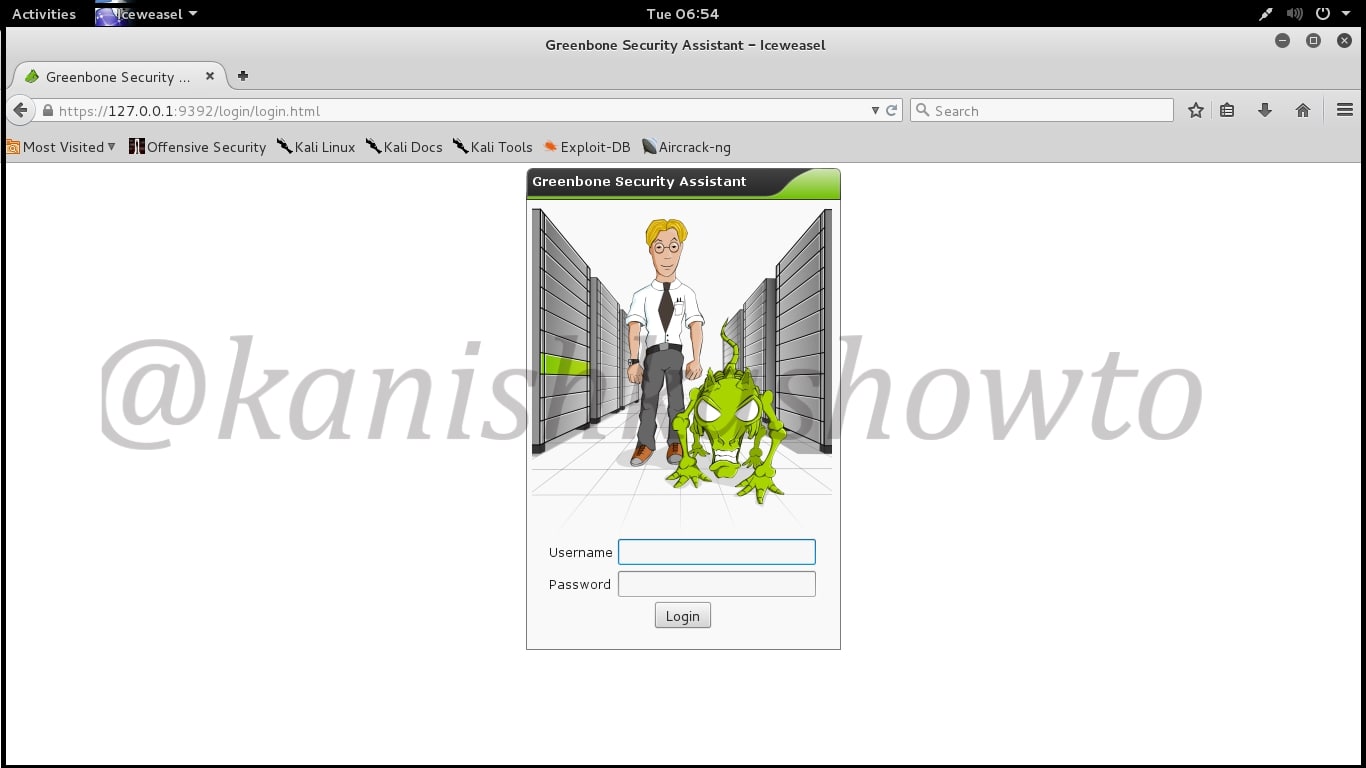
This will prompt you with a login screen. Login with the credentials we created above.( Hope you have not forgotten them).
Once you login you should see the screen as shown below. Hurrah, you have successfully configured Openvas in Kali Linux. Happy hacking.
