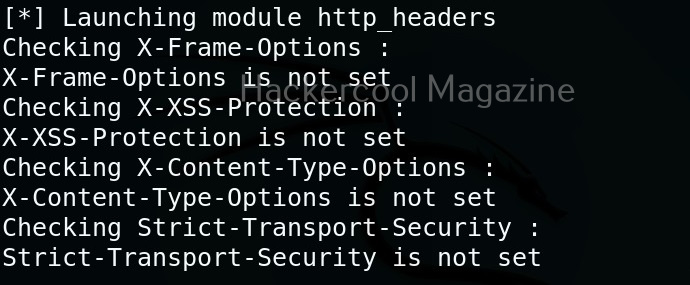
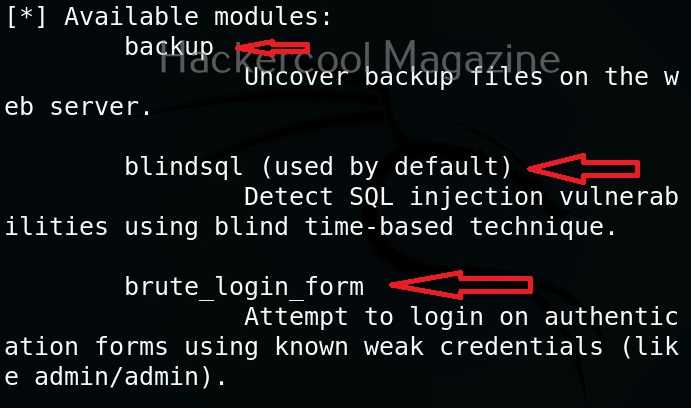
Hello, aspiring ethical hackers. In our previous blogposts, you learnt what is steganography, its uses and how to hide secret data in an image using the tool Steghide. In this blogpost, you will learn about a tool that can retrieve this hidden data from an image. The tool’s name is Stegseek.
Although the working of Stegseek is same as Stegcracker, it is a lightning fast steghide cracker that is thousands of times faster than other crackers and can run through the entirety of rockyou.txt wordlist in under 2 seconds. Let’s see how this tool works. For this article, we will be using Kali Linux as our attacker system as this tool is installed by default on Kali Linux. For performing steganography attack, we will be using same image in which we have hidden data using Steghide, “Volcano_with_Secret,jpg”.

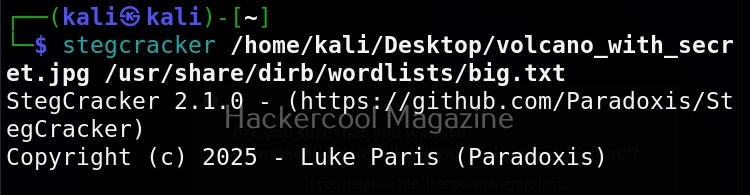
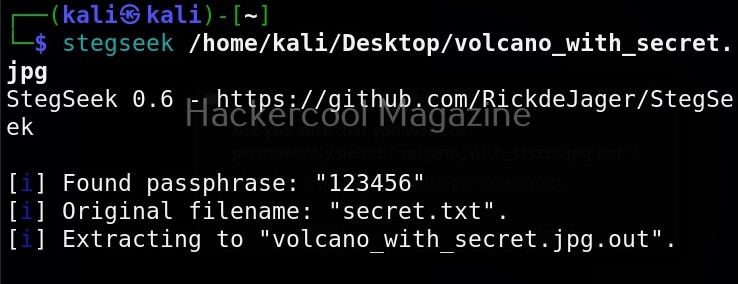
All you need to retrieve the hidden information from the image with this tool is to just supply the path of the image as shown below.
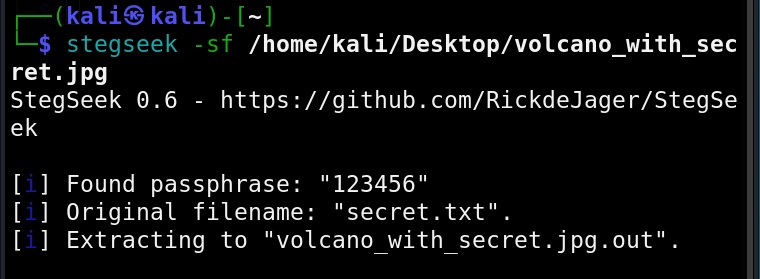
The “-sf” option stands for stego file. A stego file is a file that contains hidden information in it.
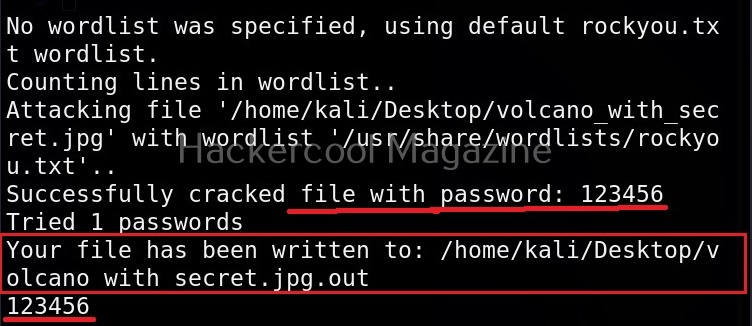
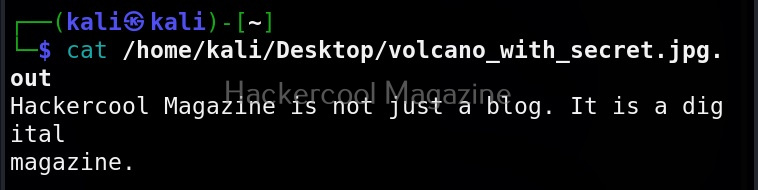
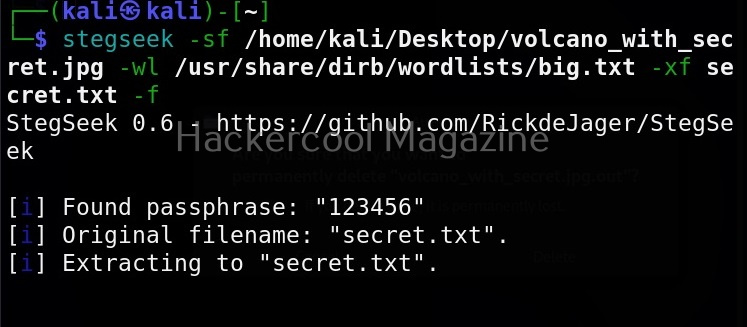
As you can see in the above image, Stegseek cracked the password (123456) of this file and successfully retrieved the hidden data. That too in lightning speed pace. The retrieved data from the image is saved in a file named <name of the file.jpg.out>. By default, Stegseek uses rockyou.txt wordlist to brute-force the password.
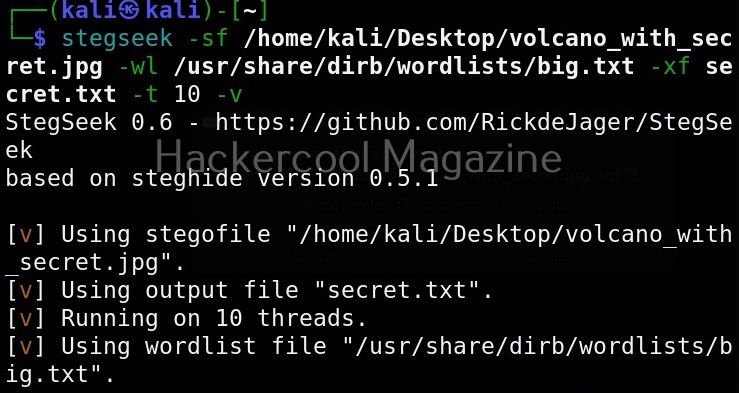
Specify a different wordlist (-wl)
We can even specify a different dictionary or wordlist if needed as shown below.

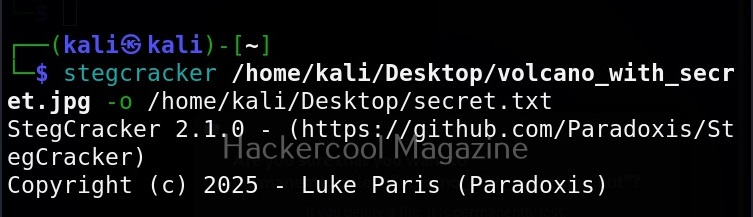
Select file name for extracting data (-xf)
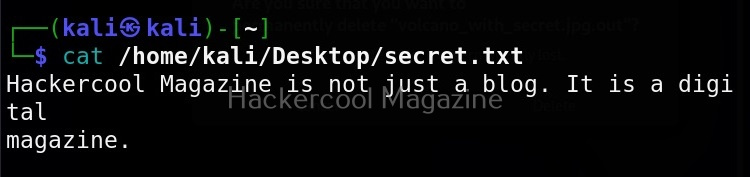
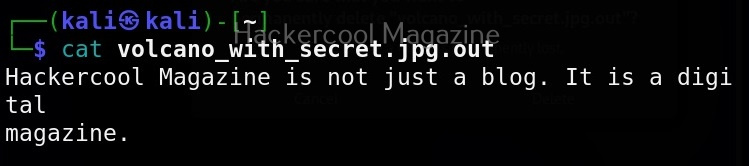
As you already read at the beginning of this article, stegseek saves retrieved hidden data to a file named “<name-of-the-file>.out”. To extract the hidden data to a different fie, we can use this option. For example, let’s save the retrieved data to a file named “secret.txt” as shown below.
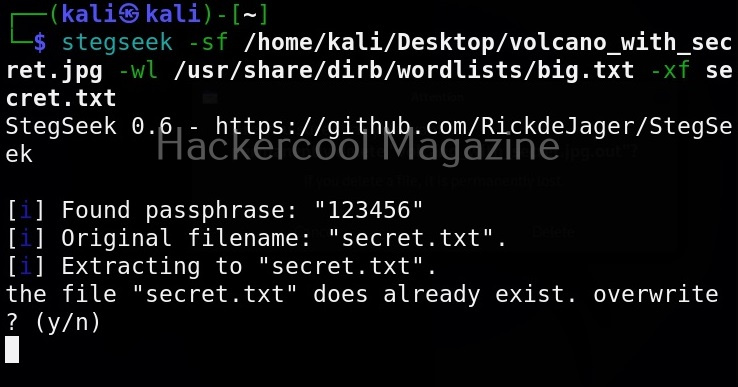
Overwrite existing file (-f)
In the above image, you can see that when we extracted hidden information to a file named “secret.txt”, we got prompted saying that there is already a file with the same name and if I wanted to overwrite it. Well, using this option, we can force overwrite already existing file.
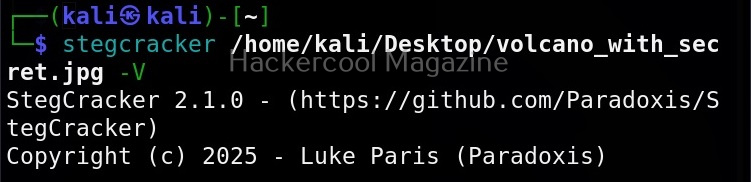
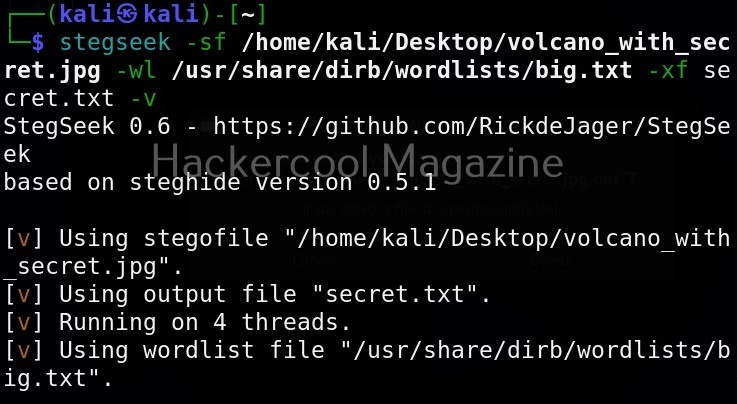
Get detailed output (-v)
This option gives us detailed output while using Stegseek.

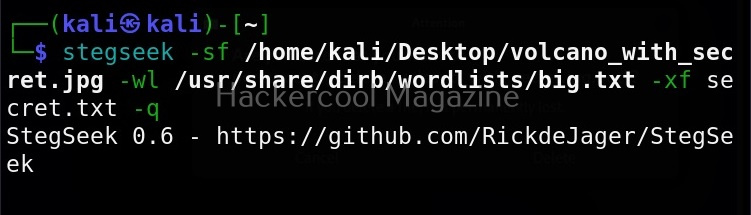
Quiet mode(-q)
On the contrary, you can run Stegseek in quiet mode. Running in this mode will just display the cracked password of the file as shown below and of course retrieve the hidden data. Status updates or other output is not displayed.
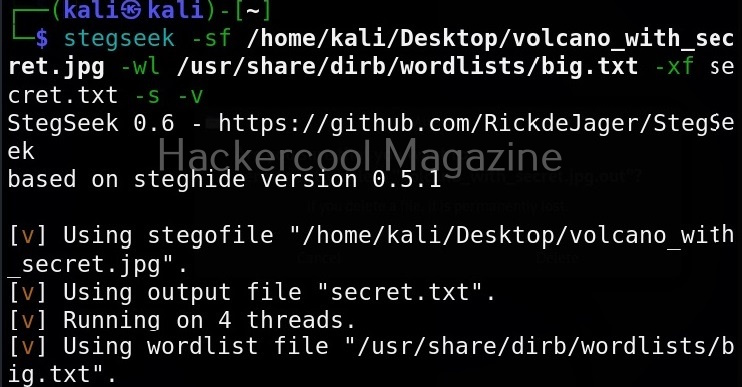
Skip defaults (-s)
Specifying this option skips adding default guesses while cracking like using an empty password, the name of the file etc to the wordlist.
Number of threads (-t)
By default, stegseek uses 4 threads while cracking the password. Increasing the number of threads can lead to better performance. Threads can be increased or decreased using this option. For example, let’s increase the number of threads to 10.