Hello, aspiring ethical hackers. This blogpost is Part 2 of Google Dorking. In our Part 1 of Google hacking, you learnt what Google hacking or Google Dorking is, what google operators are and different Google operators. In this Part 2. You will learn how hackers use Google Dorking for gathering whatever they want. If someone is a Black Hat Hacker, you will definitely not use Google to show different google operators. They will be looking for information that can make their hack successful. what could that information be?
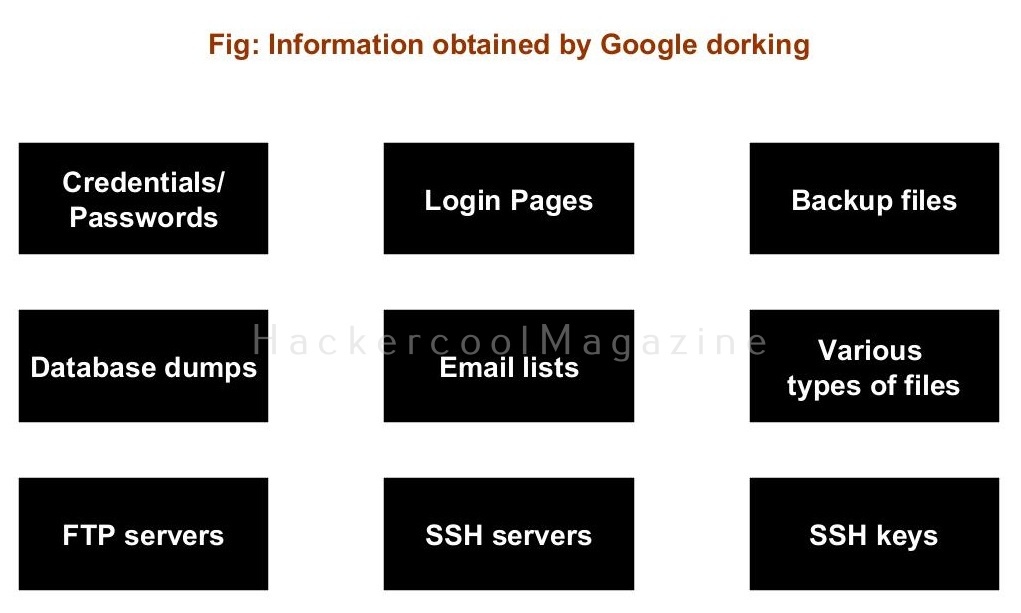
This information can be credentials, login pages, backup files, database dumps, email lists, various types of files, open FTP servers & SSH servers etc. How nice it would be for hackers if they got passwords and credentials file by using just a simple google dork instead of using password cracking. In real world, we do get them. All we have to do is combine some of the Google dorks you have learnt about in Part 1 of Google hacking.
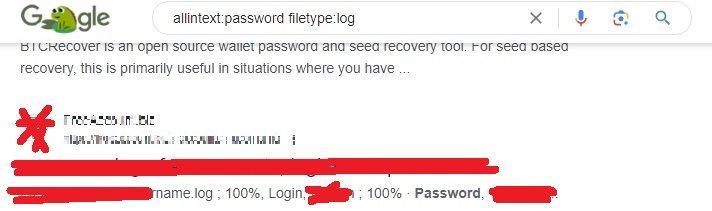
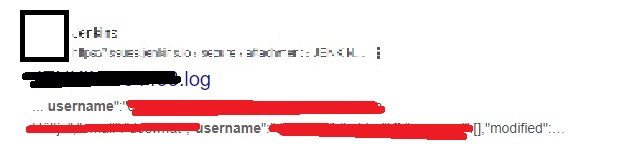
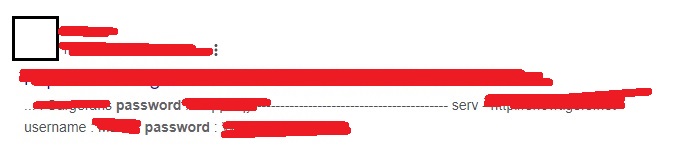
allintext:password filetype:log
allintext:username filetype:log
In the above dork, we are searching for log files with passwords in them. You will be surprised how many results you get.
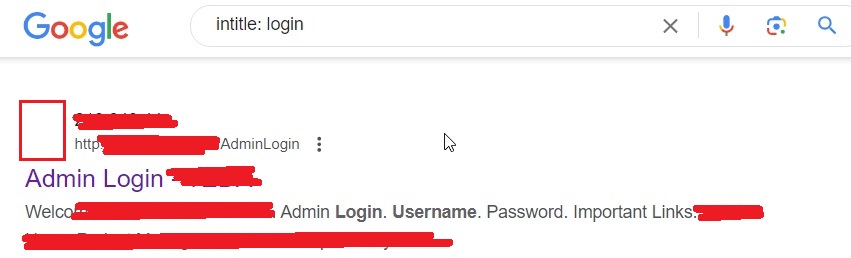
Well, what is the next thing you do once you successfully get credentials. You search for a page where you can use those credentials. I mean login pages. We can search for login pages using the Google dork below.
intitle:login
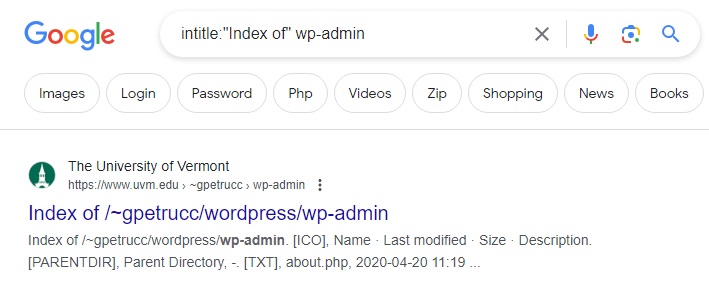
You can even search specifically for WordPress login pages using the dork below.
intitle: “Index of” WP-admin
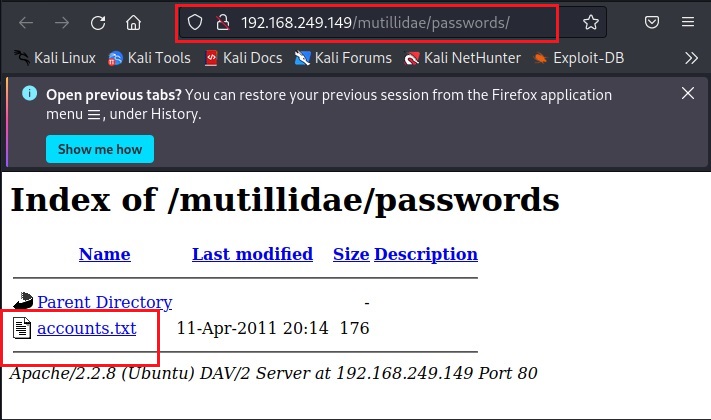
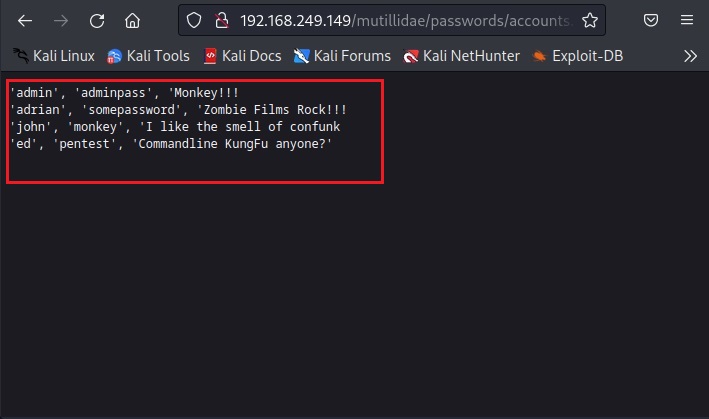
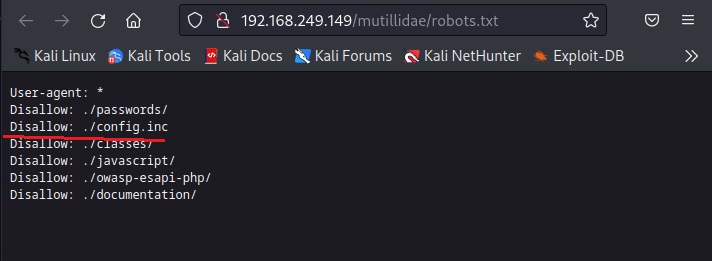
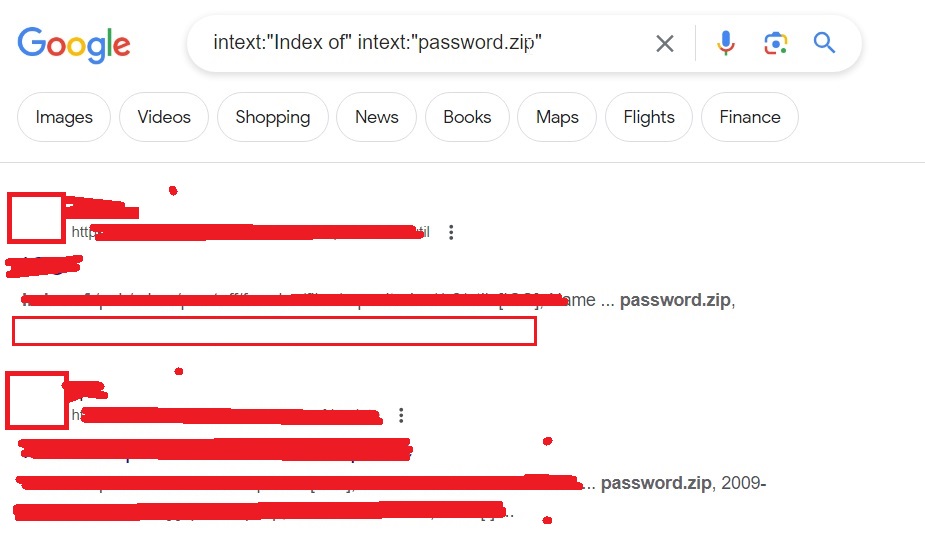
Sometimes, not just single passwords, you can also get files which are a collection of credentials. These are files where passwords are collected and stored. For example, this Google dork.
intext:”Index of” intext:”password.zip”
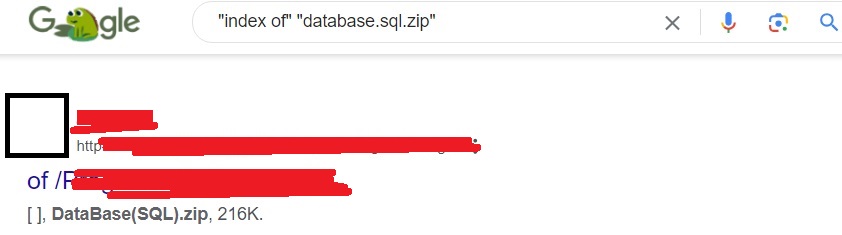
You learnt about the functions of a database while learning web server hacking. Sometimes users make a backup of their databases for safety purpose and unfortunately store that backup on the web server only. What if we can find this database. It can be found using the Google dork as shown below.
“index of” “database.sql.zip”
Or by using this query.
inurl: backup filetype:sql

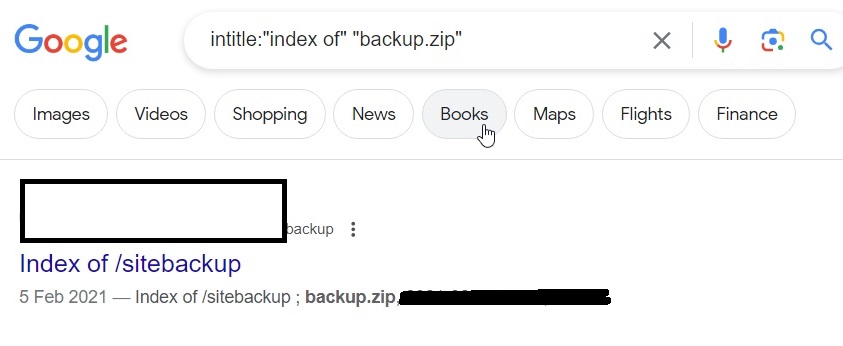
We can find other backups too.
intitle: “index of” “backup.zip”
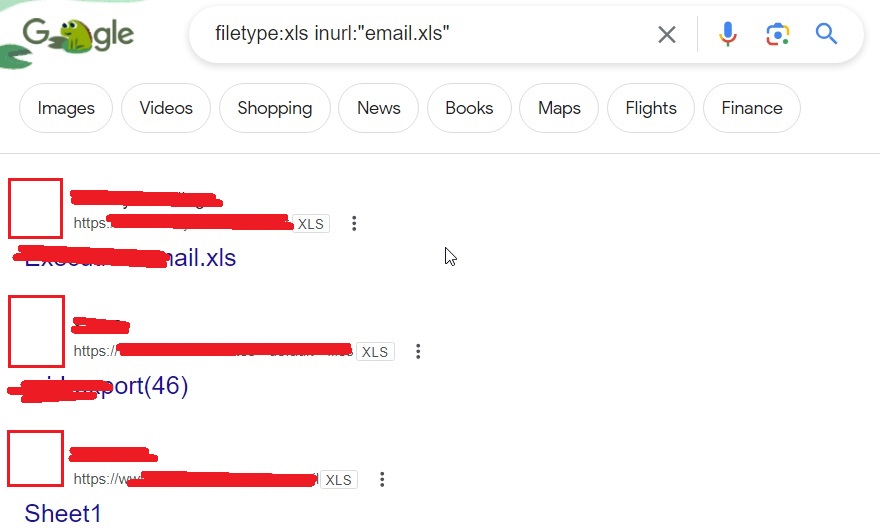
We can also find email lists of an organization using Google dorking. Most of the organizations make and save a list of emails as excel files. They can be found using the Google dork as shown below.
filetype:xls inurl:”email.xls”
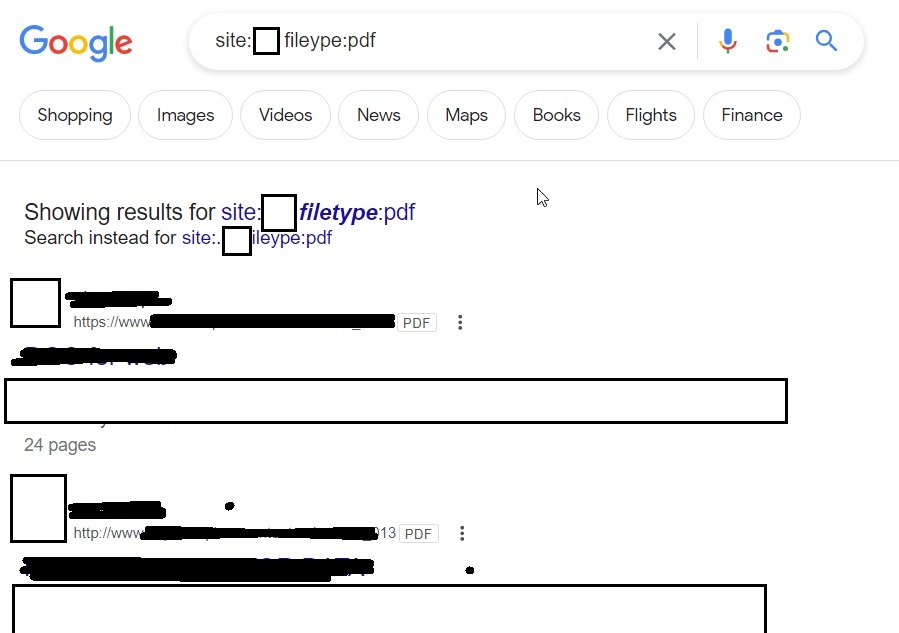
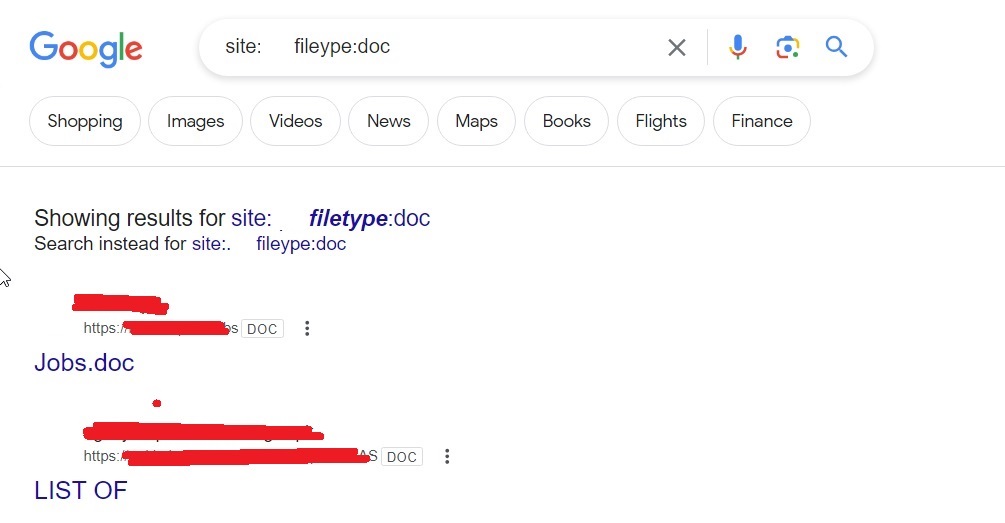
Once we have the list of emails, we can perform social engineering attacks on them. Websites don’t just have credentials, emails and backups stored on them. They have different types of files like PDF’s, word documents, images etc. Sometimes they are not meant for viewers of the website but they are nonetheless on web server. Even these files can be found by Google dorking.
site: <> f iletype:pdf
site: <> f iletype: doc
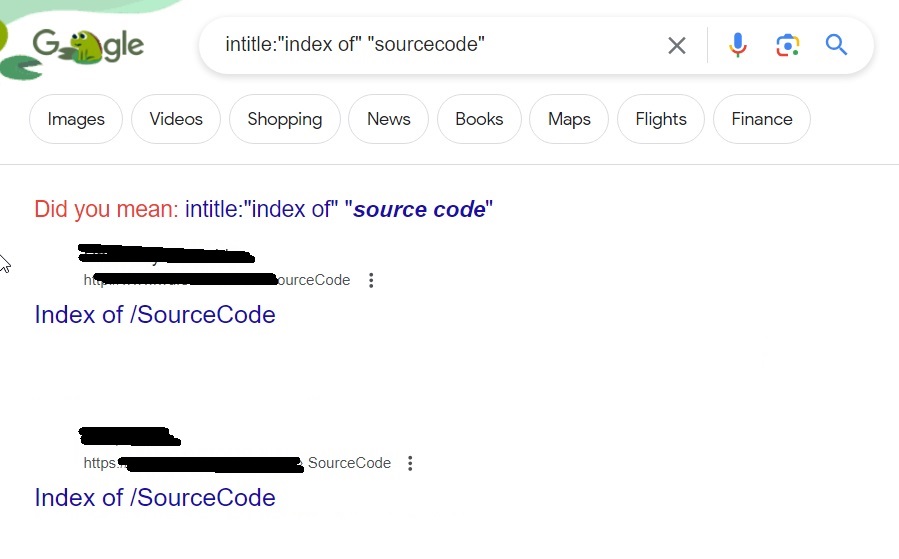
These files can be used to find any metadata that can reveal more information. What if you are trying to hack a particular software and need its source code to find if it has any vulnerabilities. We have a dork for that too.
intitle: “index of” “sourcecode”
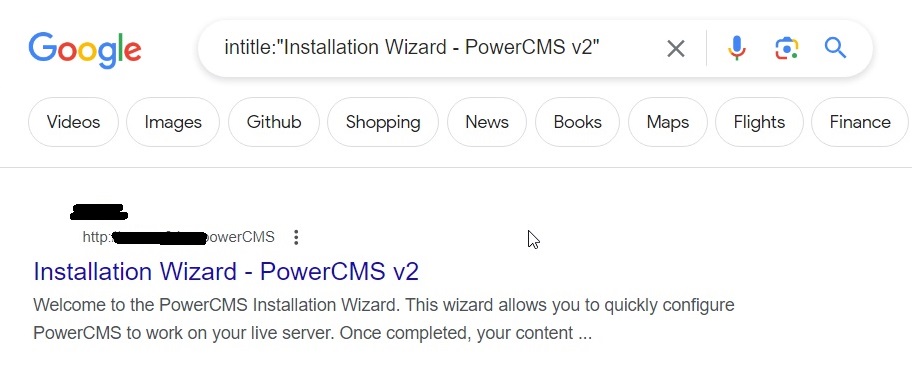
A software has a specific vulnerability disclosed and hackers work to find it. For example, take a particular version of Power CMS V2. This can be done using the below query.
intitle: “Installation Wizard – PowerCMS v2”
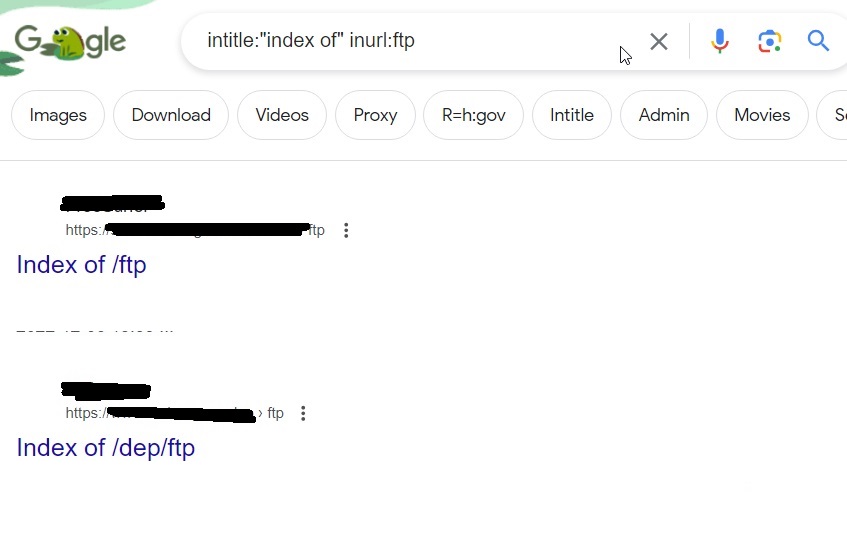
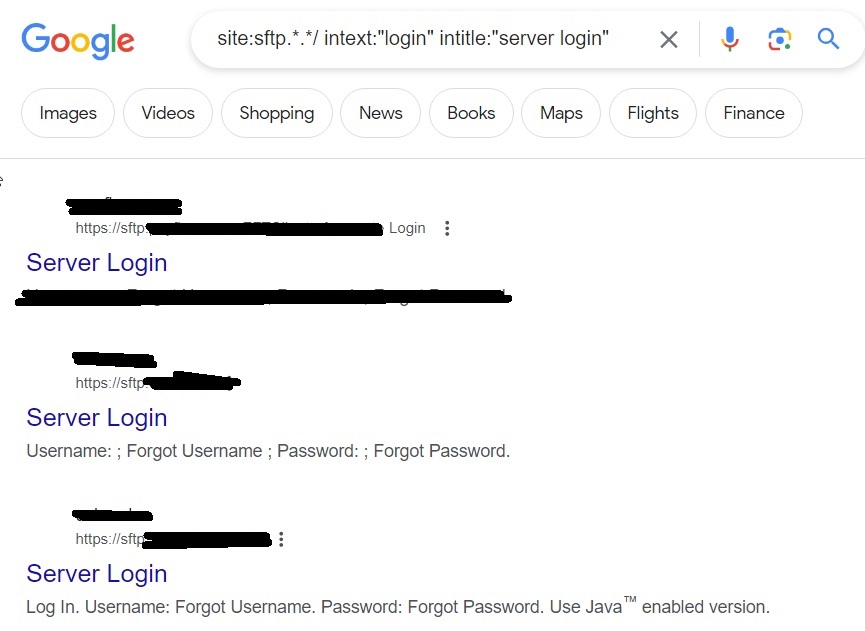
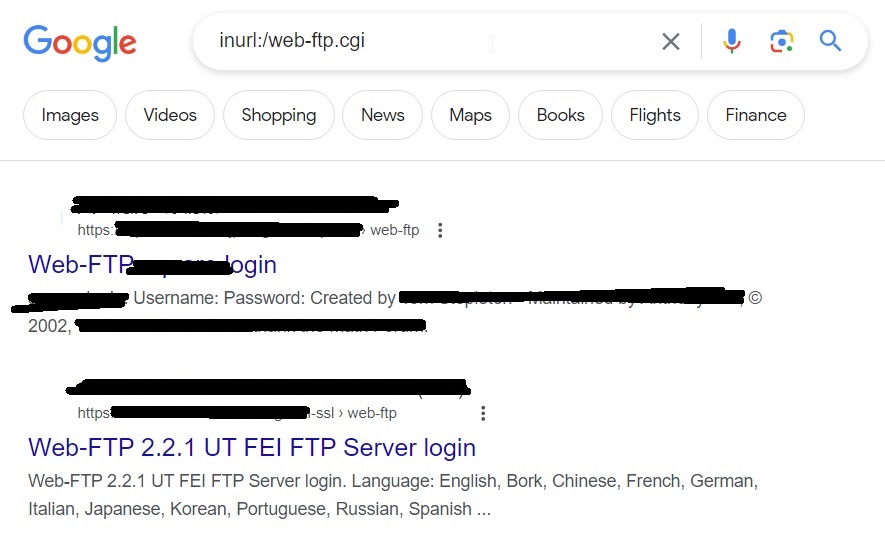
You know how many websites still use FTP and how many of them are still expose to internet. They can be found using below Google dork.
intitle: “index of” inurl:ftp
site:sftp.*.*/ intext:”login” intitle:”server login”
inurl:/web-ftp .cgi
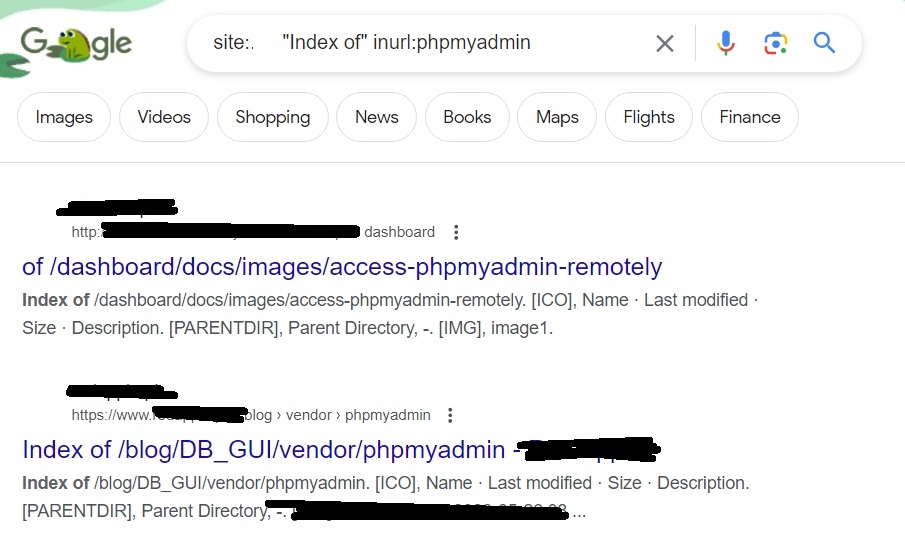
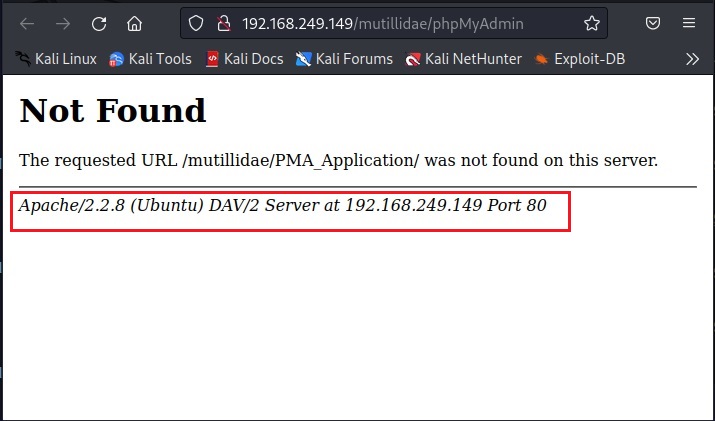
You can also find specific database managers like for example, phpmyadmin
“index of” inurl:phpmyadmin