Hello, aspiring ethical hackers. In this blogpost you will learn about Social Engineering. Social Engineering is one of the most important techniques in Black Hat Hacking. It is used by APTs and Threat Actors even now.
What is Social Engineering?
Social Engineering is the art in which a human is convinced to perform actions which he is not intended to or shouldn’t be performing under normal circumstances. Hackers use social engineering to grab credentials, gather any required information about the organization or to gain initial access etc. It exploits human emotions like intention to trust, curiosity and other emotions.
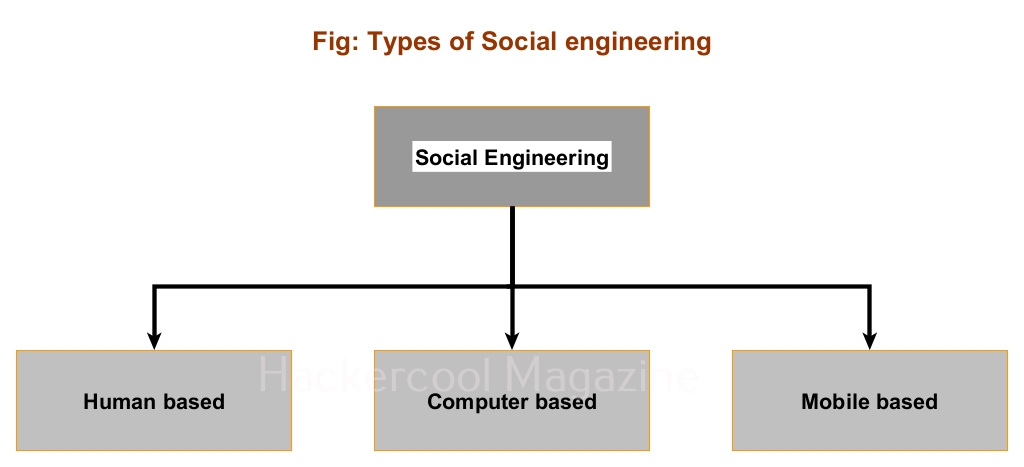
Types of Social Engineering
Social Engineering can be classified into three types. They are: Human based, Computer based and Mobile based.
Human based Social Engineering
In human based social engineering, hacker interacts with a human personally to perform the attack. There are many types of social engineering attacks. Some of them are,
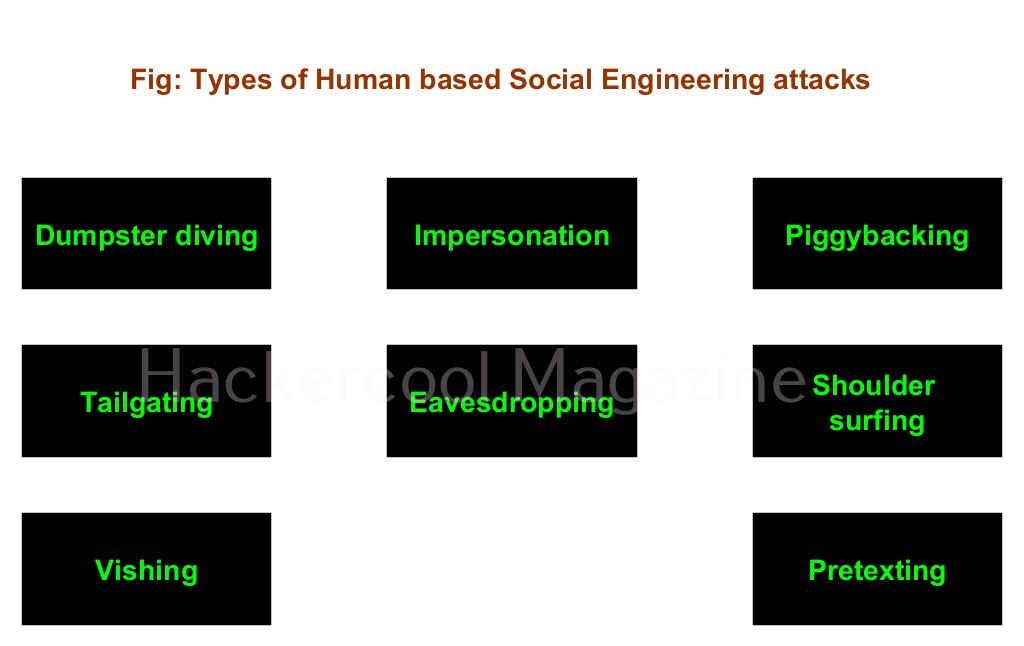
1. Dumpster diving:
Dumpster diving is a technique in which a hacker searches the dump or dustbin to gather any information about the organization.
2. Impersonation:
In this attack, attacker impersonates as another user to gather important information about any organization or performing hacking attacks. Any information obtained in dumpster diving can be useful in this stage. Obviously, an attacker will impersonate as a legitimate user of the organization or a person of authority or anyone else who has a chance to enter a company physically or virtually.
In June 2023, hacking group tracked as “Pink Drainer” impersonated journalists in phishing attacks to gain access to 1932 Discord and Twitter accounts. They stole approximately $29,97,707 worth of cryptocurrency.
3. Piggybacking:
Piggybacking is used to gain access to the premises of a company or organization. In piggybacking, a genuine employee of an organization allows access to the attacker because he/she thinks that the attacker has genuine reason to be on the organization’s premises. It usually happens when the hacker impersonates as anyone who is allowed into company’s premises. For example, delivery boy, technician etc.
4. Tailgating:
In tailgating, which is another social engineering techniques to gain illegal access to the company’s premises, a hacker tries to gain access to the company’s premises by quickly following behind a legitimate or genuine user immediately after he/she gains access into company’s premises.
5. Eavesdropping:
Eaves dropping is secretly listening to the conversation of employees of the organization etc. This can happen anywhere but mostly happens at recreational spots.
6. Shoulder surfing:
Shoulder surfing is the technique in which an attacker spies on the legitimate users of the organization by staying behind them. Shoulder surfing is normally used to see the legitimate user is entering his credentials but it can also be used to gather any valuable information.
7. Vishing:
In vishing, also known as voice phishing, a hacker uses voice over a phone or a VOIP call to perform social engineering.
In July 2020, hackers used vishing to trick Twitter employees into revealing account credentials of 130 Twitter account including that of Barack Obama, Joe Biden and Kanye West. The share value of Twitter plummeted by 7% after this incident.
8. Pretexting:
In pretexting, attacker creates specific scenarios or events by which the user he is targeting reveals information he/she makes.
Computer based Social Engineering
When a computer is used in an engineering attack, it is known as computer based social engineering attack. There are two types of computer based social engineering attacks. They are,
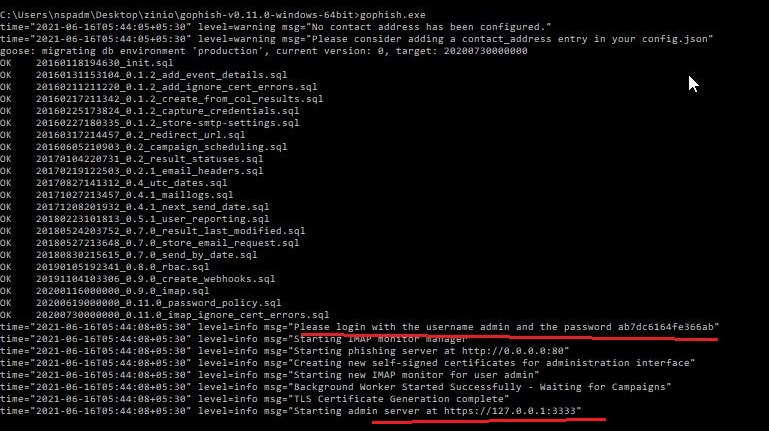
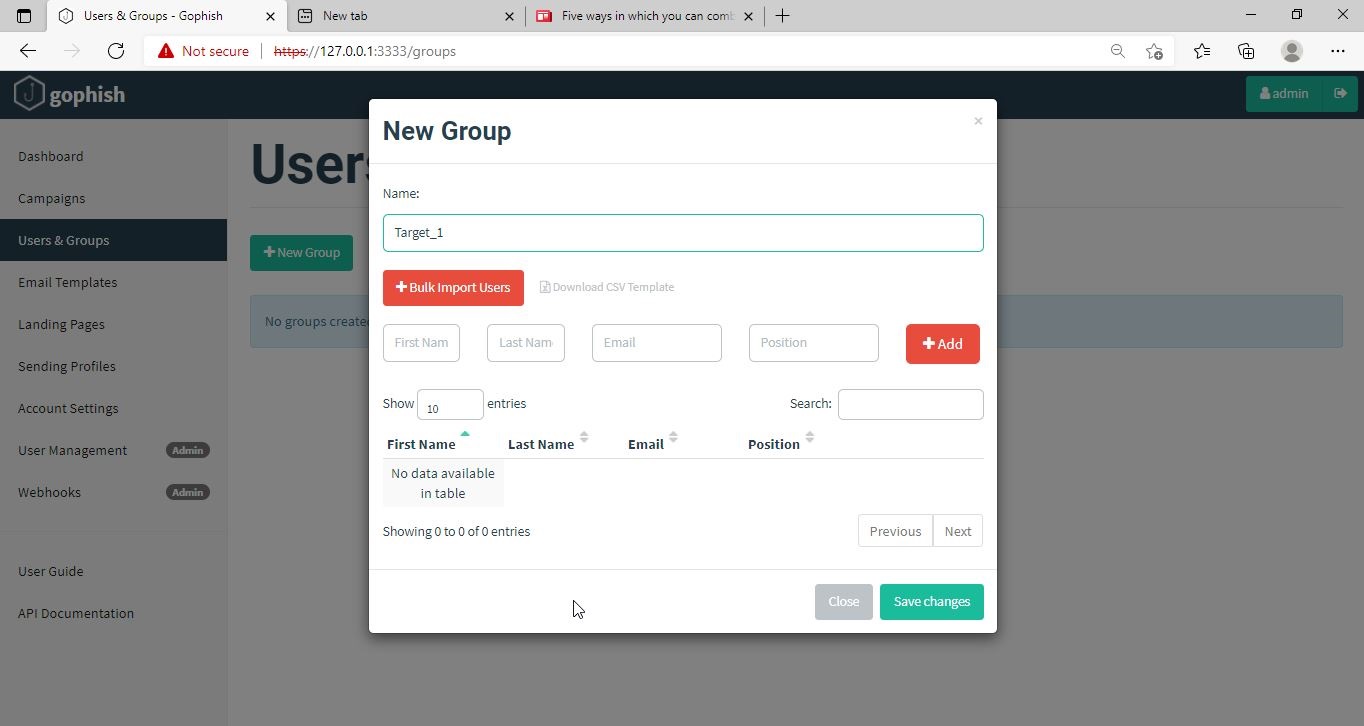
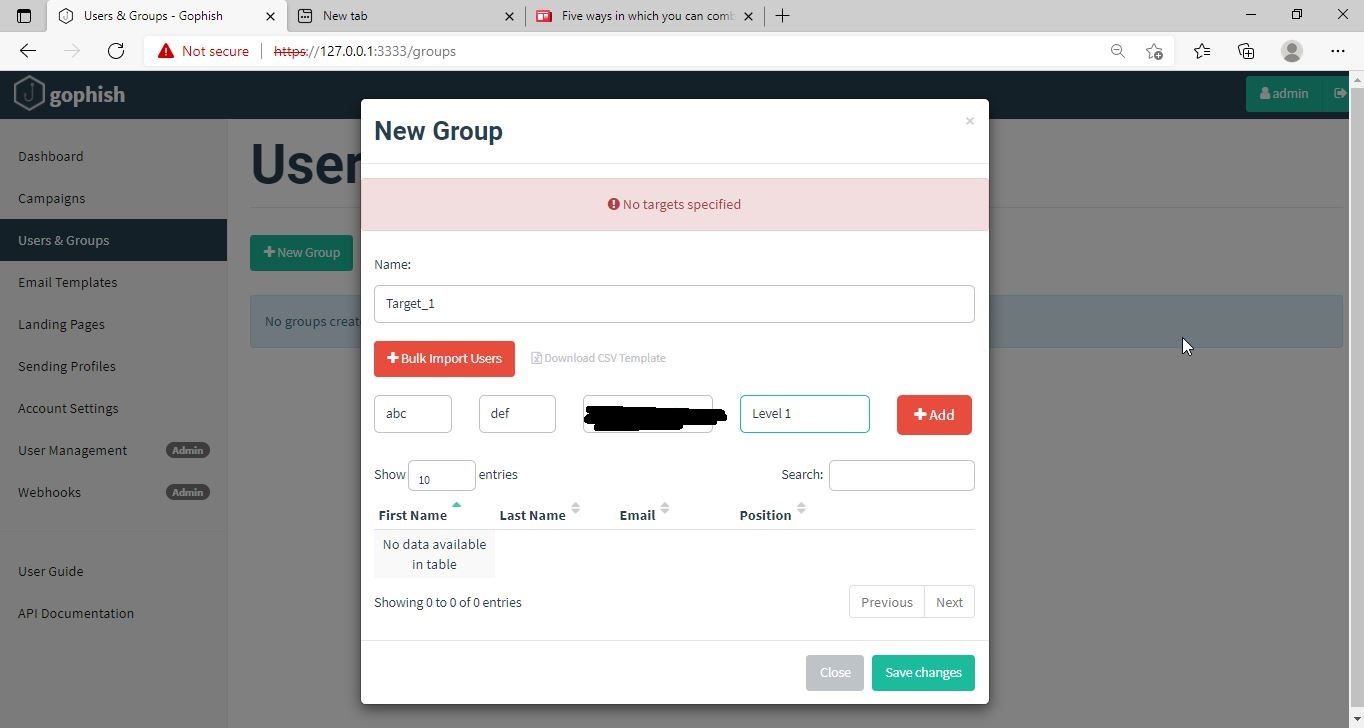
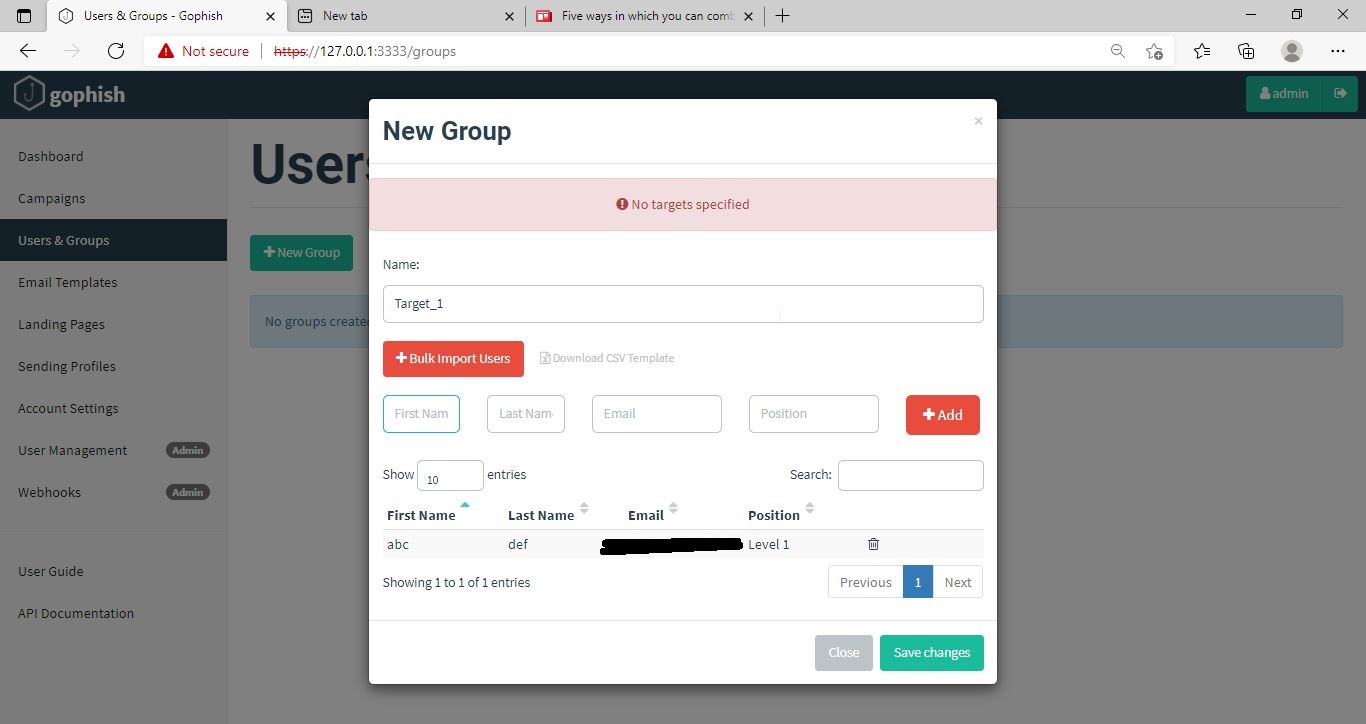
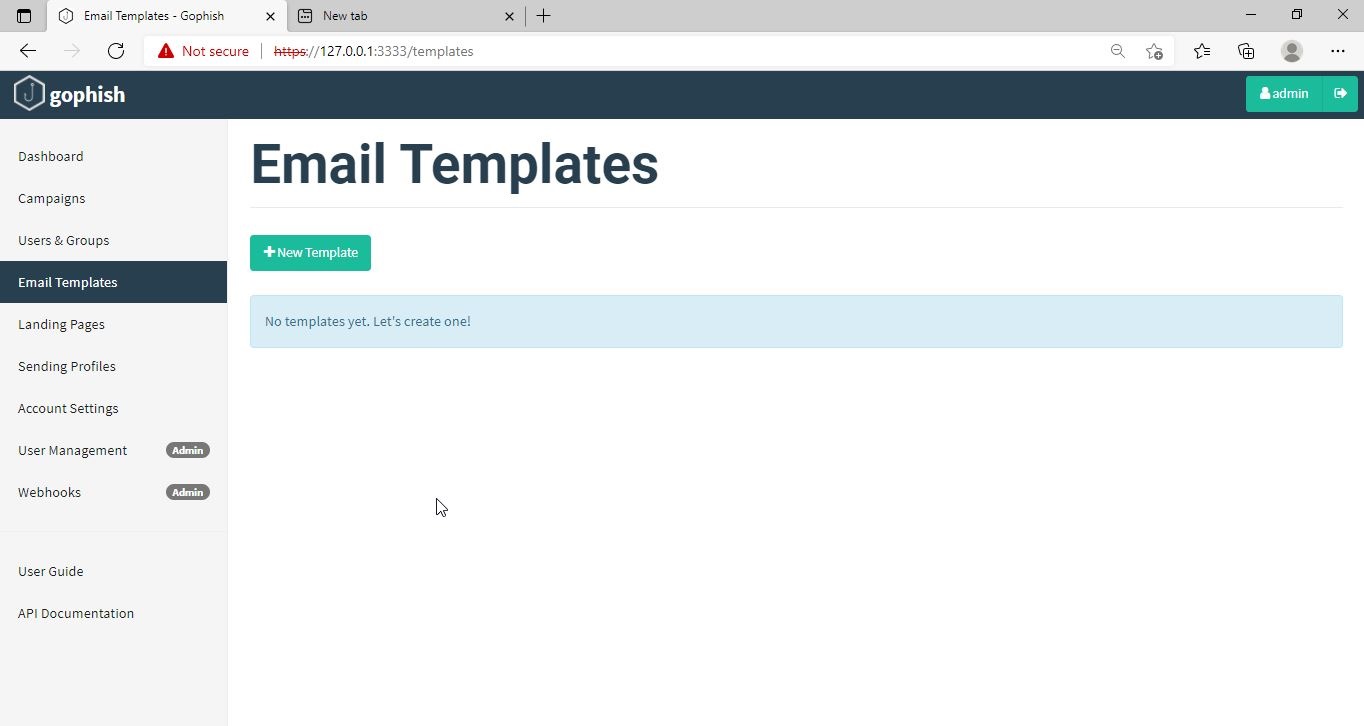
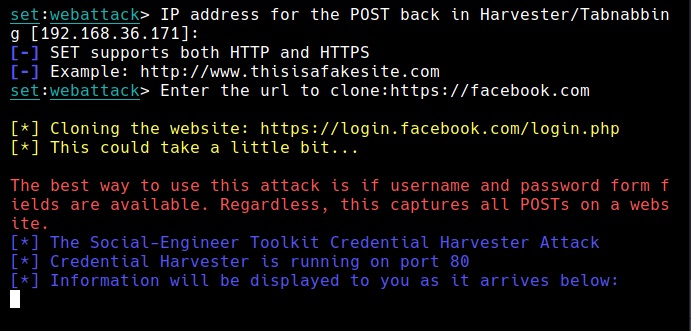
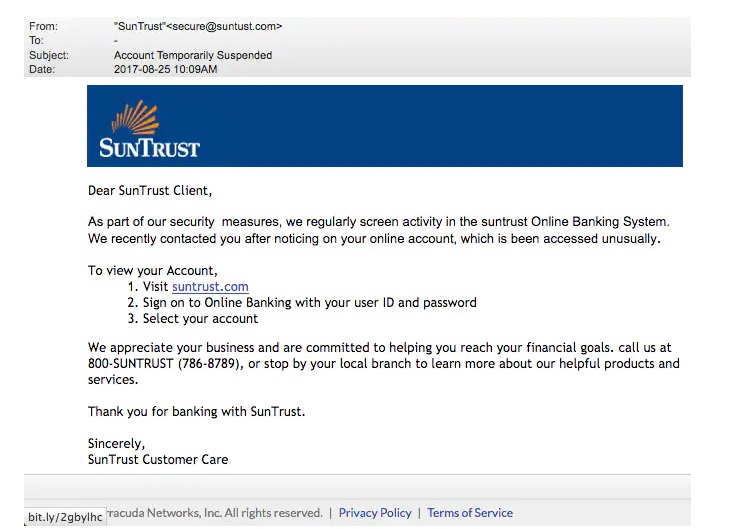
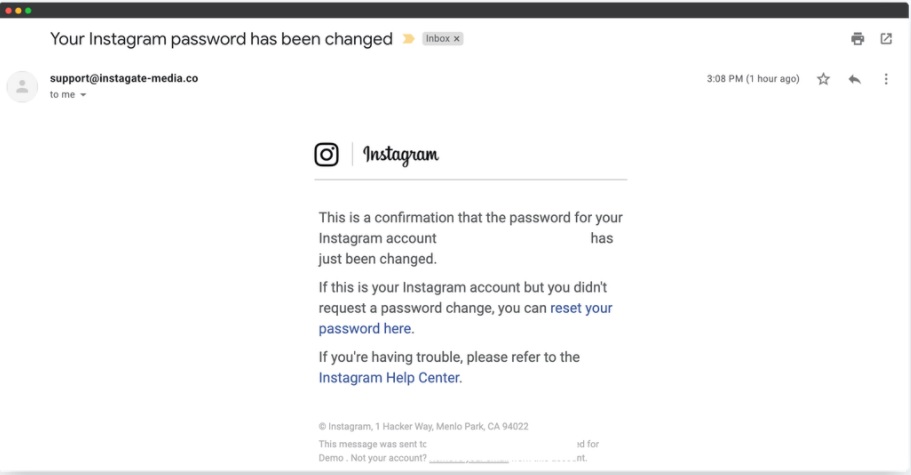
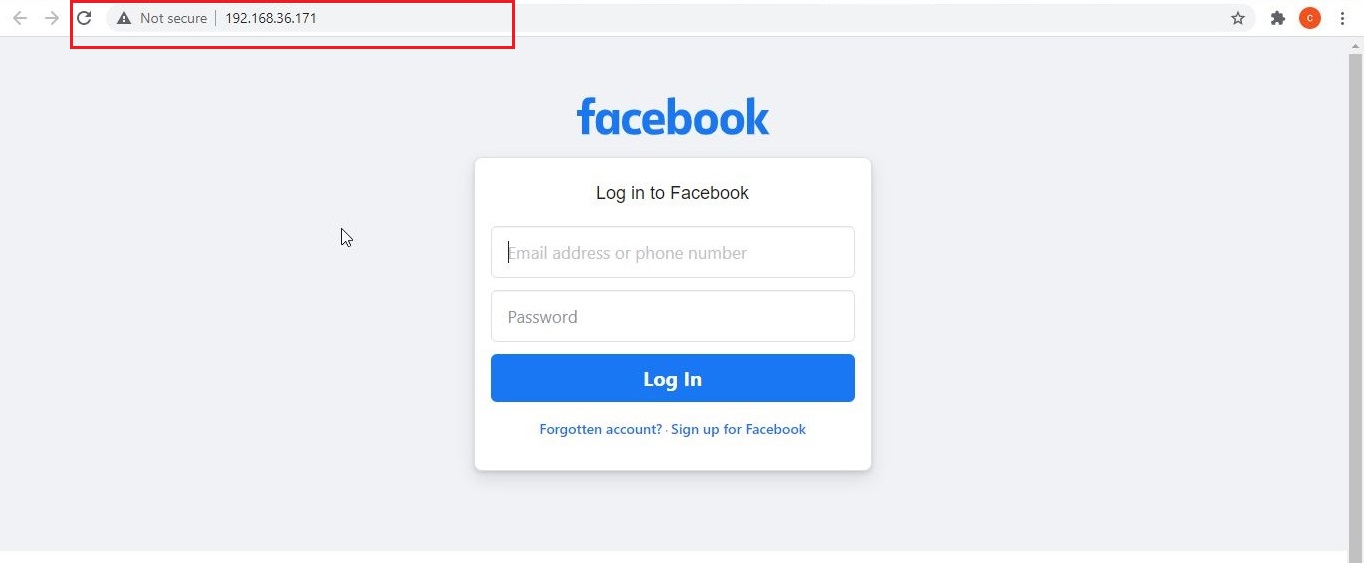
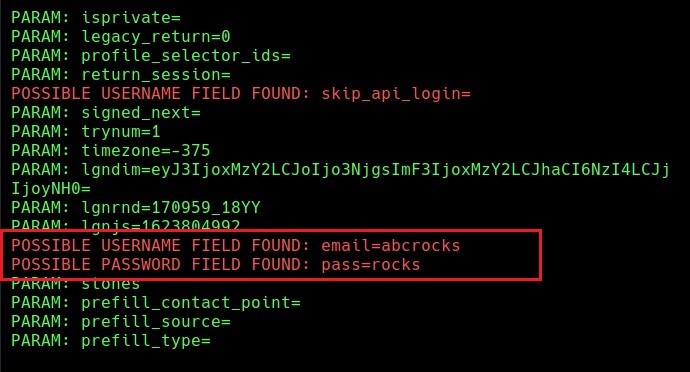
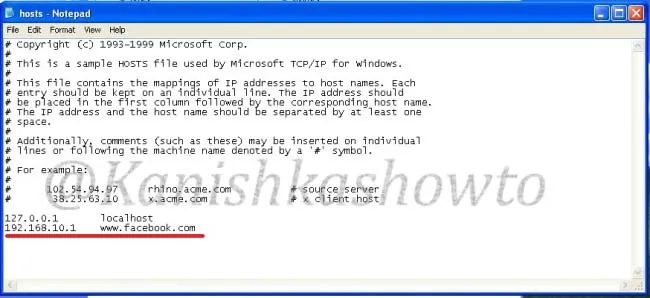
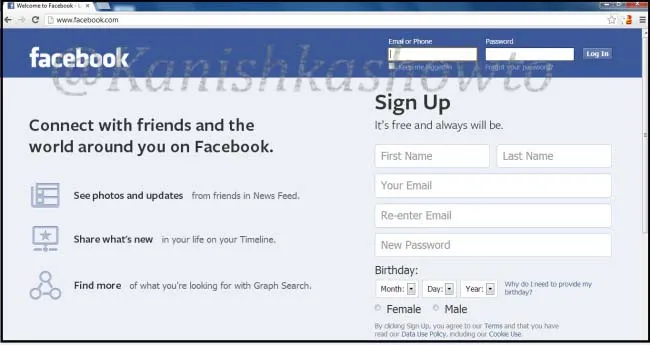
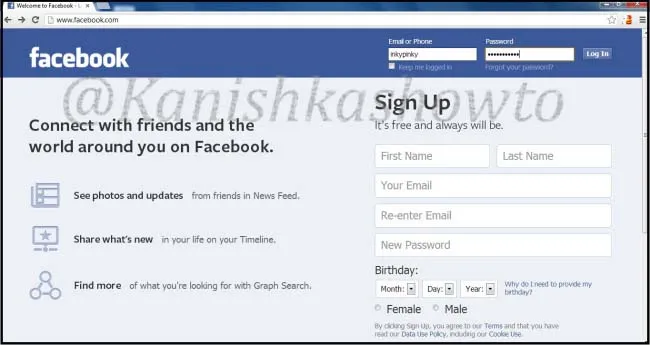
1. Phishing:
In phishing, attackers create a fake website (impersonating a genuine website) and divert the target users to this fake website to grab their credentials or make them download malware. There are multiple examples of hackers creating a fake phishing website to steal credentials, credit card information or other sensitive information. In August 2023, Supreme Court (the highest court of India) warned users about a fake website impersonating website of the Supreme Court trying to solicit personal details and confidential information from users.
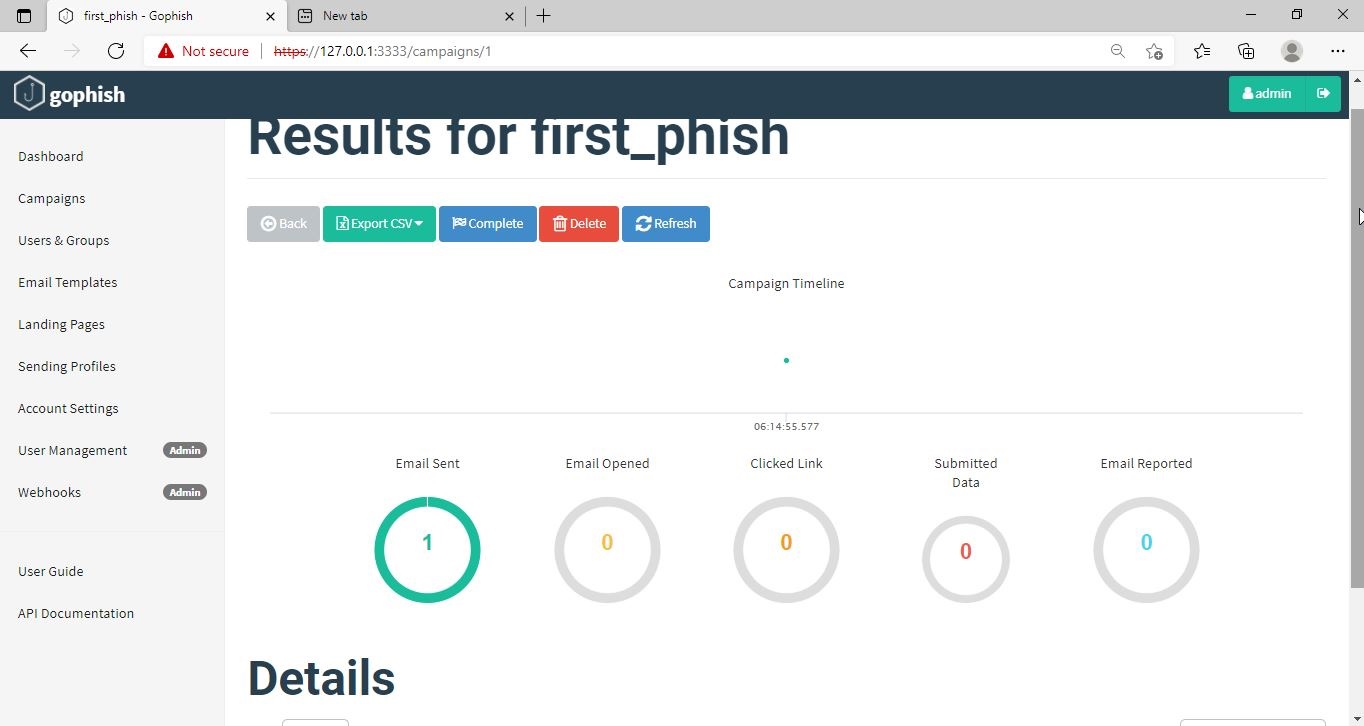
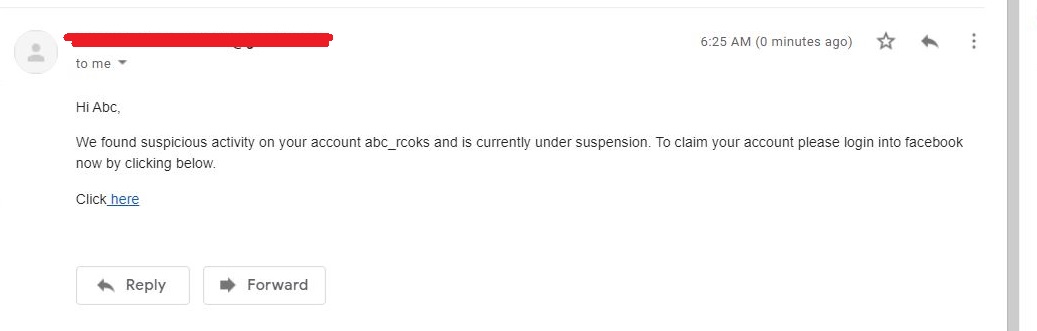
2. Spear Phishing:
In spear phishing, a hacker selects specific users as targets and sends them an email with malware attached to the email and luring them to download and execute the attached payloads or take some other action. In February 2022, Russian hacking group known as Gamaredon, targeted Ukrainian government agencies and NGO’s with a spear phishing email campaign with malware laden emails.
Mobile based Social Engineering
If an engineering attack uses mobile it is known as mobile based social engineering. SMishing is a type of mobile based social engineering attack.
1. SMishing:
SMishing or SMS phishing is a phishing attack which is performed by sending a SMS to the target user’s mobile phone with a link to the fake website attacker created. In 2020, cyber criminals sent SMS messages to various user’s mobile phones asking them to click on a link to view important information about an upcoming delivery from United States Post Office (USPS). When users clicked on the links in these SMS, it took them to a malicious website that was designed to steal user’s Google account credentials.