Hello, aspiring ethical hackers. In this blogpost, you will learn about Linux hacking. It comes under gaining access, third of the 5 phases of ethical hacking.
What is Linux hacking?
Although Linux hacking can be generalized as any type of hacking attempt made on Linux systems, gaining initial access to the Linux system can be termed as Linux Hacking.
Why is it important?
Linux hacking is one of the most important topics in ethical hacking. Why? According to the Statcounter global stats, as of March 2024 operating system market share, the topmost operating systems being used around the world are Linux or its variants. The same report also states that usage of Linux as desktop increased to 4.05% this year. Also note that majority of the servers around the world are Linux servers. So, learning Linux hacking can provide lot of knowledge. But what are the various methods used for hacking Linux systems.
Linux hacking techniques
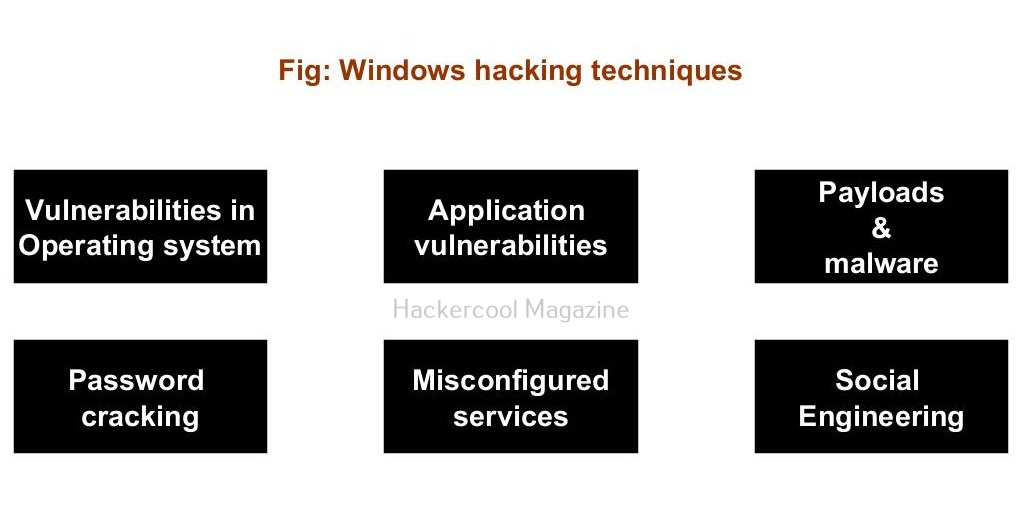
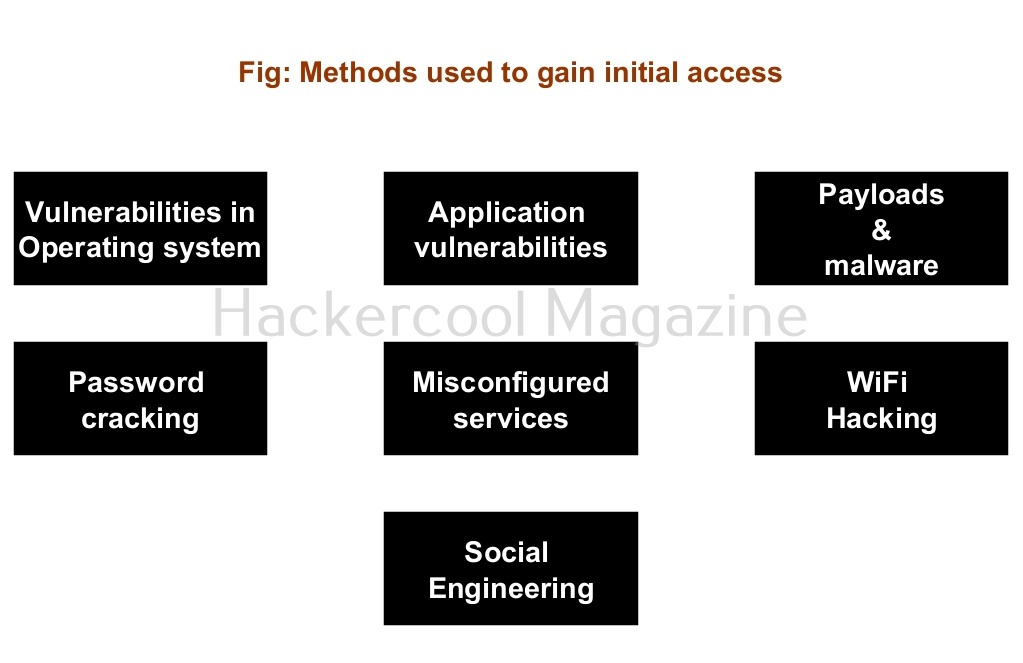
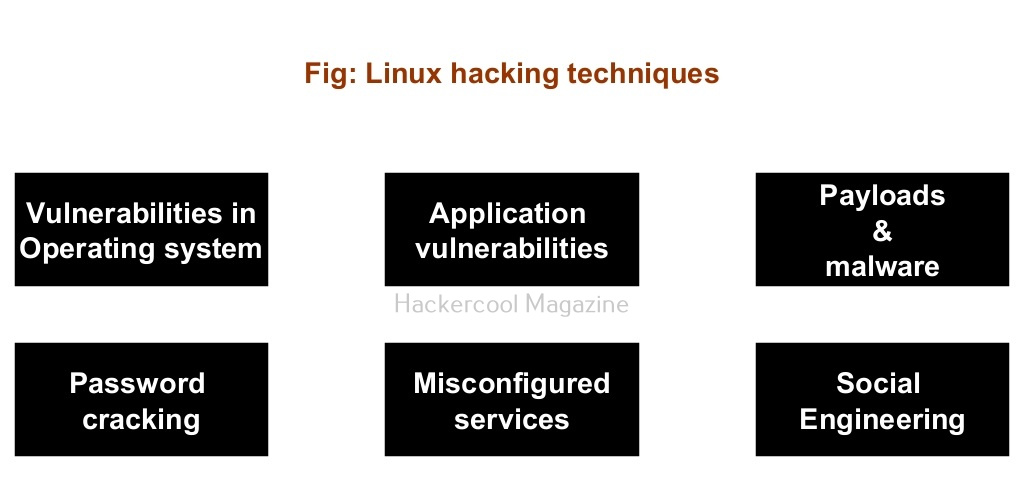
There are multiple ways by which hackers can gain initial access on Linux systems. They are,
- Vulnerabilities in the operating system or kernel
- Application vulnerabilities.
- Payloads & malicious software.
- Password attacks.
- Misconfigured services.
- Social- engineering
1. Vulnerabilities in the operating system or kernel:
An operating system or kernel is the core of any Linux system. Organizations around the world use various versions of Linux operating system for different purposes. So, any vulnerability exposed in the operating system can be exploited by hackers to gain initial access.
For example, in 2014, a vulnerability named Heartbleed was detected in the OpenSSL package that comes inbuilt with Linux kernel. It was used to exploit HTTPS enabled websites of Yahoo, Google, Dropbox, Facebook and other thousands of websites.
2. Application vulnerabilities:
A lot of applications or programs are installed on Linux for performing various functions. Any vulnerabilities in these installed programs can be exploited successfully to hack the Linux system. For example, hackers exploited Apache ActiveMQ software to deploy Kinsing malware on the infected systems in November 2023, Apache ActiveMQ is used as a communication bridge between multiple components that can be hosted on separate servers.
3. Malicious payloads:
Hackers just don’t use vulnerabilities to gain access. They also use malicious payloads like malware and virus to hack Linux systems. Since 2023, malware especially ransomware designed for Linux systems in or the rise. This malware is usually delivered by exploiting vulnerabilities, phishing attack or drive-by downloads. Examples of some payload generators are msfvenom, Veil, MSFPC, Cypher etc.
4. Password attacks:
As already mentioned, most of the servers in the world are built on Linux as it is open source. These include services like FTP, HTTP, SSH etc. If credentials of any of these services are cracked by hackers, it will provide a way to gain access to the underlying Linux server. Learn more about password cracking.
5. Misconfigured services:
Sometimes, services being used in the target Linux systems can be misconfigured either by mistake or by ignorance. Hackers can exploit these misconfigurations to hack the Linux system. For example, in March 2023, an advanced malware campaign exploited misconfigurations in Apache Hadoop, YARN, Docker, Confluence and Redis on Linux instances.
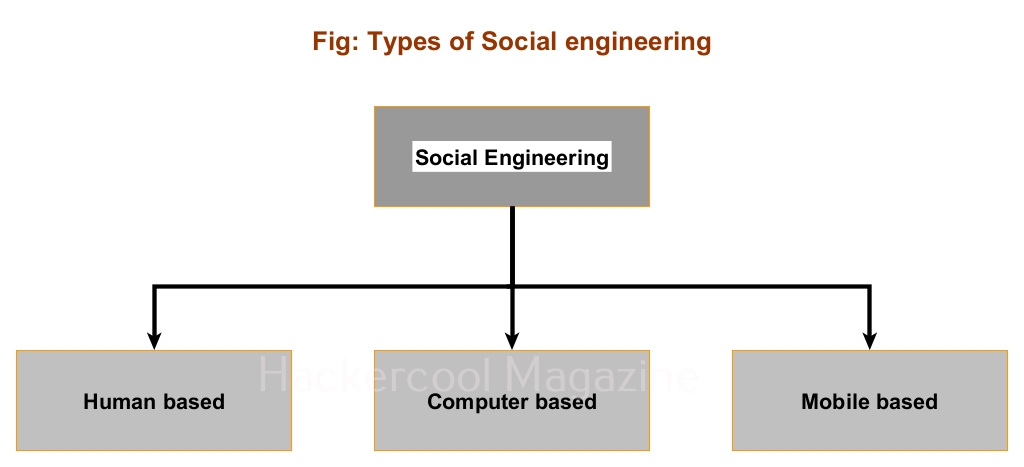
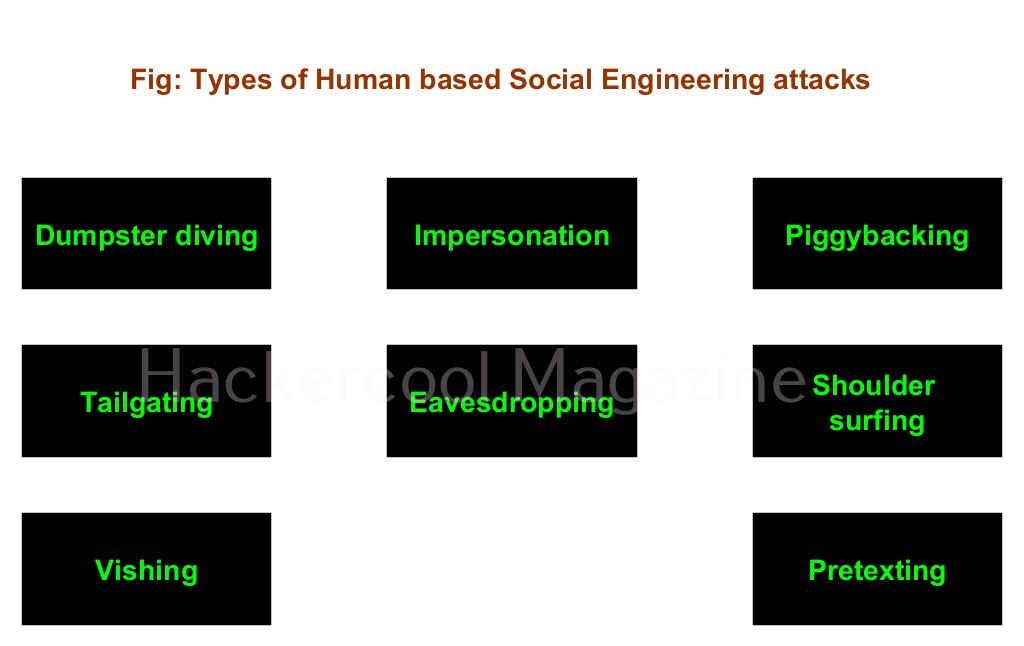
7. Social-engineering:
No matter how strong the firewall on the network is or how secure the Linux devices are in a network, if the employees of the organization are not well trained, they can eventually give hackers access into the network or Linux devices. Social-engineering is often very underrated as a factor that allows hackers to hack Linux systems. Learn more about social engineering.