Hello aspiring ethical hackers. In this article you will learn how to setup a phishing campaign. Readers have learnt what is phishing and various phishing techniques in our previous blog posts. It is a fitting conclusion that the next article in our phishing series should be about creating a phishing campaign. Phishing campaign or Email phishing campaign or Spear Phishing campaign is the campaign that sends emails to the victims to lure them to the Phishing site.
Although, this tutorial is similar to phishing campaigns run by malicious hackers, this campaign can also be used to test the security of a company by assessing how vulnerable are the employees of the company to a phishing attack. There are many tools to simulate phishing attacks which are used by Red Team professionals. Gophish is an open-source phishing toolkit designed for businesses and penetration testers. It provides the ability to quickly and easily setup and execute phishing engagements and security awareness training. It is available for both Windows and Linux operating systems.
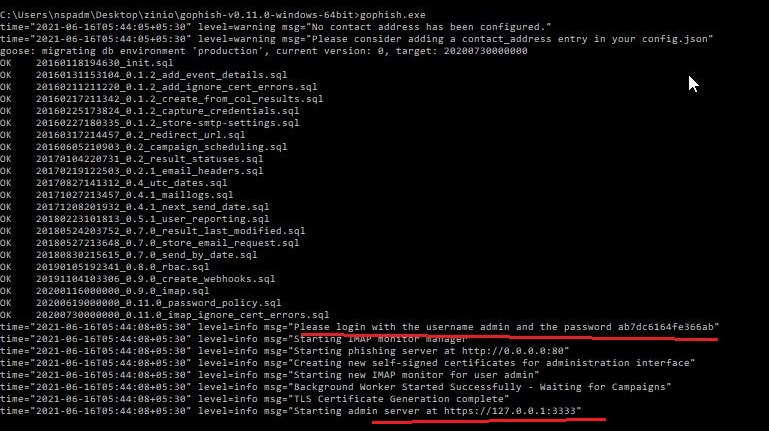
I will be using a Windows version of Gophish as I want to install it on Windows. Installing Gophish on Windows is damn easy. Just download Gophish for Windows, extract the contents of the zip archive. open Windows command line and navigate into the extracted directory and execute the Gophish executable as shown below. This executes some commands as shown below.
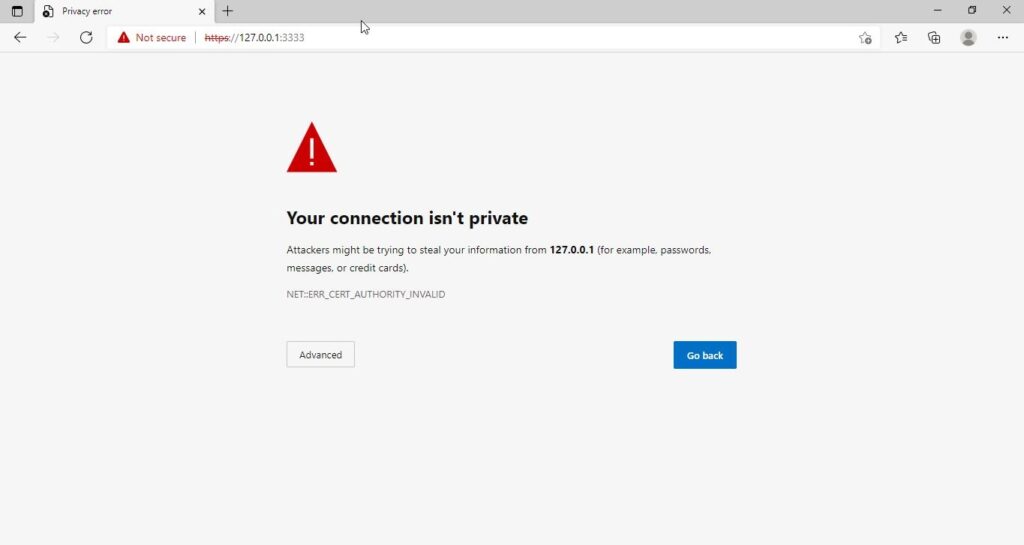
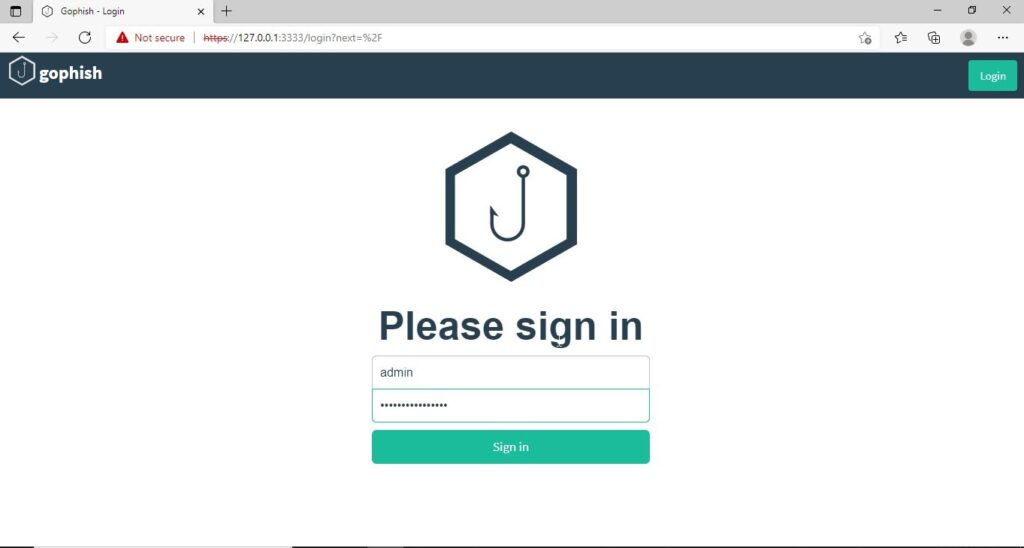
If you observe the CMD window, you will find the username and password for the Gophish dashboard. This part is highlighted in the image above. These credentials are needed to login into the Gophish dashboard. Keep the CMD window open, Open Browser and enter address https://127.0.0.1:3333. This is the default port on which Gophish runs. If you get any certificate error, click on advanced to bypass it and then enter submit the above mentioned credentials.
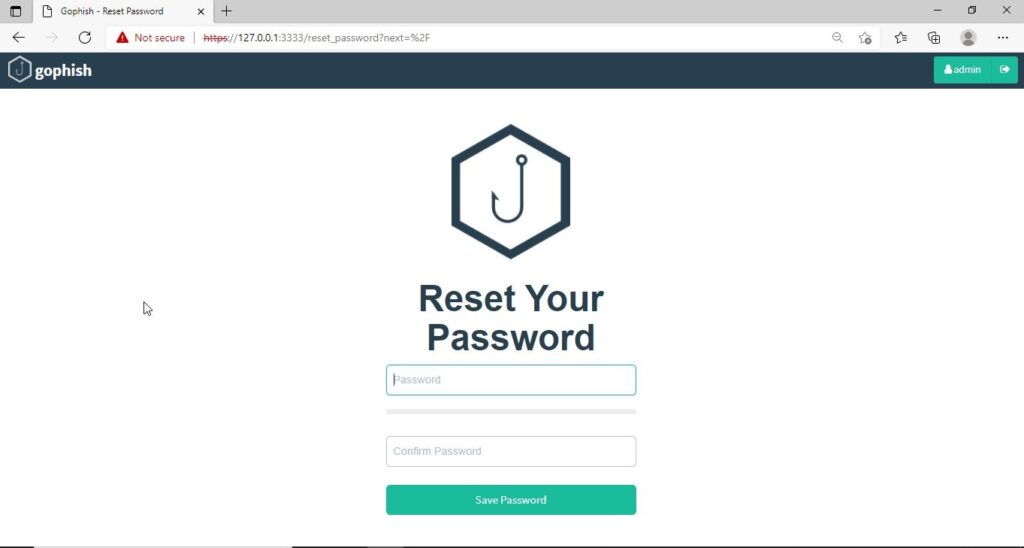
The first thing you will see after logging in is that the system prompts you to reset your password. Reset the password.
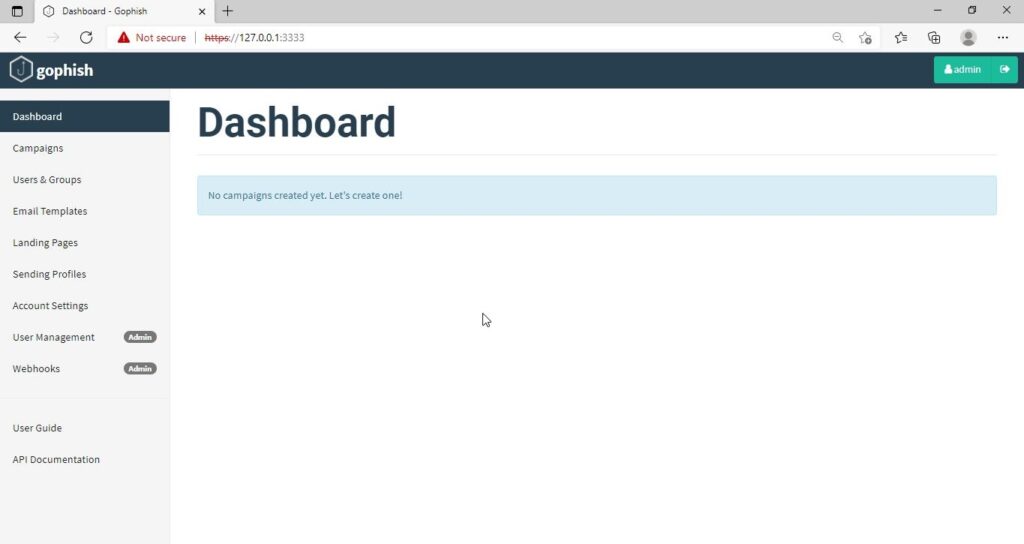
Now, you can access the Gophish dashboard.
The first thing we need to do is create a sender profile. This is the mail address from which the spear phishing email comes from.
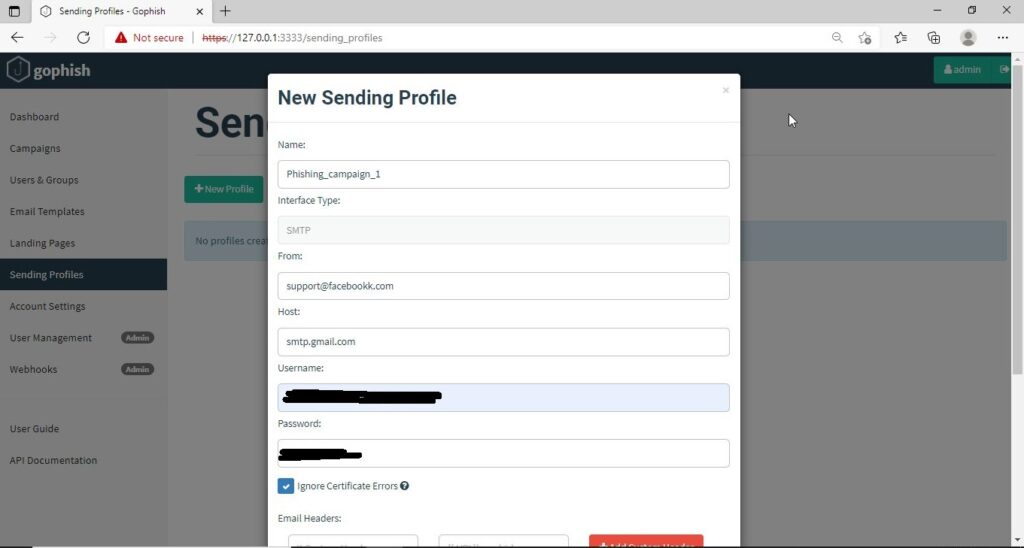
Click on “Sending profiles” tab and then click on “New profile” to create a new Sending Profile. Set the options for the sending profile. For example, we set the name for this as “phishing campaign 1”. To send any type of email, we’ll need a SMTP server. For this tutorial, I will be using the SMTP server of Gmail as I will be sending an email from Gmail. In Real world phishing attacks and even in many phishing simulations, a new domain is created and the email is sent from that domain’s mail to make the phishing email appear genuine. The username is the Gmail username and password is Gmail password.
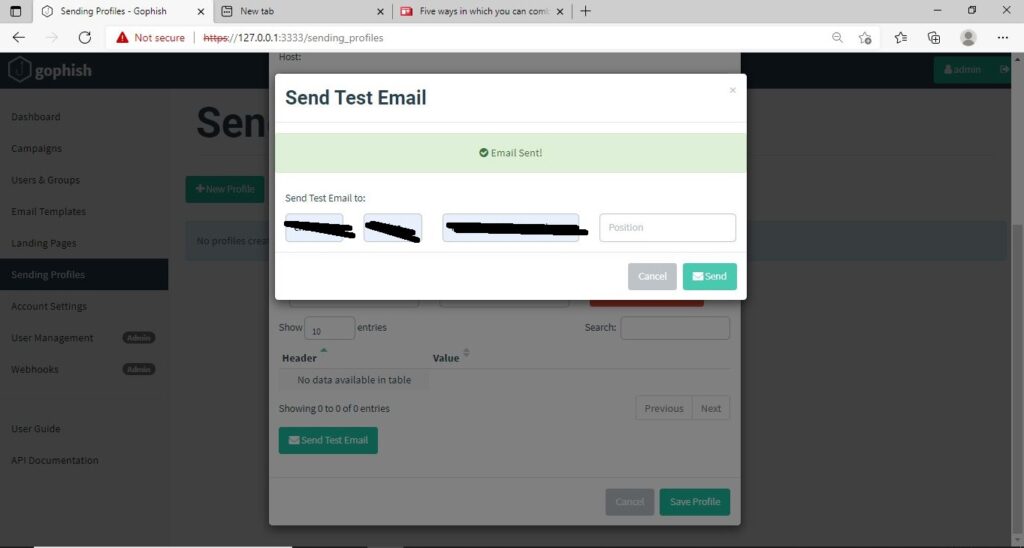
Save the changes. Send a test email to the email of your choice to see if the Phishing email appears as you want it to be.
The username we specify is very important here as it will be displayed. So it has to be made as convincing as possible. Once you are satisfied with the sending profile, you can save it.
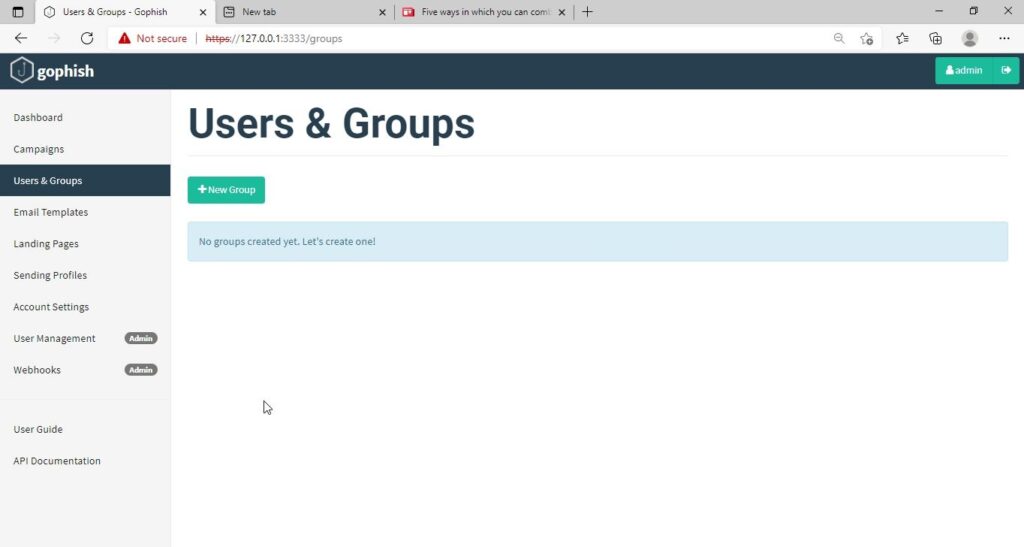
Next, we need to create Users and Groups. This is where we assign target users for of our phishing campaign.
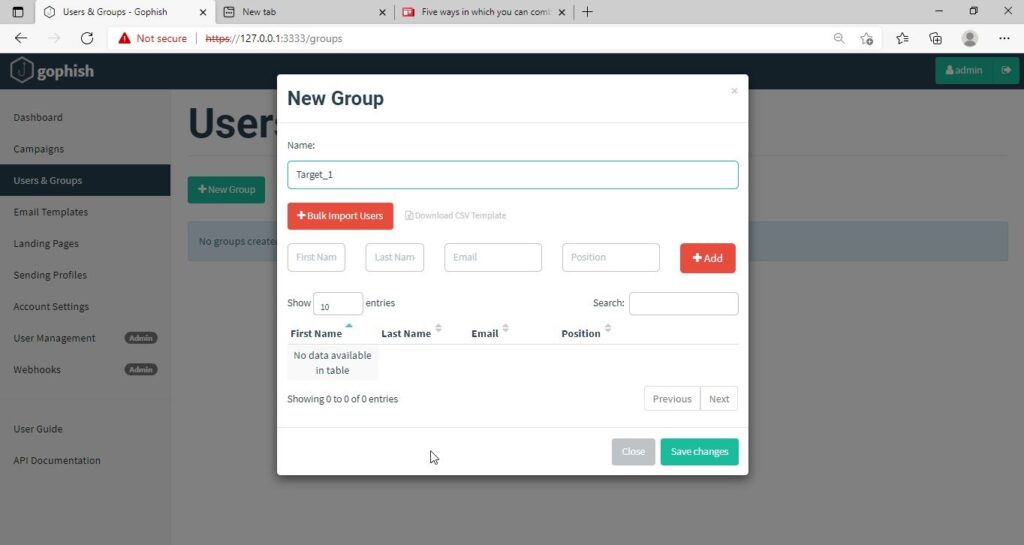
Click on “New Group” to create a new batch of recipients. I have named this group as Target_ 1.
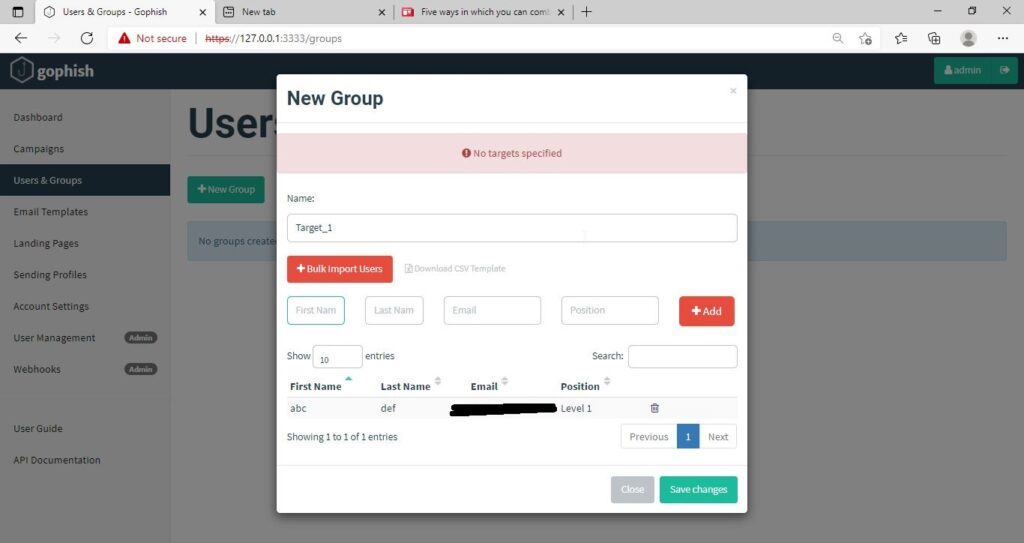
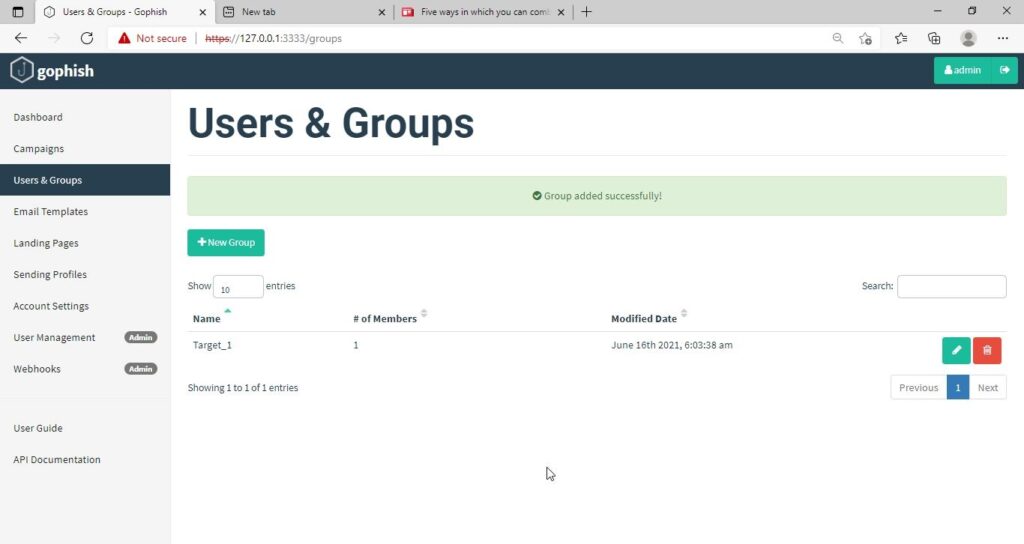
For this tutorial, I’ll add only a single recipient.
If you want to add a large number of users, you can save them in a CSV file and just import those users with the “bulk import users option”.
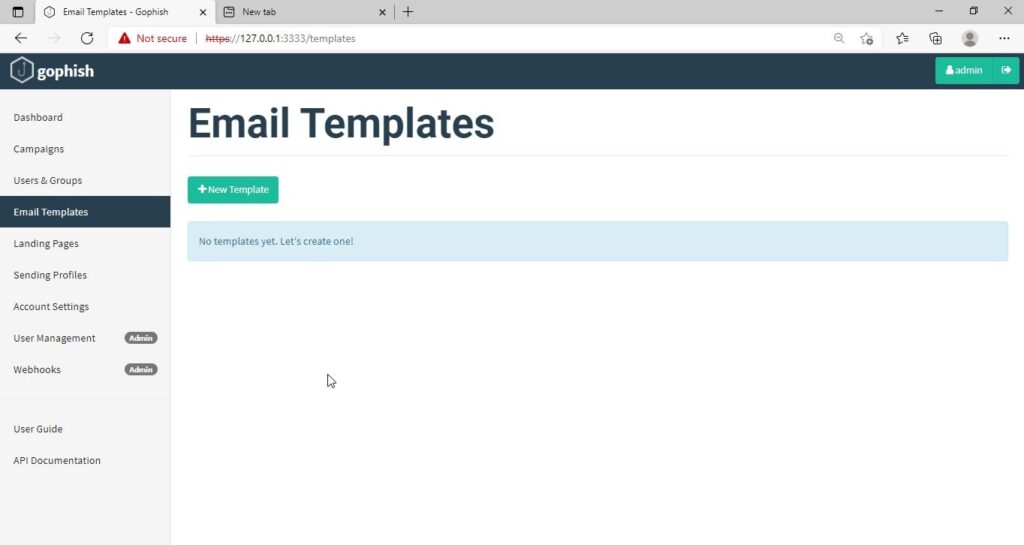
It’s time to create an email template. This is the most important part of a phishing email since it has the email body that convinces a victim to click or take any other action.
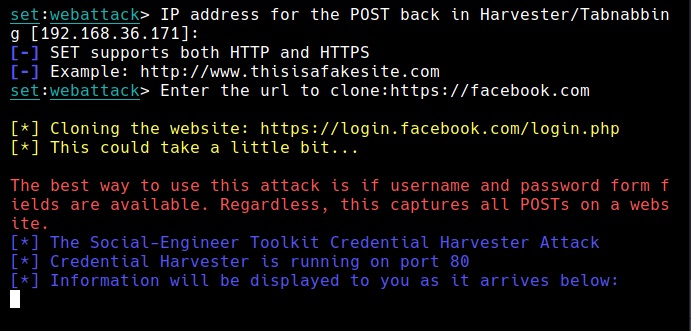
But before we compose the spear phishing email, let’s create a phishing website. For this tutorial, we will be capturing some credentials. Hence we will be using a fake website created using Social Engineering Toolkit in Kali Linux. We can also create a phishing website with Weeman.
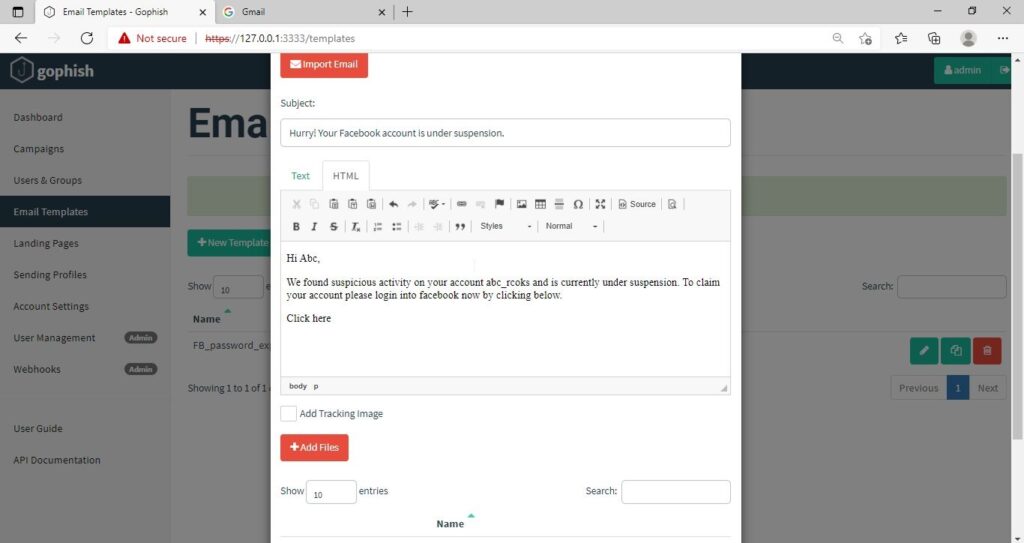
The phishing site is ready and will display any captured credentials on this terminal. Go back to Gophish. Click on “New Template” to create a new email.
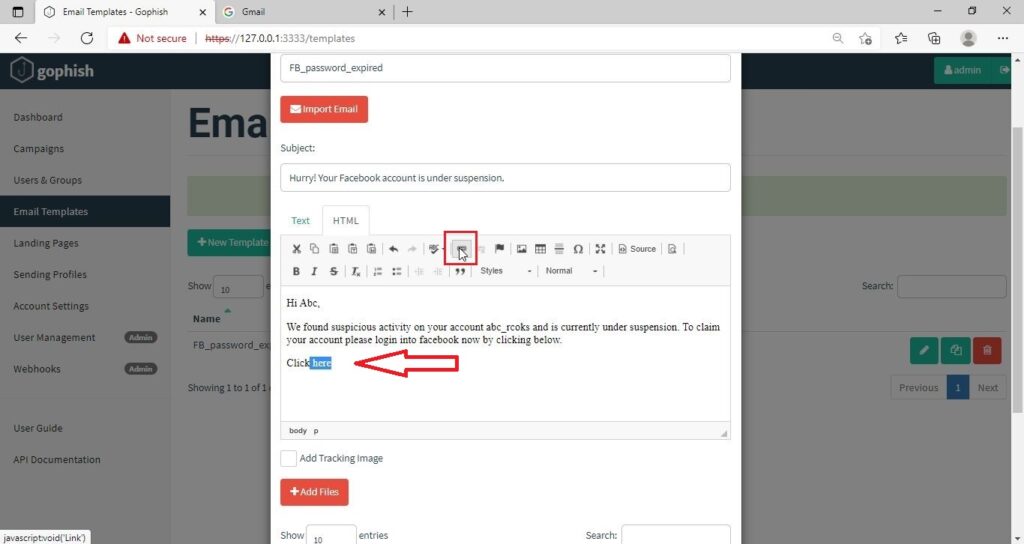
Remember what I said. This part is the most important and the content of the email should convince the user take whatever action you want him to take. We are just showing the age-old account suspension mail. Let’s have a look at some of the spear phishing emails used in real world hacking attacks.
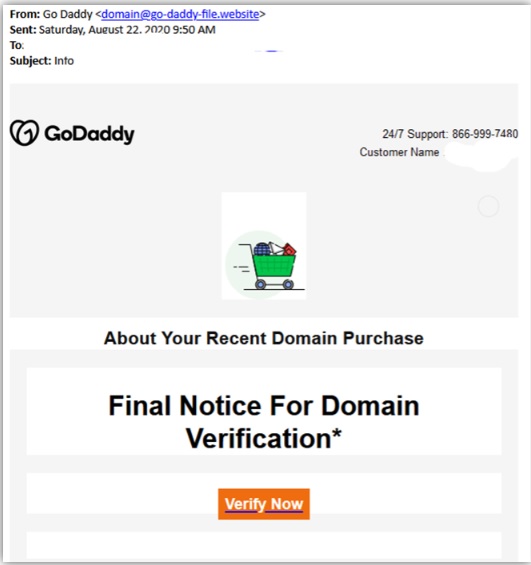
The above mail is sent to Godaddy customers. The Logo, Customer support number etc almost convince even me but just look at the Sender Email. The domain of Godaddy is godaddy.com but sender email is really phishy.
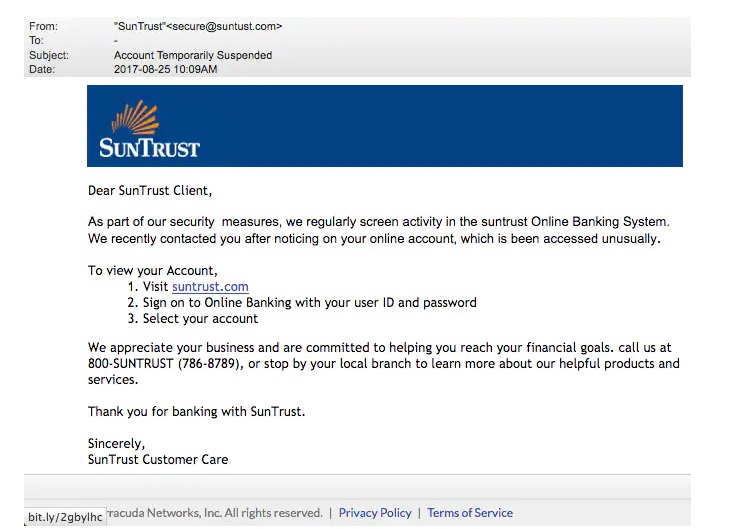
This above phishing email is a must read. Everything looks so convincing. Even I think I have a account at Suntrust. Only when we hover over the link that we can see it is suspicious.
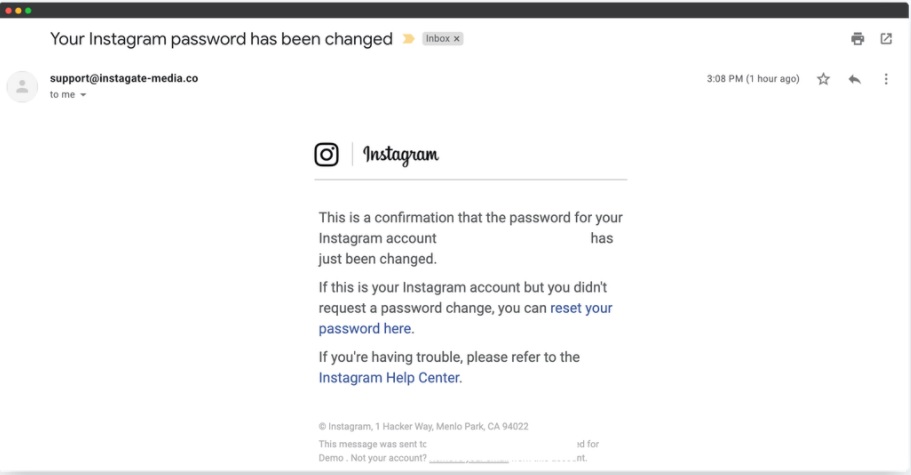
The above mail is directed towards Instagram users. Although sender email is phishy, have a look at the message of the mail. It says your Instagram password has been changed and if it is not you that changed the password, you are asked to click on the link they have provided to reset your password. It even provides a link to the Instagram Help Center to appear trustworthy.
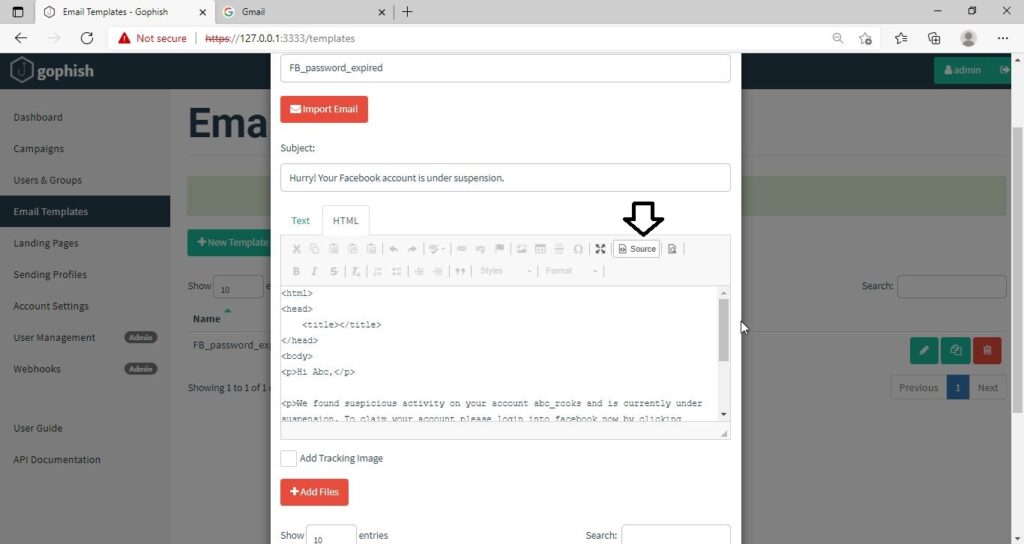
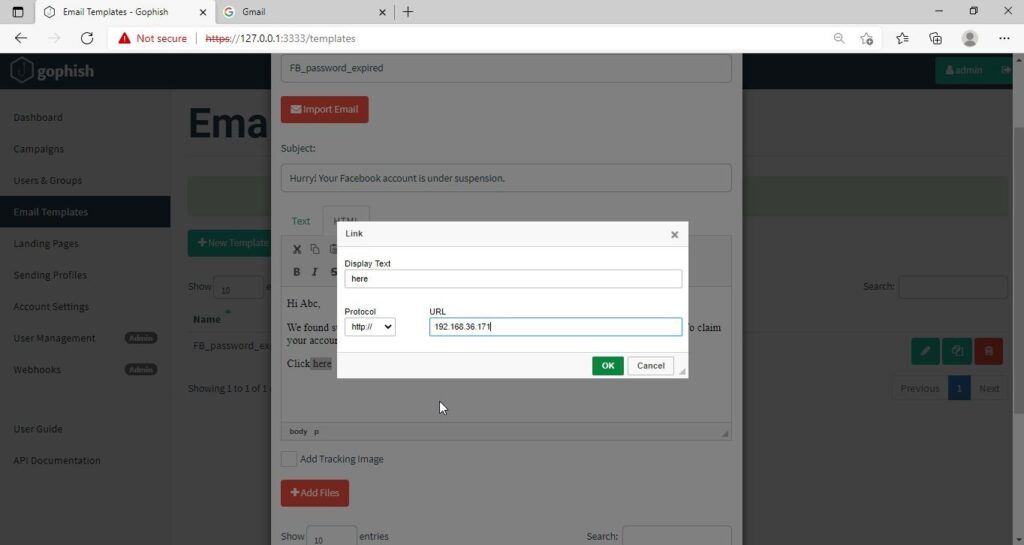
I am sure readers got an idea about how phishing emails look like. If you find an email suspicious, just hover over the links instead of clicking on them. Once, the body of the email is complete, let’s add a hyperlink to the email content. Click on “source”.
I want the users to be redirected to my Kali Linux attacker machine.
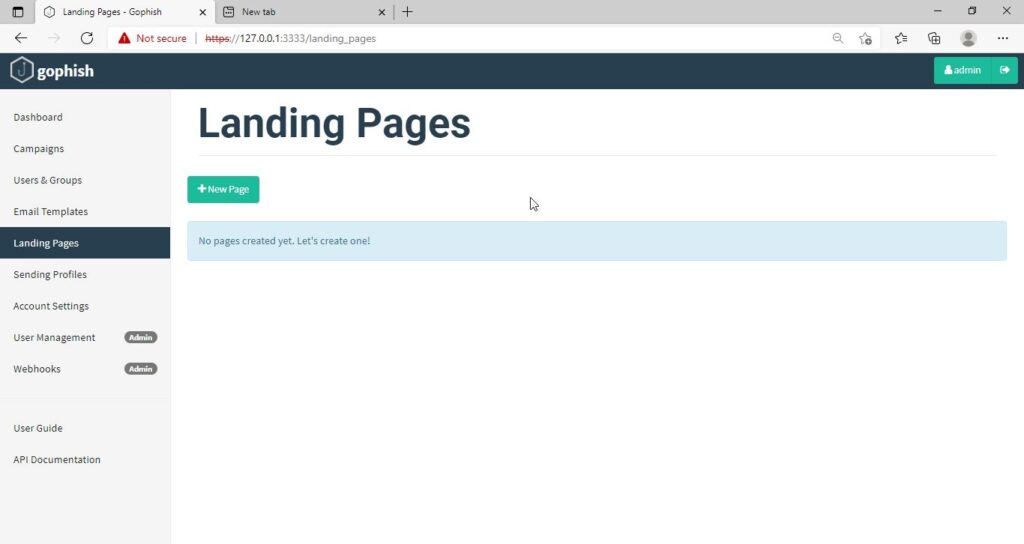
The Email template is ready. It’s time to set the landing page. Landing page in Gophish is the page where users will be redirected to after clicking a link in the email.
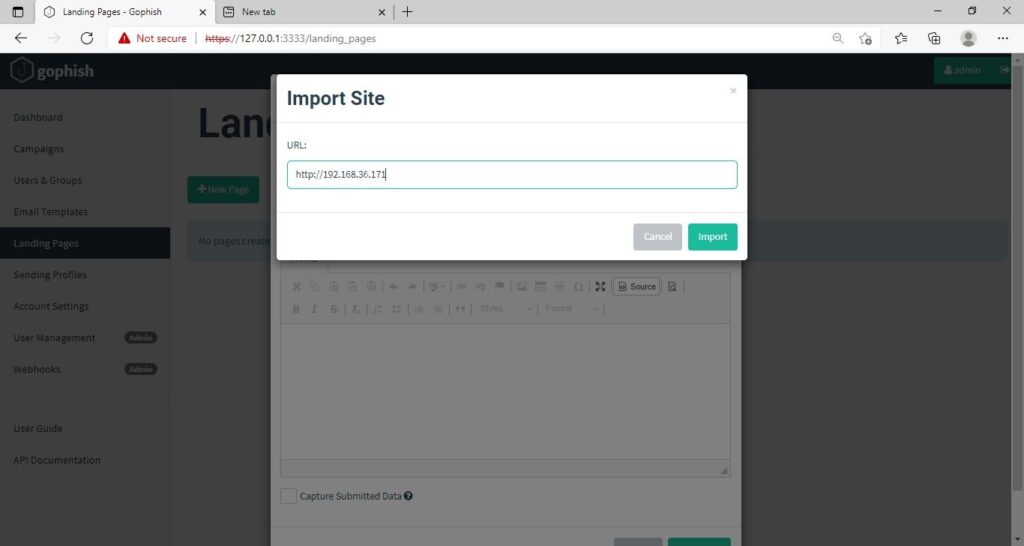
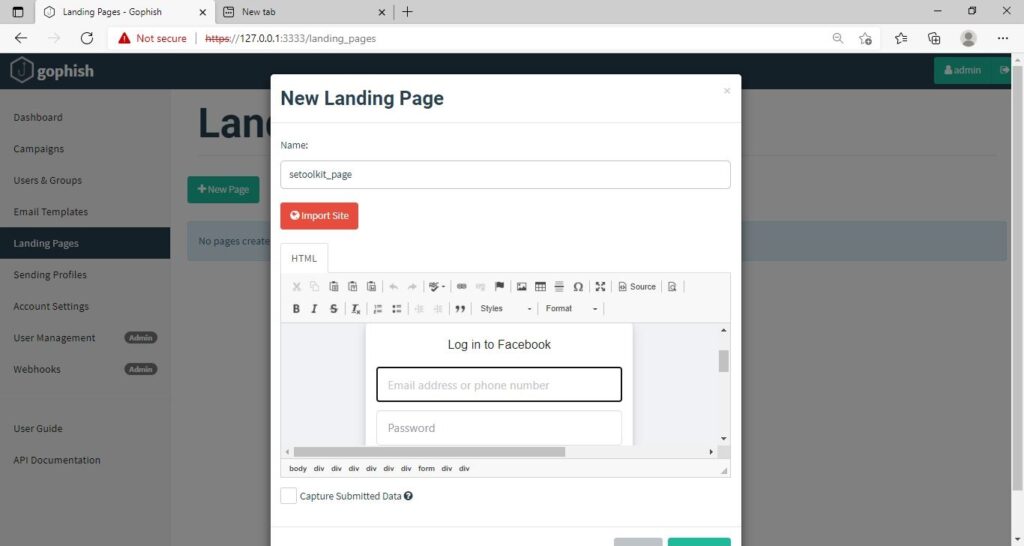
Click on “New Page”. You can create a new landing page or you can import an already created landing page. Let me import the phishing site I created in SE Toolkit on Kali Linux. After capturing credentials,
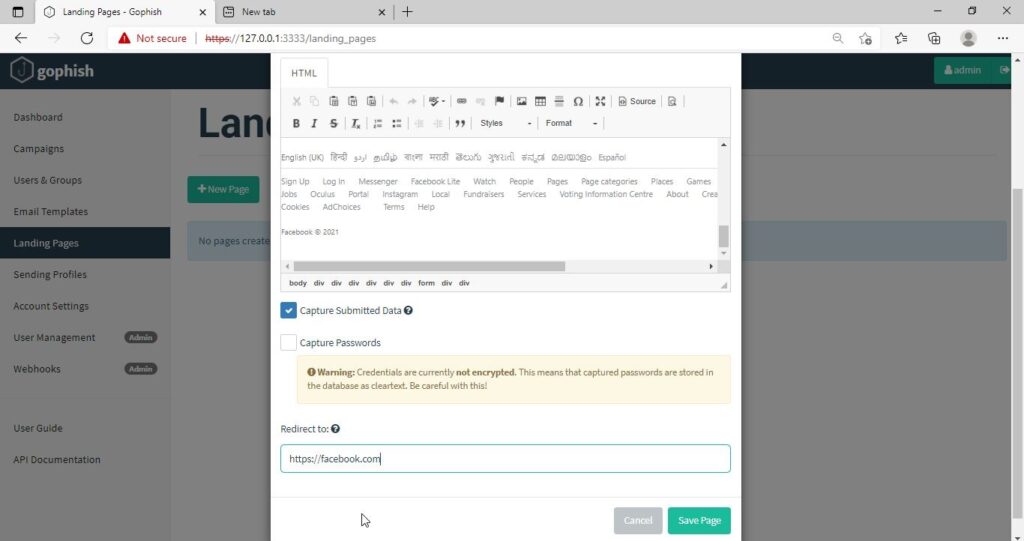
Just like any phishing website, we can redirect the users to another webpage after capturing credentials. I want the victims to be redirected to the genuine site of Facebook.
Save the landing page.
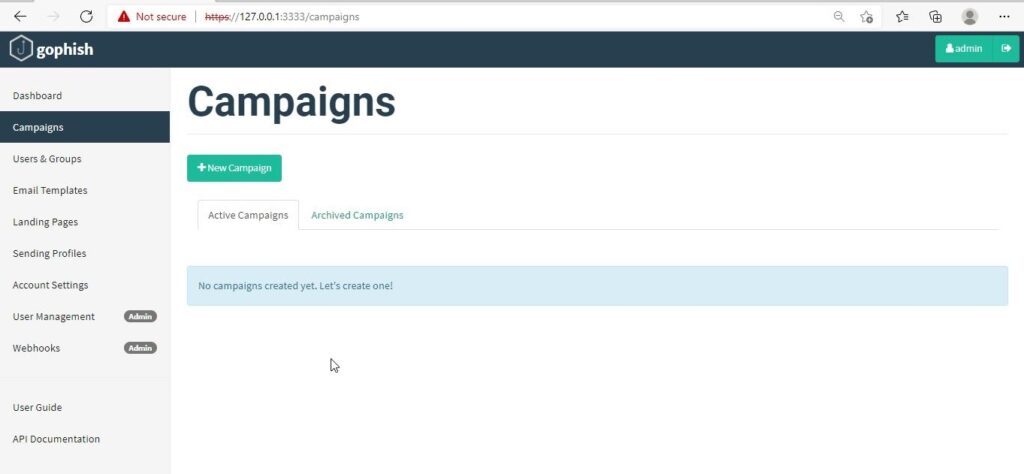
Everything is ready. It’s time to start the phishing campaign. Go to campaigns and click on “New Campaign”.
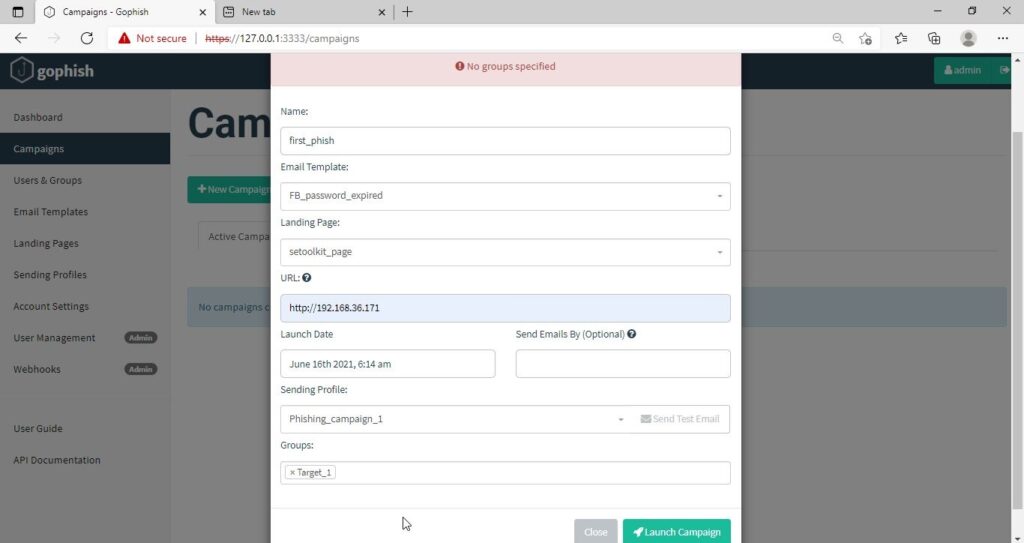
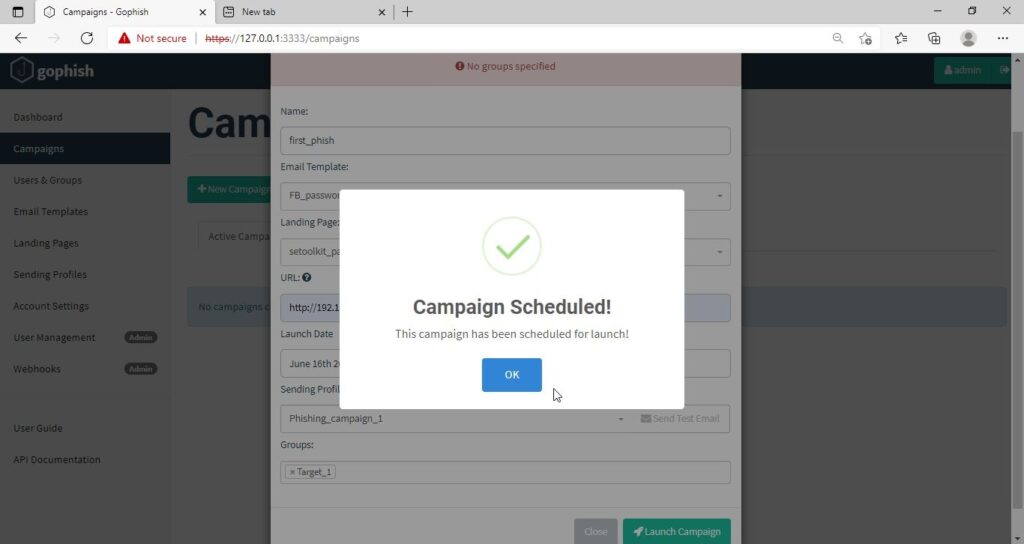
Specify all the options like URl, the recipients etc and click on “Launch campaign”. You can set the date and timing for the phishing campaign.
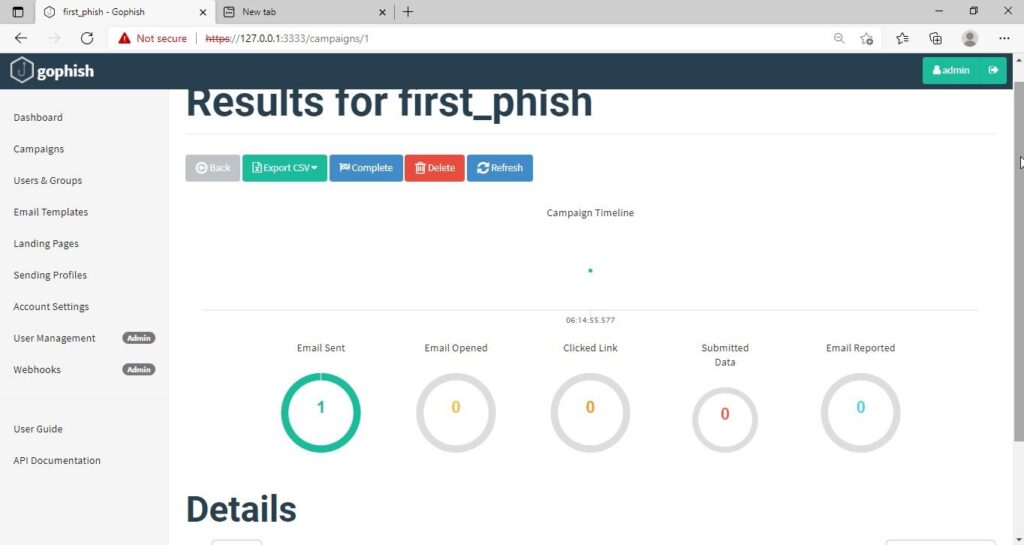
In the dashboard you can view result of the campaign. You can see how many victims read your email and how many fell to your phishing campaign.
This is how the spear phishing email I created looks in Email Inbox.
Here is how the content of the email looks.
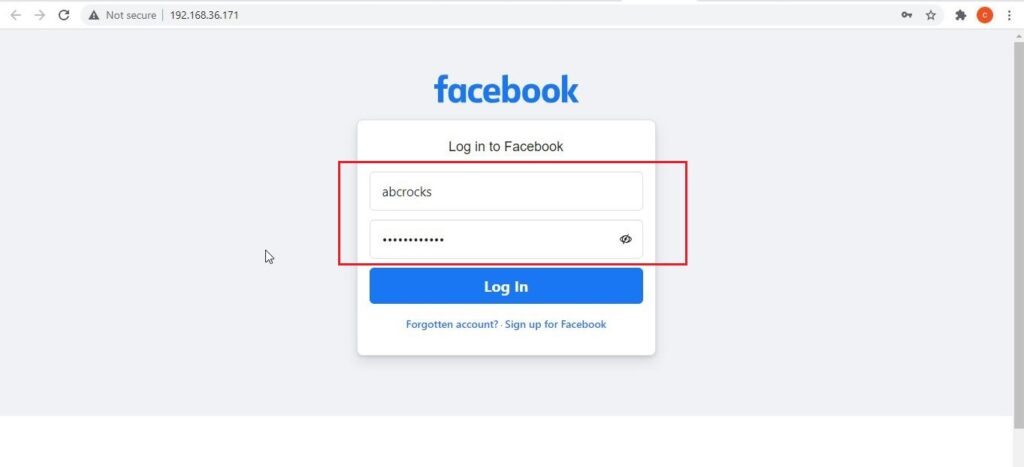
Here is the phishing site the user is redirected to once he clicks on the link.
Once the victim fails to notice the signs of a phishing email, he enters his credentials.
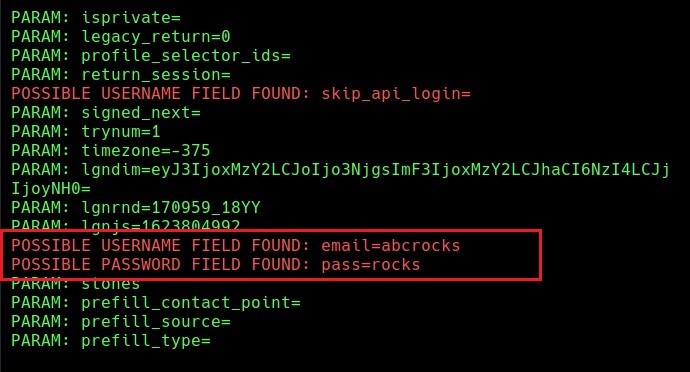
These credentials are captured in SETOOLKIT as shown below.
Credentials captured and our phishing campaign is successful. This is how a successful campaign is run.
Follow Us
