Hello, aspiring ethical hackers. In one of our previous blogposts on website footprinting, you learnt that web directory scanning and fuzzing are some of the techniques used to gather information about a website. In this blogpost, you will learn about a tool named ffuf, which is a fuzzing tool known for its speed.
Written in Go language, it is considered a very fast web fuzzer available on the market. It can be used for web content discovery (director scanning), virtual host discovery, parameter fuzzing, POST data fuzzing, configuration file check etc.
In this blogpost, let’s see how to use ffuf for fuzzing. It is installed by default on Kali and we are going to use the same. Metasploitable 2 is our target as always. See how to create a virtual hacking lab with Kali and Metasploitable 2.
Just like any other directory scanner out there, you need to specify an URL and a wordlist for fuzzing with ffuf. However, unlike other directory scanners, you need to use a word FUZZ while using this tool as shown below.

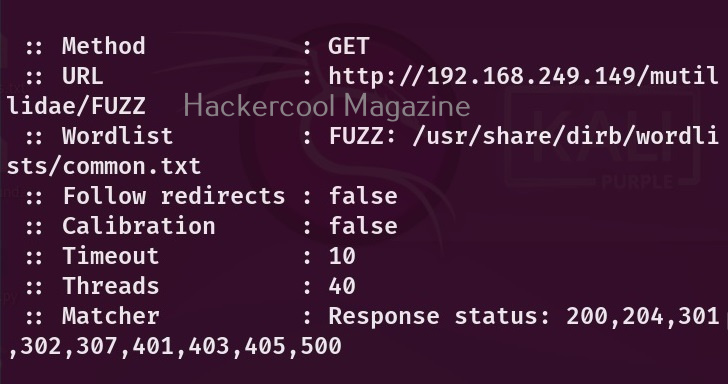
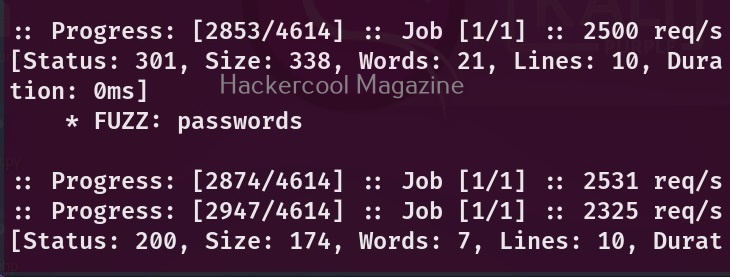
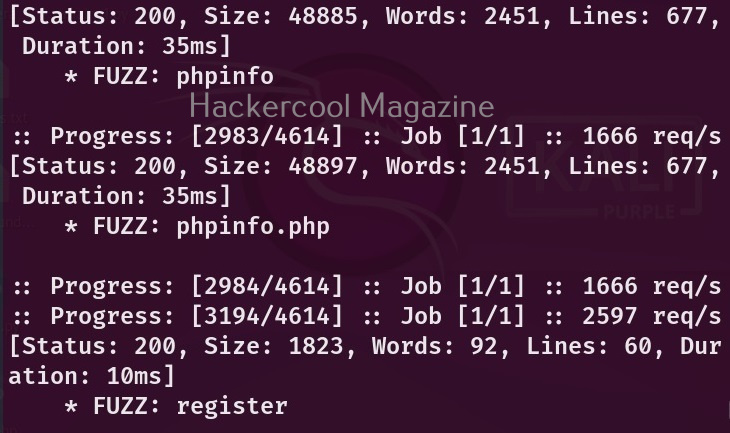
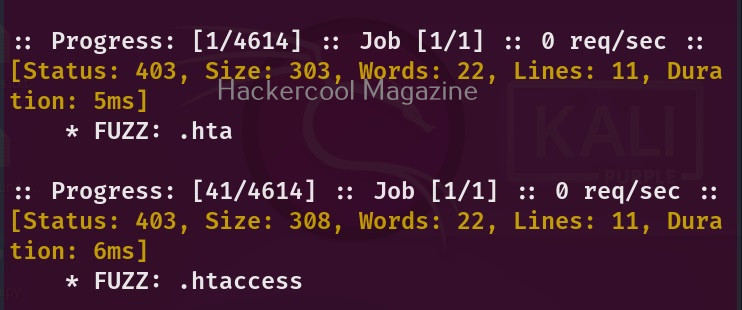
Here, we are fuzzing Mutillidae installed by default on Metasploitable 2. Here’s the result of the scan.

Colorize output(-c)
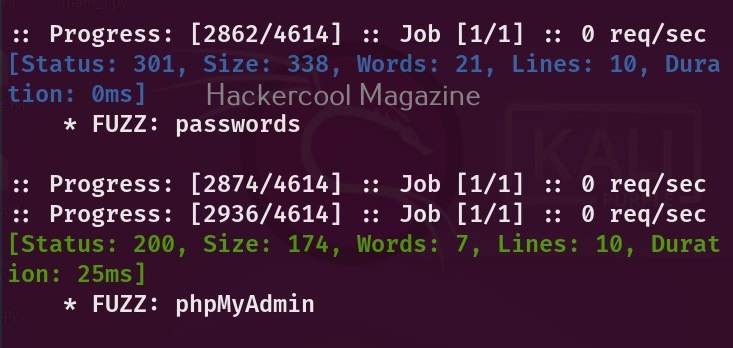
It found some interesting directories. However, the output is monotonous. With ffuf however, you can colorize the output using the “-c” option.
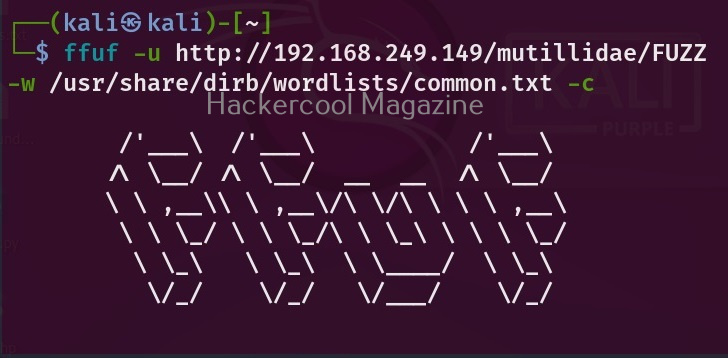
Here’s the result.
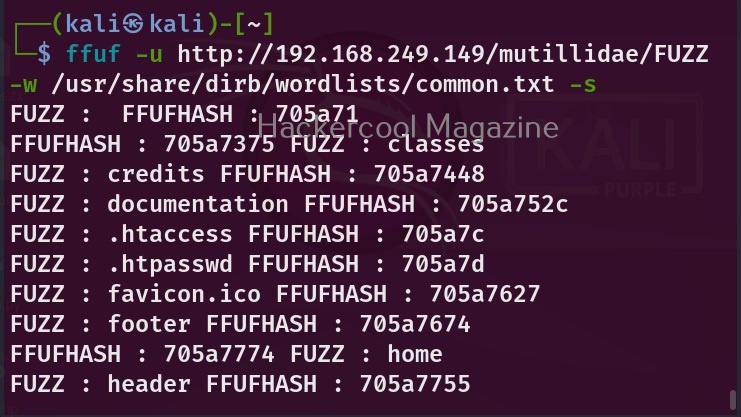
Silent mode (-s)
If you don’t like this output or want this tool to display output without printing any additional information, you can do it with the “-s” option.
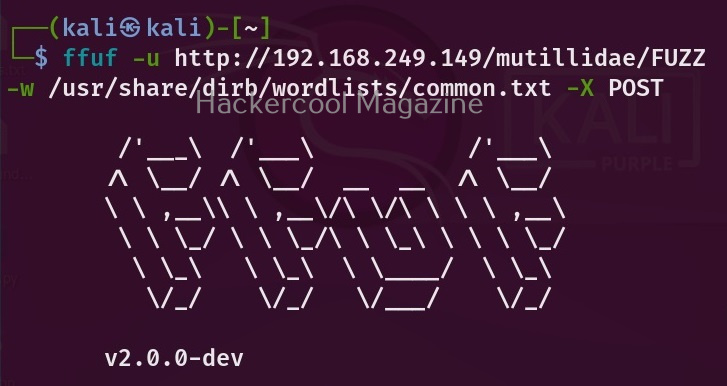
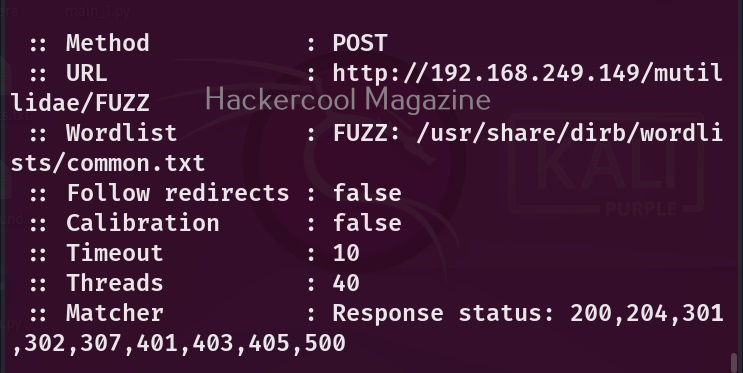
Changing HTTP method (-X)
By default, Ffuf uses HTTP GET method. We can change this using the option (-X). For example, let’s change it to use POST parameter as shown below.
Follow redirected URL’s (-r)
Many websites have URLs redirected to other URLs. By using this option, you can ask it to follow the redirected URL if it finds a redirection.

Ffuf has many filters available. Using this option, we can specify ffuf to automatically calibrate those filter options.

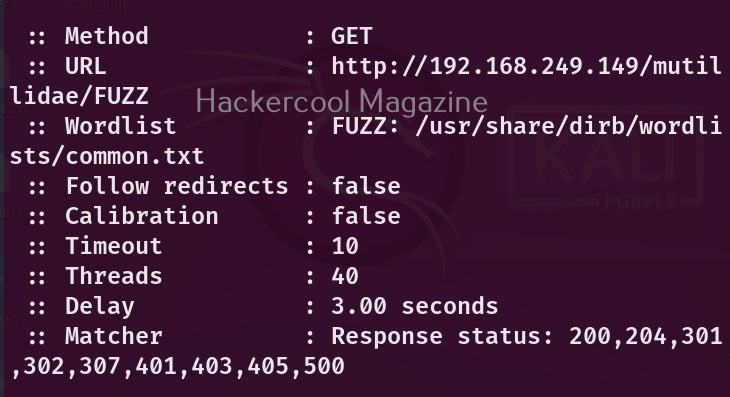
Delay (-D)
What is a fuzzer without the option for adding delay between requests. Ffuf too has this option to add delay between each request. For example, let’s add 3 seconds delay between each request.

Stop ffuf on getting error (-se)
If Ffuf faces an error while fuzzing, it continues scanning. By setting this option, you can ask ffuf to stop when it faces any spurious error.

Search for files with specified extension (-e)
This option is used to search for files with specified extensions.

Save output (-o)
Finally if you want to save output of ffuf to a file, this is the option to use.