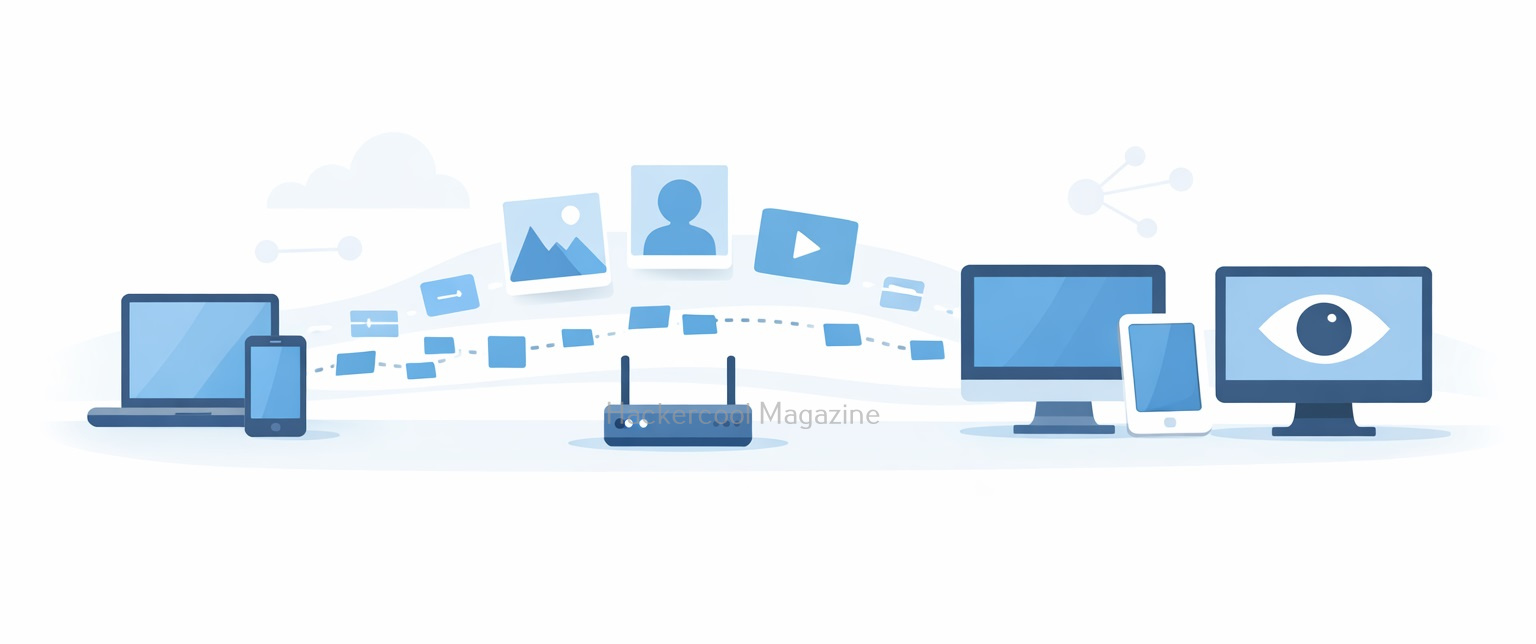
Hello aspiring ethical hackers. In our previous blogpost, you have learnt about WireShark. In this article, you will learn about Driftnet, a network sniffing tool that captures images in the network. When data travels across a network, it doesn’t always move in a neat, protected package. On poorly secured or unencrypted networks, information can be observed, intercepted and reconstructed by anyone who knows where to look.
New to Ethical Hacking?
Start your journey with The Beginner Ethical Hacker Starter Kit (2026 Edition).
Inside the free guide, you’ll learn:.
- Ethical hacking fundamentals
- Beginner cybersecurity roadmap
- Essential hacking tools
- Common vulnerabilities explained
Driftnet is a classic example of a network sniffing tool that demonstrates just how much data can leak when encryption is missing. In this blog post, we’ll explore what Driftnet is, how it works, what it captures and why it’s often discussed in cybersecurity training and ethical hacking labs.
What is Driftnet?
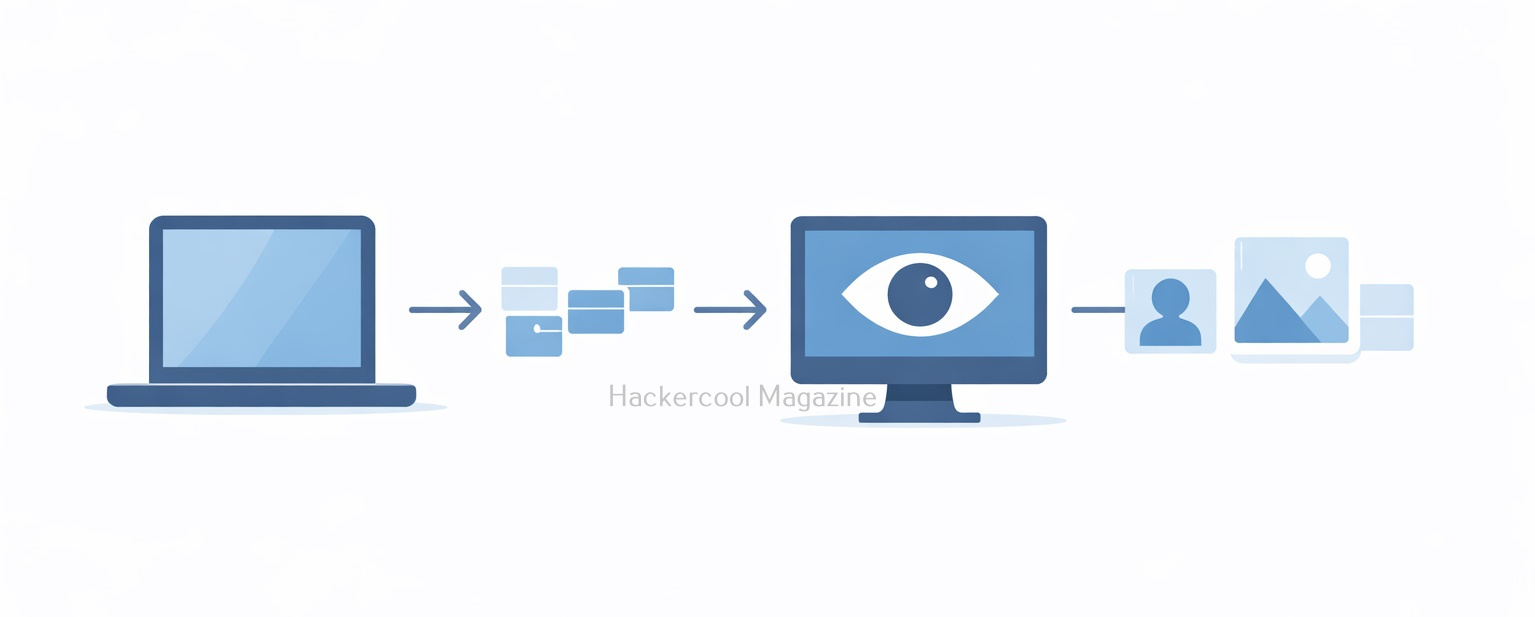
Driftnet is an open-source network traffic analysis tool designed to monitor network packets and extract images (such as JPEGs, PNGs, and GIFs) as they pass through the network. Unlike full packet analyzers, Driftnet focuses on a very specific goal: rebuilding visual content from unencrypted traffic.
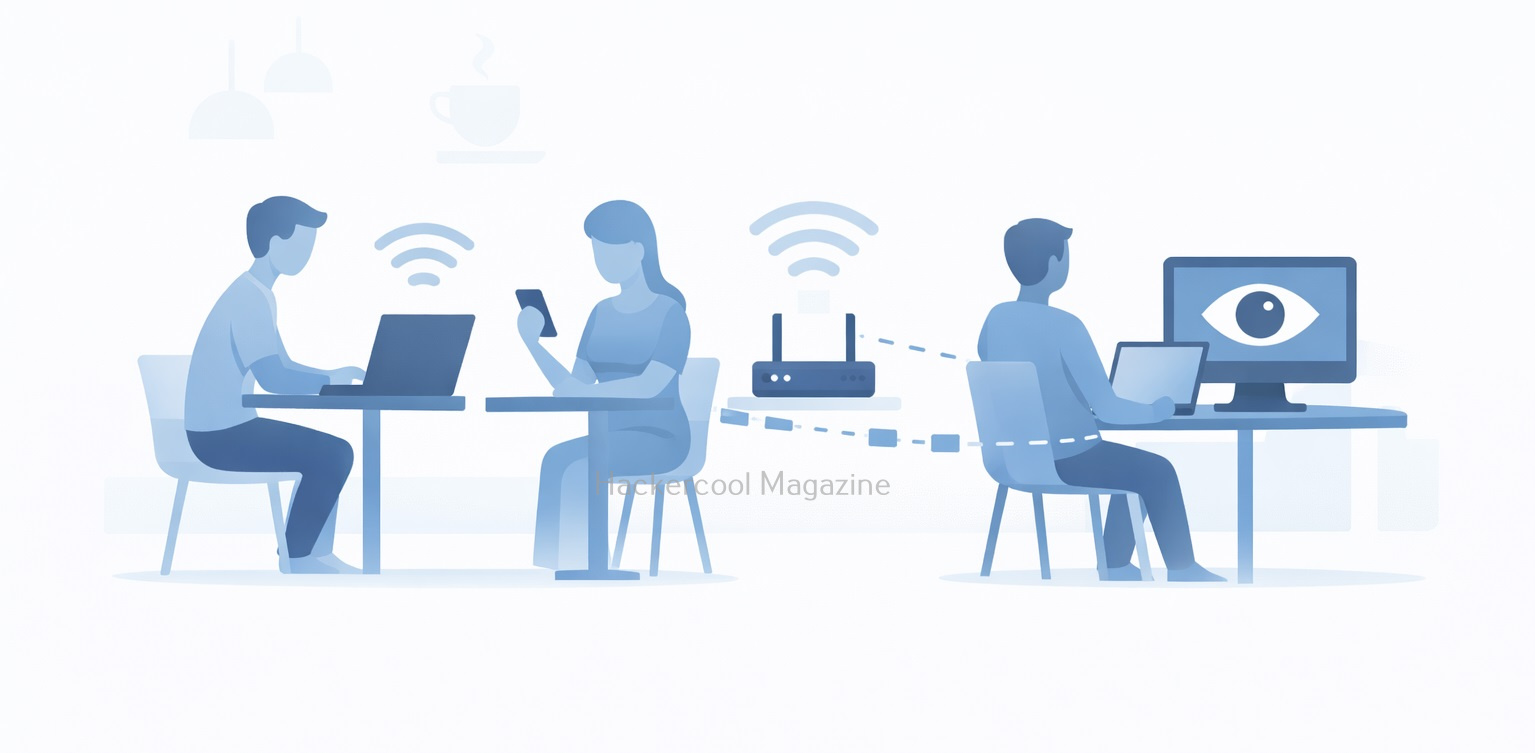
Originally created as a demonstration tool, Driftnet shows how attackers can passively observe data without actively breaking into systems. It listens quietly on a network interface and reconstructs images being transmitted in real time.
This makes it a powerful educational tool and presents a clear warning about the risks of unencrypted communications.
How Driftnet works?
Driftnet operates by putting a network interface into promiscuous mode, allowing it to capture packets not specifically addressed to the local machine. Here’s a simplified breakdown:
1. Packet Capture:
Driftnet can capture packets moving across the network using packet capture libraries. It doesn’t inject traffic. Like every sniffer, it only listens.
2. Traffic Filtering:
This tool scans network packets for recognizable image file signatures commonly used in HTTP traffic.
3. Image Reconstruction:
When any image data is detected, it reconstructs the image from packet fragments and displays it in a separate window or saves it locally.
4. Passive Monitoring:
As Driftnet does not modify traffic, it can remain invisible to users on the network. Simply put, if an image travels across the network without encryption, Driftnet may be able to capture and display it.
What Kind of Data Can Driftnet Capture?
Driftnet is limited in scope but still eye-opening. It can capture:
- Images loaded on unsecured websites
- Profile pictures from legacy web applications
- Media from internal dashboards using HTTP
- Images transmitted over poorly configured internal networks
It cannot capture:
- Encrypted HTTPS traffic
- VPN-protected traffic
- Modern TLS-secured content
- End-to-end encrypted communications
Real-World Scenarios Where Driftnet Matters
1. Public Wi-Fi Networks
Open Wi-Fi in cafés, airports or hotels is a classic environment where unencrypted traffic can still appear.
2. Internal Corporate Networks
Legacy systems, internal dashboards or test environments often run without encryption.
3. IoT and Embedded Devices
Some cameras, printers and dashboards transmit images without proper security.
A Practical Walkthrough for beginners
Now, let’s see driftnet in action. For this tutorial, we will be needing any program that requires images to be transferred in a network. To keep similarity with Real-world scenarios, we will use Netop Vision Pro Classroom Management Software for this purpose. A Free Trial can be downloaded from here. As its name implies, this is a Classroom Management Software used for distance learning. It has two modules: the Teacher module and Student module.
The Teacher module is installed on one system and the student module is installed on all the student systems. The computer running the Teacher module has complete control over the computer running the student module and the student has no or very small limited role. The Teacher can view the Desktop of the Student’s Desktop to make sure the student is on track.
We need a lab too. We will be using Basic Lab from our Hacking Labs blogpost. The only change is instead of two virtual machines, we need three virtual machines.
- Windows 7 (For installing Netop Vision Student Module)
- Windows 7 (For installing Netop Vision Teacher Module)
- Kali Linux (Attacker system)
Instead of Metasploitable 2, we need to have two Windows 7 systems. One for installing Netop Vision Student Module and another for running Netop Vision Teacher Module. The third system is Kali Linux which is the attacker system and used for sniffing images. Let’s setup the Lab first. Download the Netop Vision Pro software onto the first Windows 7 system and click on it. Select the “Run Installer” and click on “Next”.

Click on “I Accept The Terms in the license agreement” and click on “Next”.

Select the Vision Student Module and click on Next.

Select the option as a Windows Startup Service and click on Install.

Check the IP address of this system and restart it.


Here’s the Student’s Windows system. There is some program running on it.

Now, in the second Windows 7 system, install the Teacher module of Netop Vision.

When it prompts for the license key, click on “Next”.


Click OK to restart the computer.
Want to Learn Ethical Hacking Step-by-Step?
If you’re serious about learning cybersecurity, a structured roadmap makes the journey much easier.
Download The Beginner Ethical Hacker Starter Kit (2026 Edition) and discover:
✔ The ethical hacking learning path
✔ Beginner-friendly security concepts
✔ Essential tools ethical hackers use
✔ The most common vulnerabilities explained

After the computer (on which Netop Vision’s Teacher Module) reboots, open the Netop Vision application. This should open the class room manager window automatically. If that did not happen, open it from the File menu. Create a new classroom. Click on “New”.

Click on “Next”.

Add the student system. Click on “Add” and add the IP address of the student system as shown below. Then click on “translate addresses”. You will get the IP address translated to the name of the computer. Click “OK”.


Click “Next”.

Click on “Finish” to finish the installation.

We have set up a new classroom. From the classroom manager, open the new classroom you just created.

We can see the Desktops of connected Student computers. Since we have connected only one student computer, only one system is shown.

As you already read above, The Teacher module is used to keep track of Student computers. For this, there is a live transmission of Desktop images from Student Computer to Teacher computer. The target is ready. On the Kali Linux system, install the Driftnet tool using command shown below.
sudo apt-get install driftnet

Check the name of the network interface.

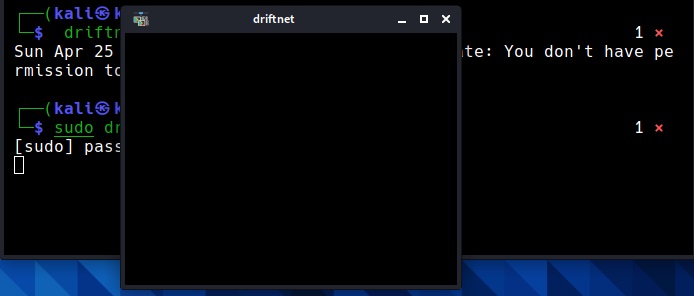
Now all we have to do is to start the driftnet tool on that interface.
sudo driftnet -i eth0

A small window will open as shown below.
When you maximize the window, you can see the live capture of the images of the Student’s Desktop. These images of the student computer are being captured by the teacher module. These images are captured at regular short intervals and transmitted in real time to the Teacher computer.

But how are these images being sniffed by Driftnet? Just like in the case of plain text protocols, these images are being transmitted in the network without any encryption. Hence, driftnet has been able to capture them by sniffing on the network.
How to Defend Against Driftnet-Style Attack?
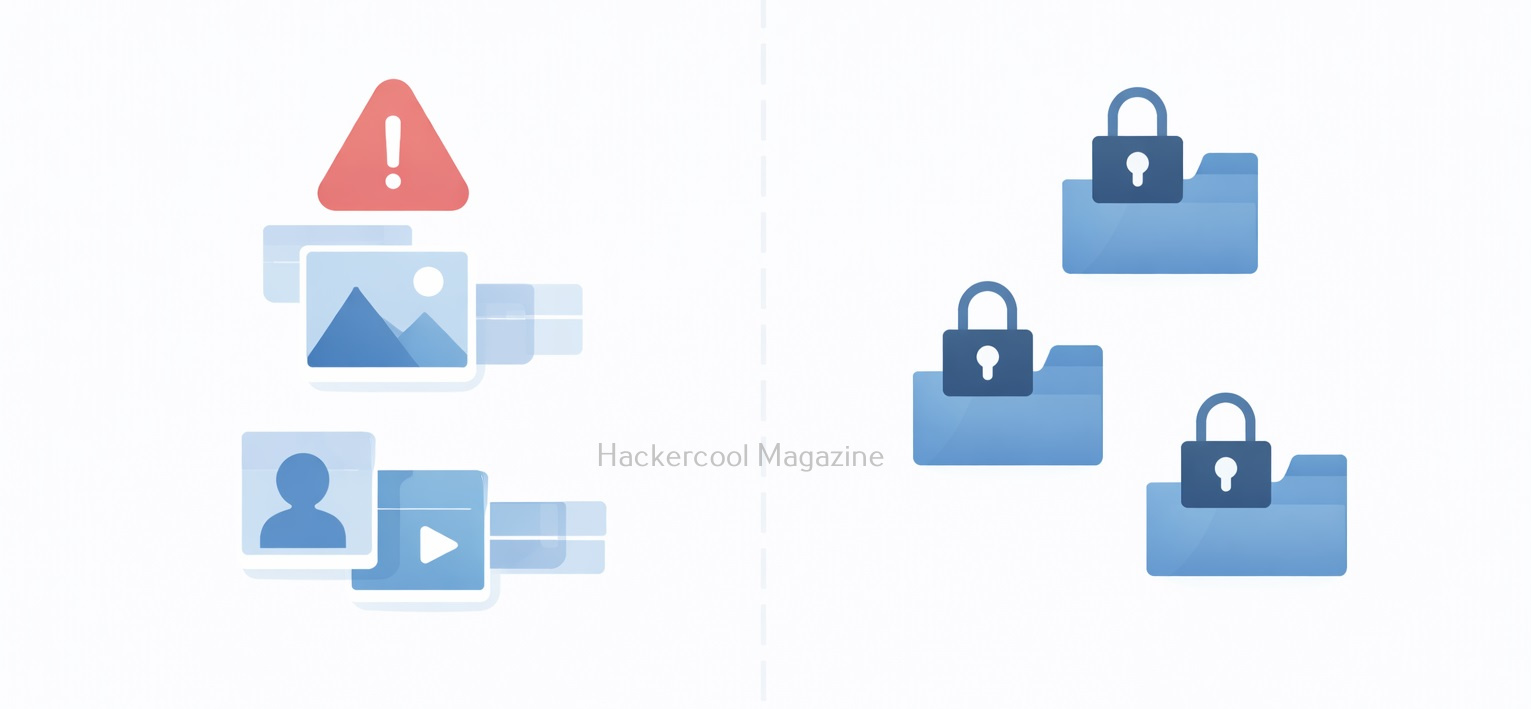
1. Use HTTPS Everywhere:
TLS encryption prevents packet sniffers from reading the captured content.
2. Enforce VPN Usage:
A VPN encrypts traffic even on hostile networks.
3. Secure Internal Applications:
Never assume internal traffic is safe by default.
4. Avoid Open Wi-Fi:
Always prefer WPA2/WPA3 secured networks or mobile hotspots.
5. Monitor for Promiscuous Interfaces:
Use Network monitoring tools that detect suspicious sniffing behavior. Driftnet may look simple, but it delivers a powerful lesson: unencrypted data is visible data. While modern encryption has reduced its effectiveness on today’s internet, the tool remains relevant for understanding passive attacks, network visibility and why security fundamentals still matter. If an image can be seen, it can be stolen. And if traffic isn’t encrypted, someone is always watching.
Start Your Ethical Hacking Journey Today
Learning cybersecurity can feel overwhelming at first. The best way to start is with a clear roadmap and the right resources.
Download The Beginner Ethical Hacker Starter Kit (2026 Edition) and get instant access to:
✔ Ethical hacking fundamentals
✔ A beginner cybersecurity learning roadmap
✔ Essential hacking tools every beginner should know
✔ Common vulnerabilities explained simply