Posted on

Beginners guide to Nishang

Hello, aspiring ethical hackers. In our previous blogpost, you learnt about Post-exploitation in detail. In this article, you will learn about Nishang, a post-exploitation framework.

Nishang post-exploitation framework is a collection of PowerShell scripts and payloads that aids us in penetration testing and red teaming. Nishang can be useful in all the phases of penetration testing.

Let’s learn about how Nishang works. For this, we will be using Kali Linux as our attacker system as Nishang is available by default in its repositories. As target, we will be using the same virtual hacking lab but replace the Metasploitable 2 target with Windows 10 for this article.

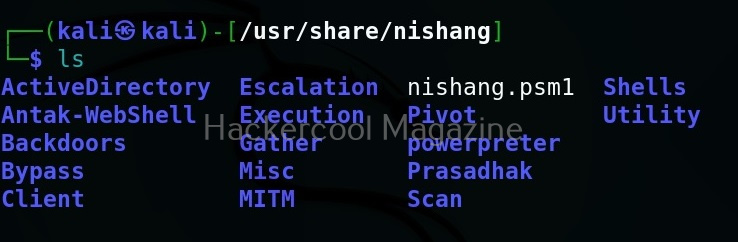
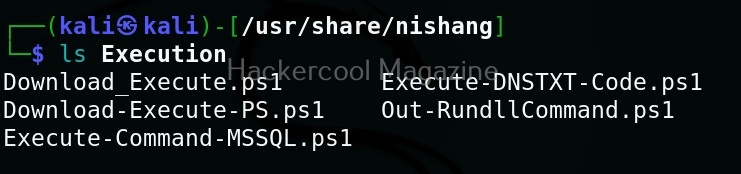
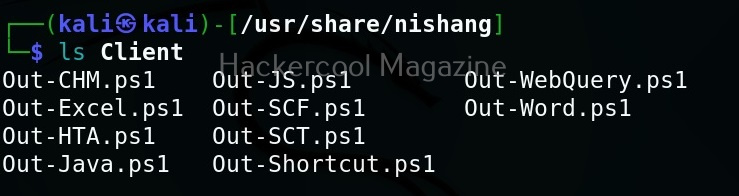
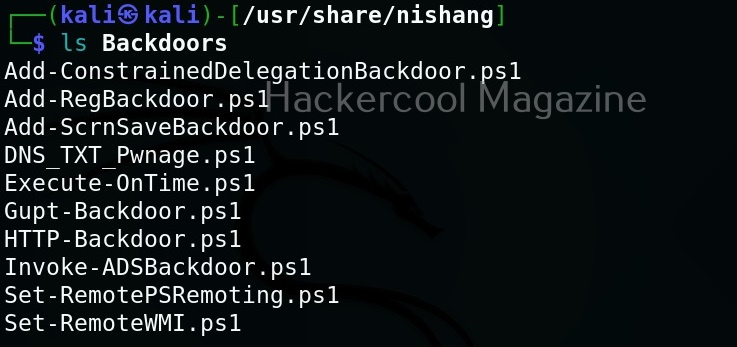
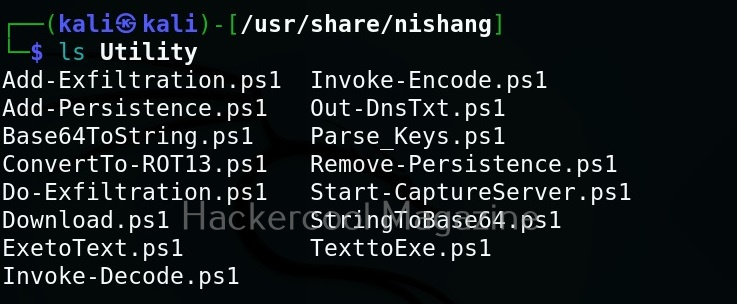
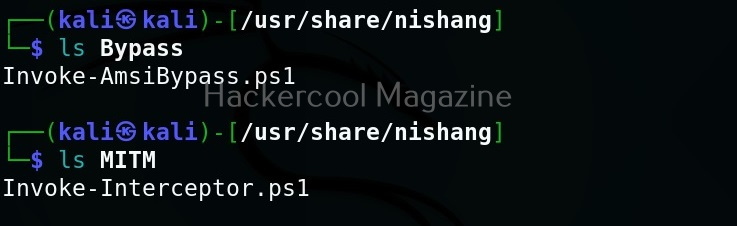
As you can see in the above image, the PowerShell scripts and payloads of nishang are placed into different folders based on the purpose it fulfils. Let’s see all of them.

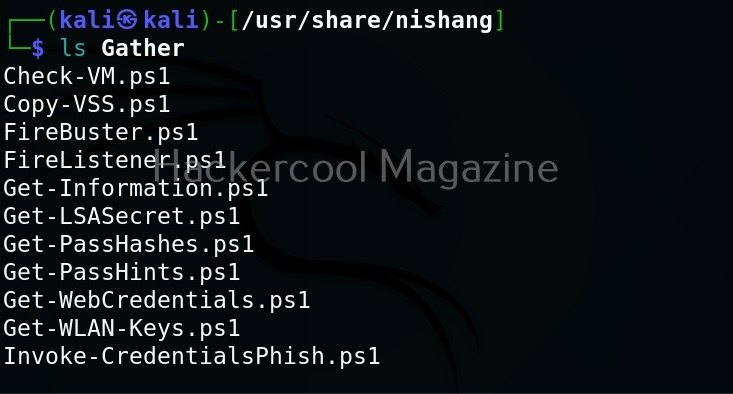
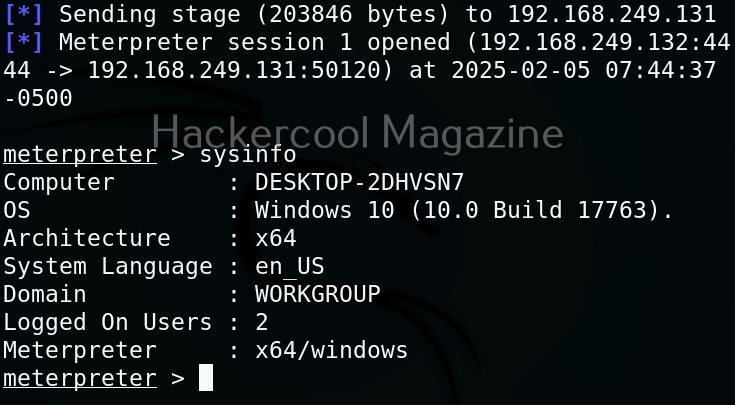
Let’s use one of the scripts of nishang in the “Gather” folder. As the name suggests, the scripts in this folder are useful in collecting information about the target. As you already read at the beginning of this article, the role of Nishang comes during Post-exploitation. So, we first need to be gaining access to the target system. For this article, let’s say we have a meterpreter session on the target system as shown below.

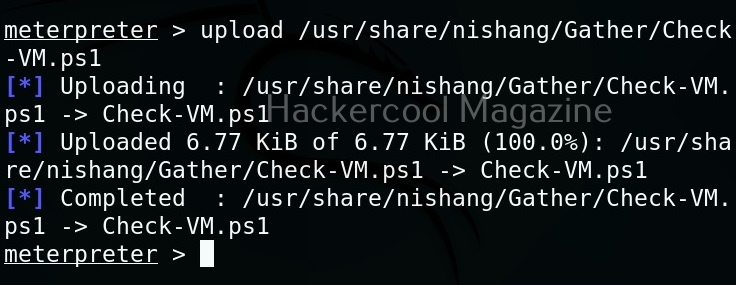
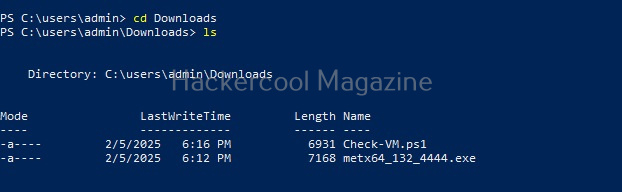
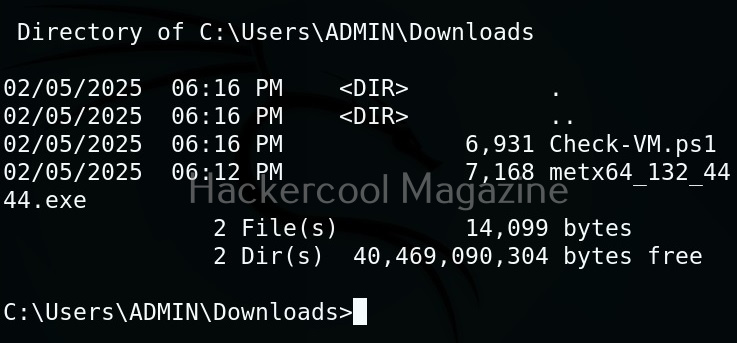
Let’s use “check_vm.ps1” script from Nishang for this tutorial. This script checks whether the target system is a virtual machine or not. We use upload command of meterpreter to upload this “check_vm.ps1” script to the target system.

After this, we need to execute this script on the target system. This can be done in two ways. If you have RDP access on the target system, you can just open PowerShell and execute the uploaded script.

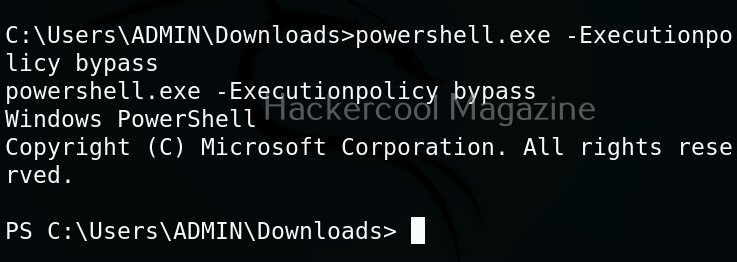
By default, PowerShell doesn’t allow execution of scripts for security purposes. So we may need to first bypass this execution policy. It can be done as shown below.

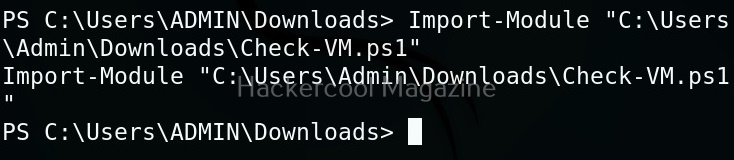
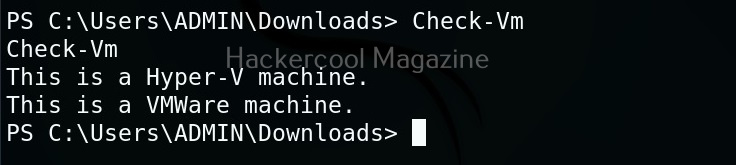
Next, we need to import the script as module and execute it.

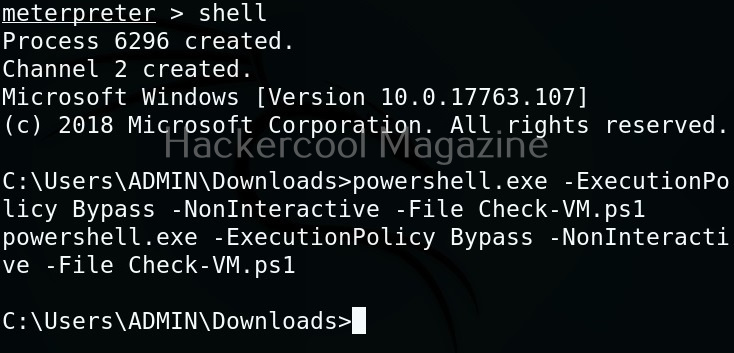
As you can see, the result is out. What if you don’t have RDP access on the target system. Then you have to get a shell from meterpreter as shown below and then execute commands just like above.

The result is same. We can use all other scripts of nishang in the same way. Learn about PowerSploit POST-exploitation framework.

Posted on

Beginners guide to Uniscan

Hello, aspiring ethical hackers. In our previous blogposts, you learnt about various vulnerabilities affecting web apps and websites like Local File Inclusion (LFI), Remote File Inclusion (RFI) and remote command execution (RCE) vulnerabilities. In this blogpost, you will learn about Uniscan, a web vulnerability scanner that scans and detects the above mentioned vulnerabilities in a website or web app.

Uniscan is a simple web vulnerability scanner that scans for LFI, RFI and RCE vulnerabilities. Let’s see how this tool works. For this, we will be using Kali Linux as attacker machine as this tool is available by default in its repositories. As target system, we will be using Metasploitable 2 installed as part of our virtual hacking lab.

Scan a single URL (-u)

All we have to do to scan a website with uniscan is to supply the URL with the (-u) argument as shown below.

Scan for directories (-q)

By enabling this option, we can scan for directories on the target website.

Here, is the result.

Scan for files (-w)

with this option, you can scan for files located on the web server.

Here, is the result.

Scan “robots.txt” and “sitemap.xml” files (-e)

With this option, you can scan the target website’s “robots.txt” and “sitemap.xml” files.

Here are the entries of robots.txt file of our target.

Perform dynamic checks (-d)

The option is useful to perform dynamic checks on the target website.

Perform stating checks (-s)

This option is used to perform static checks on the target. This is the scan that helps in detecting LFI, RFI and RCE vulnerabilities.

Here’s the output.

As you can see in the above image, uniscan detected a LFI vulnerability in the target.

Perform stress checks (-r)

Stress checks help us to see if the target is vulnerable to DoS or DDos attacks.

Fingerprint the server (-j)

With this option, we can perform OS fingerprinting on the target. Uniscan can perform ping, traceroute, nslookup, detect open ports and the services running on them.

Here’s the output.

Combining the scans

All these above explained types of scans can be performed at once as shown below.

Run uniscan in background (-b)

With this option, you can send uniscan to background.

Target multiple URLs at once (-f)

Instead of a single URL, we can scan multiple URLs with uniscan at once. All we have to do is save the URLs you want to scan in a text file and use ‘-f’ option to supply this text file to uniscan as shown below.

Posted on

Complete guide to Stegseek

Hello, aspiring ethical hackers. In our previous blogposts, you learnt what is steganography, its uses and how to hide secret data in an image using the tool Steghide. In this blogpost, you will learn about a tool that can retrieve this hidden data from an image. The tool’s name is Stegseek.

Although the working of Stegseek is same as Stegcracker, it is a lightning fast steghide cracker that is thousands of times faster than other crackers and can run through the entirety of rockyou.txt wordlist in under 2 seconds. Let’s see how this tool works. For this article, we will be using Kali Linux as our attacker system as this tool is installed by default on Kali Linux. For performing steganography attack, we will be using same image in which we have hidden data using Steghide, “Volcano_with_Secret,jpg”.

All you need to retrieve the hidden information from the image with this tool is to just supply the path of the image as shown below.

The “-sf” option stands for stego file. A stego file is a file that contains hidden information in it.

As you can see in the above image, Stegseek cracked the password (123456) of this file and successfully retrieved the hidden data. That too in lightning speed pace. The retrieved data from the image is saved in a file named <name of the file.jpg.out>. By default, Stegseek uses rockyou.txt wordlist to brute-force the password.

Specify a different wordlist (-wl)

We can even specify a different dictionary or wordlist if needed as shown below.

Select file name for extracting data (-xf)

As you already read at the beginning of this article, stegseek saves retrieved hidden data to a file named “<name-of-the-file>.out”. To extract the hidden data to a different fie, we can use this option. For example, let’s save the retrieved data to a file named “secret.txt” as shown below.

Overwrite existing file (-f)

In the above image, you can see that when we extracted hidden information to a file named “secret.txt”, we got prompted saying that there is already a file with the same name and if I wanted to overwrite it. Well, using this option, we can force overwrite already existing file.

Get detailed output (-v)

This option gives us detailed output while using Stegseek.

Quiet mode(-q)

On the contrary, you can run Stegseek in quiet mode. Running in this mode will just display the cracked password of the file as shown below and of course retrieve the hidden data. Status updates or other output is not displayed.

Skip defaults (-s)

Specifying this option skips adding default guesses while cracking like using an empty password, the name of the file etc to the wordlist.

Number of threads (-t)

By default, stegseek uses 4 threads while cracking the password. Increasing the number of threads can lead to better performance. Threads can be increased or decreased using this option. For example, let’s increase the number of threads to 10.

Posted on

Complete guide to Stegcracker

Hello, aspiring ethical hackers. In our previous blogposts, you learnt what is steganography, it’s uses and how to hide secret data in an image using the tool Steghide. In this blogpost, you will learn about a tool that can retrieve hidden data from an image. The tool’s name is Stegcracker.

Stegcracker is a steganography brute-force utility to uncover hidden data inside files. Let’s see how this tool works. For this article, we will be using Kali Linux as our attacker system as this tool is available by default in its repositories. For performing steganography attack, we will be using same image in which we have hidden data using Steghide “Volcano_with_Secret,jpg”.

Check version (-v)

It is a good practice to check the version of the tool first before doing anything with the tool. You can check the version of Stegcracker using this option.

All you need to retrieve the hidden information from the image with this tool is to just supply the path of the image as shown below.

As you can see in the above image, Stegcracker cracked the password (123456) of this file and successfully retrieved the hidden data too. The retrieved data from the image is saved in a file named <name of the file.jpg.out>. By default, Stegcracker uses rockyou.txt wordlist to brute-force the password.

Specify a different wordlist

We can even specify a different dictionary or wordlist if needed as shown below.

Verbose output (-V)

This option can be used to get detailed output from stegcracker.

Quiet mode(-q)

On the contrary, you can run Stegcracker in quiet mode. Running in this mode will just display the cracked password of the file as shown below and of course retrieve the hidden data. Status updates or other output is not displayed.

Number of threads (-t)

By default, stegcracker user 16 threads while running. Increasing the number of threads can lead to better performance. Threads can be increased or decreased using this option. For example, let’s increase the number of threads to 32.

Saving the output (-o)

As you already read at the beginning of this article, stegcracker saves retrieved hidden data to a file named “<name-of-the-file>.out”. However this can be changed using the “-o” option.

For example, let’s save the retrieved data to a file named “secret.txt” as shown below.

Posted on

Beginners guide to Ophcrack

Hello, aspiring ethical hackers. In our previous blogpost, you learnt about password cracking. In this article, you will learn about a tool that cracks Windows log-in passwords offline. The name of this tool is Ophcrack.

Ophcrack is a free, open-source program that uses rainbow tables to crack Windows log-in passwords. It can import hashes in a variety of formats and can even dump them from SAM files of Windows. It can usually crack any password within minutes. It can be downloaded from here. Ophcrack is also available as a a LiveCD distribution that automatically retrieves, decrypts and cracking of passwords from a Windows system. LiveCD’s are available for Windows XP, Windows Vista and Windows 7.

Let’s see how Ophcrack works. For this tool to work, you need to have physical access to the computer whose password you want to crack. Let’s download Ophcrack-XP- live cd for this tutorial since I am testing this on a WIndows XP target. After downloading, you need to make a USB boot device out of this image. Then you need to boot from this USB device. This is what you will see as soon as Ophcrack boots.

Then, Ophcrack automatically starts loading and cracking hashes of passwords of the user accounts from the target system.

As you can see, Ophcrack cracked the password of user “Administrator”. The password is ‘123456’. All this happens automatically. On the statistics tab, you can see the stats of this tool.

On the preferences tab, you can set the preferences for this tool.

You can even load a single hash, PWDUMP file, session file or encrypted SAM file as shown below.

You have read at the beginning of this article that this tool this uses rainbow tables to crack Windows passwords. In the “Tables” option, you can see all the tables installed. You can also download and install other tables as required.

You can save the file with cracked passwords using “save” option. On the Ophcrack logout option, you can see cracked passwords or you can shutdown or reboot the system.