Posted on

CVE-2022-25636 : Linux Privilege Escalation

Hello aspiring Ethical Hackers. In this article you will learn about another Linux Privilege Escalation vulnerability tracked as CVE-2022-25636 and its exploitation. I am saying another because this vulnerability comes immediately after recently discovered Linux Dirty Pipe vulnerability.

CVE-2022-25636 is a vulnerability that affects the Linux Netfilter component. What is netfilter? It is an open source framework provided by the Linux kernel that allows various networking-related operations to be implemented in the form of customized handlers. Its functions include packet filtering, network address translation and port translation. All Linux Firewall utilities i.e Iptables, nftables, ufw etc use Netfilter in their operations.

Exploitation of this vulnerability can give attackers root privileges on the target system, allow them to escape containers and in worst case induce a kernel panic. This vulnerability affects Linux kernel versions 5.4 to 5.6.10. The target OS include Ubuntu, Debian, RedHat etc.

However, there’s no clarity on which kernel versions are actually vulnerable. In my testing, this failed to work on Ubuntu 21.10 kernel version 5.13.0-10 but worked every time on Ubuntu 21.10 with kernel version 5.13.0-30 (without giving any panic). Let’s have a look at how the exploitation worked for me.

To exploit this privilege escalation vulnerability, anybody needs to have access on the target system with Low User Privileges as shown below.

Once I have a shell on the target, I download the exploit from Github as shown below.

Next, I navigate into the CVE-2022-25636 directory and compile the exploit as shown below.

Then I executed the exploit as shown below.

cve-2022-25636

As readers can see, I successfully got a shell with root privileges.

Posted on

Dirty Pipe vulnerability for beginners

Hello aspiring Ethical Hackers. In this article, we will explain you about the Dirty Pipe vulnerability and how it can be exploited to get root privileges. Considered to be more prevalent than the Dirty Cow vulnerability and more simpler to exploit, the Dirty Pipe vulnerability affects Linux kernels since 5.8. To make it worse, this vulnerability affects even Android as its OS is based on Linux. Dubbed as CVE-2022-0847, this vulnerability is fixed in kernel versions 5.16.11, 5.15.25 and 5.10.102.

To understand the Dirty Pipe vulnerability, readers need to understand a few concepts in Linux.

Pipe : A pipe is a data channel that is used for uni-directional inter-process communication in Linux.

Memory Page : Whenever some data is written to a pipe, a page is allocated to it. A page is ring of a struct pipe buffer implemented by the Linux kernel. The first write to any pipe is allocated a page which is over 4 kB worth of data. If the latest data written to a pipe does not fill the page completely, the following data written will be appended to the same page instead of being allocated a new page.

For example, let’s say 2Kb of data is written to a pipe for which a page is allocated. When the subsequent 1KB of data is written to a pipe, this 1KB of data is appended to the same page instead of being allocated a new page. Anonymous Pipe Buffers work like this.

Page Cache : Memory pages are handled by kernel subsystem called page cache. Whenever any file is read or being written, the data is put into the page cache. This is done to avoid accessing disk for any subsequent reads and writes. This data in the page cache remains for some time until the kernel decides it needs that space for a better purpose. A page cache becomes “dirty” when the data inside the cache has altered from what is on the disk. This is where the name of the vulnerability comes from.

Pipe Flag : The status and permissions for the data in the pipe are specified by Pipe Flags. For DirtyPipe vulnerability, a flag named PIPE_BUF_FLAG_CAN_MERGE plays an important role by specifying that the data buffer inside the pipe can be merged.

System Calls : System Calls or syscalls are methods that can send requests to the kernel from the user space (the portion of memory containing unprivileged processes run by a user). System Call is the fundamental interface between an application and Linux Kernel.

Splice() : Splice is a syscall that was introduced since Linux 2.6.16 that can move data between pipes and file descriptors without user space (the portion of memory containing unprivileged processes run by a user) interaction.

Now, since you have been explained the basic concepts that make this vulnerability work, let’s get into the vulnerability itself.

Whenever any data is copied from a file into the pipe using splice() function, the kernel will first load the data into the page cache as already explained above. Then kernel will create a struct pipe_buffer inside the page cache. However unlike anonymous pipe buffers, any additional data written to the pipe must not be appended to such a page because the page is owned by the page cache, not by the pipe.

Since the page cache is run by kernel (high privileges), any user with low privileges can exploit this vulnerability to take an action requiring high privileges. Enough theory. Let’s get into practical exploitation. We are going to try this on Debian 11 with kernel 5.10.0.

I will try to get a root shell by exploiting this vulnerability. For this, I will download a exploit as shown below.

I compile the exploit which is a C script.

Then I execute the exploit as shown below. This will create a new user named “rootz” with root privileges.

dirty pipe

Once you get the message saying “It Worked”, the exploitation is successful. All I have to do is login as the new user (rootz) as shown below.

Voila, I have a root shell. The exploitation is successful.

Posted on

AntiVirus Evasion With Exocet

Hello aspiring Ethical Hackers. In this article, you will learn about AntiVirus Evasion with the help of a tool named Exocet. Exocet is a Crypter type malware dropper. A Crypter is a software that is used to make malware undetectable. It performs functions such as encrypting, obfuscating and manipulating the code of the malware to make it undetectable.

EXOCET is one such Crypter-type malware dropper that can be used to recycle easily detectable malware payloads. EXOCET achieves this by encrypting those malware files using AES-GCM (Galois/Counter Mode) and then create a dropper file for a majority of target architectures and platforms.

Written in Golang programming language, the steps involved in making malware undetectable by EXOCET are,

  1. It first takes malware that is easily detectable by Anti Virus engines as input.
  2. It then encrypts this easily detectable malware and produces it’s own Go file.
  3. This Go file can be cross-compiled to 99% of known architectures like Linux, Windows, Macs, Unix, Android and IPhone etc.
  4. Upon execution, the encrypted payload is written to the disk and immediately executed on the command line.

Let’s see how it works. First, we need to install Golang on Kali as Exocet is a Go program.

Once Golang is successfully installed, clone the repository of Exocet. It can be downloaded from here.

We need to install the EXOCET source files in golang.  We can do this using the command shown below.

Exocet is successfully installed. Now, let’s test it. We create a reverse shell payload with Msfvenom first.

We copy this payload to our target system which is Windows 10. The Windows Defender easily detects it (obviously) and classifies it as malware.

This is expected. Next, We copy this easily detectable payload to the directory of Exocet.

Then we run the following command using Exocet. This will create a new golang file called outputmalware.go.

Then we run the following command to create a Windows 64 bit payload.

av evasion

Our result is the exocet_payload.exe. We start a Metasploit listener on the attacker system and copy the Exocet payload to the target.

This time the payload goes undetected as shown below.

This is how we perform AntiVirus Evasion with Exocet Tool.

Posted on

How to install Parrot OS in VMware

Hello aspiring ethical hackers. In this article, you will learn how to install Parrot OS in VMware. Parrot OS is an operating system designed for pen testing similar to Kali Linux. It is free and open source GNU/Linux distribution based on Debian designed for security experts, developers and privacy aware people. It includes a full portable arsenal for IT security and digital forensics operations. It also includes everything you need to develop your own programs or protect your privacy while surfing the net.

There are two ways of installing Parrot OS in VMware. They are,

  1. Using a OVA file
  2. Using a ISO file

1.Installing Parrot OS using a OVA file

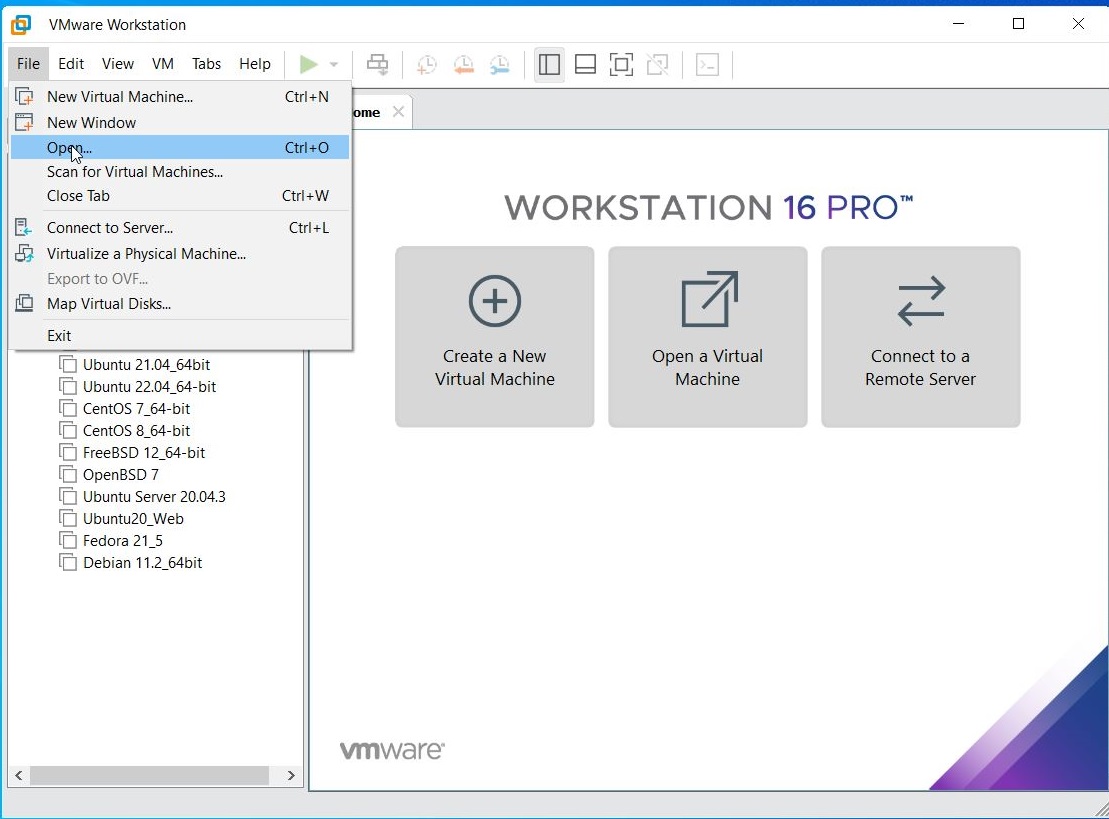
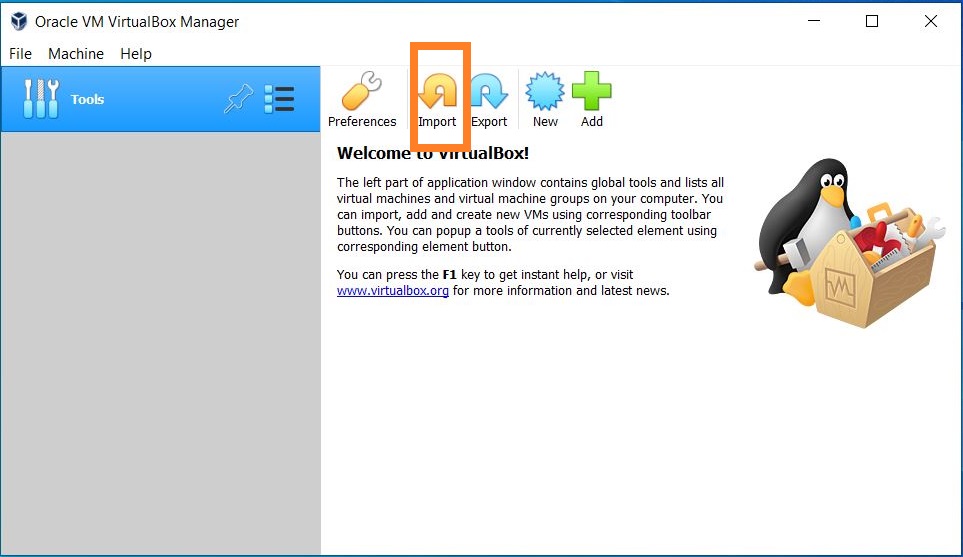
Let’s first see how to install Parrot OS in VMWare using the OVA file provided by the makers of Parrot OS. You can download the OVA file of Parrot Security OS from the “virtual” section here. Once the OVA file is finished downloading, Open VMWare and click on “Open”.

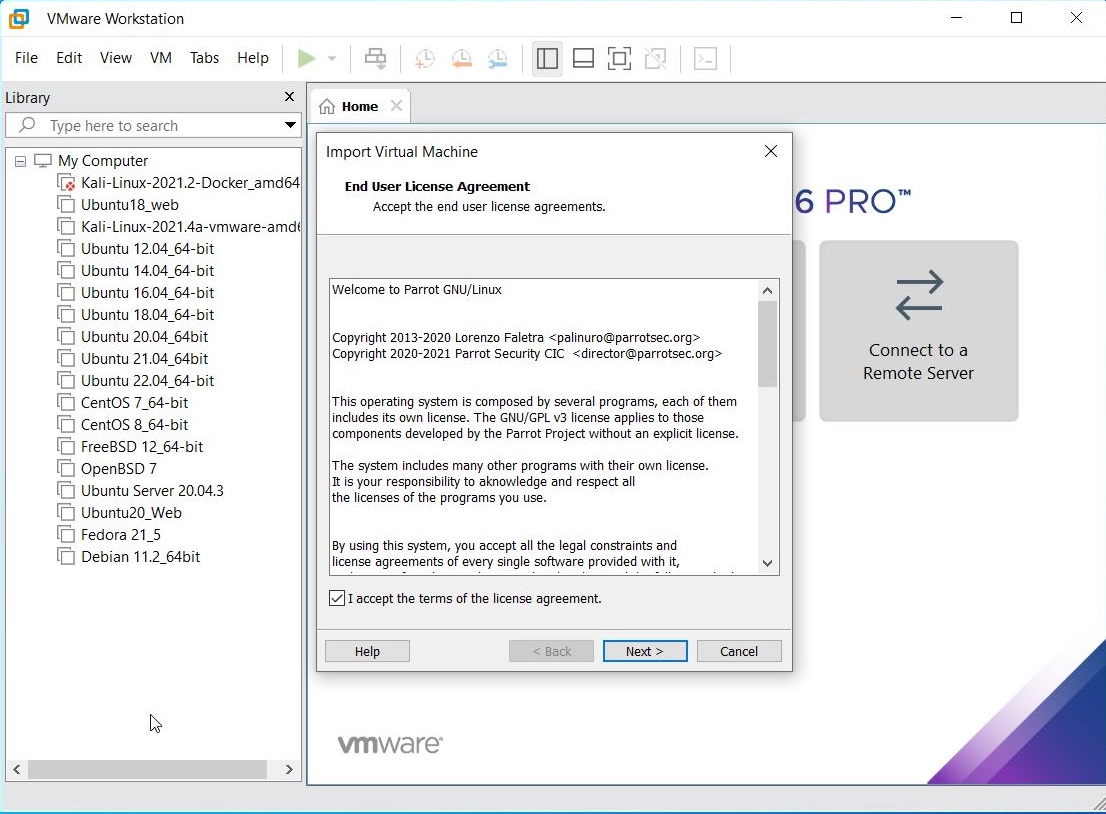
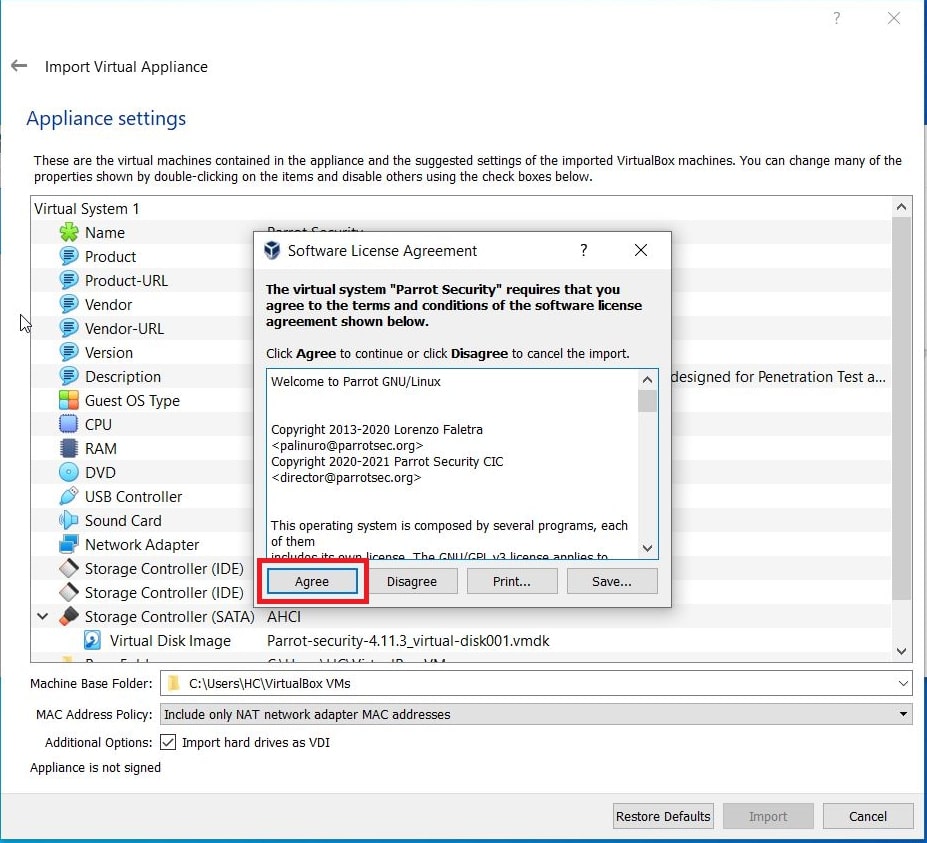
Enable the checkbox to accept the terms and conditions and click on “Next”.

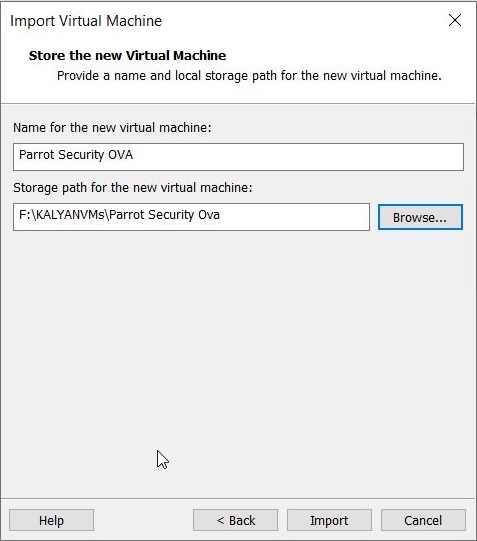
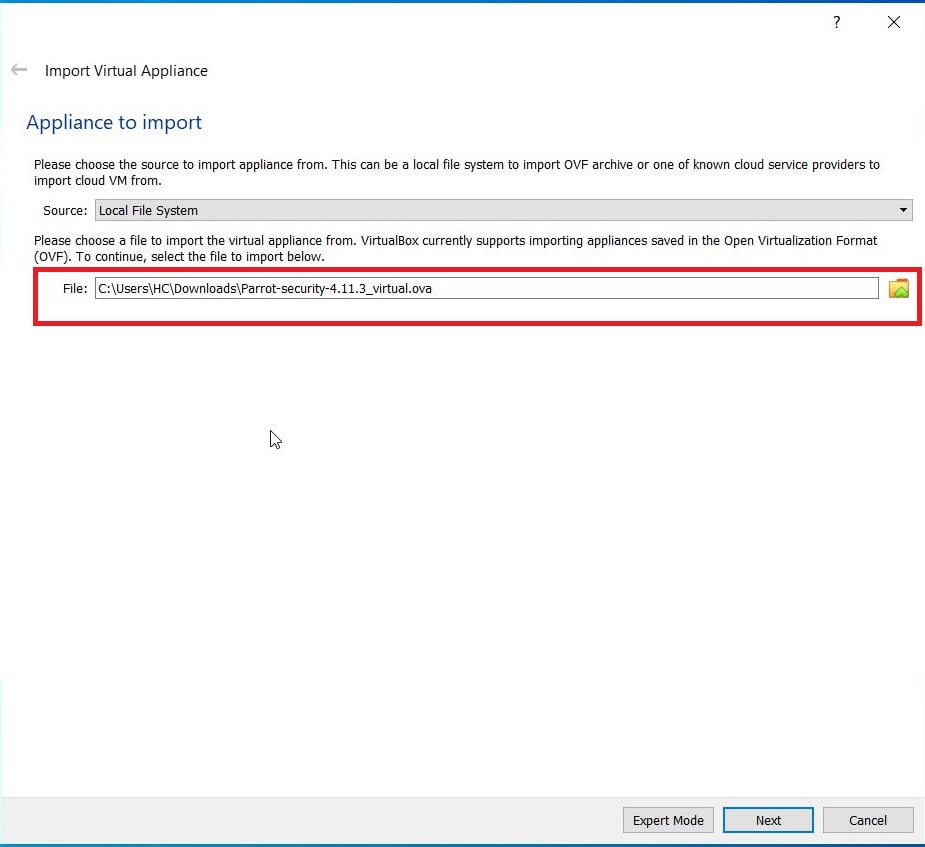
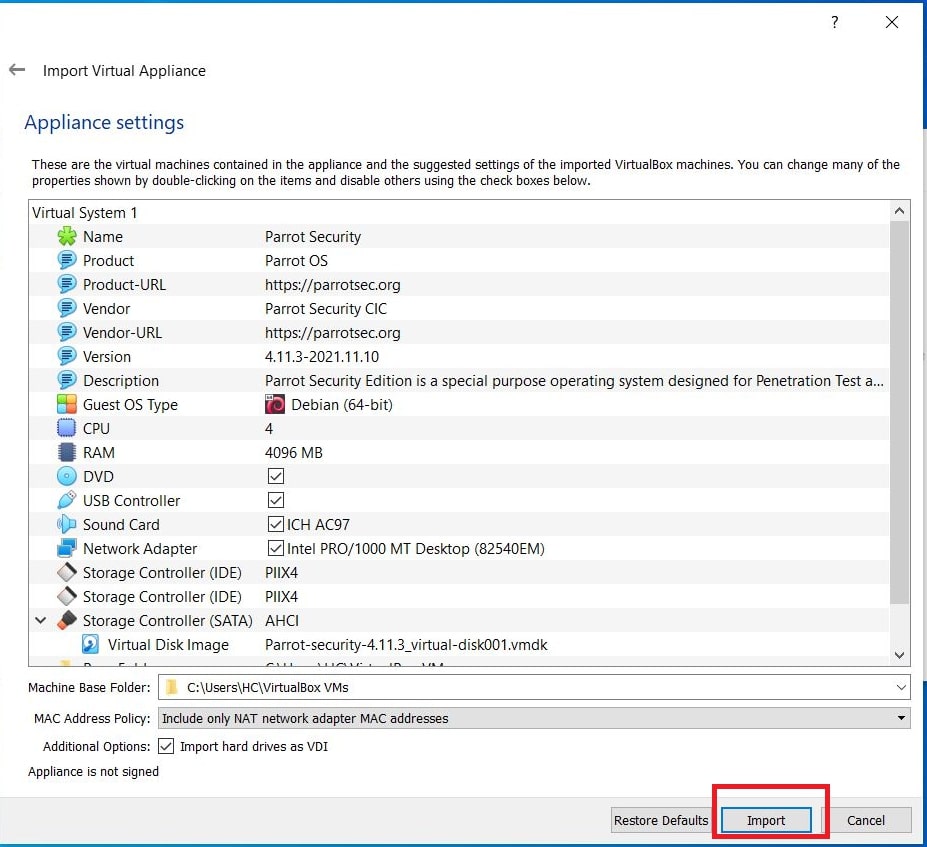
In the new window that opens, browse to the OVA file you downloaded and click on “Import”.

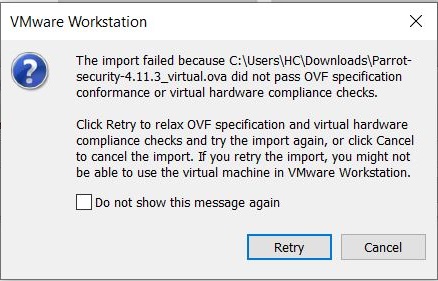
If you get an “import failed” error as shown below, click on “Retry”.

The import process should start as shown below.

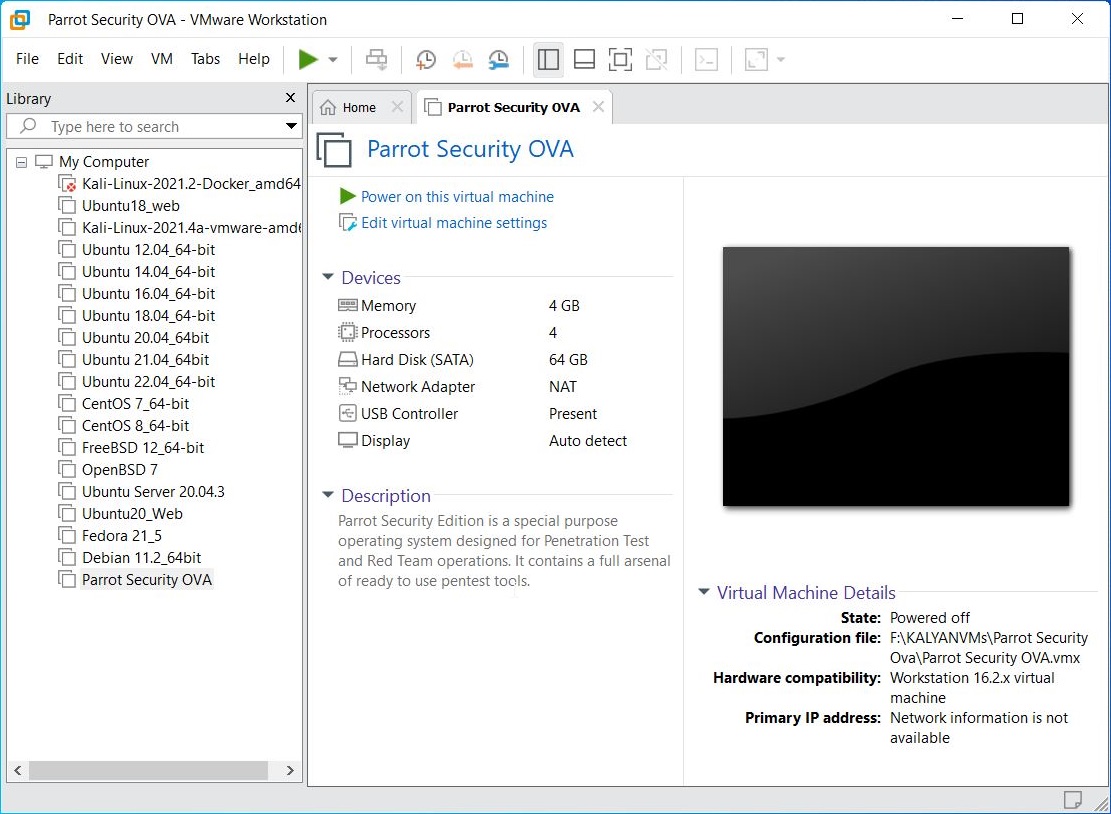
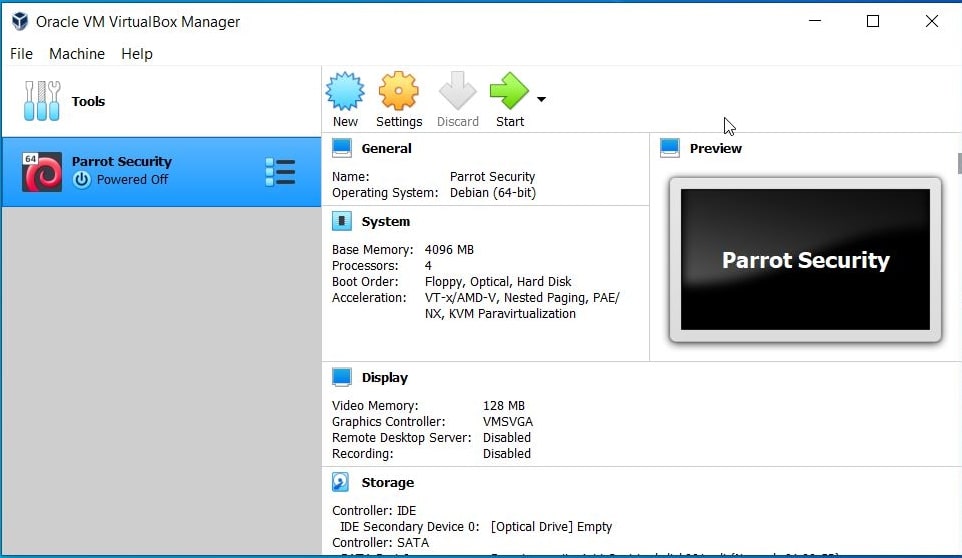
Once the importing process is finished, power on the virtual machine.

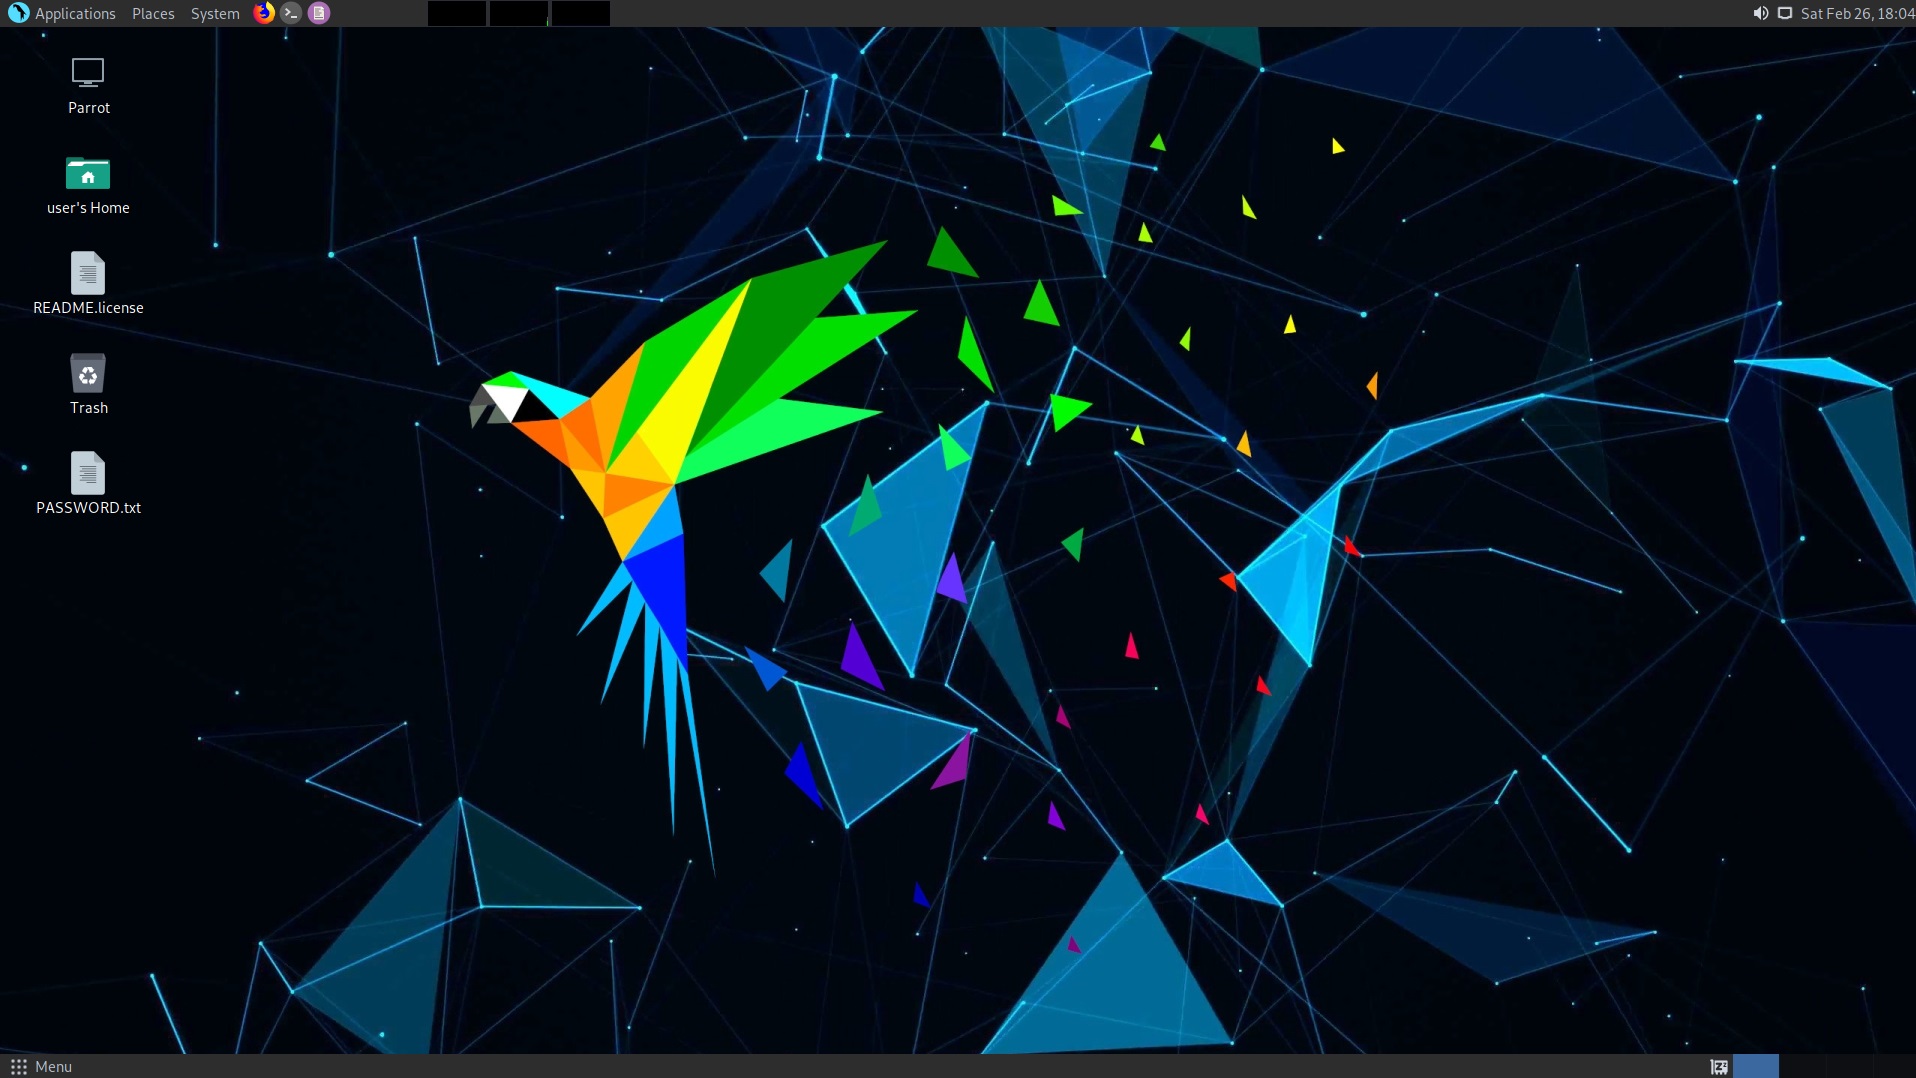
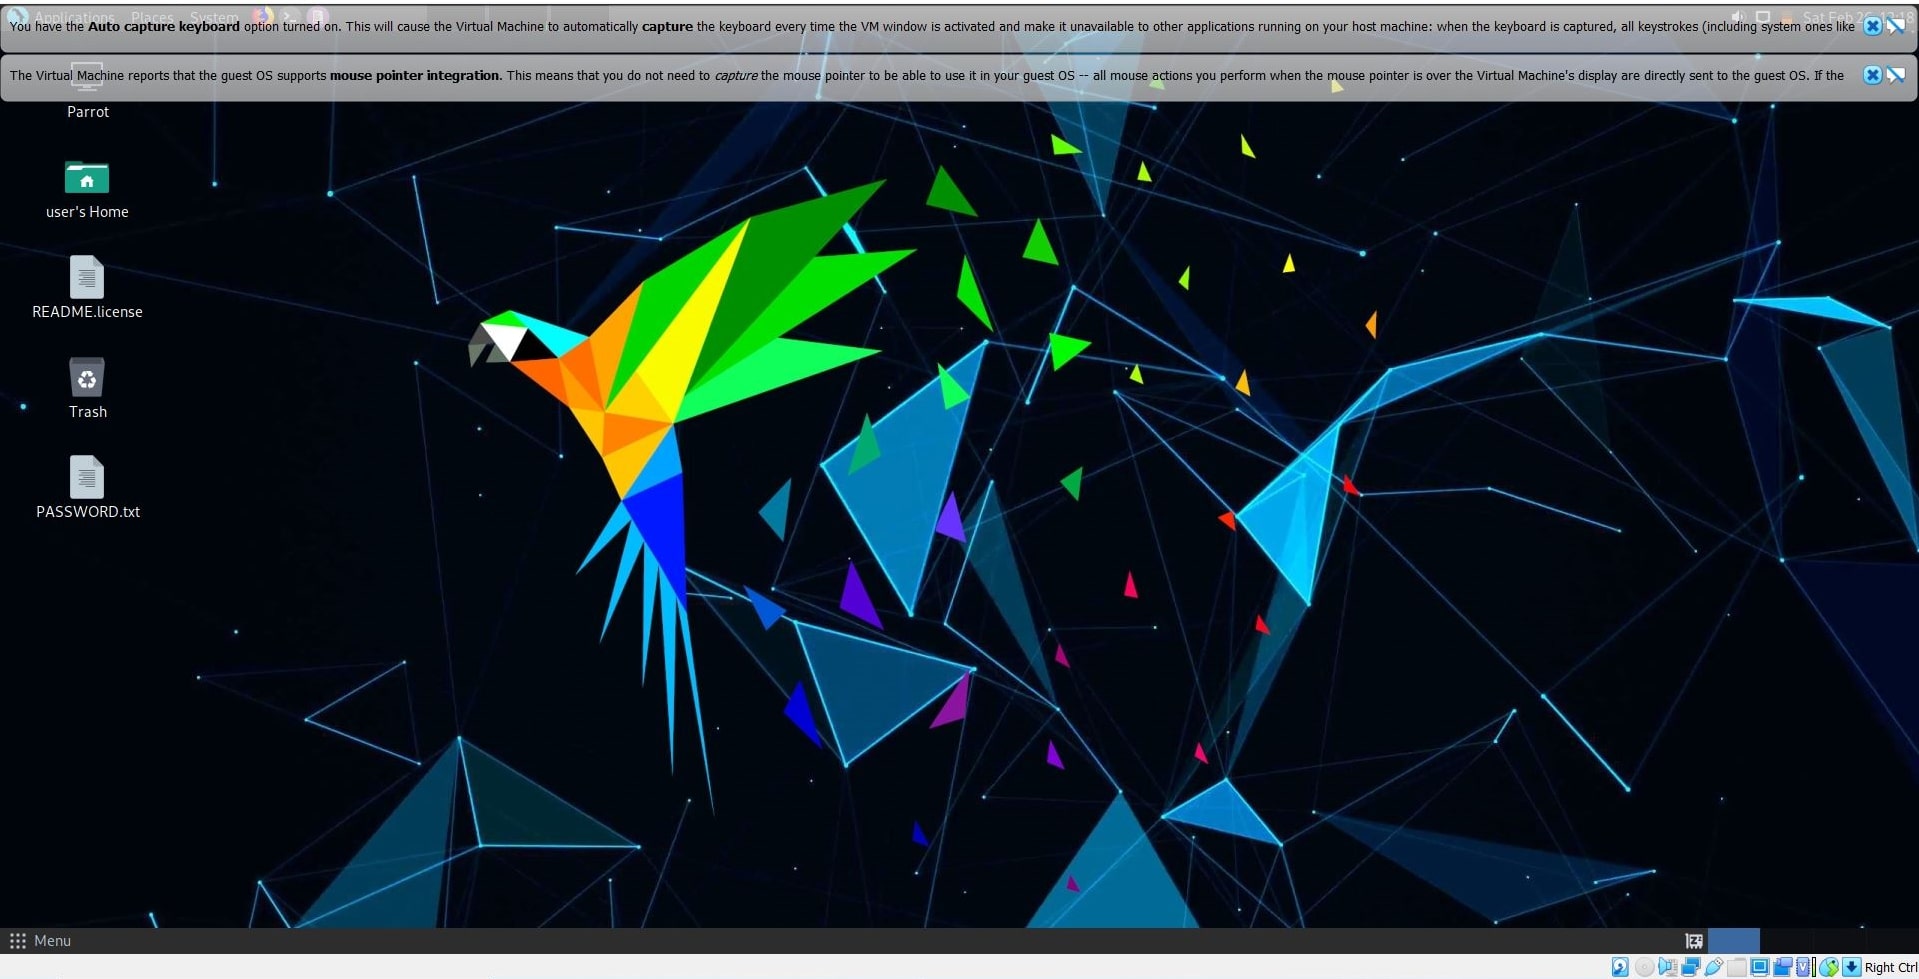
The installation is finished.

2. Installing Parrot OS using a ISO file

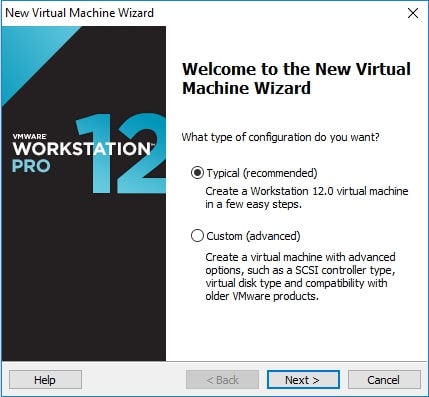
Now, let’s see how to install Parrot OS using an ISO file. Download the LIVE image from the Parrot Security OS page. Once the download is finished, open VMware Workstation (Version 12 used for this article) and hit “CTRL+N”. The below window should open.

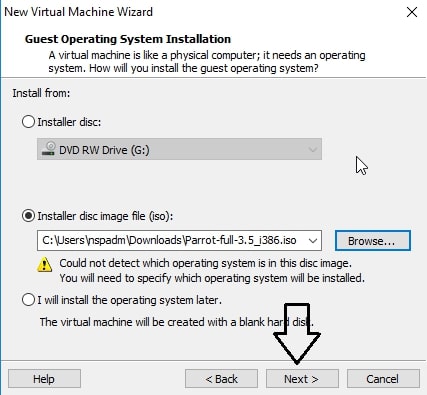
Make sure the “Typical” option is selected and click on “Next”. That takes us to the next window. Initially, the “installer disc image file” field should be empty. Click on “browse” and navigate to the location of the ISO file we just downloaded and select it. Now the window should look like below. Click on “Next”.

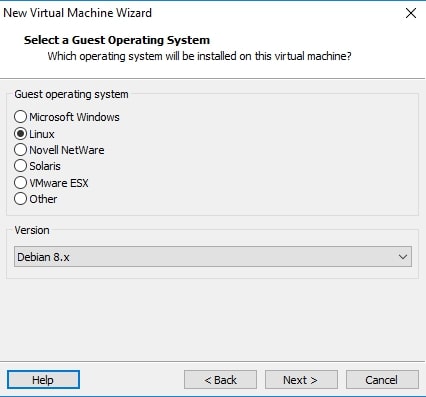
The guest operating system should be automatically selected for you. If not, select Linux as OS and version as Debian 8.x (since I am installing a 32bit OS, make it Debian 8.x64 if you are installing 64bit OS). Click on “Next”.

Choose the name of virtual machine and its location as you like. I named it “Parrot”. Click on “Next”.

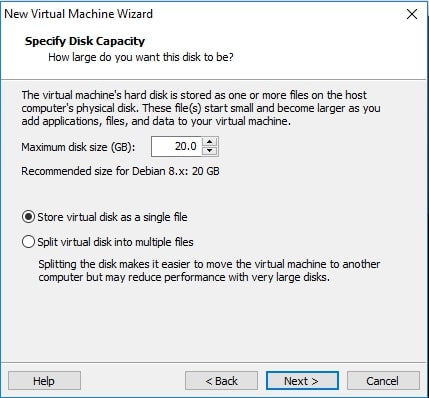
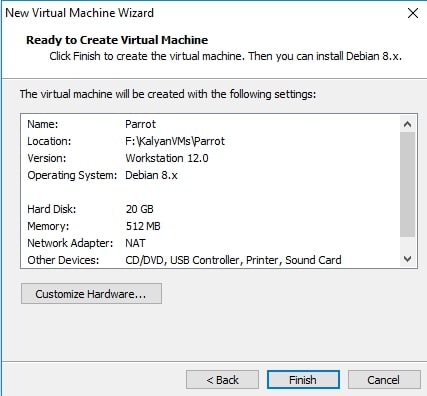
Allocate the hard disk memory for your virtual machine. Keep the minimum as 20GB. Click on Finish.

It will show you a summary of all the selections you made. If you want to make any changes, click on “Customize hardware” button. Otherwise, click on “Next”.

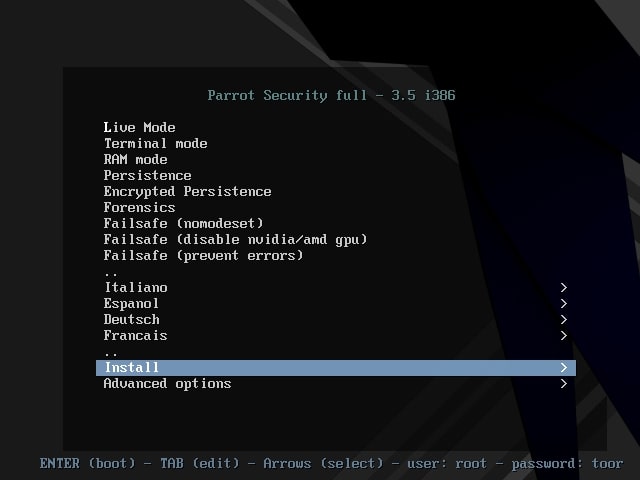
The virtual machine is created with the name you gave it. Power on the virtual machine. It will boot and take you to the interface shown below. Choose the “Install” option. In the next window select “Standard Installer”. You can select these options using “tab” button.

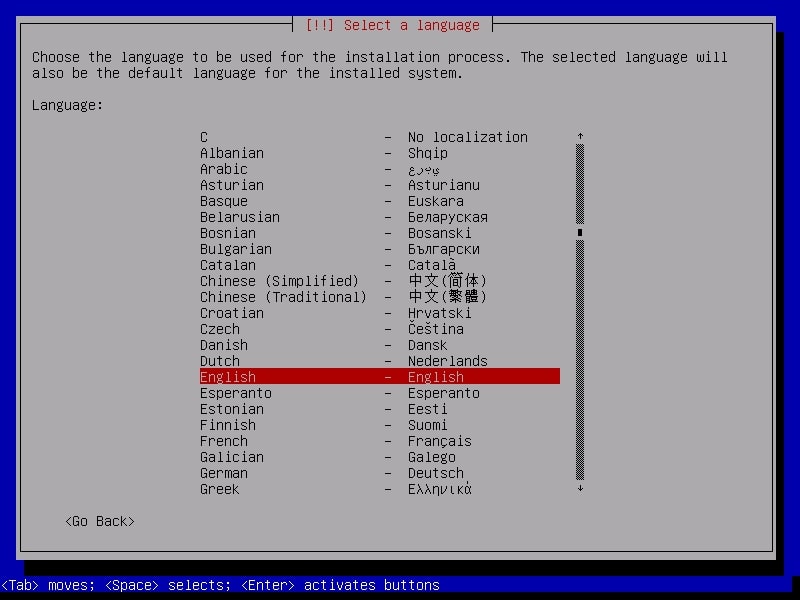
Select the language in which you want to continue the installation process. Here, I chose English.

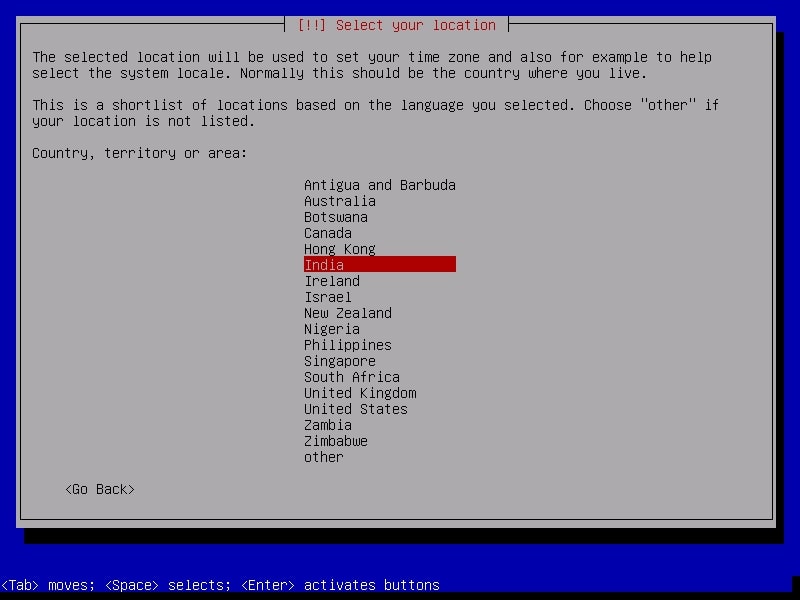
Select your country. I chose location as India.

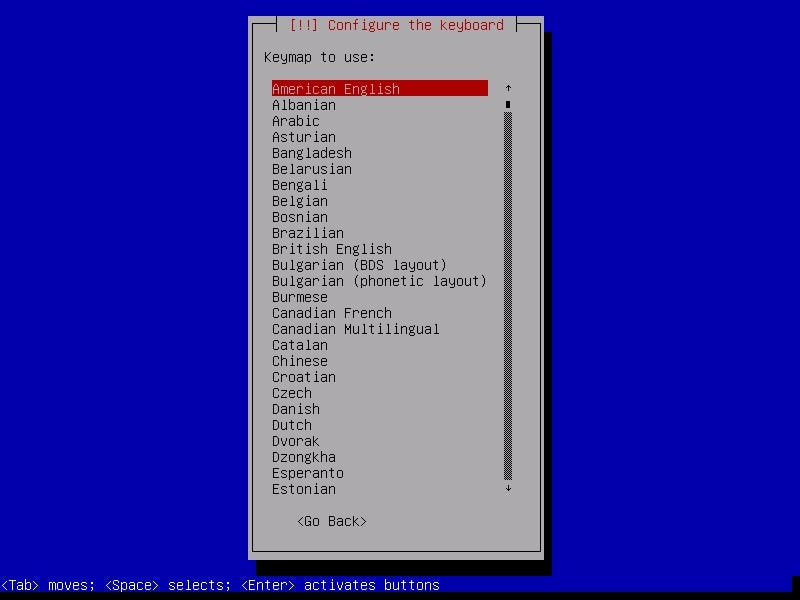
Select the keyboard configuration you want.

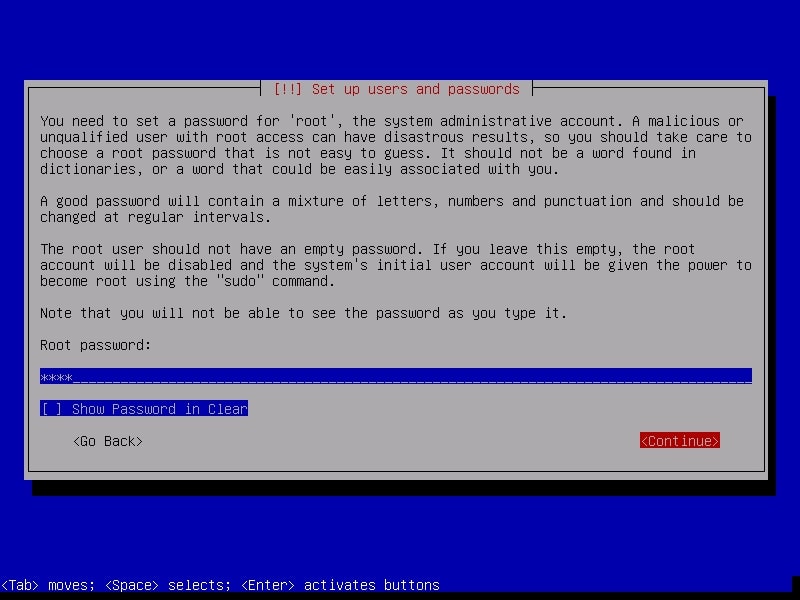
It is important to set the root password for the machine before we do anything. Set a complex password. Read the suggestions before you set the root password.

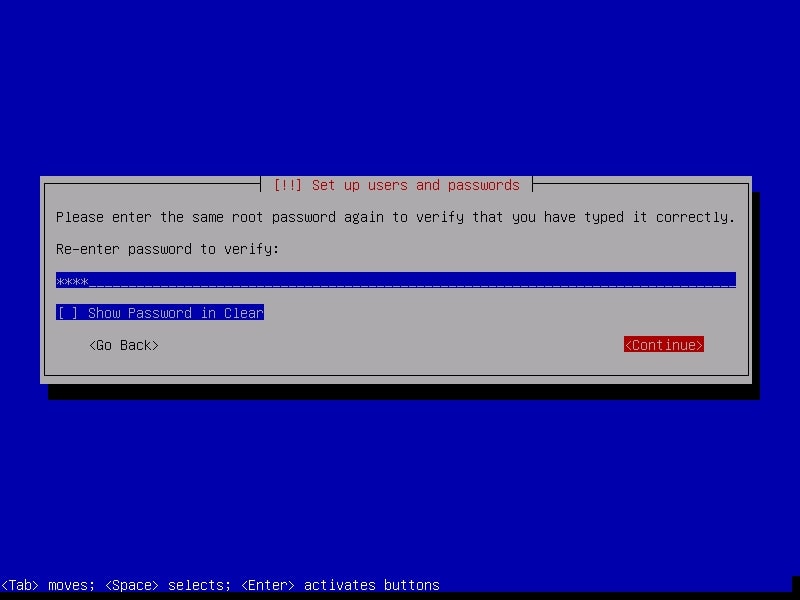
Re-enter the root password again to confirm it.

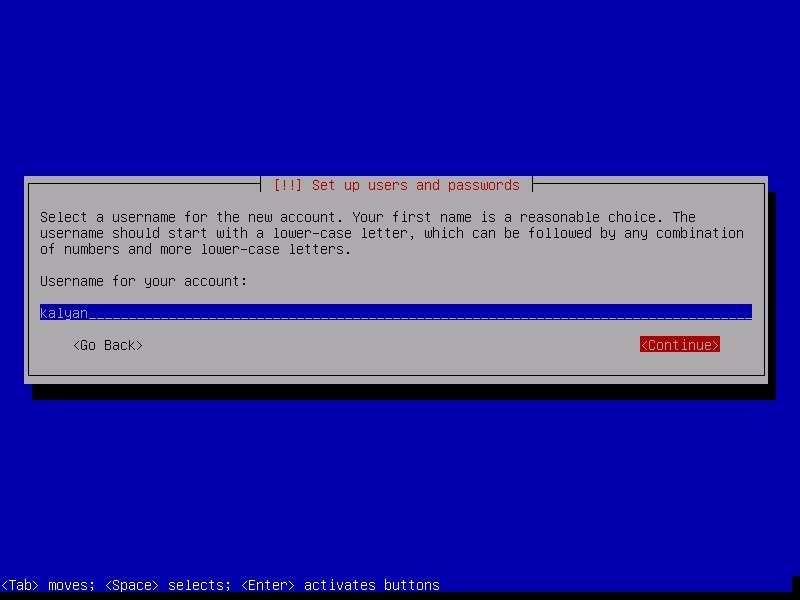
Although you have a root account, it is good practice to use the system as a non root user. The system will prompt you to create a new user account for non-administrative activities. I am creating a user with name “kalyan”. I am giving the same name as username.

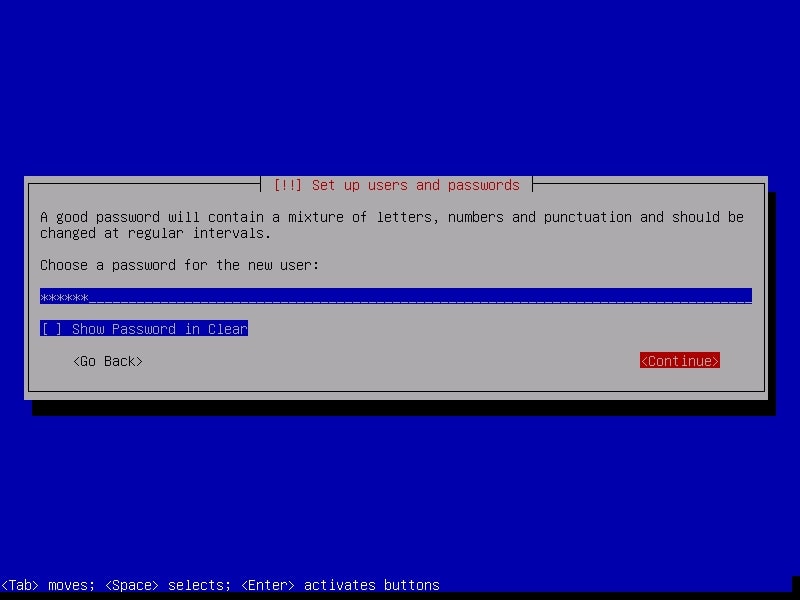
Create a password for the user account you just created (non-root user). Make it a good password for security reasons.

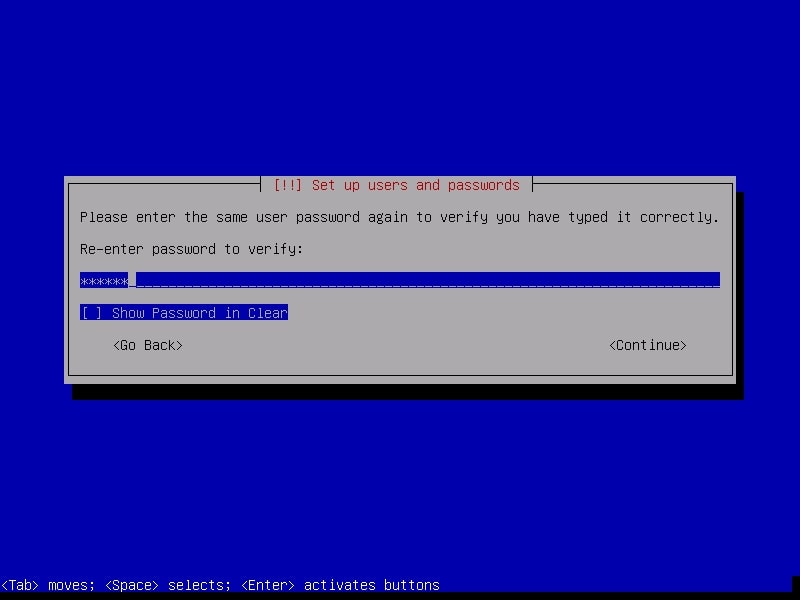
Re-type the password again to confirm the password you have assigned.

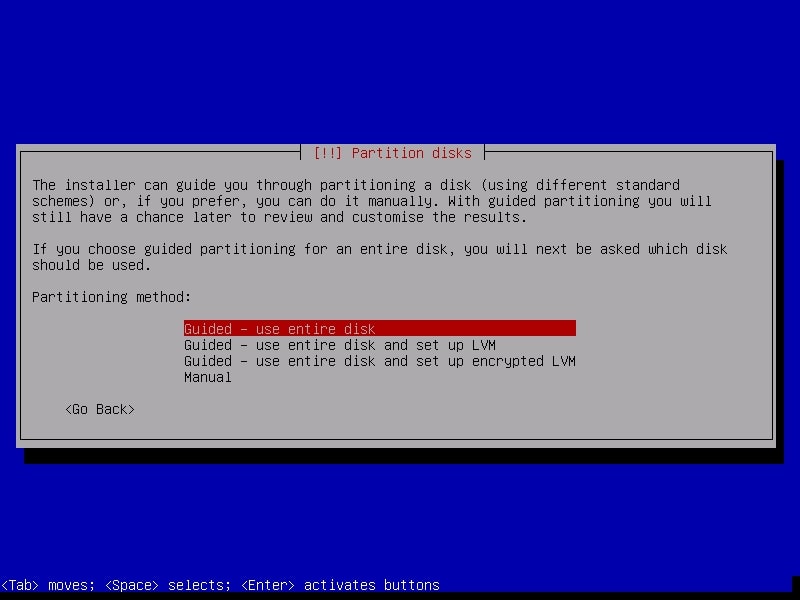
The next step is partitioning the hard disk. Unless you are an expert or want to try something different, use the entire disk.

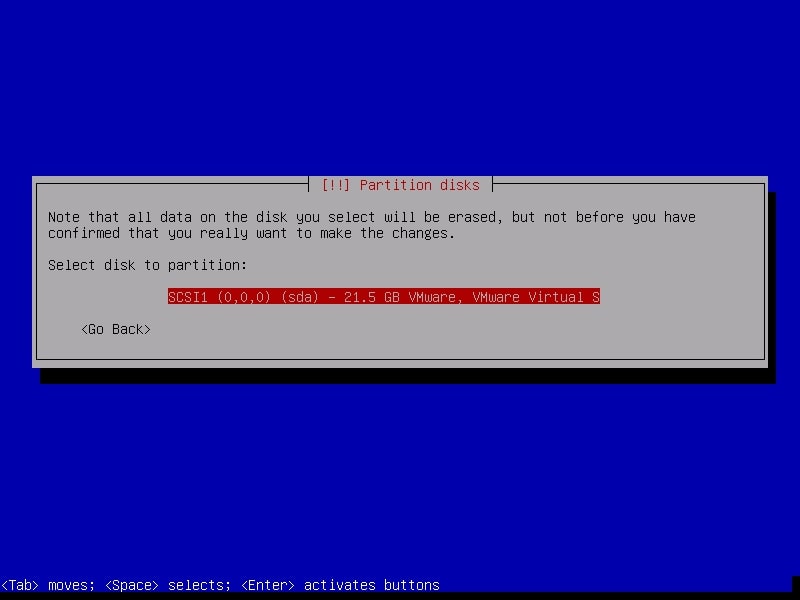
The system will warn you before partitioning. Select the disk for partitioning.

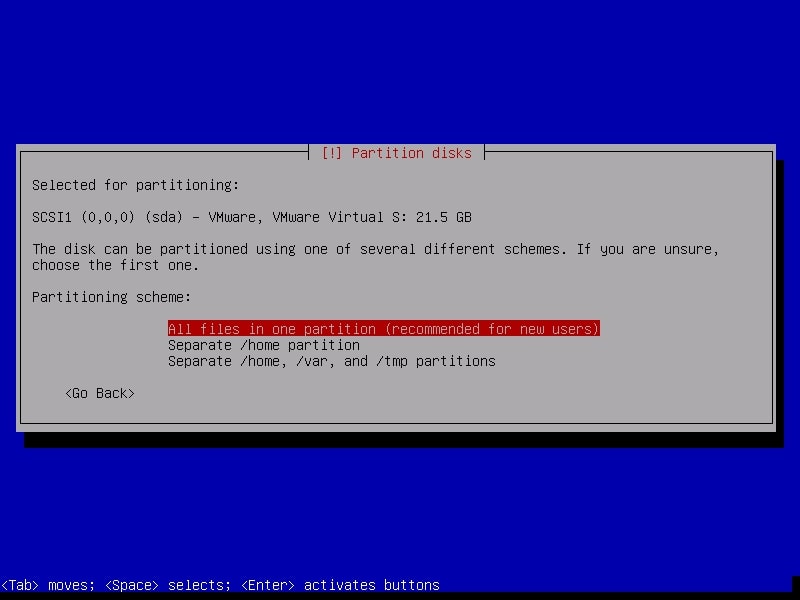
It will ask you to choose the partitioning scheme. Choose the first one. It is also recommended for new users.

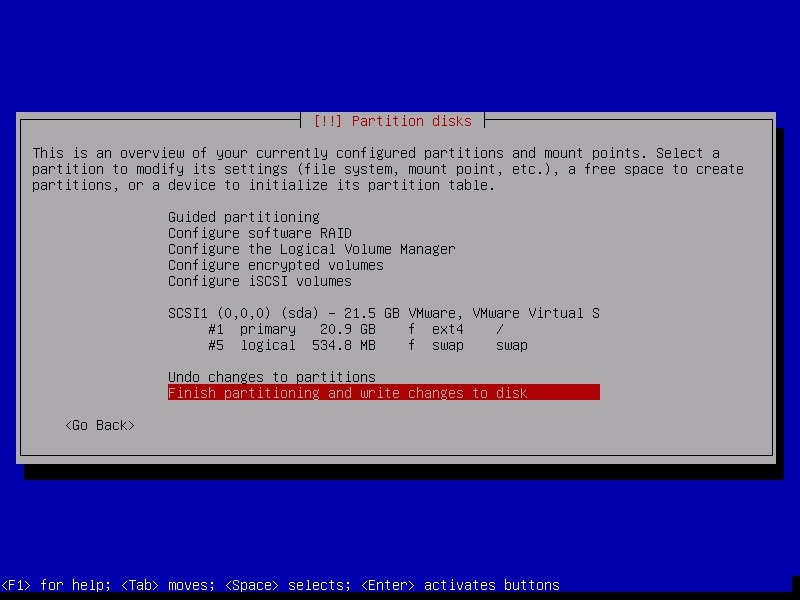
Next, it will show you changes you have configured before writing the changes to the disk. Select “Finish partitioning and write changes to the disk”.

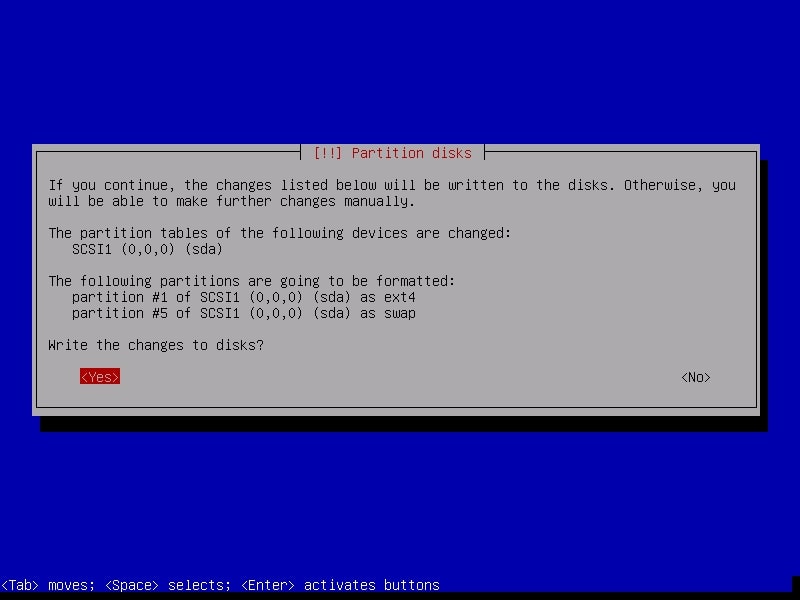
Confirm for one last time that you want to write changes to the disk by selecting “Yes”.

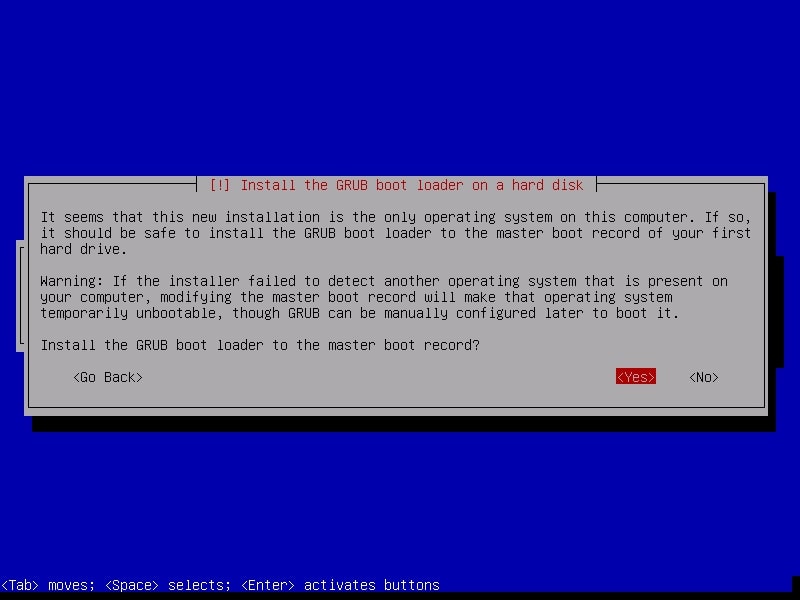
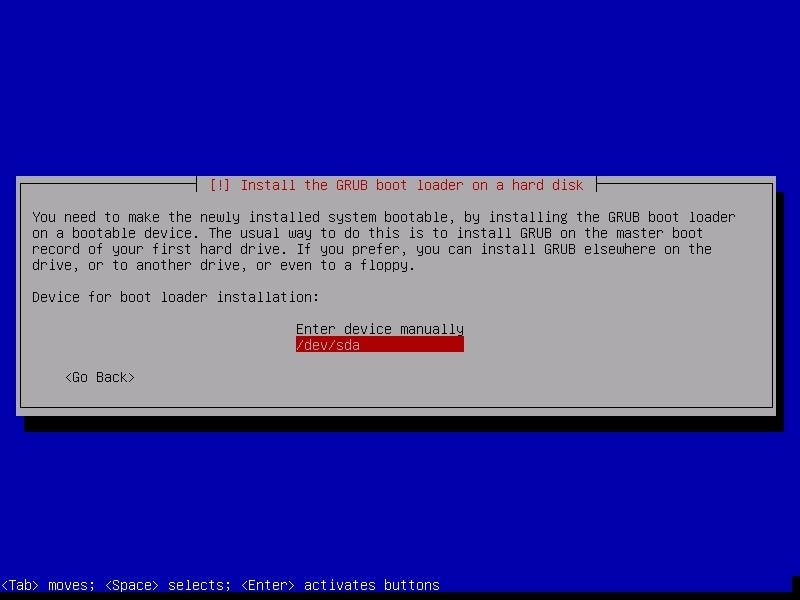
The installation process will start and may take some time. You can have snacks and come back. After installation finishes, it will prompt whether you want to install GRUB boot loader.

Select “Yes”. Then it will ask you where to install the boot loader. Select the /dev/sda disk.

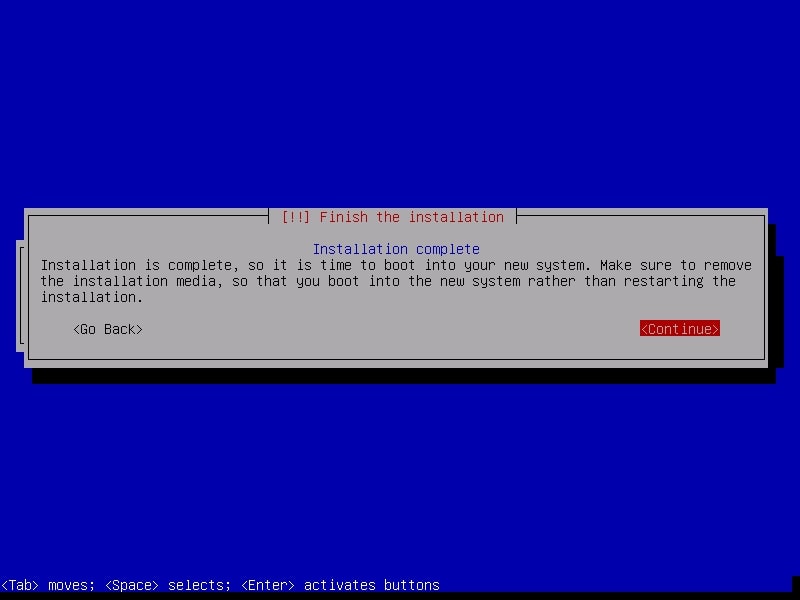
After the installation is finished, it will show you a message as shown below. It’s time to boot into your new system.

After the system boots, it will present you a login screen. You can login as either root or the non-root user you created . Once you login, your new pen testing distro should look as below.

See how to install Parrot OS in VirtualBox.

Posted on

How to install Parrot OS in VirtualBox

Hello aspiring Ethical Hackers. In this article, you will learn how to install Parrot OS in VirtualBox. Parrot OS is an operating system designed for pen testing similar to Kali Linux. It is a free and open source GNU/Linux distribution based on Debian designed for security experts, developers and privacy aware people. It includes a full portable arsenal for IT security and digital forensics operations.

In this article, we will be installing Parrot Security OS in VirtualBox using the OVA file provided by the makers of Parrot OS (See how to install Parrot Security OS using the ISO file). You can download the OVA file of Parrot Security OS from here. Once the OVA file is finished downloading, Open VirtualBox and click on “Import”.

Browse to the OVA file we just downloaded and click on “Next”.

All the settings applied to the virtual machine are displayed. Change any settings if necessary and click on “Import”.

When Software License Agreement is displayed, Click on “Agree”.

Virtual box will start importing the Parrot Security OS virtual appliance as shown below.

After the import is complete, it will be displayed in the list of virtual machines as shown below.

We just need to power it up and the attacker machine is ready.