Hello aspiring ethical hackers. In this article, you will learn how to perform digital forensics with Autopsy. Autopsy is an open source digital forensics tool that acts as a graphical interface for SleuthKit. As our readers will soon see, it is fast and very easy to use this tool. The cross platform tool is used by law enforcement agencies, military agencies and corporate forensic analysts to find out about a hacking attack. It is installed by default in various pen testing distros.
But we have decided to use install Autopsy on a Windows 10 machine. Autopsy can be downloaded from here. After downloading the .msi file, install it just like any other Windows .msi file.
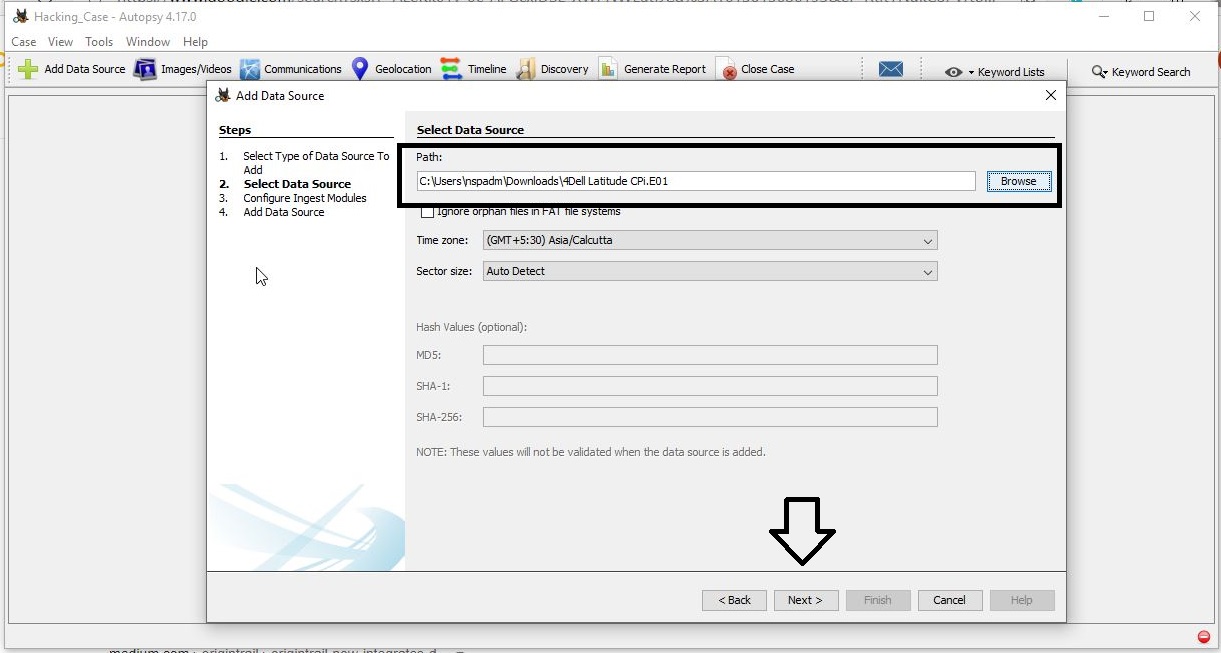
To perform digital forensics, we also need an image of a target computer or any other target device. For this we will use an Encase Image of a suspected Dell Latitude laptop named “Hacking Case” that can be downloaded from here. Here is a feel real back story about this image.
“On 09/20/04, a Dell CPi notebook computer, serial # VLQLW, was found abandoned along with a wireless PCMCIA card and an external homemade 802.11b antennae. It is suspected that this computer was used for hacking purposes, although cannot be tied to a hacking suspect, G=r=e=g S=c=h=a=r=d=t. (The equal signs are just to prevent web crawlers from indexing this name; there are no equal signs in the image files.) Schardt also goes by the online nickname of “Mr. Evil” and some of his associates have said that he would park his vehicle within range of Wireless Access Points (like Starbucks and other T-Mobile Hotspots) where he would then intercept internet traffic, attempting to get credit card numbers, usernames & passwords. Find any hacking software, evidence of their use, and any data that might have been generated. Attempt to tie the computer to the suspect, G=r=e=g S=c=h=a=r=d=t. A DD image and a EnCase image of the abandoned computer have already been made.”
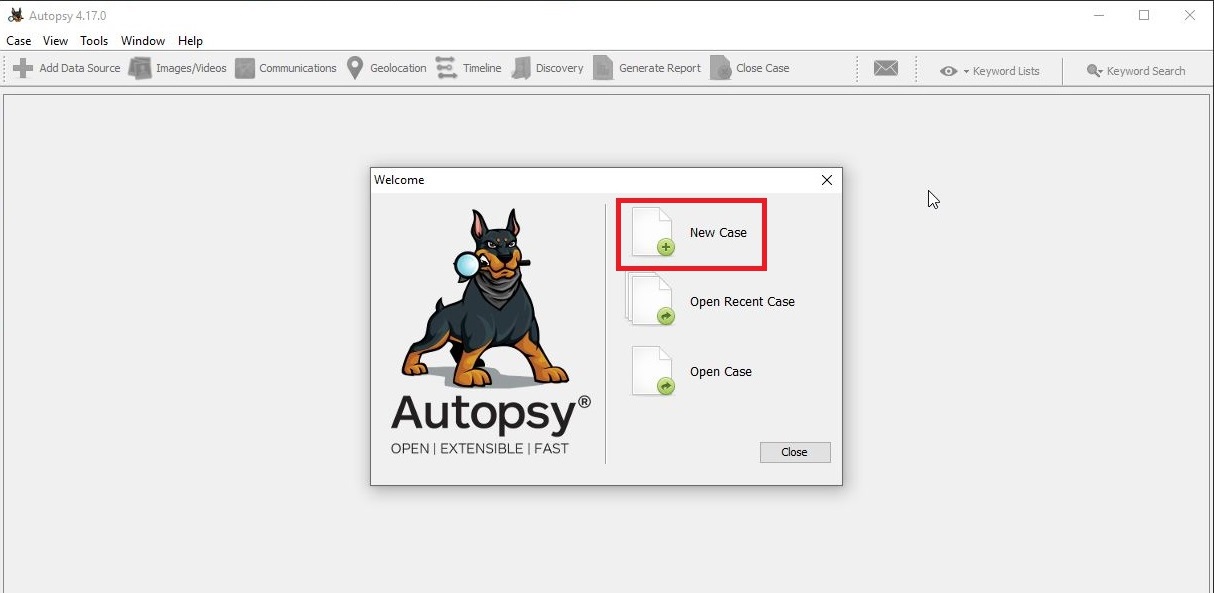
The mission for us is to analyze this Encase Image and answer around 20 questions that solve this case. The questions are also provided by the same people who provided this Hacking Case to us. Let’s start analyzing this image and solve the case. Once the program is installed, open it and click on “New Case”.
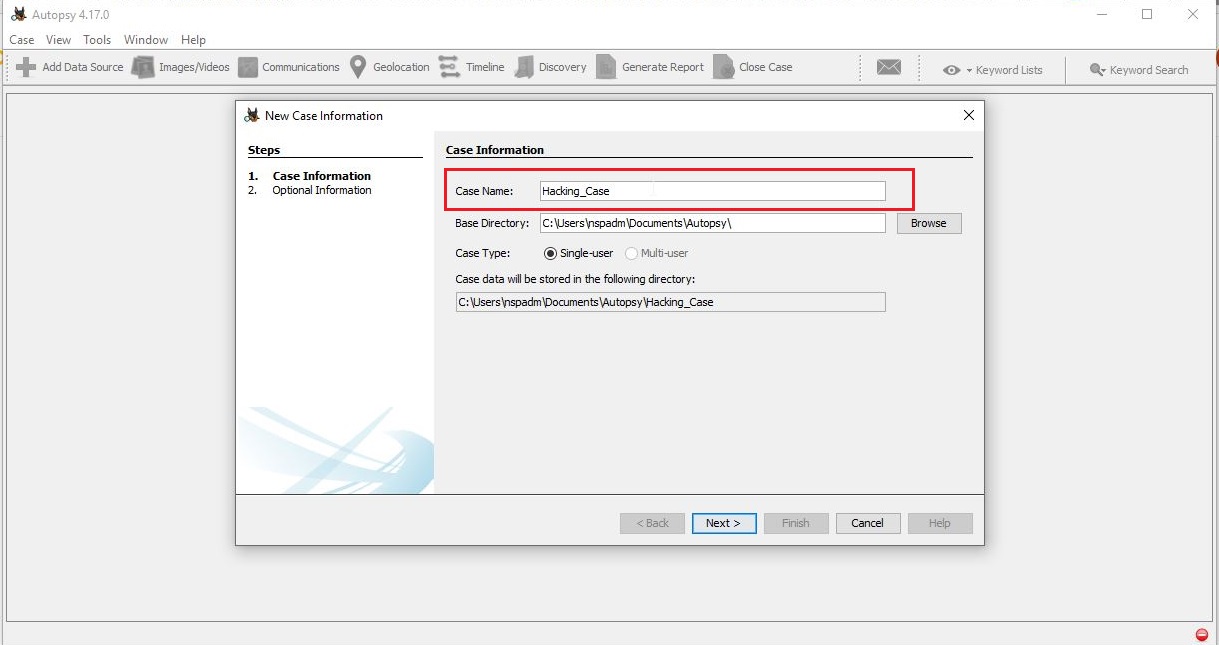
Give a name to the case. We have named it “Hacking_Case”.
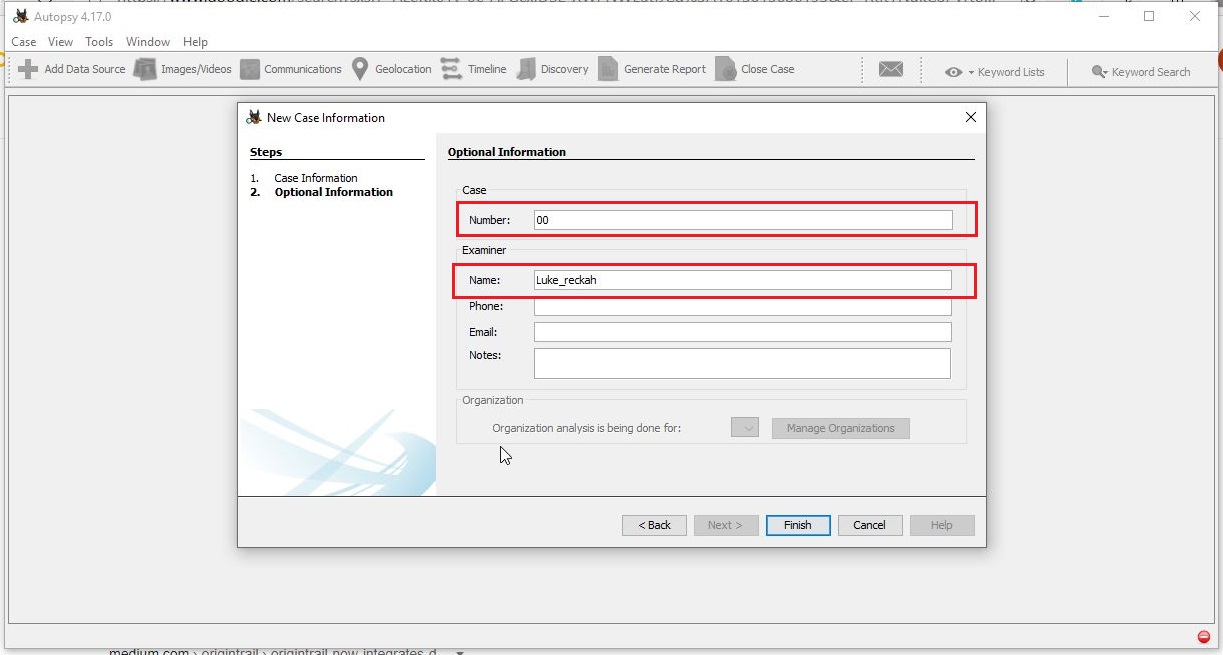
Assign a number to the case and provide the name of the Forensic investigator. Our case number is 00 and the investigator is Luke_Reckah.
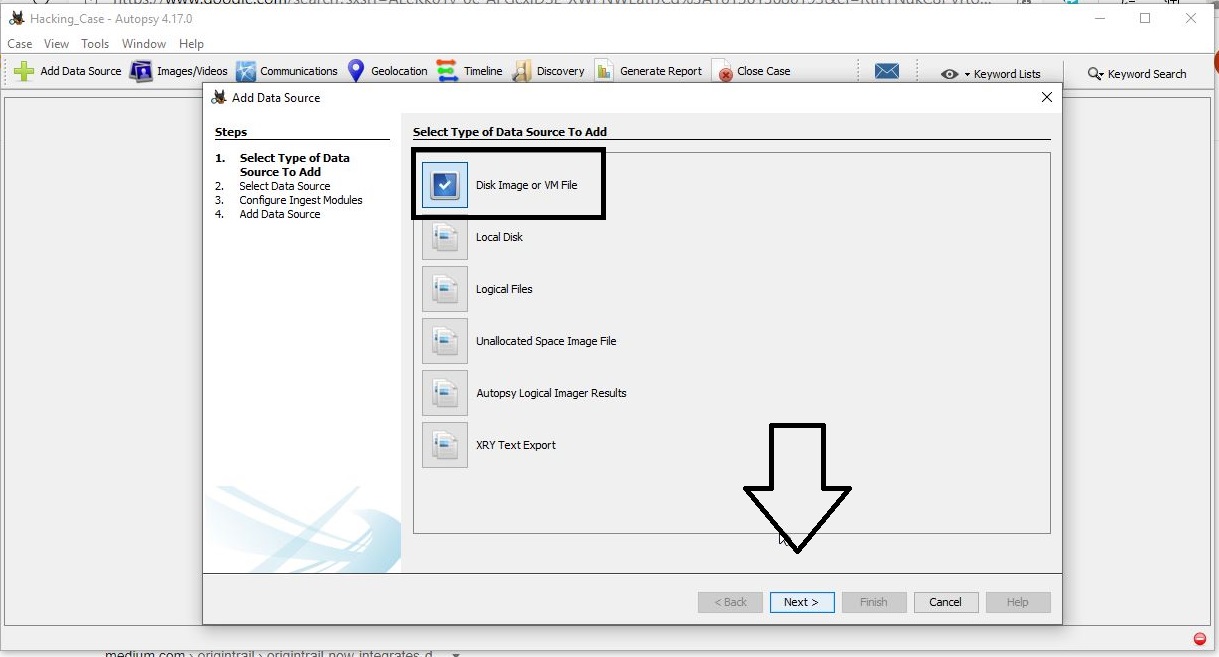
Next, select the type of source. Select “Disk Image”.
Select the Data Source. You need to download two Encase Images. Select the first part of the Encase images downloaded.
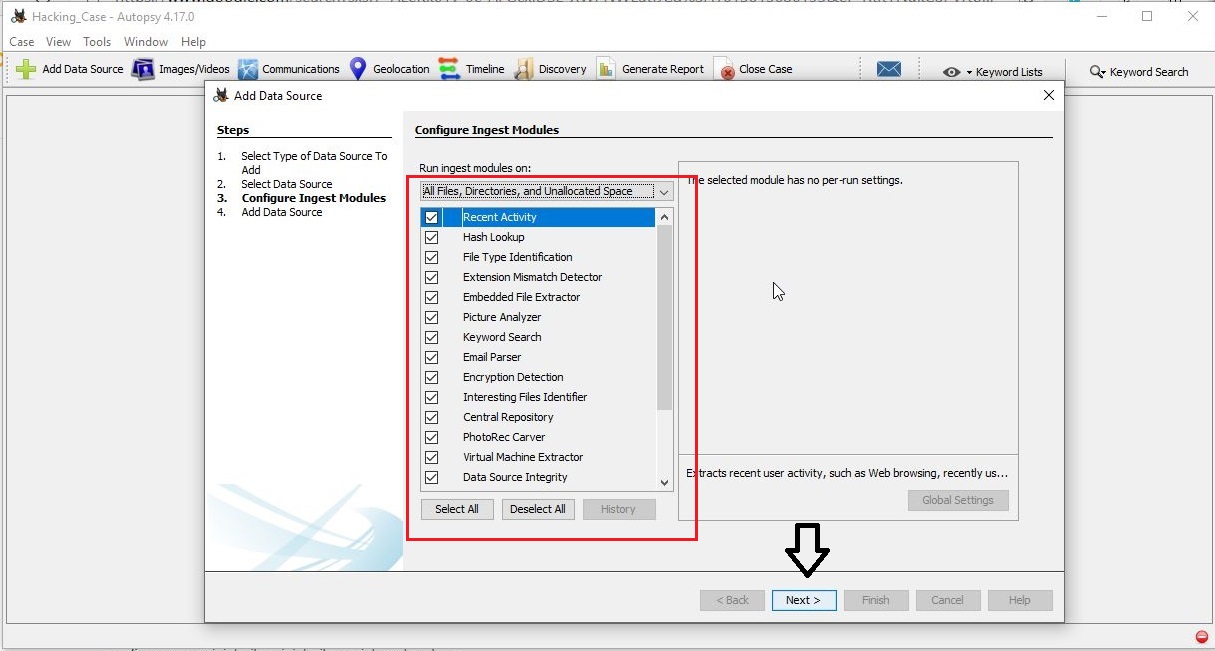
Next, select all the ingest modules you want to run. Ingest modules are all the tests that can be run on the image to gather information about it. These ingest modules include tests like hash lookup, email parsing etc. We selected all for this.
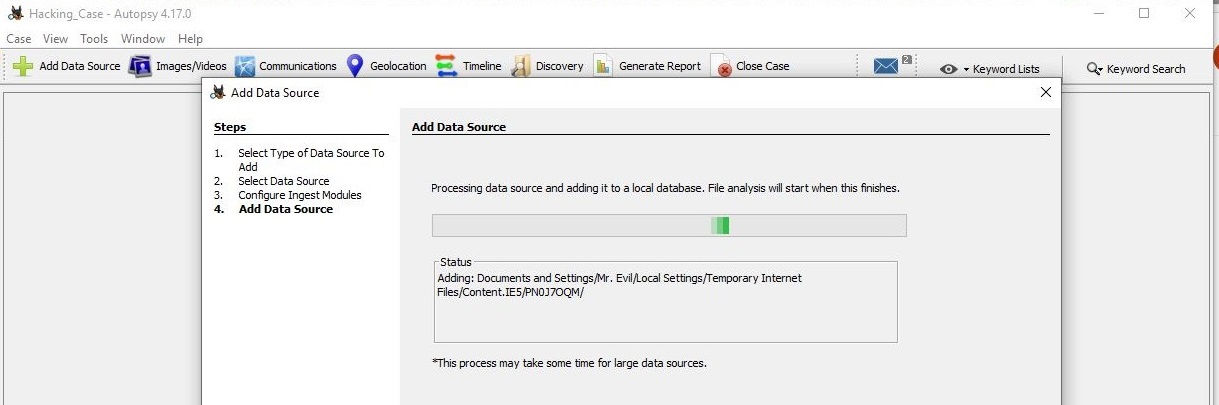
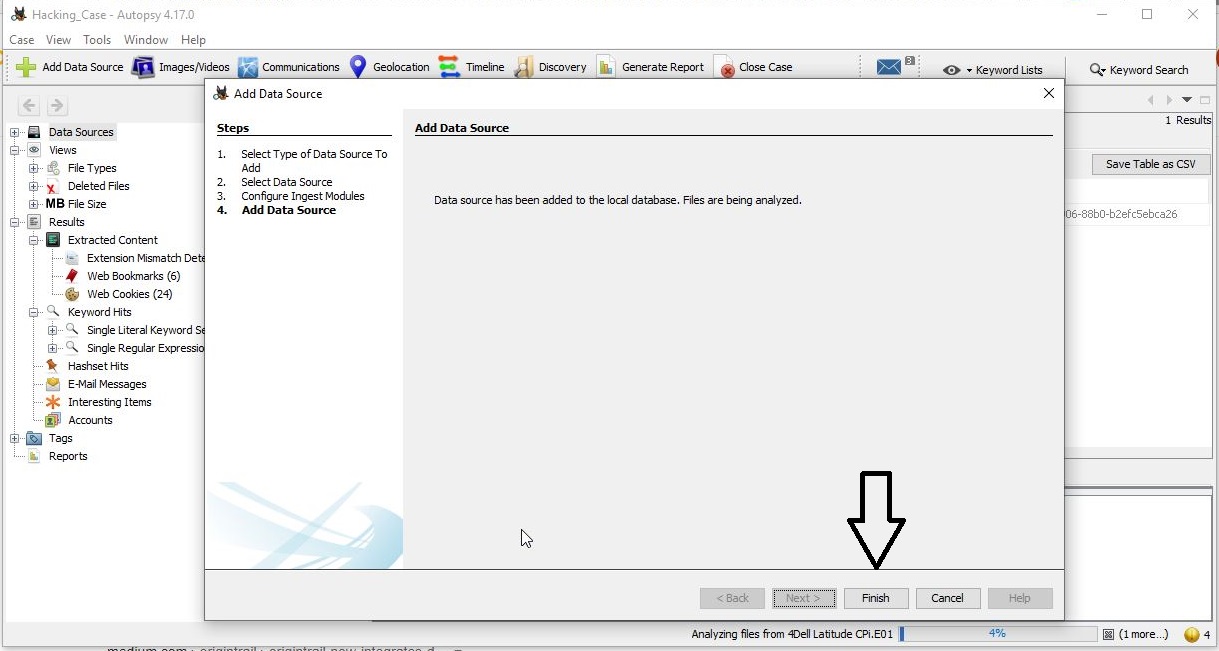
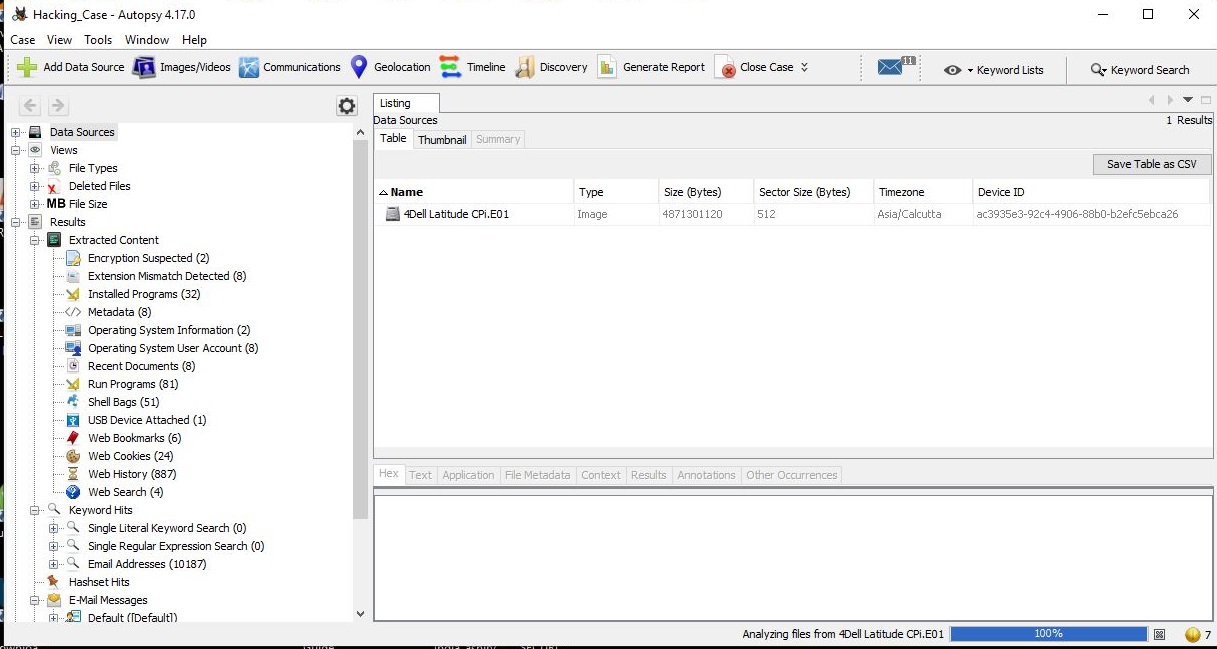
Autopsy will start analyzing the image. It may take some time to completely analyze the image. However, it will start displaying findings as soon as it finds them. Let the image analysis finish.
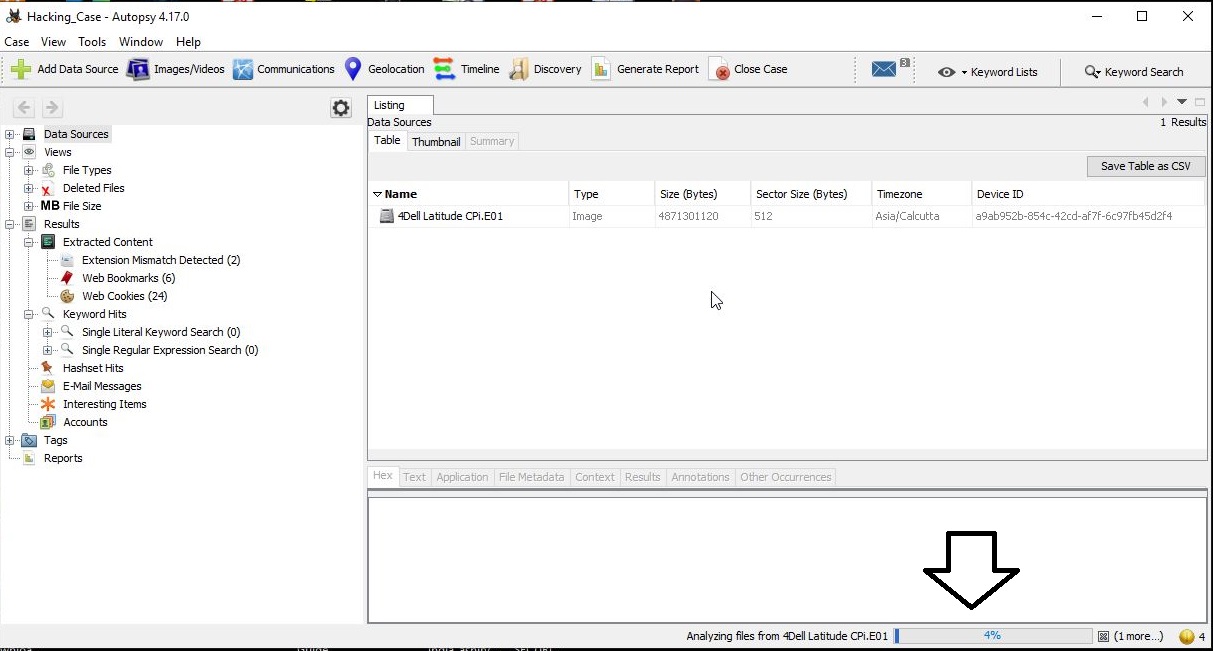
After the image analysis is finished, all the extracted information can be found on the left side of the program window.
It’s time to start answering questions related to the case.
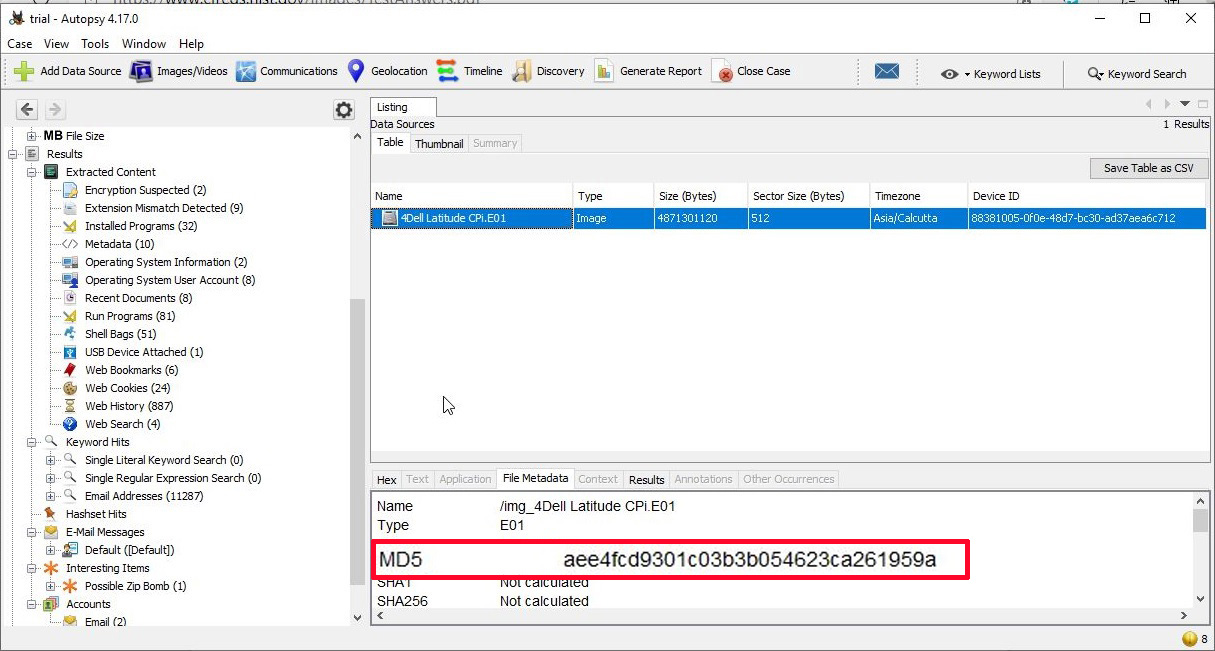
1. What is the image hash? Does the acquisition and verification hash match?
In Digital Forensics, as soon as a image is acquired to perform analysis on it, a hash is calculated to check if the file integrity is intact and not compromised. If the acquisition and verification hash do not match, it means our forensic analysis has changed the image which is not at all intended. The image hash is “AEE4FCD9301C03B3B054623CA261959A”. It is found in the File Meta data section.
2. What operating system was used on the computer?
The operating system information can be found in the operating system information of the extracted content.
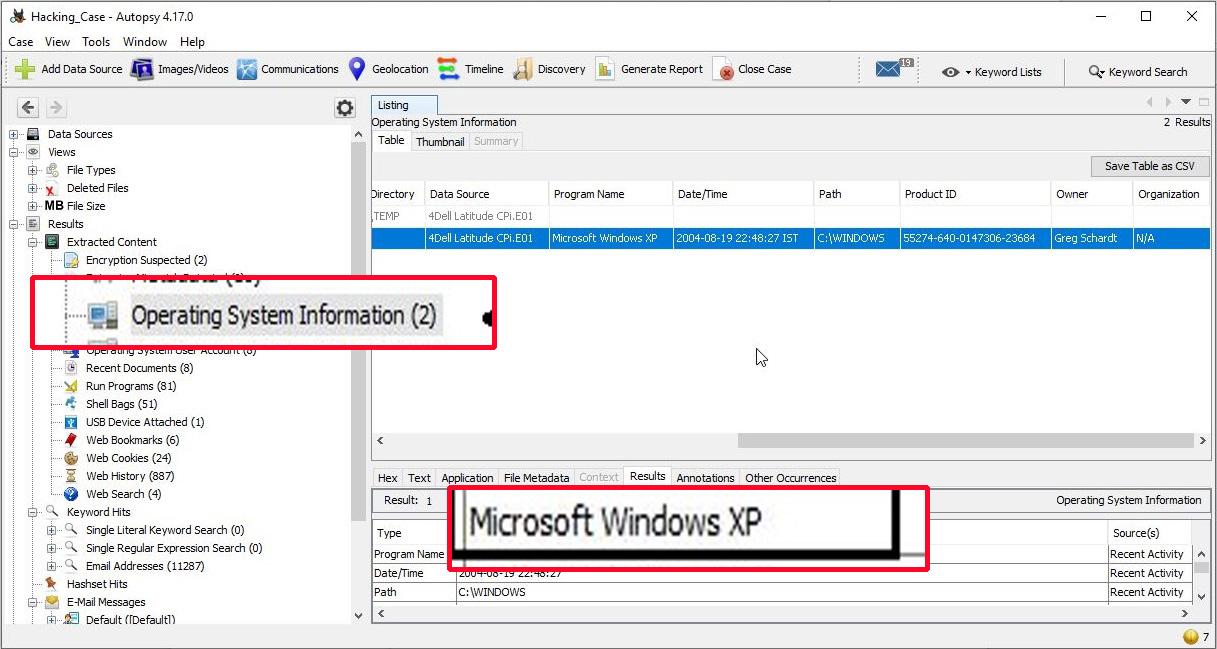
The operating system is Windows XP.
3. Who is the registered owner?
The information about the registered owner of the computer is found in the same operating system info section in extracted content.
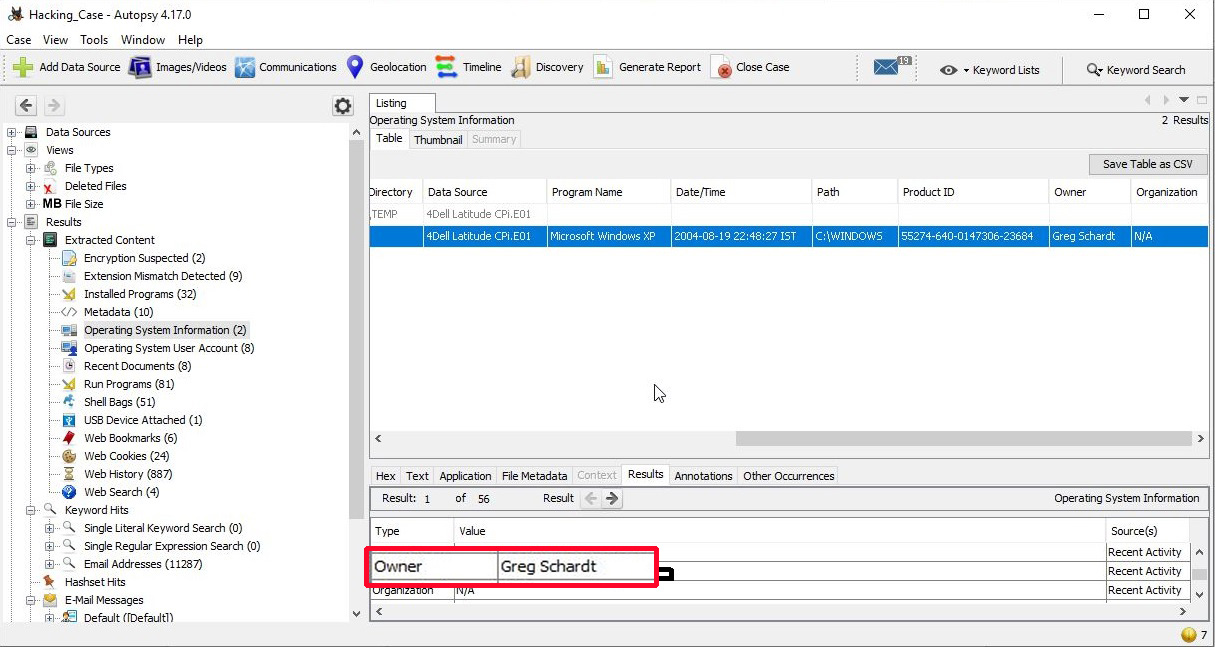
The name of the owner of this computer is “Greg Schardt”.
4. When was the install date?
The install date can be found in the same operating system info section just below the OS information.
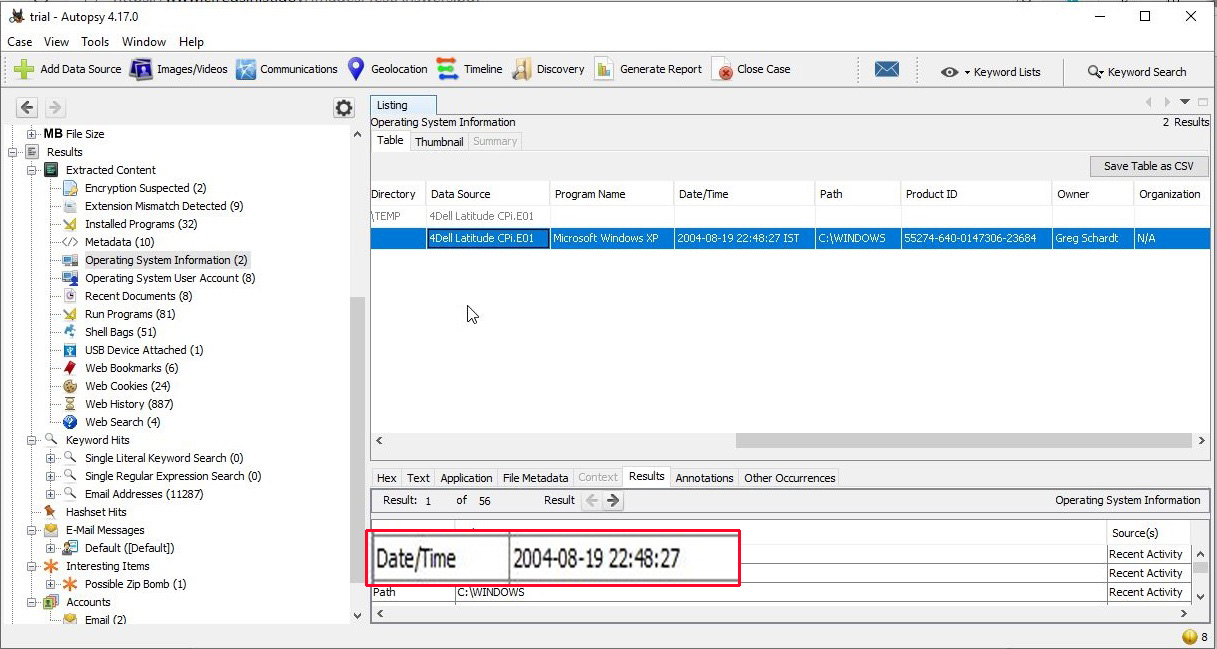
The OS on the computer was installed on 19-08-2004 22:48:27.
5. What is the computer account name?
The computer account name on this computer is found in the same section.
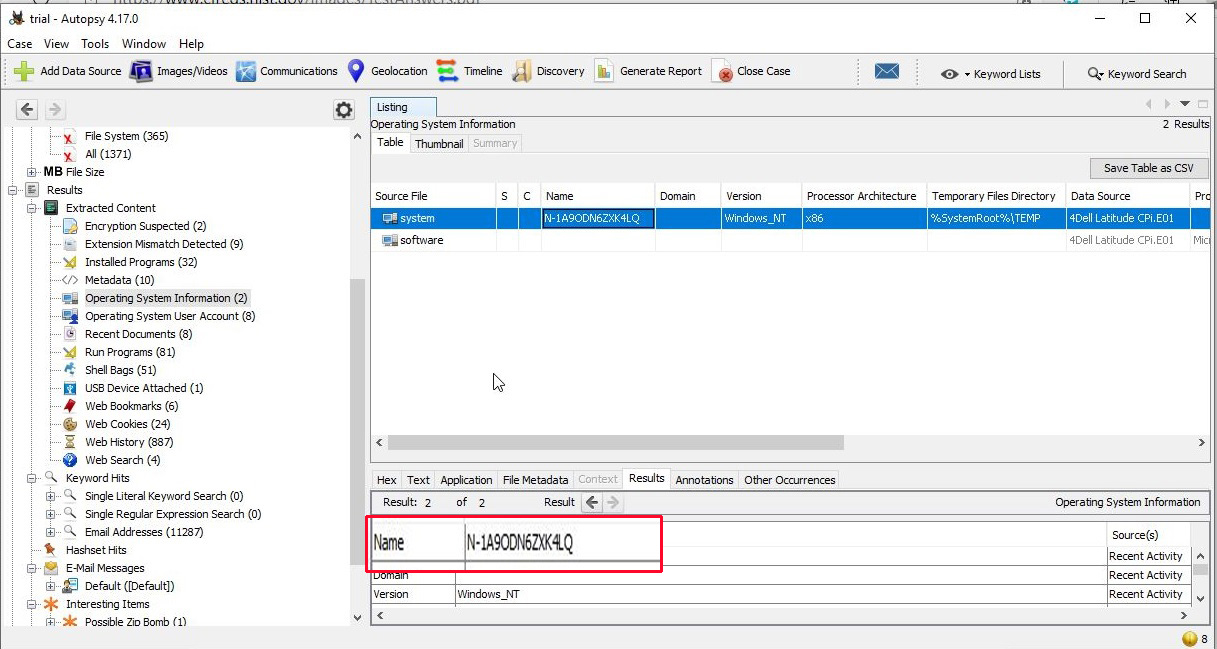
The computer account name is N-1A9ODN6ZXK4LQ.
6. How many accounts are recorded?
The information about the user accounts is found in the Operating system user account section.
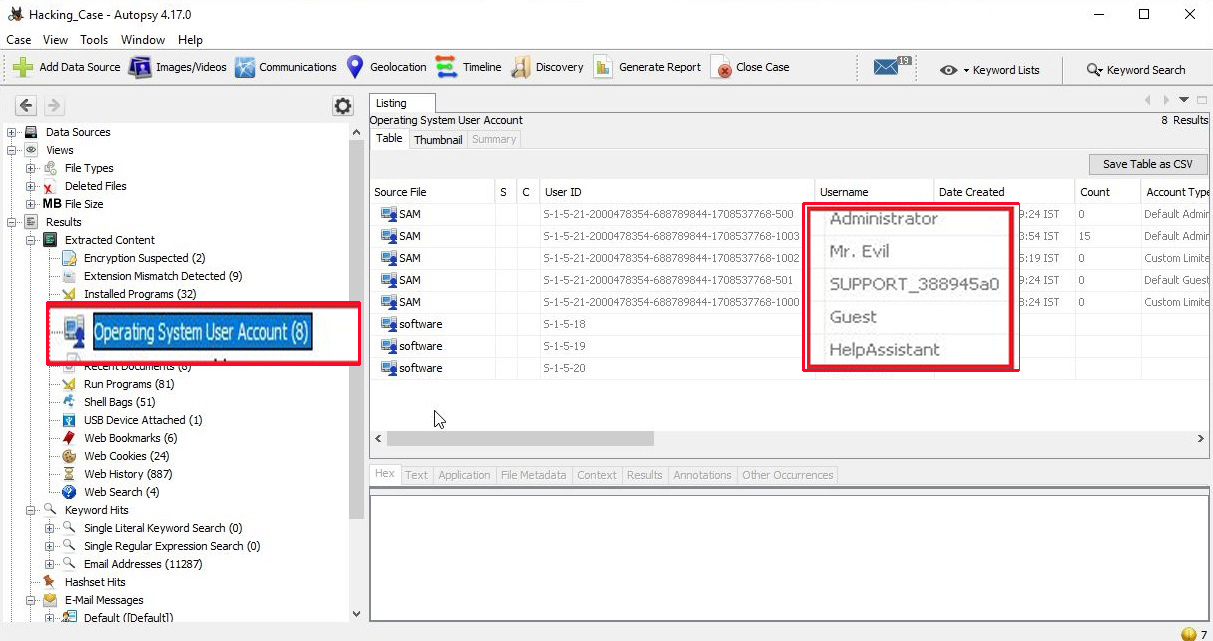
There are total five user accounts on the target computer. They are Administrator, Mr. Evil, SUPPORT_388945a0, Guest and HelpAssistant.
7. What is the account name of the user who mostly uses the computer?
In the same section, the count section shows how many times the user logged in.
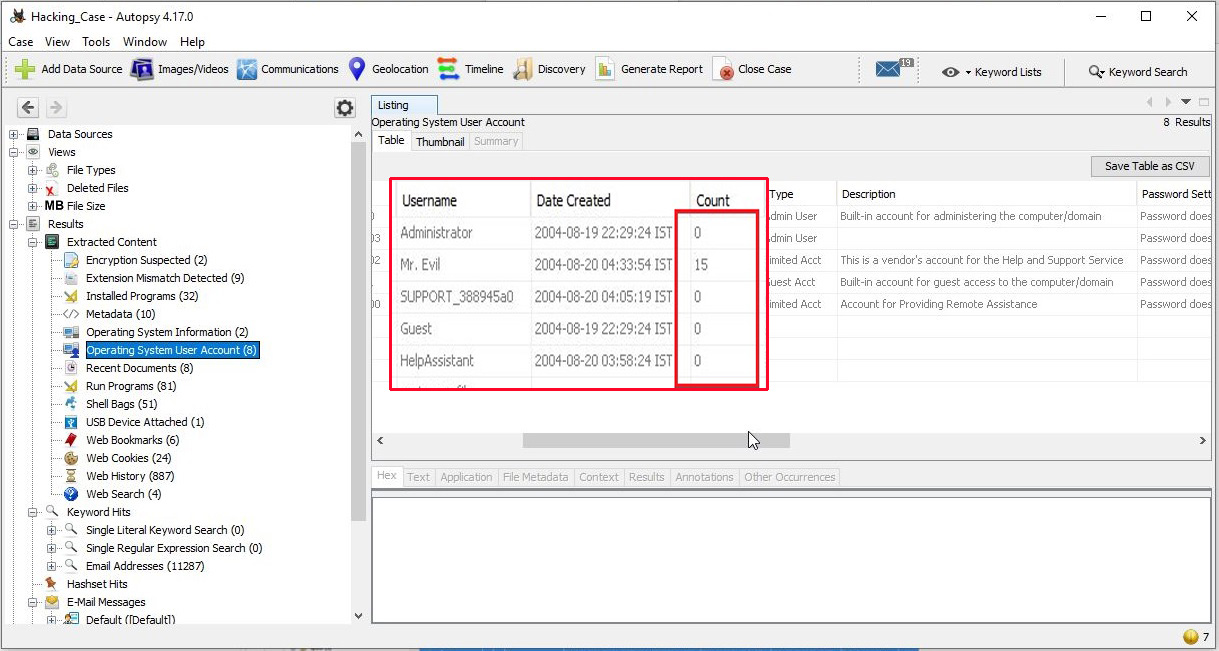
The user Mr. Evil has logged in 15 times while the others didn’t even log in once. So Mr. Evil is the user who mostly uses the computer.
8. Who was the last user to logon to the computer?
The information about the last user to logon to this computer can be found from the Date accessed column of the user account.

The last user to logon to this computer is Mr. Evil.
9. Find 6 installed programs that may be used for hacking?
The programs installed on the computer system can be found out from the Installed programs section of the extracted content.
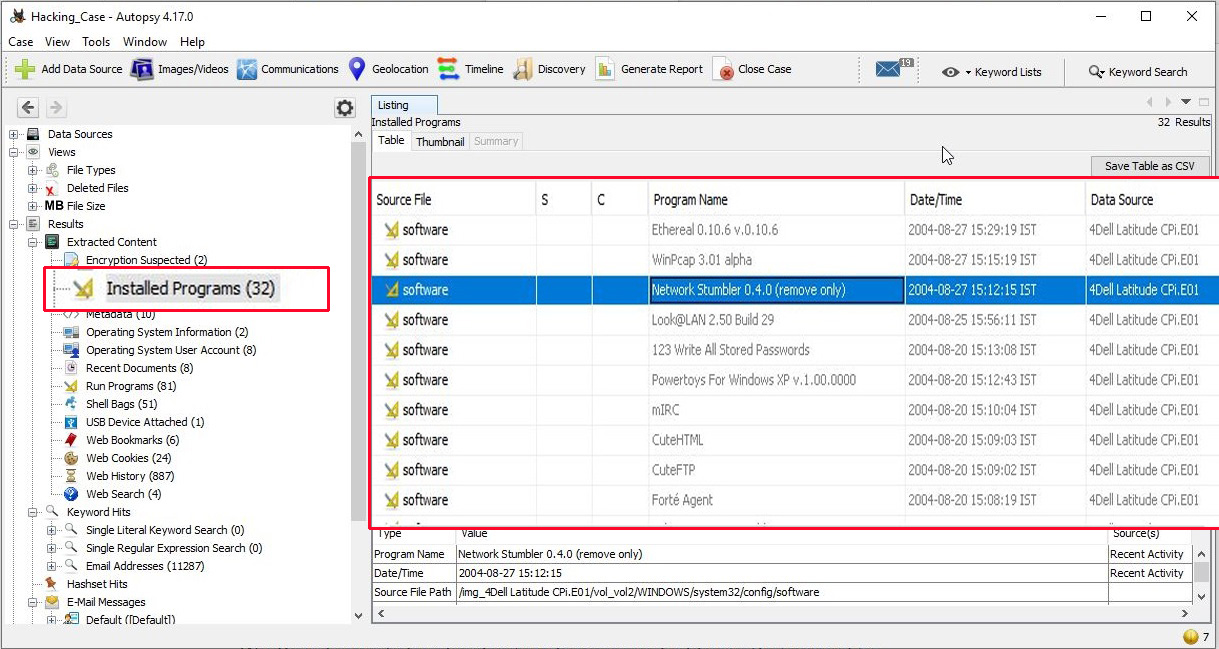
There are total 32 programs installed on the computer and from them, there are seven programs that can be used for hacking. They are Ethereal 0.10.6 v.0.10.6, Network Stumbler 0.4.0, Look@LAN 2.50 Build 29, 123 Write All Stored Passwords, CuteFTP, Cain & Abel v2.5 beta45 and Anonymizer Bar 2.0.
10. Perform a Anti-Virus check. Are there any viruses on the computer?
Malicious files (if any) are found in the Interesting Items section of the extracted content.
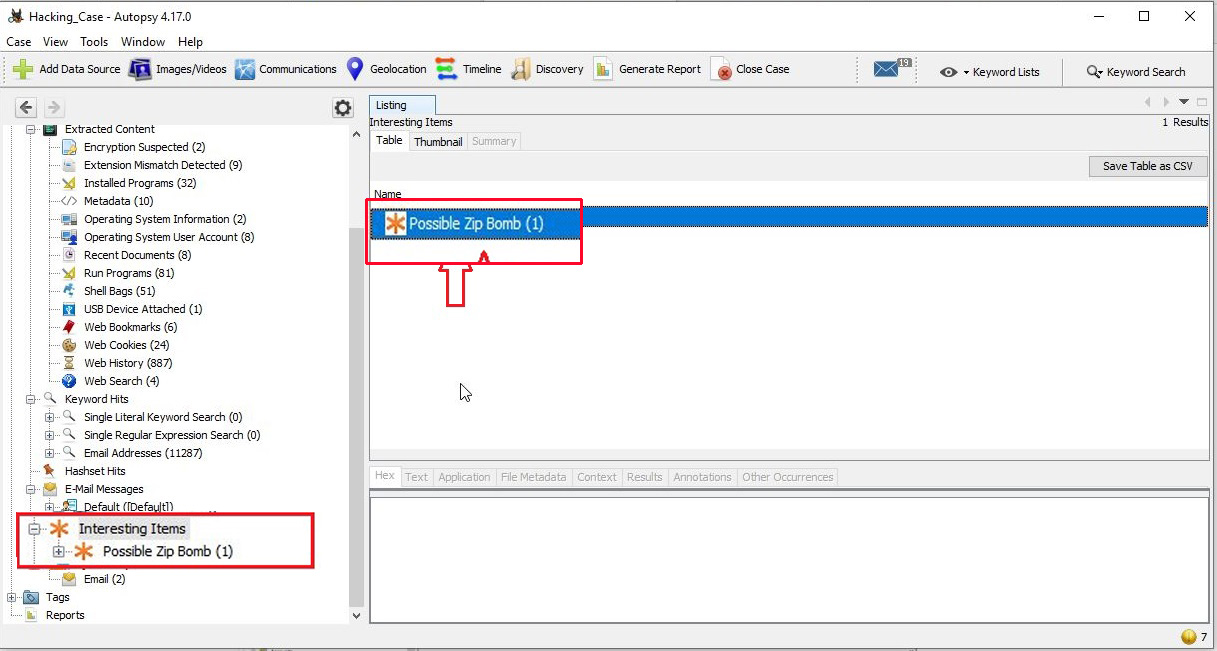
There is one malware present on the computer system. It is a zip bomb.
Will be continued in Part 2.
Follow Us