Hello, aspiring ethical hackers. In this blogpost you will learn about IoT security or Internet of Things (IoT) security. But before you understand IOT security, you need to understand what Information of Things (IOT) is.
What is Information of Things (IoT)?
A few years back, getting an internet connection to our home was a bit rare and costly. I remember most of my friends had a computer at home but nobody had internet. Nowadays, even device (that once existed without the need of internet) can be connected to the internet.
These devices include lightbulbs, security cameras, fans, Refrigerator, Washing machine and almost all the devices of a smart home. They are connected to internet to add comfort to humans. All these devices are together known as Internet of Things (IOT).
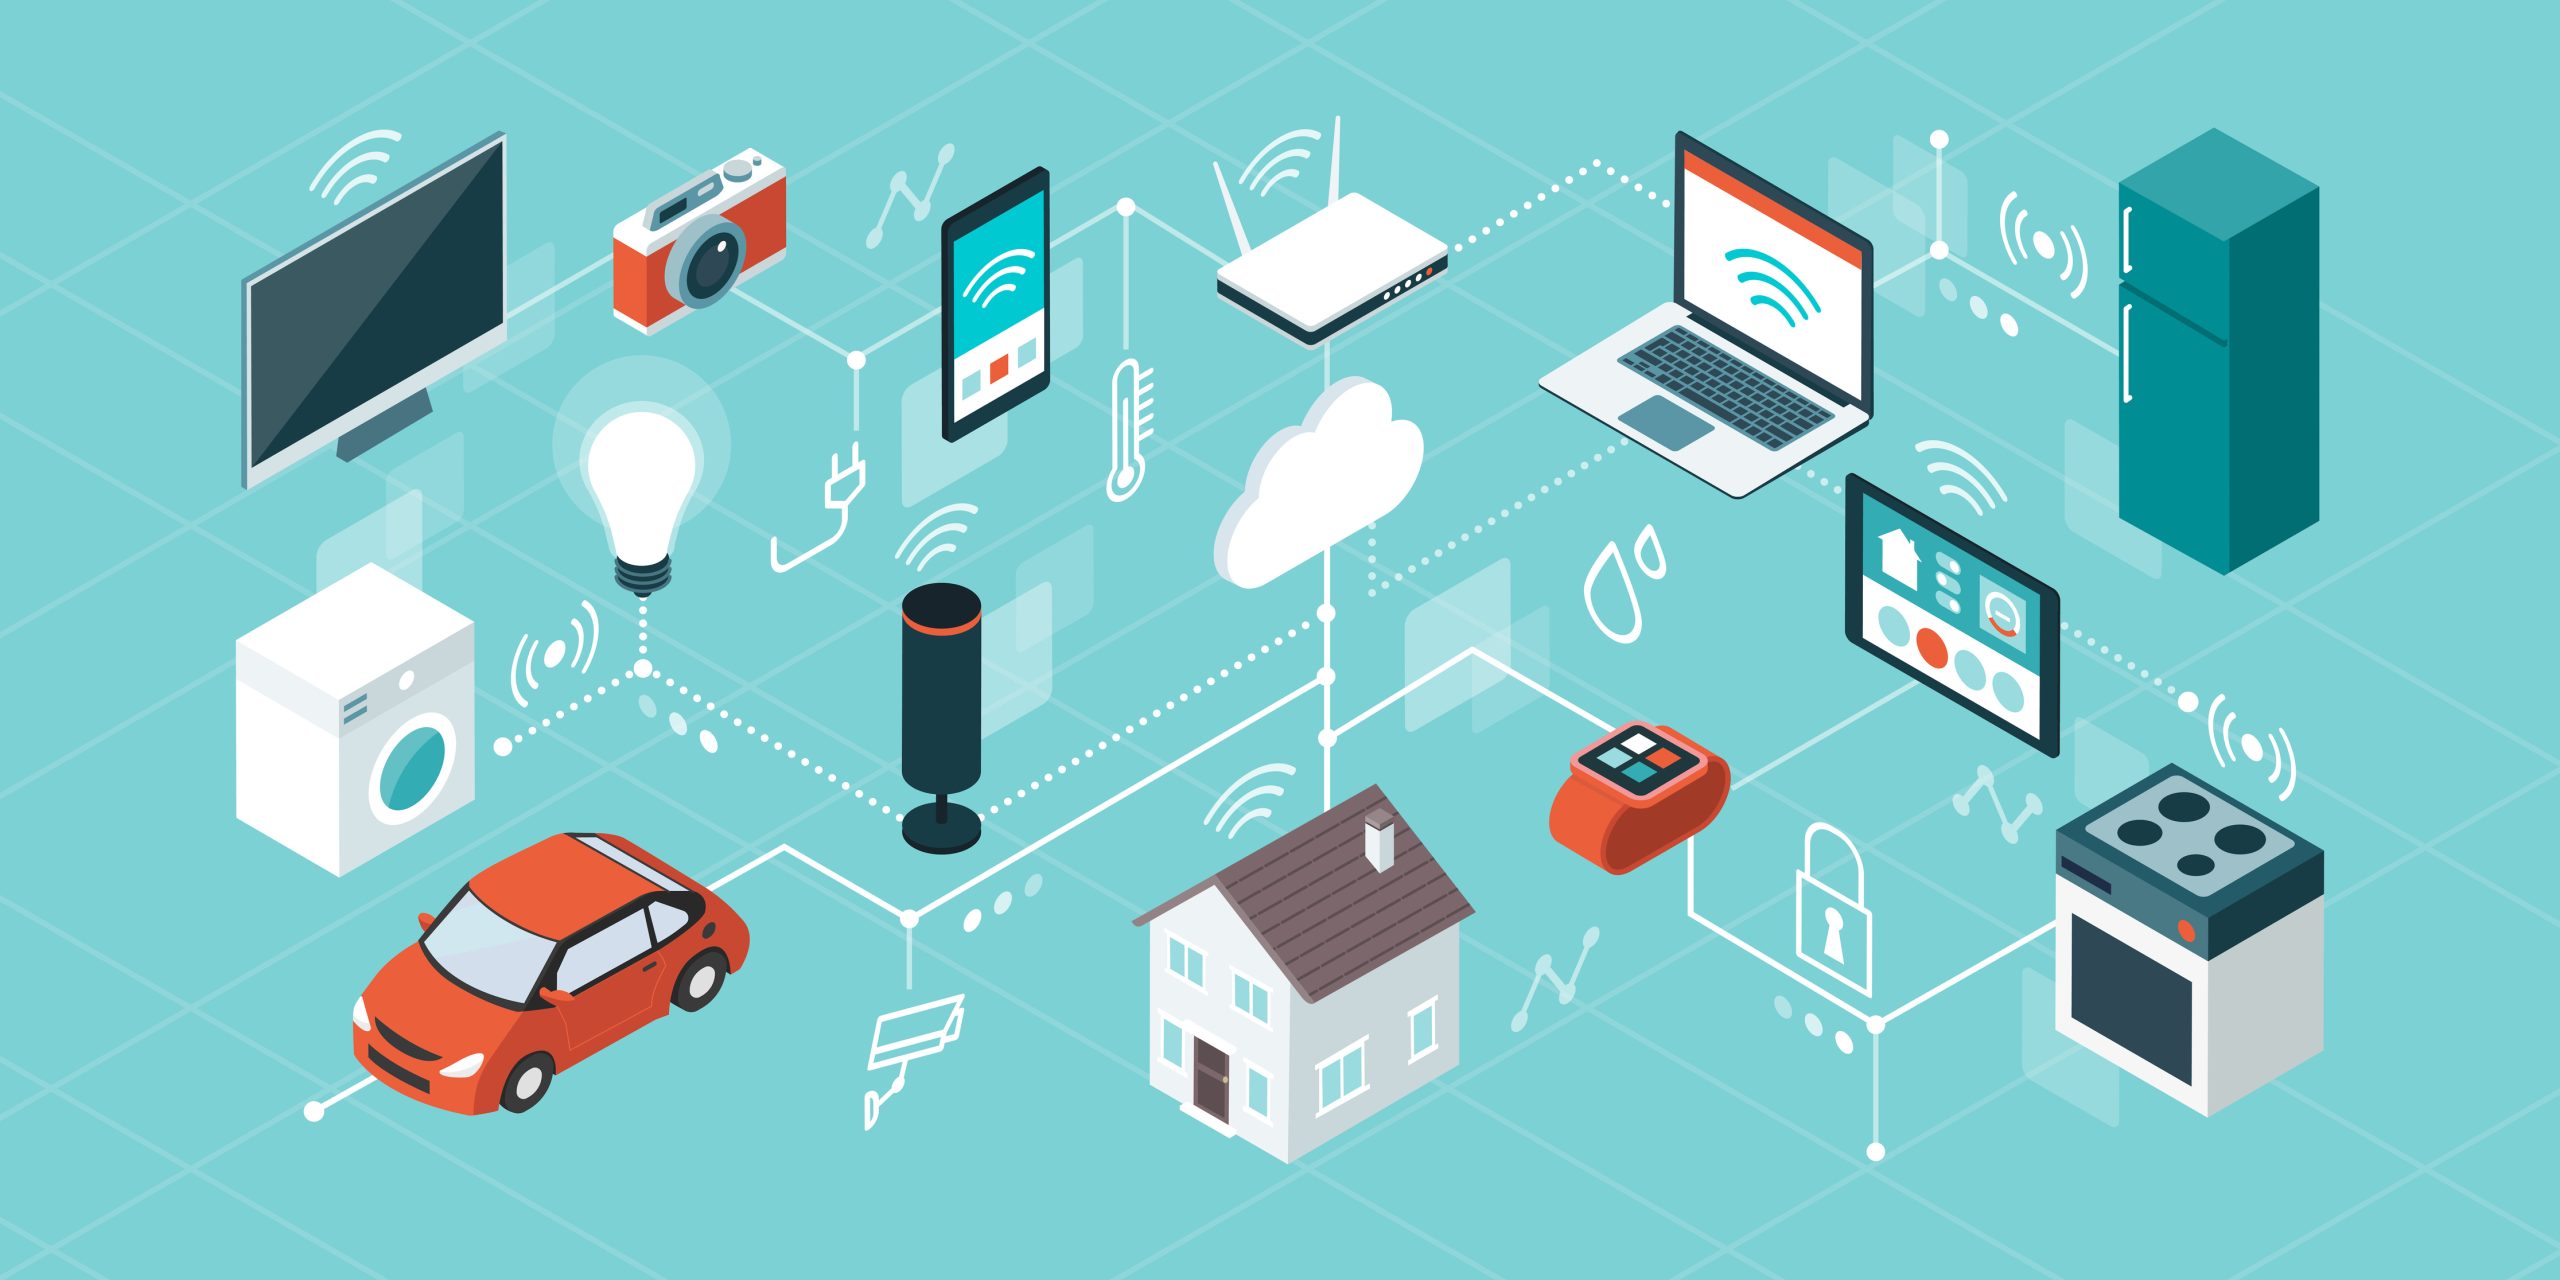
Unlike your computer, laptop or mobile, these devices don’t need any human interaction to connect to internet.
What is IoT security?
As you should have figured out by now, IoT security is ensuring the security of these devices to protect your network.
What are various threats to IoT security?
Every device that is connected to internet is vulnerable to hacking. MIRAI botnet proved it. Internet of Things (IoT) devices are built with usability and human comfort in mind. The most common threats to IOT devices are.
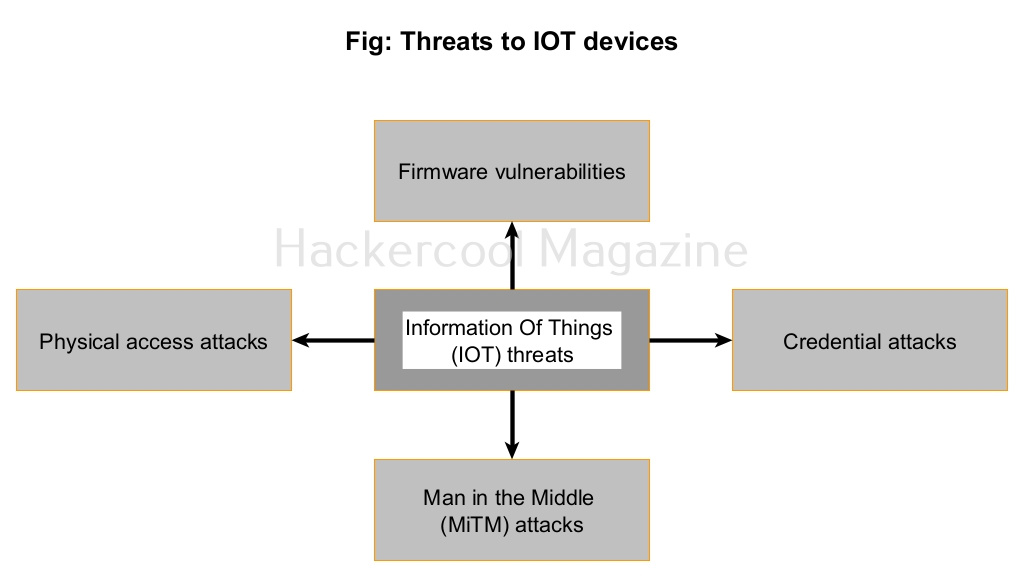
1. Firmware vulnerabilities:
Every digital device has a firmware which is similar to a operating system on a computer. However, it cannot by easily updated as a operating system. So, once a vulnerability is detected in the firmware and exploited in an IOT device, it is difficult to upgrade or patch it.
2. Credential attacks:
Although IoT devices come with credentials, these are default credentials that hat are insecure and easy to guess. In most IoT devices, these credentials cannot even be reset or changed. So, any attacker can easily guess the credentials, take control of the devices.
3. Man-in-the-Middle attacks:
Man in the middle (MiTM) attacks are just not limited to computers and servers. It is also possible to perform packet sniffing and password sniffing between the IOT device and the server it is connecting to. If the transmission is taking place in clear text, hackers can sniff on it.
4. Physical access attacks:
Most IoT devices are placed in easily accessible locations. If hackers can get hold of this device, they can take control of the device.