Hello, aspiring ethical hackers. In one of our previous blogpost, you learnt about what is website hacking, what are the various website hacking techniques used by hackers etc. In this blogpost, you will learn about WhatWeb tool, a web scanner.
WhatWeb tool is a tool that can be used to identify a website. As its makers say, the goal of WhatWeb tool is to answer the question “What is that website?”.
That’s right because WhatWeb can identify a variety of web technologies used on a website that include web servers, Content Management System (CMS), blogging platforms, statistics and analytic packages, JavaScript libraries, embedded devices, version numbers of the software, email addresses, account in web framework modules, SQL errors etc. WhatWeb too has over 1800 plugins, each to recognize something different.
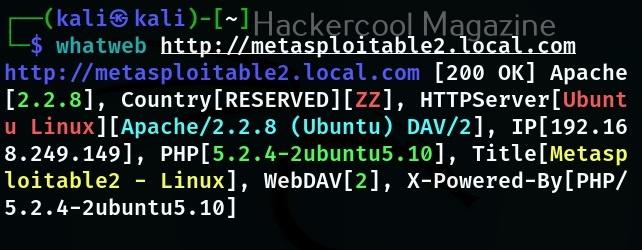
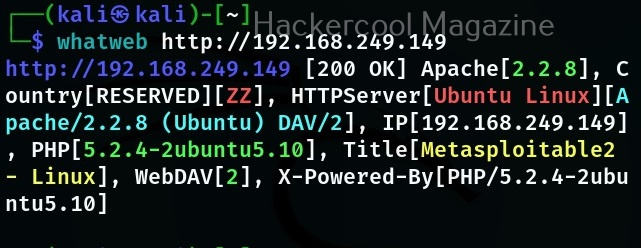
WhatWeb is installed by default in Kali Linux. Let’s see how to use it for scanning the website. As target, we will be using Multillidae in Metasploitable 2. To scan a website, all you have to do is specify the target website or its IP to WhatWeb as shown below.
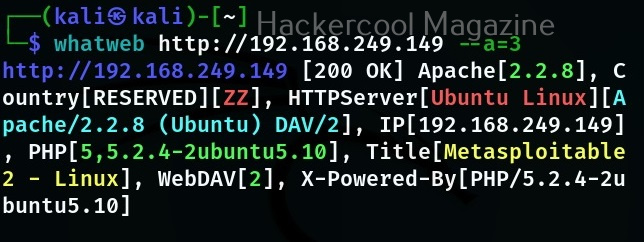
WhatWeb has different levels of aggression while scanning its targets. By default it is set to 1 (stealthy) and it makes one HTTP request per target. However, we can set the level of aggression while scanning the target. If we set the aggression level to “3 (aggressive)” as shown below, WhatWeb will send additional requests once it finds a level 1 plugin.
Similarly, setting the aggression level to “4 (Heavy)”, WhatWeb makes a lot of HTTP requests per target. In this level, URLs from all plugins are attempted.

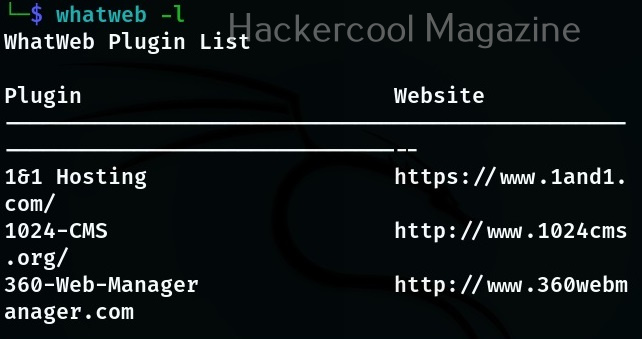
At the beginning of the article, I told you that WhatWeb has lot of plugins each suited for a specific purpose. You can view all the plugins of WhatWeb using the “-l” option.
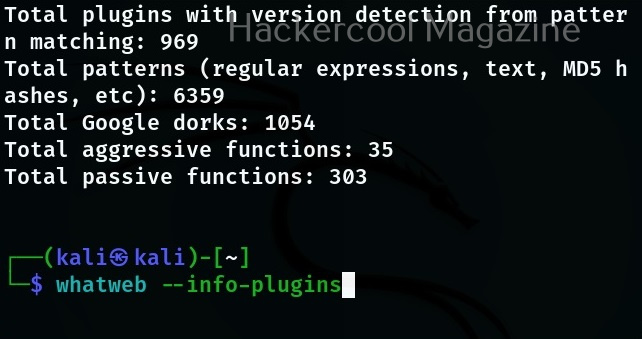
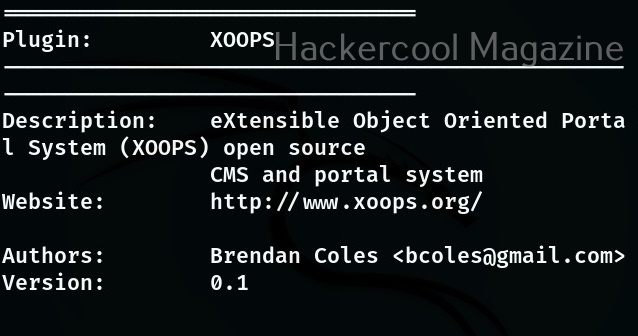
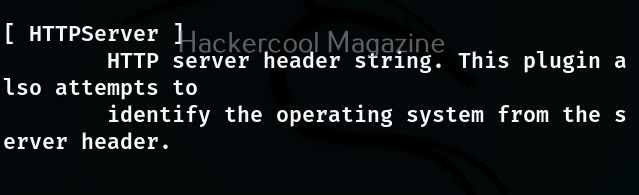
If you want to view the information about each plugin the “–info-plugins” option will do this for you.

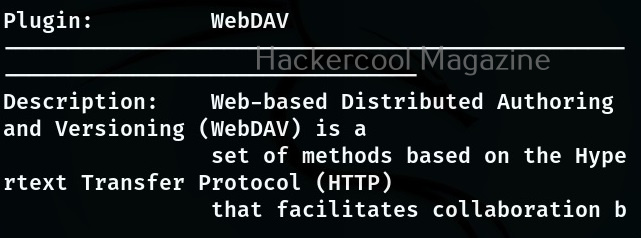
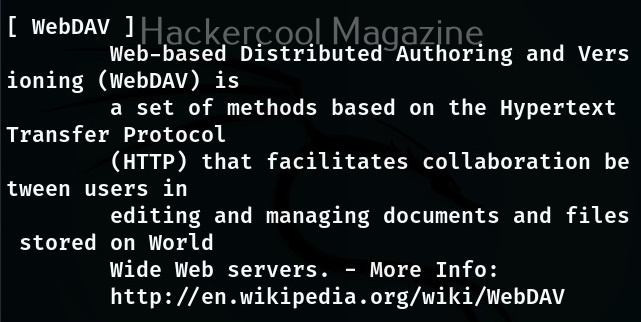
You can also search for a particular plugin from the list of plugins using the “–search- plugins” option. For example, let’s search for webdav plugin in WhatWeb.

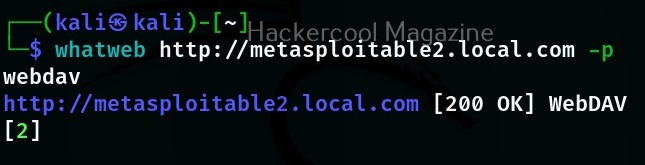
To use a particular plugin the option is “-p”. For example, let’s use the “webdav” plugin with the same target.
If you want the result to be in more detailed format while scanning with WhatWeb, you can use the verbose option with WhatWeb.
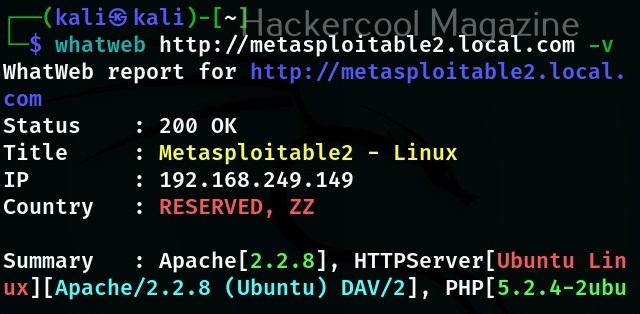

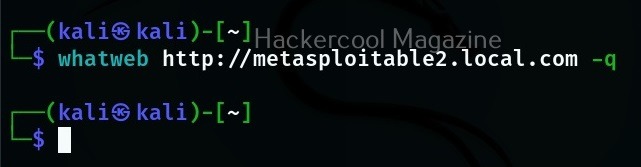
Whatweb also has a quiet mode scan option that scans a website without showing output to terminal (stdout) as shown below.