Posted on 2 Comments

How to install Veil Evasion in Kali Linux

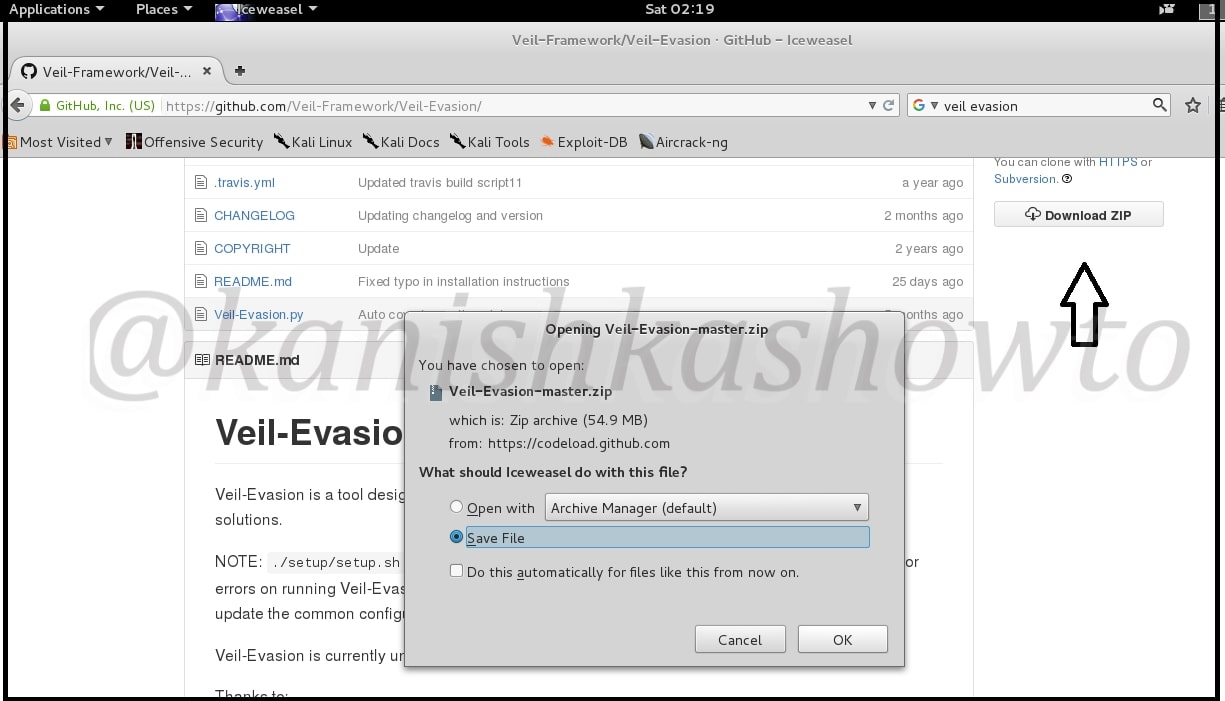
Good evening Friends. Today we will see how to install Veil Evasion in Kali Linux. Although this howto is made on Kali Linux Sana, it is same for all the versions of Kali. For the novices, Veil-Evasion is a tool to generate payload executables that bypass common antivirus solutions. First of all download and save the zip file of veil evasion as shown below from here.

Next, Open terminal and go to the directory where the zip has been downloaded. Commonly it is root or Downloads. Mine is in root. Next unzip the contents of the zip file by using command unzip “Veil-Evasion-master.zip” as shown below.

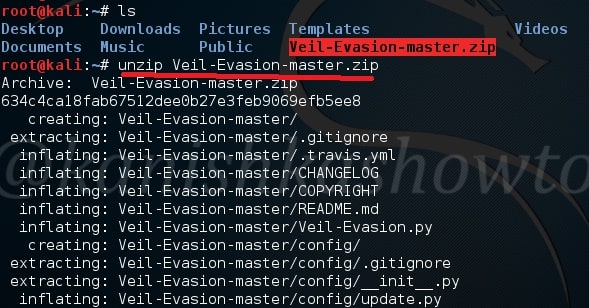
When unzipping is finished, type “ls” command once again. You will see a new directory “Veil-Evasion-master”. Change into that directory as shown below and type “ls” to see the contents of that directory.

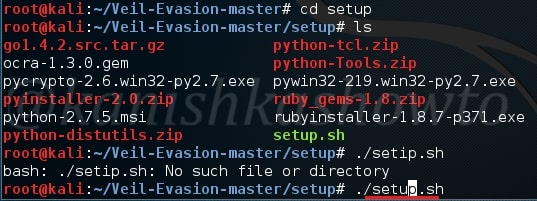
There will be a dircetory named “setup”. Change into that directory. You will see a file named “setup.sh”. Execute that file using command “./setup.sh

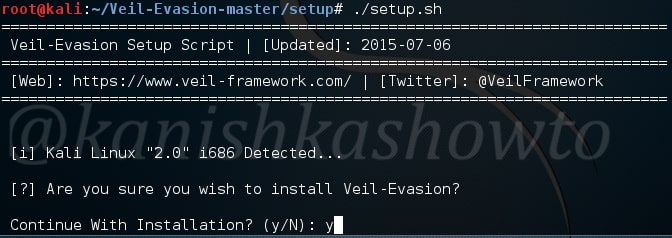
It will prompt you a question whether you want to continue with the installation or not. Type “y”.

install Veil Evasion in Kali Linux

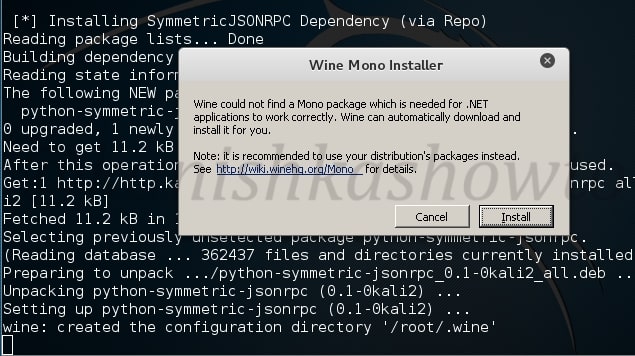
The installation will start. It will ask you whether to install Wine. Click on “Install”.

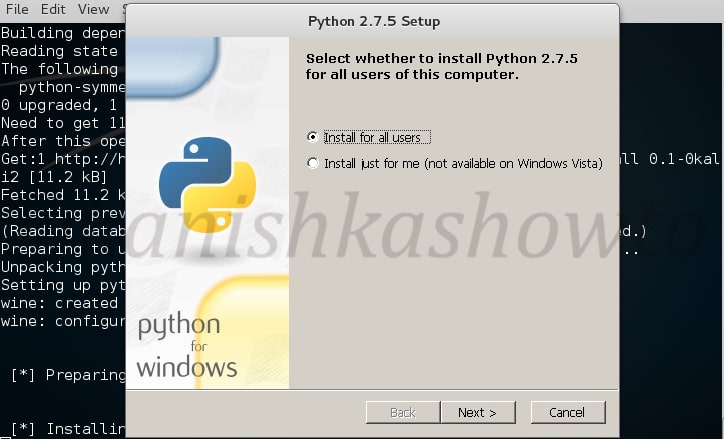
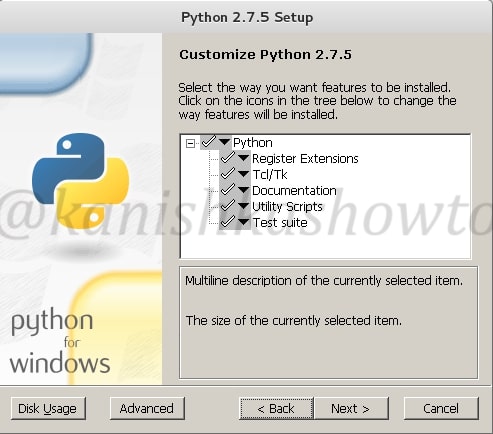
Next it will install Python. Click on “Next”.
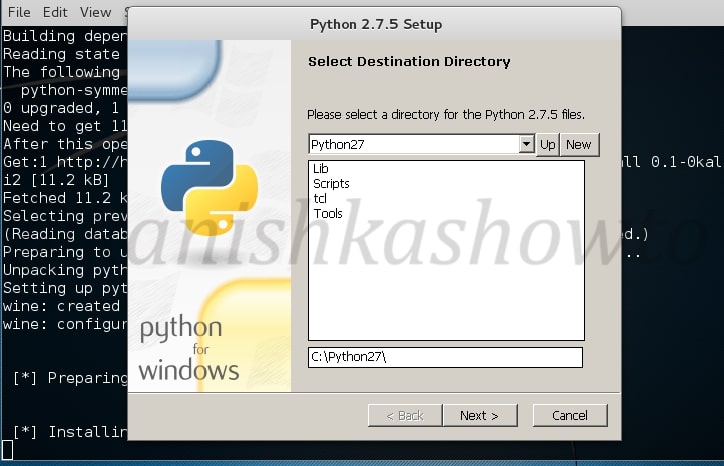
Click on “Next”.

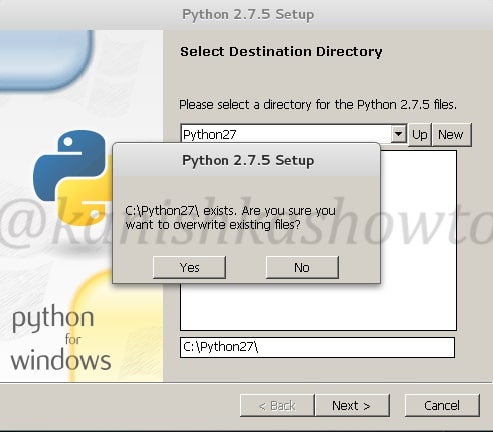
If it asks you to overwrite existing files of any Python, select “yes”.

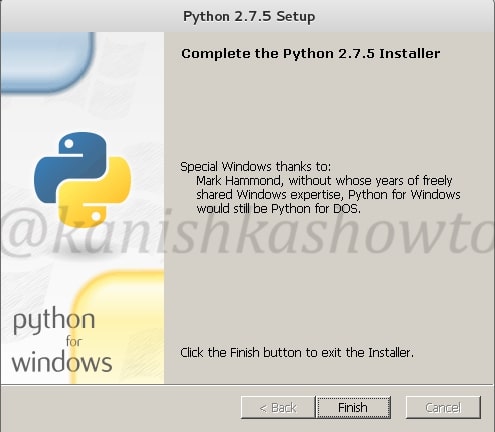
Click on “Next” for the below window.

Finsih the installation by clicking on “finish”.

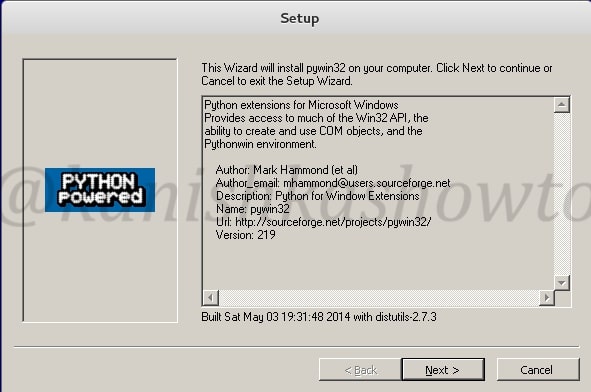
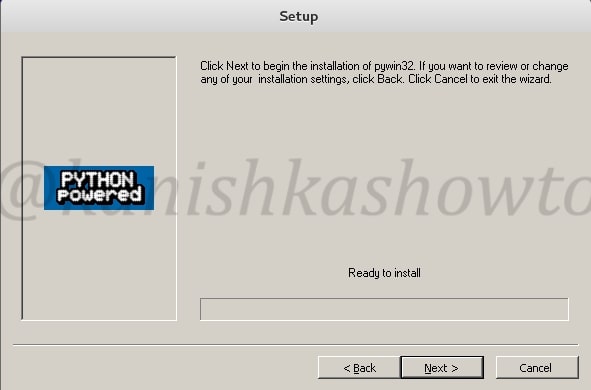
Next, the system will ask you to install pywin32. Pywin32 is a set of extension modules that provides access to many of the Windows API functions. Click on “Next”.
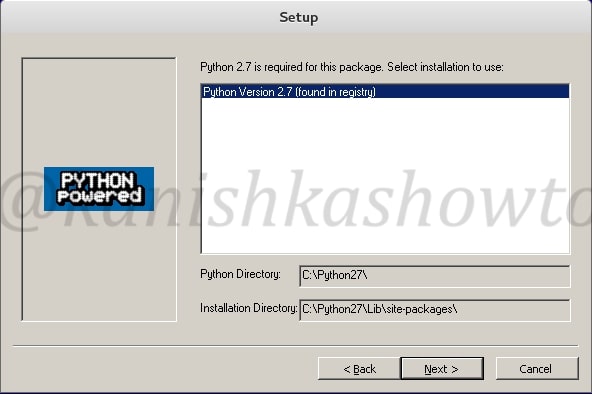
Click on “Next”.

Click on “Next”.

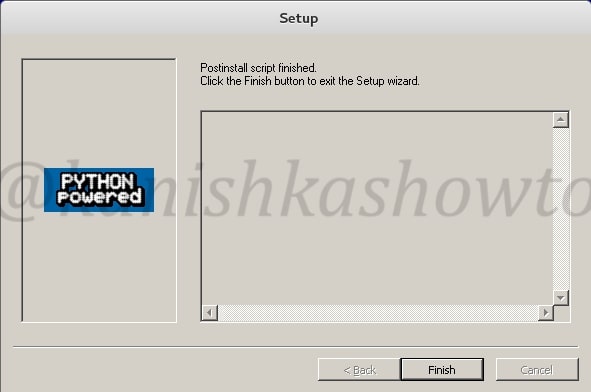
Click on “Finish” the script.

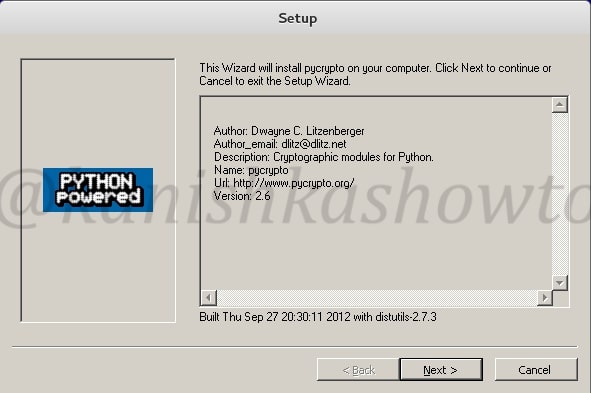
Next it will install pycrypto. Click on “Next”.
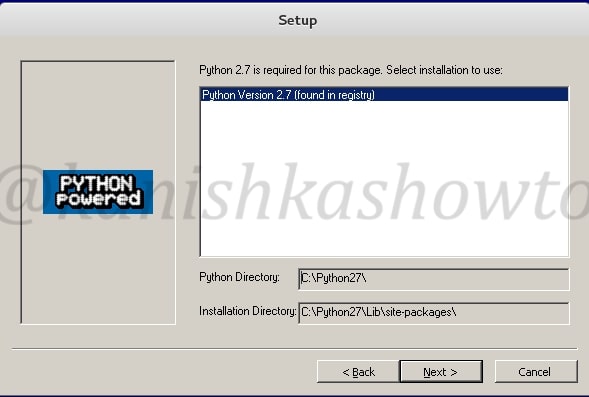
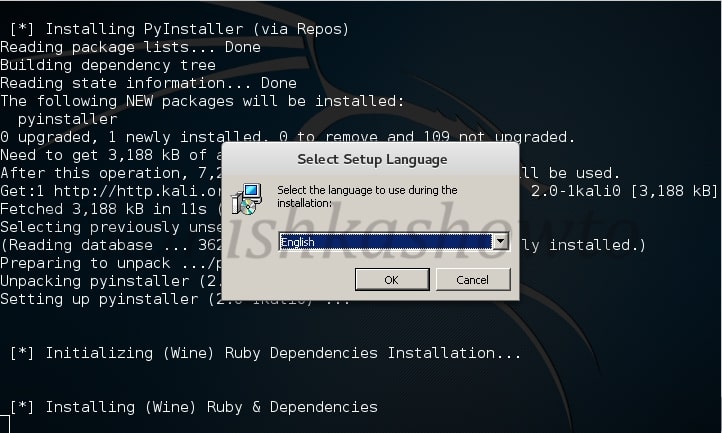
Click On “Next”.

Select language as “English” and click on “OK”.

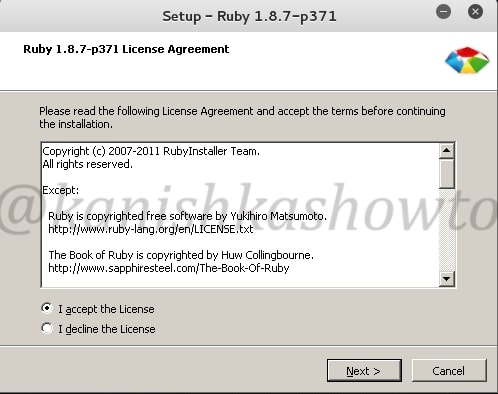
Next it prompt you to install Ruby. Accept the license and click on “Next”.
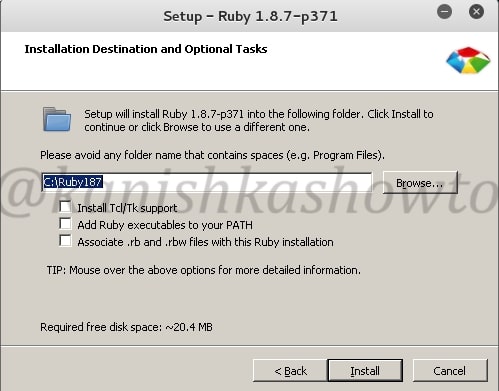
Click on Install.

Click on Finish to to finish the installation of Ruby.

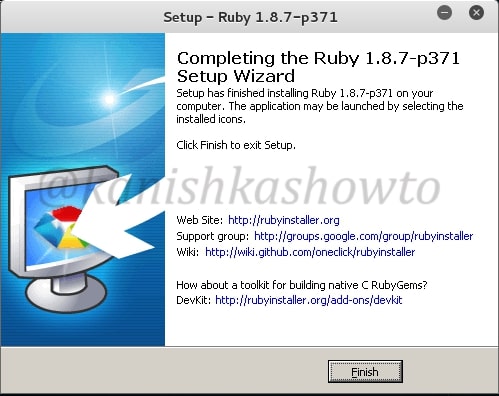
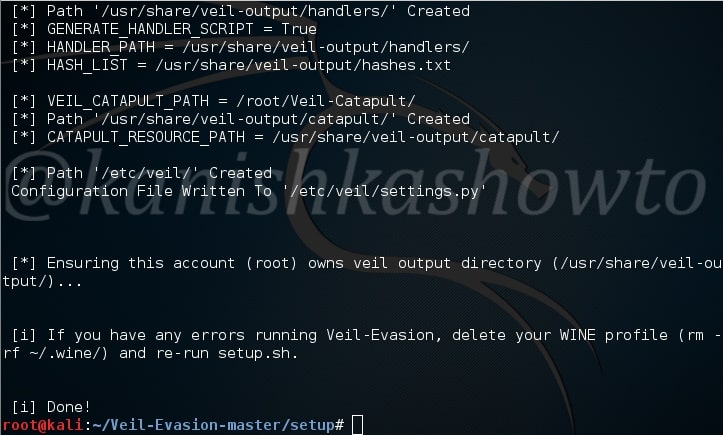
You will see the below screen as the installation finishes.

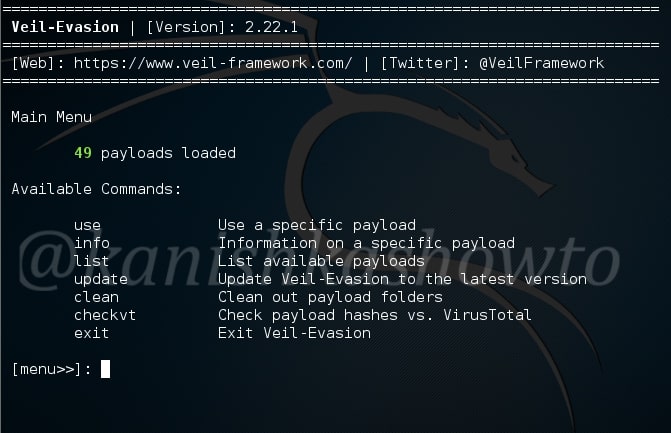
Now let us see if our installation has been successful by starting the program. Go to the “Veil-Evasion-master” directory in which there is a python script called “Veil-Evasion.py”. Execute this script by typing command “./Veil-Evasion.py”.

This is how Veil-Evasion looks when started.

Posted on 2 Comments

Complete guide to Nmap port scanner

Hello, aspiring ethical hackers. This blogpost is a complete guide for using Nmap (Network Mapper). It is a popular and open source utility used for port scanning and network discovery by network administrators and pen testers. It uses real IP packets in novel ways to determine the LIVE hosts on the networks, open ports, the services they are running, type of firewalls in use etc. It is available for all major operating systems like Linux, Windows and Mac OSX.

We are using it on Kali Linux where it is installed by default. Let’s begin with how to specify targets while scanning.

Target specification

1. Provide input through a list:

nmap -iL <input filename>

This option reads targets from a specific file. Let’s create a file named alpha with a few newline separated or tab-limited or space separated IP addresses using vi on Desktop.

Then, move to Desktop directory and type the command as shown below. It scans the four IP addresses listed in our file.

2. Specify random hosts to scan:

nmap -iR <number of hosts>

This option is used to specify random hosts to scan. Nmap generates its own targets to scan. The <number of hosts>argument tells nmap the number of IP’s to generate. Let’s type command as shown below.We can see that it generated five random targets to scan. The scan failed to determine route to the generated IP addresses because my system is not connected to Internet. Why didn’t it generate any internal IP addresses? Because in this scan private, multicast and unallocated address ranges are automatically skipped.

3. Scan the entire subnet:

nmap <IP address/dir>

This option is used to scan the entire subnet. Assuming you know CIDR let’s type the command as shown below to scan eight IP addresses from 10.10.10.1 to 10.10.10.8 and see the result below.

4. Exclude some hosts and networks:

nmap [targets] -exclude [targets]

This option specifies a comma separated list of targets to be excluded from the scan even if they are part of overall network range we specify. For example, in our previous scan we saw that one host 10.10.10.2( which is the system I am working on) is alive. Now I decided to exclude that host and another host from the scan. So I type the command as shown in the image given below and press “Enter”. We can see that nmap has only scanned six IP addresses.

5. Take the exclusion list from a file:

nmap [targets] -excludefile [file name]

Now what if the subnet was very big and there are more number of hosts to be excluded from the scan. The above option helps us to achieve this. Remember the file “alpha”( with four IP addresses) we created. Now let’s specify nmap to quit scanning the hosts listed in the file. Type the command as shown below. We can see that it scanned only four hosts in the subnet.

6. Scan specific targets:

nmap [target1 target2 target3]

This option specifies nmap to scan multiple targets separated by space. Type the command shown below . We can see the result below.

Scan types

Nmap is equipped with a variety of scans to detect open ports and services on the target system. Learn about Nmap’s various port scan techniques here.

Scan results

Nmap classifies the ports it scans into six categories. They are open, closed, filtered, unfiltered, open/filtered and closed/unfiltered. In which cases does Nmap classify a port as one of the above. Learn in port scan results of Nmap.