Hello aspiring ethical hackers. In this blogpost, you will learn about Nessus vulnerability scanner. Nessus is an open-source network vulnerability scanner that uses Common Vulnerabilities and Exposures (CVE) architecture. It is widely used for vulnerability assessment and penetration testing.
Nessus server can be installed on Unix, Linux and FreeBSD whereas Nessus client is available for Unix and Windows based operating systems. For this tutorial, we will be installing Nessus on Kali Linux. Nessus can be downloaded from here. It can also be downloaded using curl as shown below (version may change).

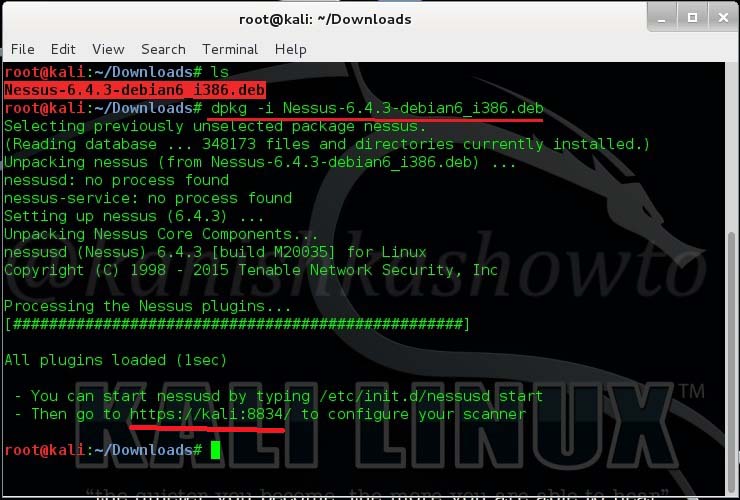
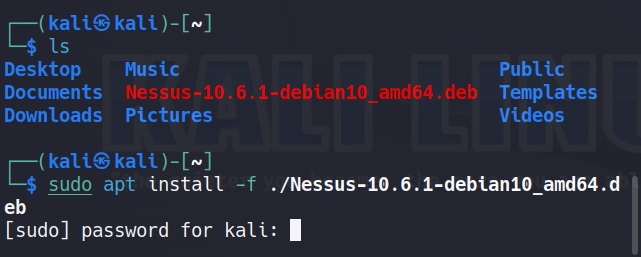
Once the latest version of Nessus is downloaded, it can be installed as shown below.
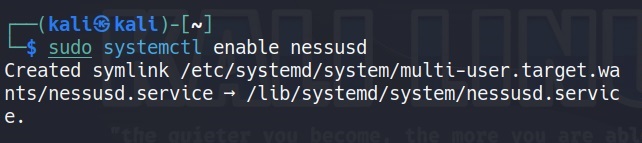
Once the installation is finished, enable nessus as shown below.
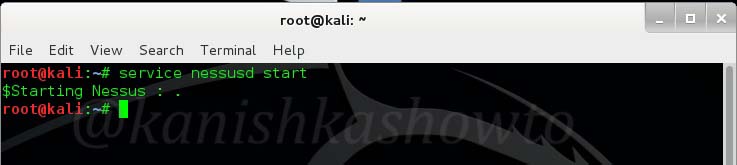
Then start nessus as shown below.

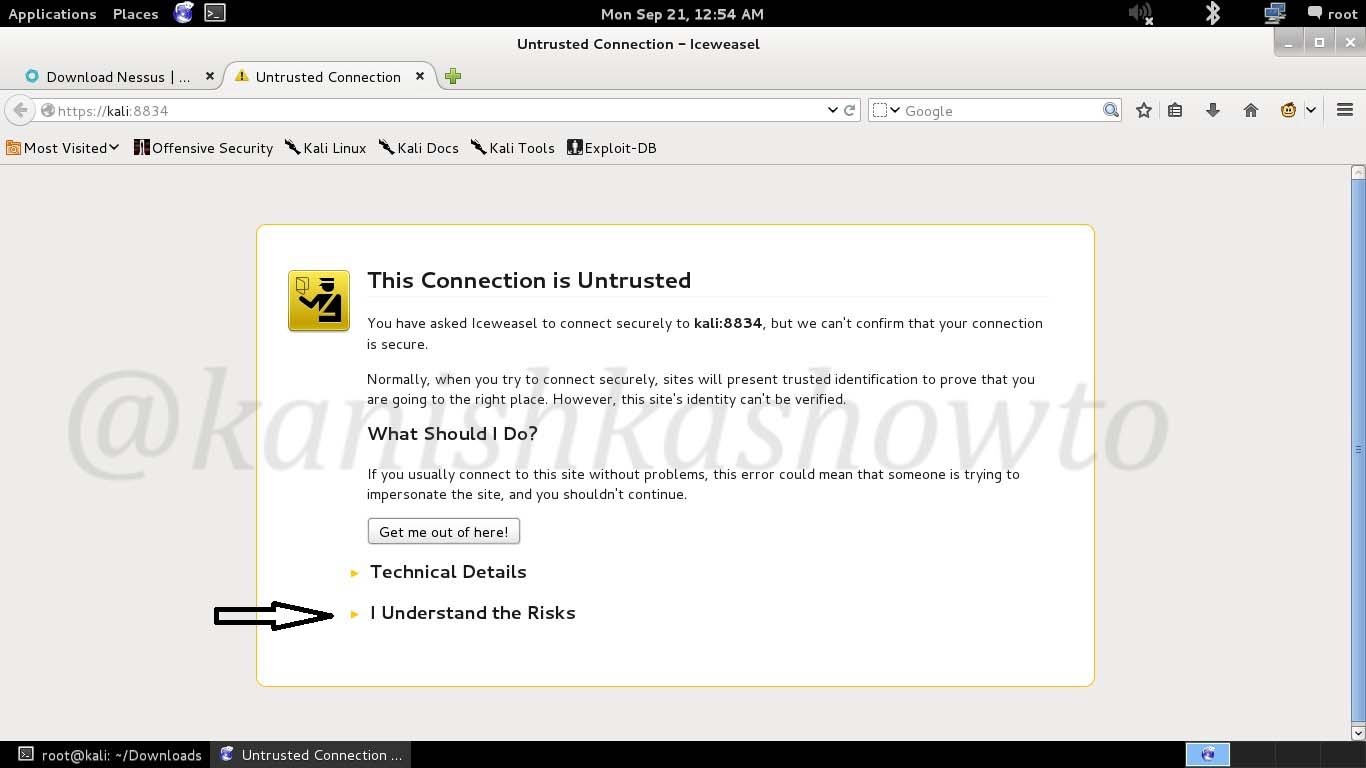
Nessus runs on port 8834 by default. It can be viewed in browser.
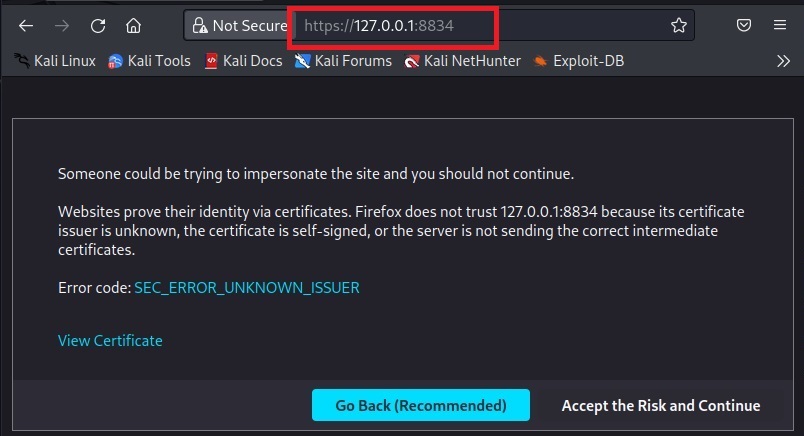
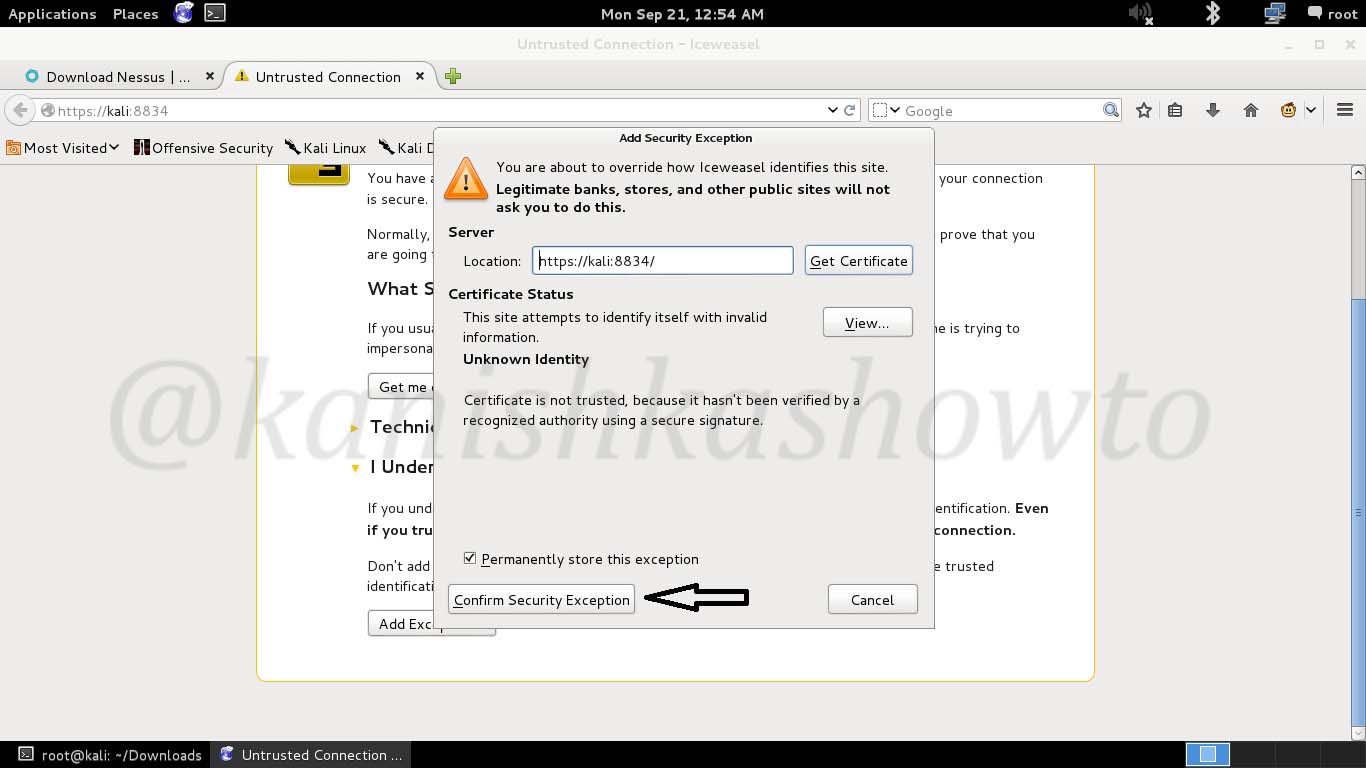
Click on “Accept the risk and continue”.
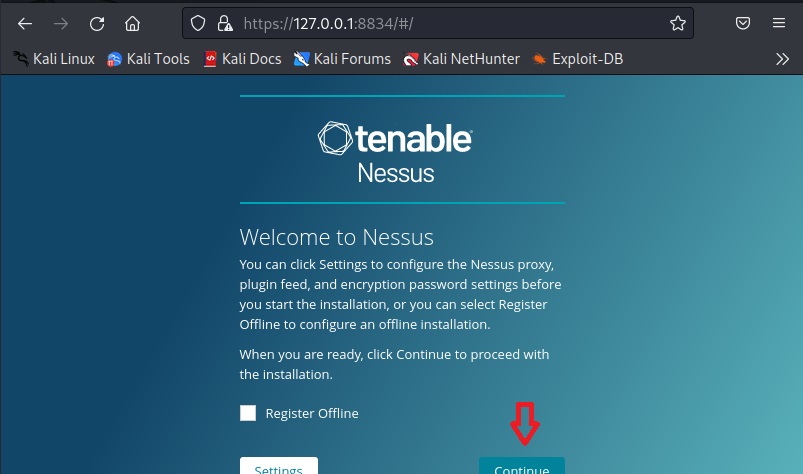
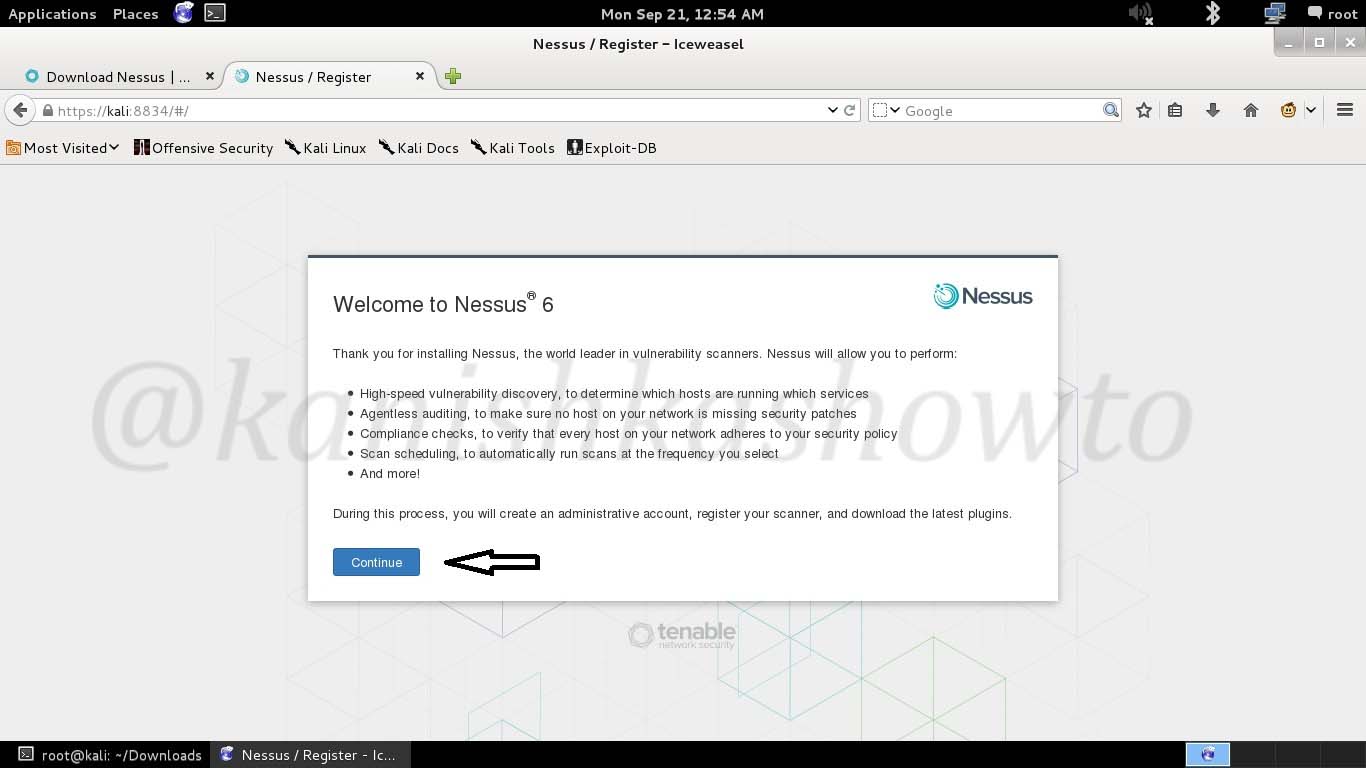
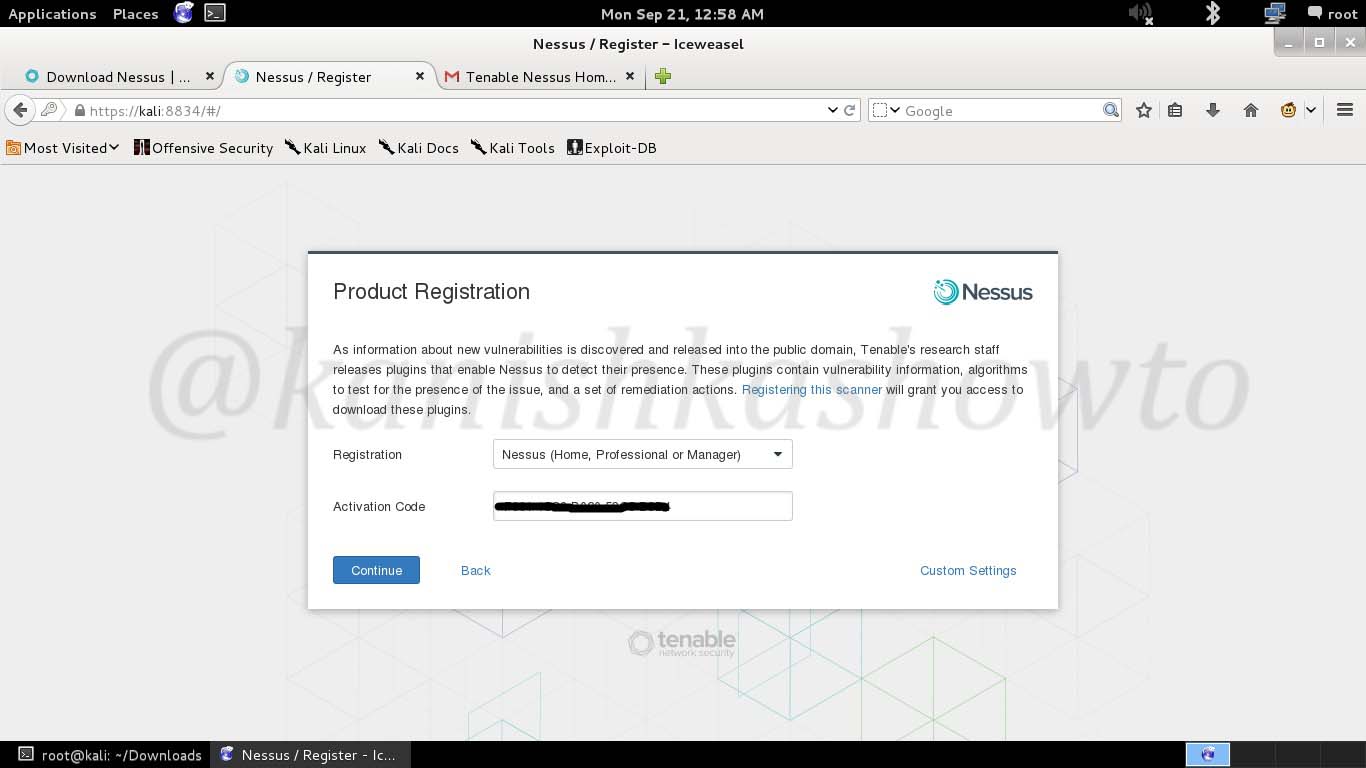
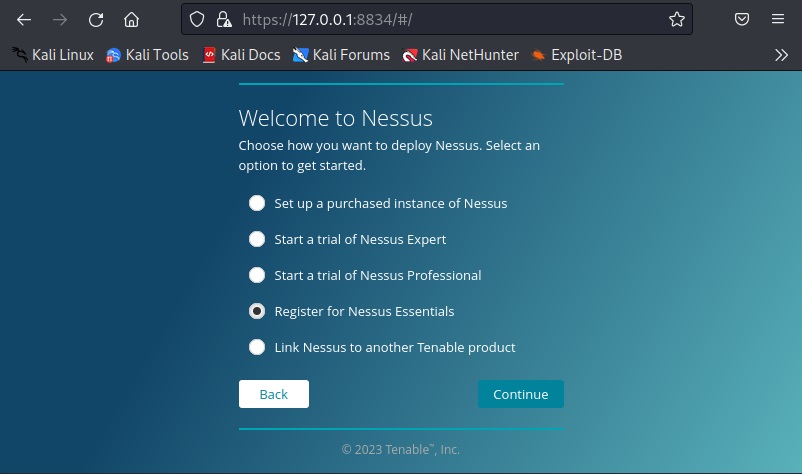
Click on “Continue”. Select the type of Nessus install you want. Since we are using a Free version of Nessus for this tutorial we select “Register for Nessus Essentials”. Click on “continue”.
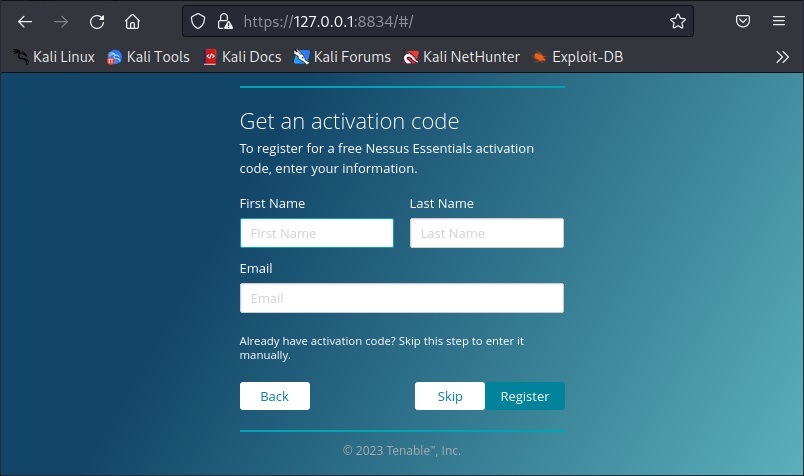
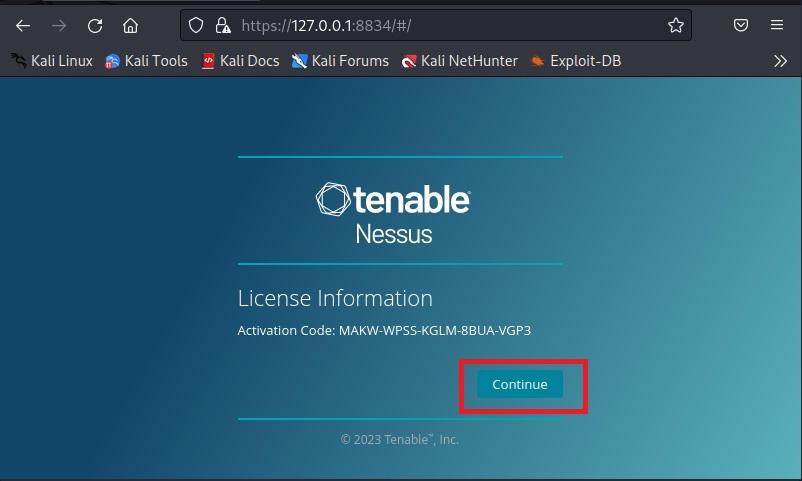
To run Nessus Essentials, you need an activation code. Get the activation code by entering the following details.
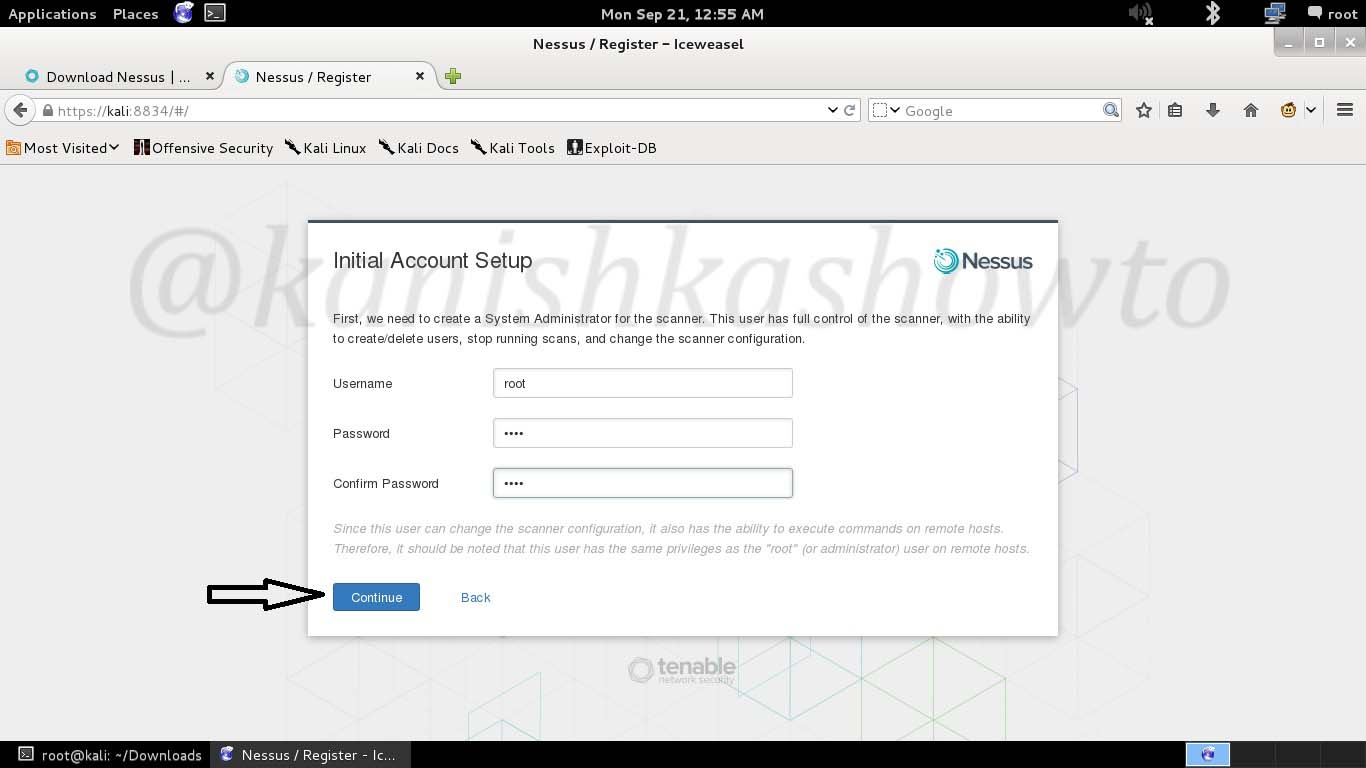
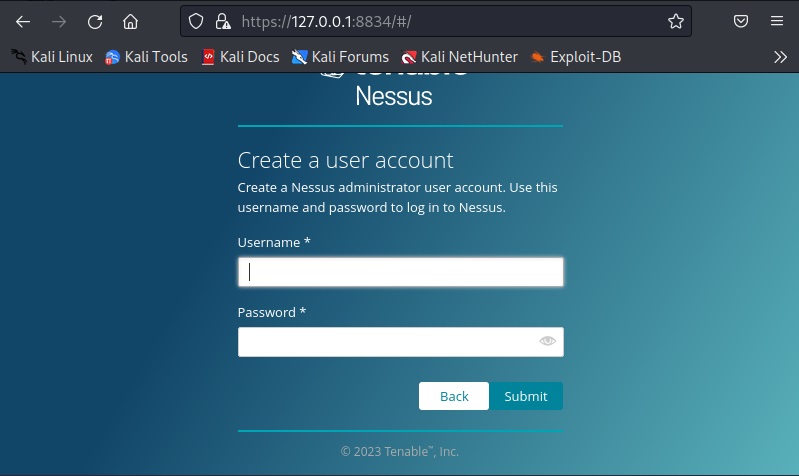
You need a user account to login into Nessus. Create an account and most importantly remember the user account information.
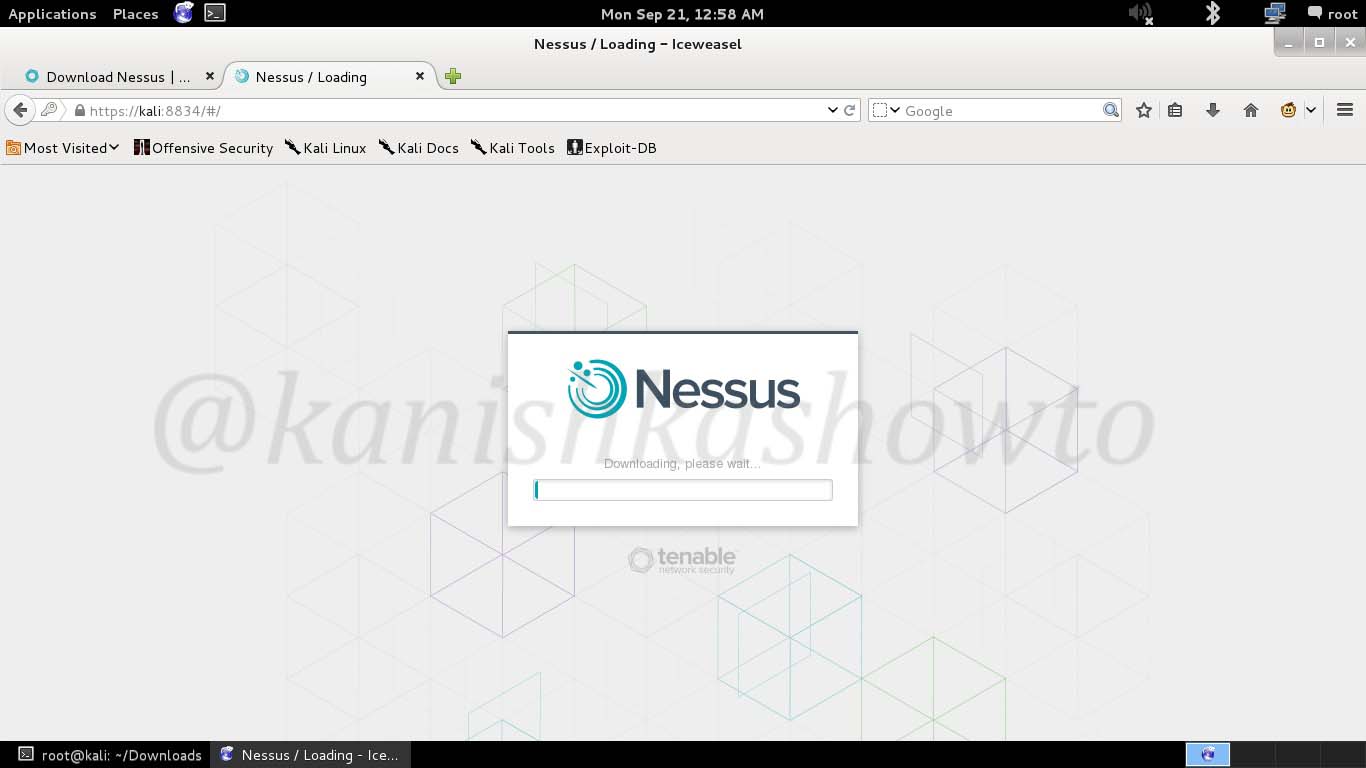
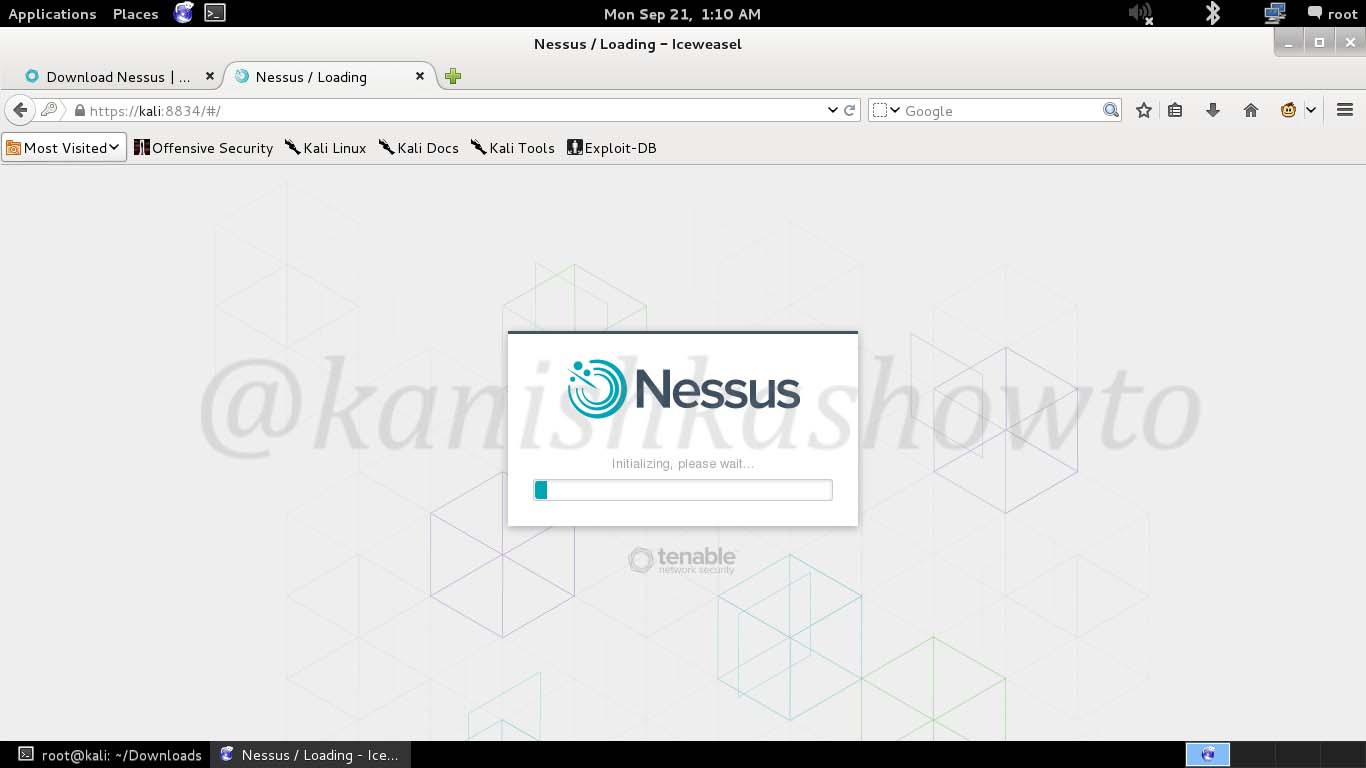
Then, Nessus will download all the required plugins. This may take some time (a bit long time sometimes).
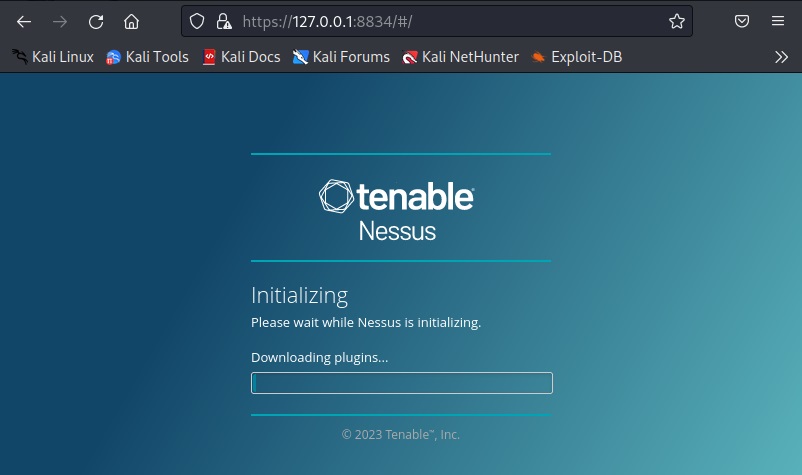
Once all the plugins are finished downloading, you should see this.
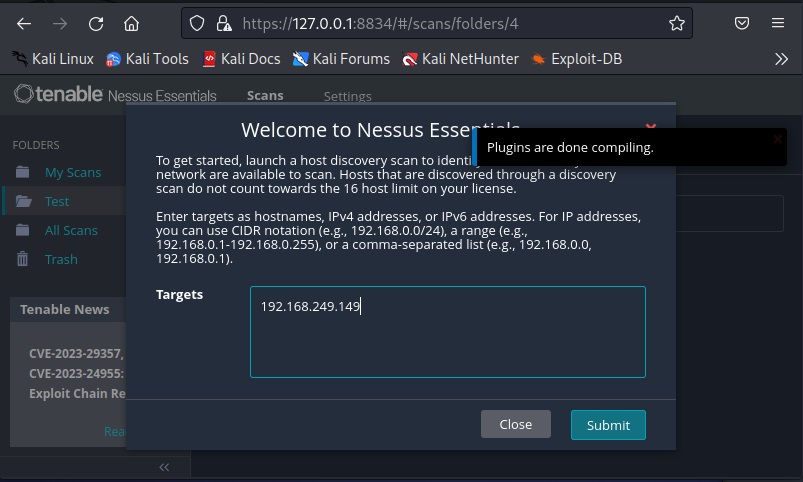
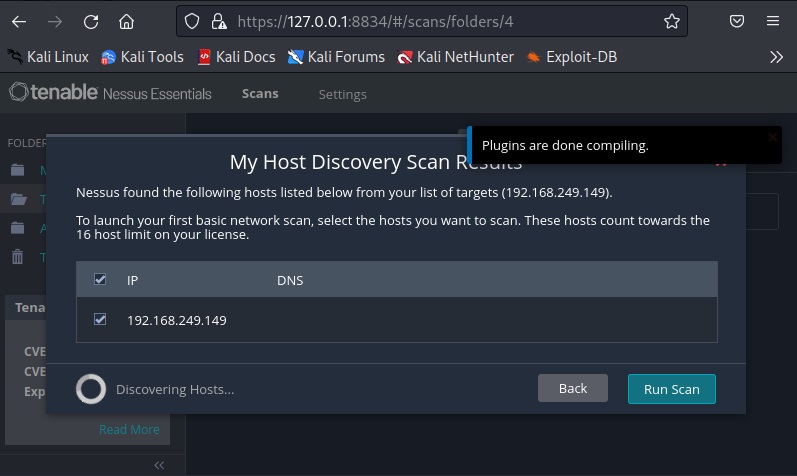
The installation is finished. Now, it’s time to start scanning with Nessus. Click on “New scan”. A new popup opens. Assign a target.
Click on “Run scan”.
The scan will start and take some time to finish. For this tutorial, we are using “Metasploitable 2” as target. See how to install Metasploitable 2 in VirtualBox.
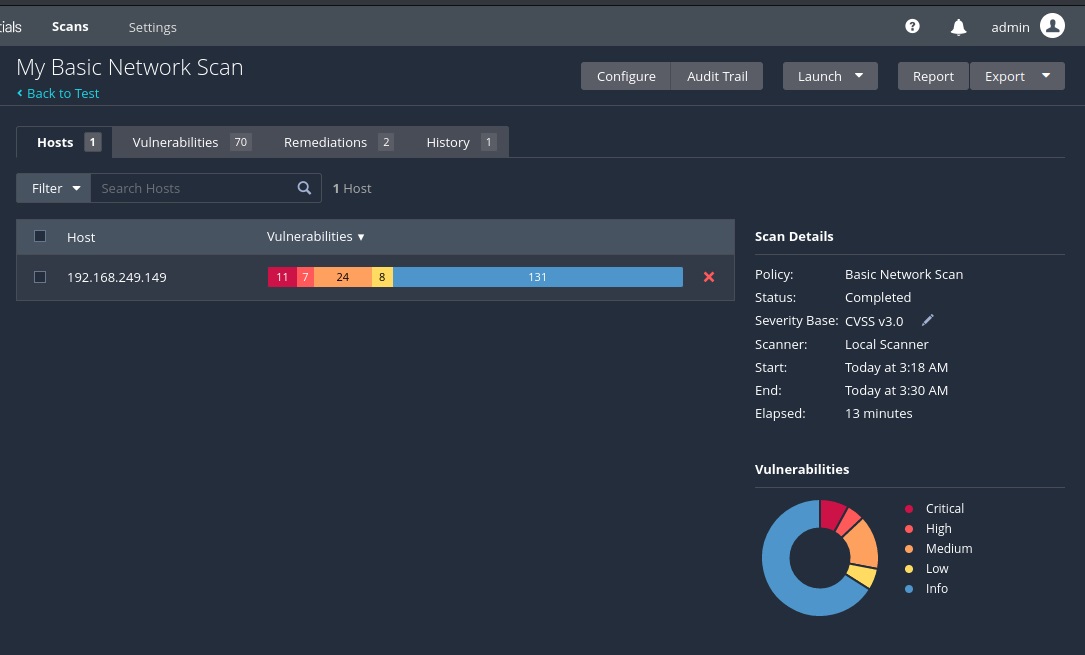
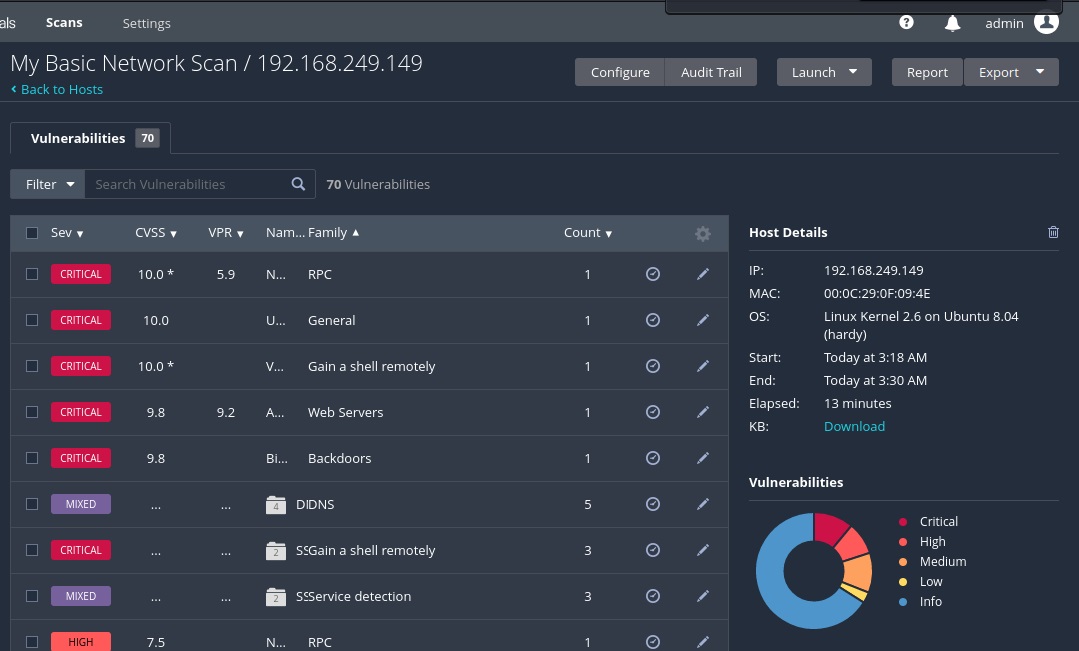
The vulnerabilities are classified into five categories by Nessus. They are Critical, High, Medium, Low and Information. You can view detailed information about the detected vulnerabilities by clicking on them.
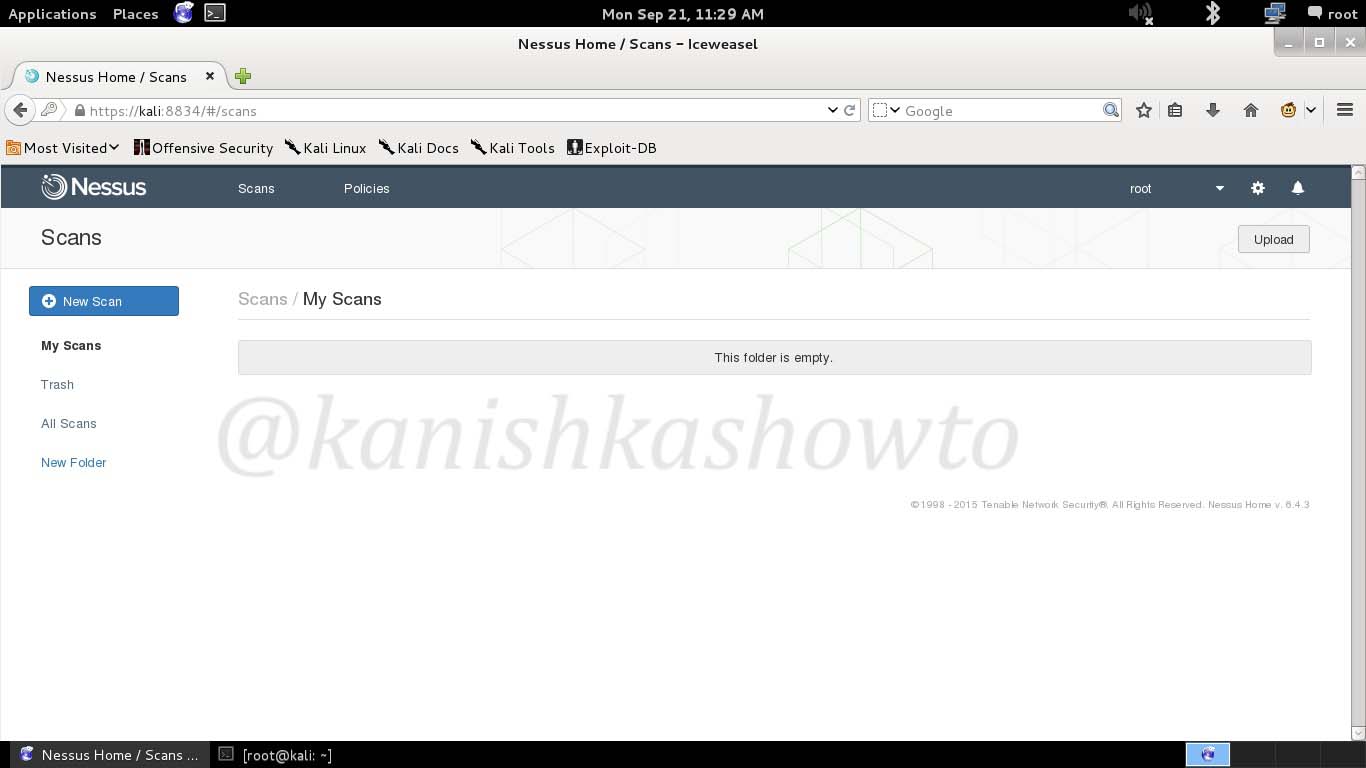
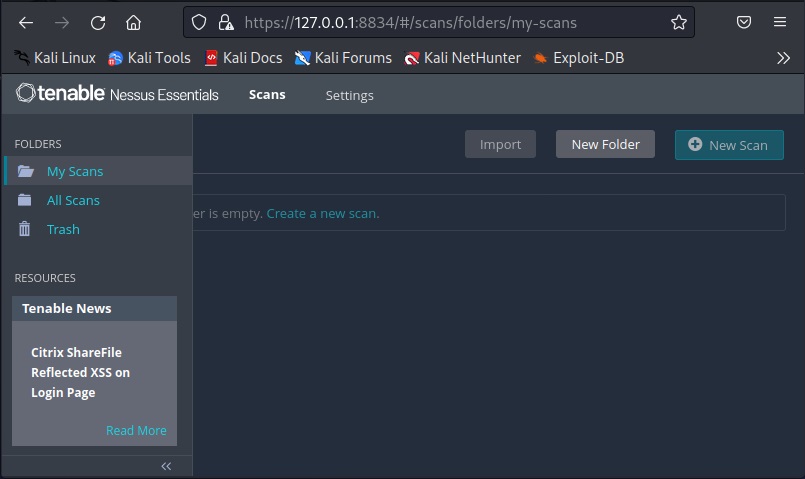
All the scans you perform are located in “My scans” section.
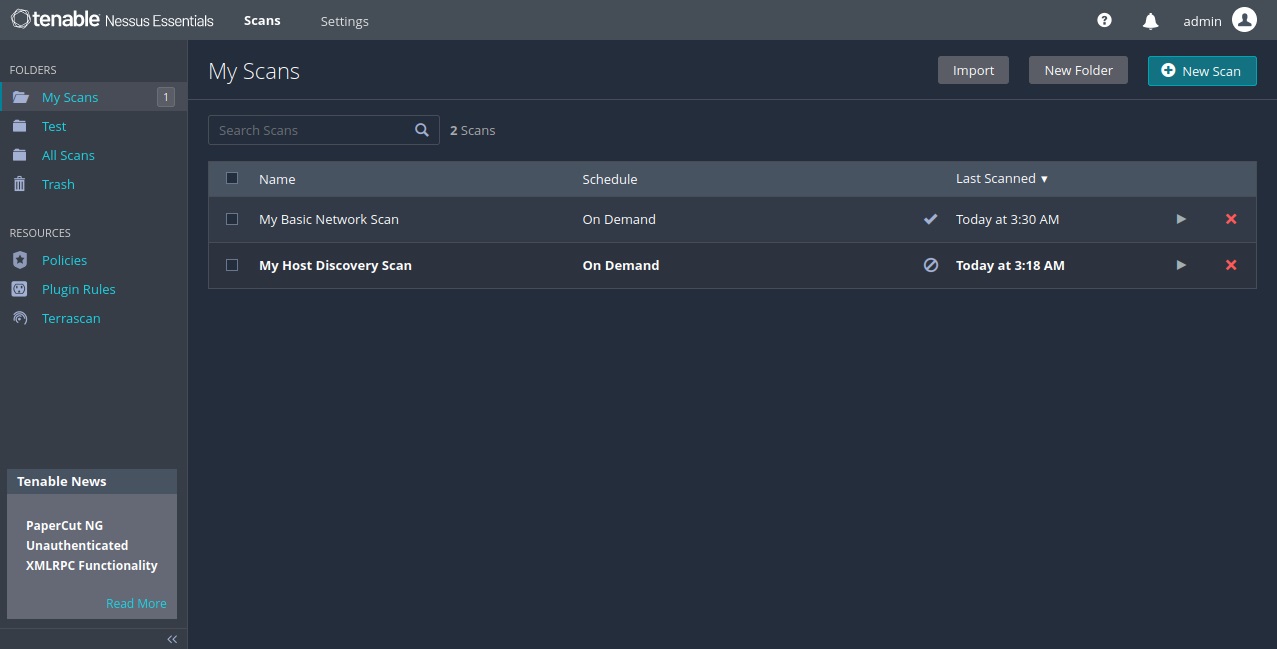
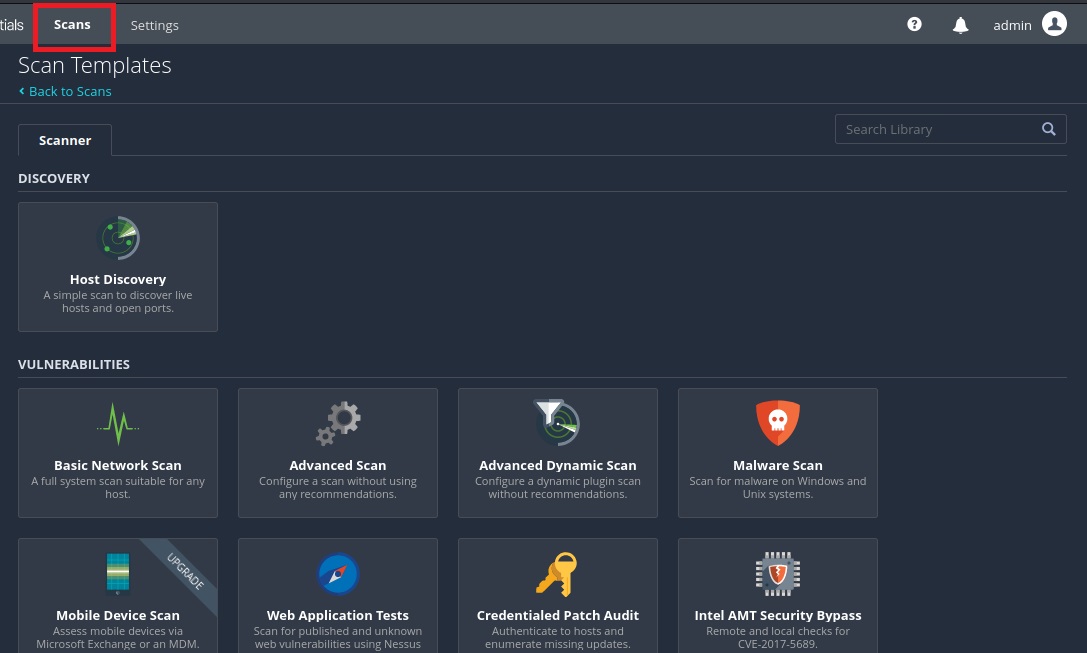
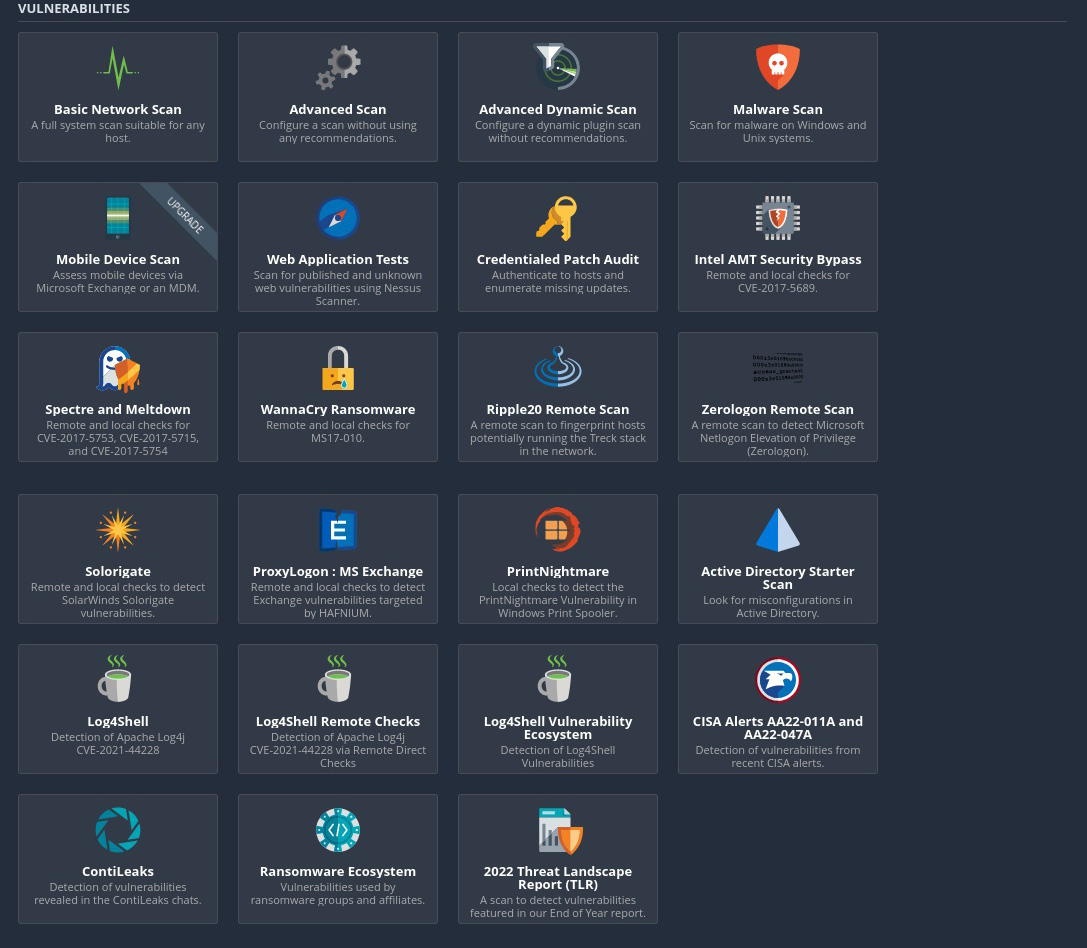
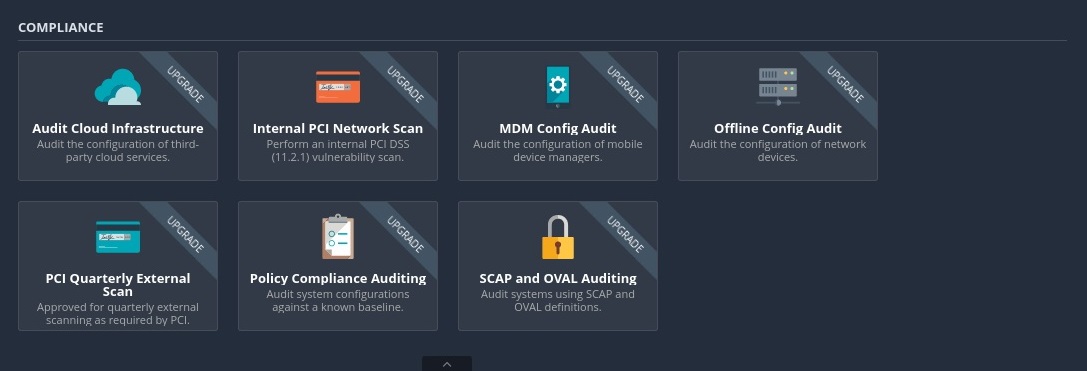
Nessus allows different types of scans. All the scans that can be performed using Nessus can be viewed from “All scans” section.