
Hello, aspiring ethical hackers. In this blogpost, you will learn how to install Kali Linux in VirtualBox. The makers of Kali Linux have a released the latest version of the popular pen testing distro. So, we decided to update this article on how to install Kali in VirtualBox.
Every latest version of Kali Linux has many brand new features. Now, let’s see the simplest process to install Kali Linux in VirtualBox. The makers of Kali Linux provide pre-built VMs for popular virtualization software like VMware, VirtualBox, QEMU and Hyper-V. Go here and download the pre-built image of VirtualBox. We have performed this installation in the Oracle VirtualBox 6. In this article, we will be installing Kali Linux 2024.2 but the process is same for any version of Kali Linux.
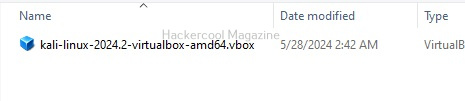
The pre-built image will be downloaded in the form of an zip archive. Extract the contents of the zip archive. Your downloaded contents should look like below. As you can see, there will be two files: Virtual Disk Image (VDI) file and VBOX files.

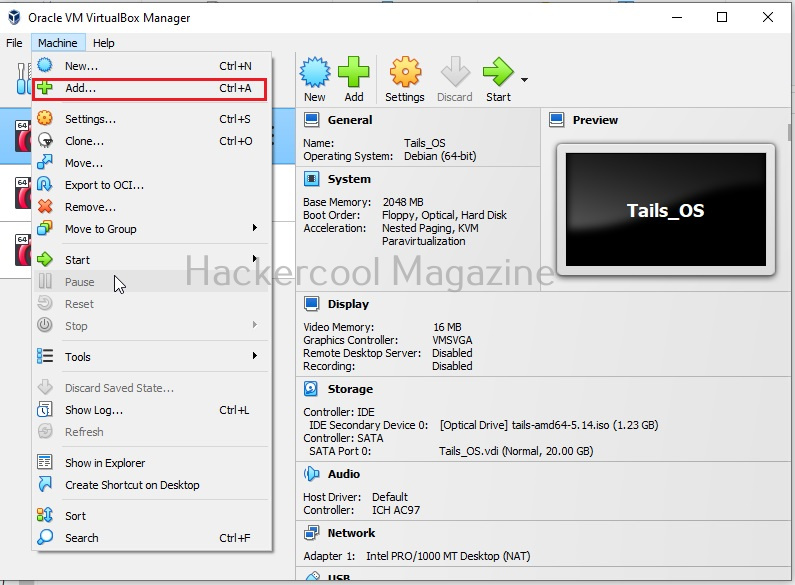
Now open VirtualBox and go to Machine > Add. You can also use shortcut “CTRL+A” to get there.
In the window that opens, browse to the directory that consists of contents of the zip archive we have extracted at the beginning of this article. A window like below will open. Browse to the OVA file we downloaded.
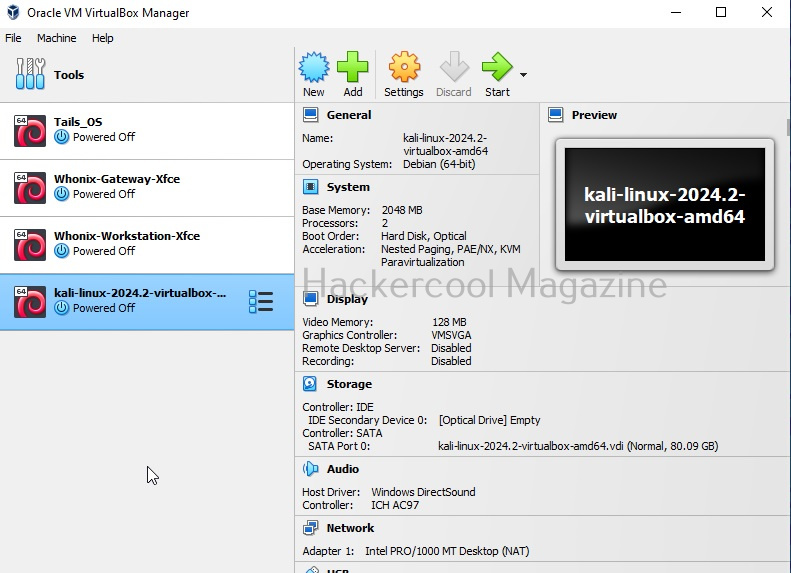
Only the vbox file will be displayed. Select this file. Doing this will successfully create the virtual machine on VirtualBox as shown below.
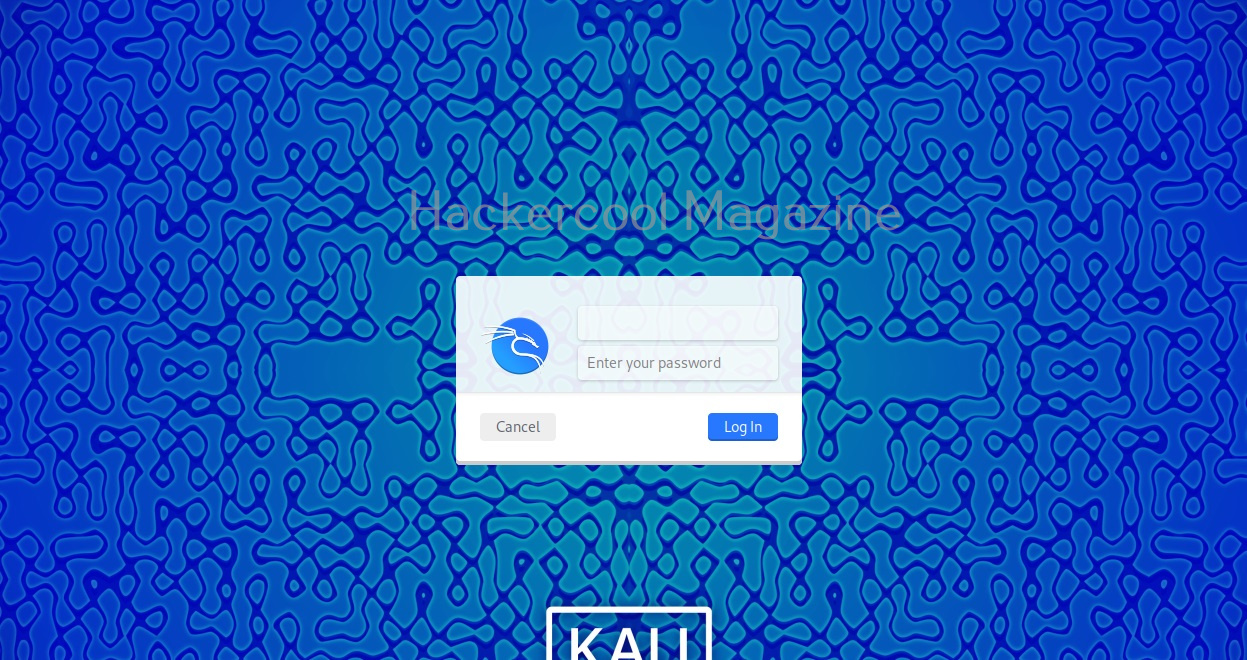
Power ON the virtual machine by double clicking on it. You should see the login screen as shown below.
Happy hacking practice.