Posted on

Beginners guide to armitage

Hello, aspiring ethical hackers. In this blogpost, you will learn about Armitage. Armitage is the GUI (graphical user interface) version of the fantastic pen testing tool Metasploit. We all know Metasploit is an awesome tool for pen testing. However awesome it is, we need to type each and every command to run the exploit. What if we all can do the same pen testing with clicks and right clicks. There you have your answer, Armitage.

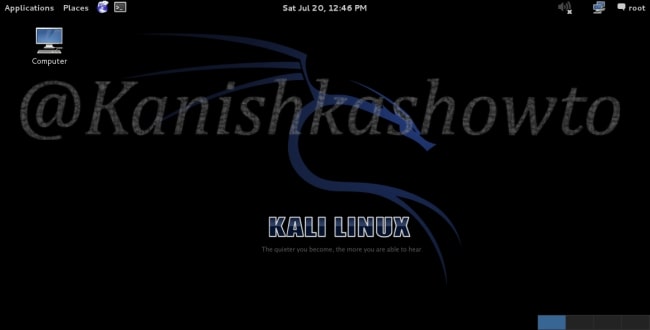
Armitage is installed by default in Kali Linux and it can be started using command “Armitage”. If it is not installed, ask itself to install it while the system prompts you to.

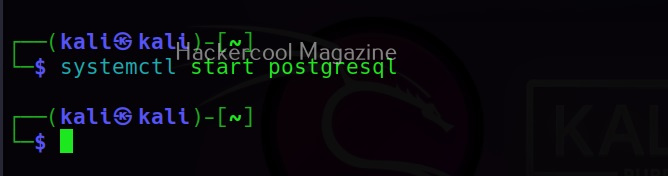
Armitage uses PostgreSQL database. So, we need to start the PostgreSQL service as shown below.

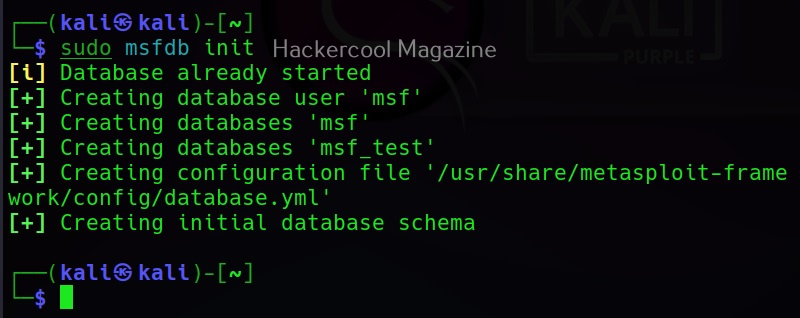
We also need to start the msfdb service.

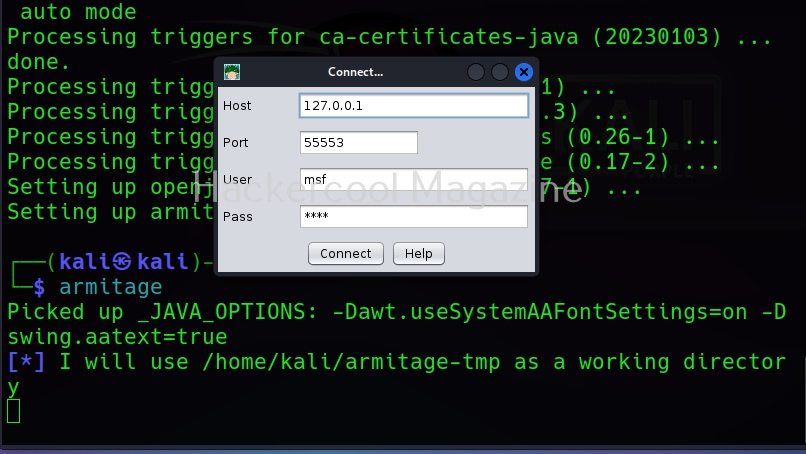
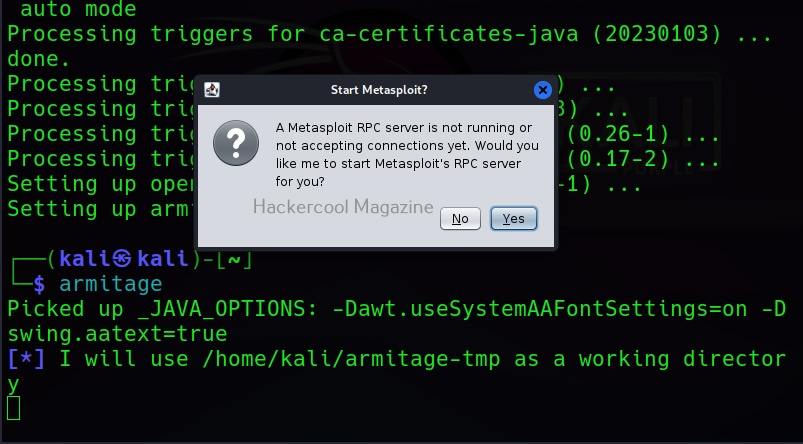
Now, you are all ready to start Armitage, Type the same command you typed at the beginning “armitage” and you should see this. Armitage needs to connect to the Metasploit RPC server to work. Click on “Connect”.

If you get the message shown below. Click on “yes”.

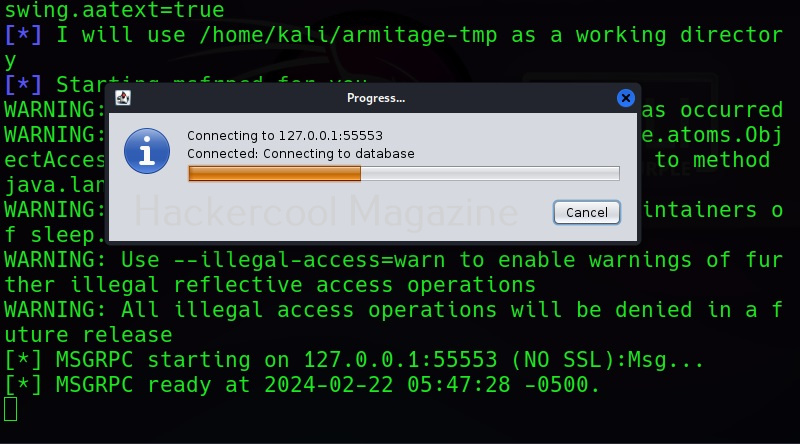
If you get the message shown below, just hang on. Things may change soon.
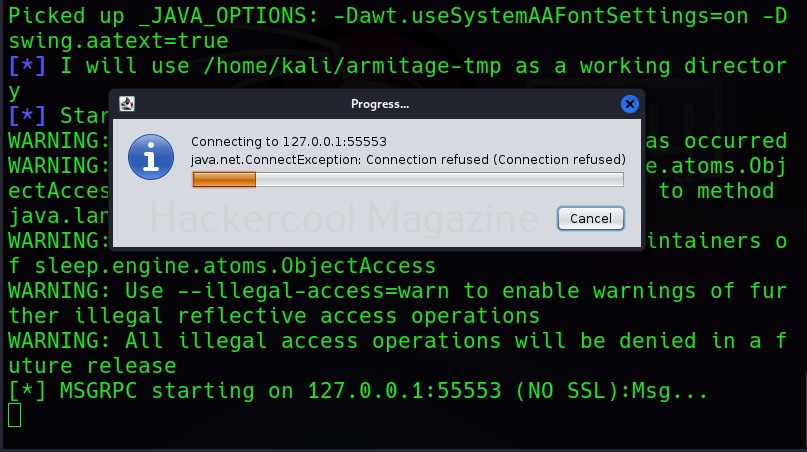
As shown below.

If everything went right, you should see the window shown below.

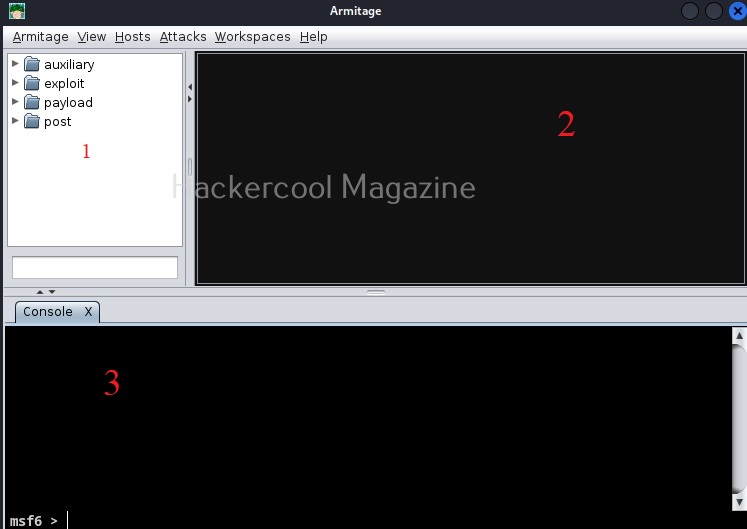
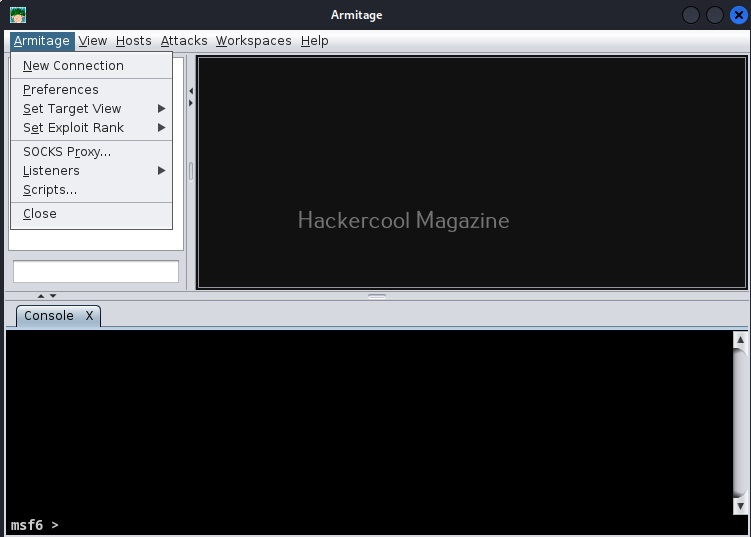
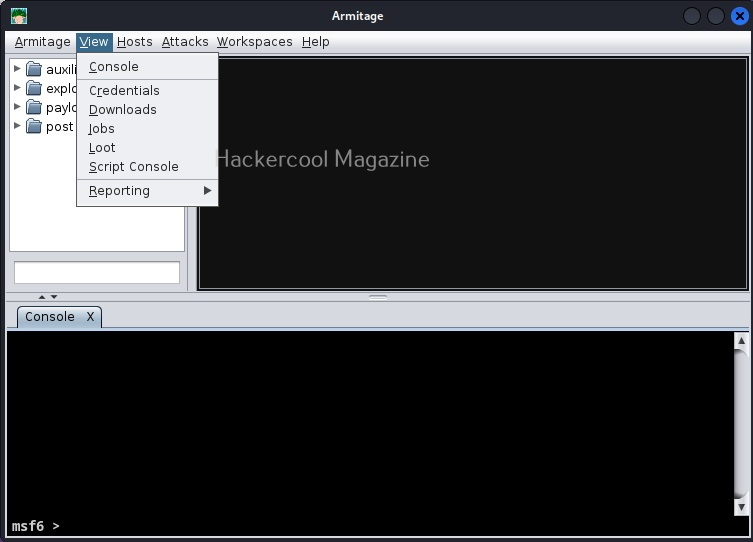
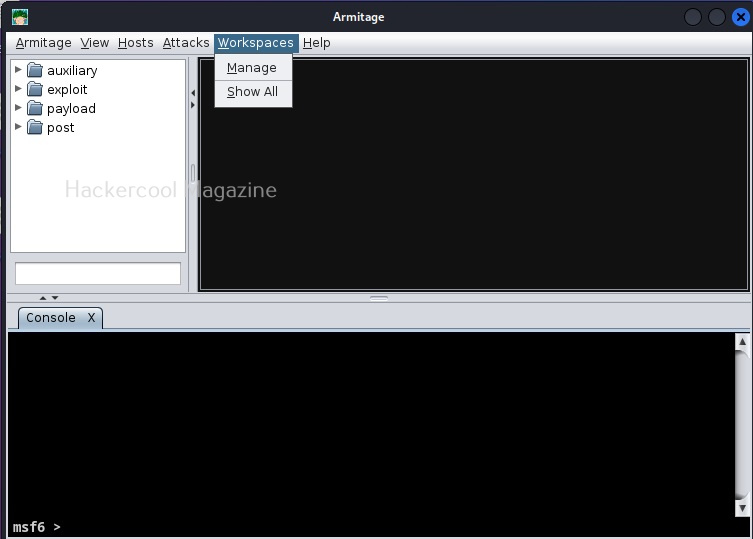
Welcome to Armitage, If you can see, Armitage has three sections. Section 1 should be familiar to you. The names should remind you of Metasploit. That’s because, that is exactly that but in graphical format. Section 2 is where you can see the visual display of Armitage, The visual representation of the network you are trying to pen test or hack is shown here. Section 3 named “console” is “metsaploit” itself. Now that you are familiar with all the sections of Armitage, let’s see the menus of Armitage.

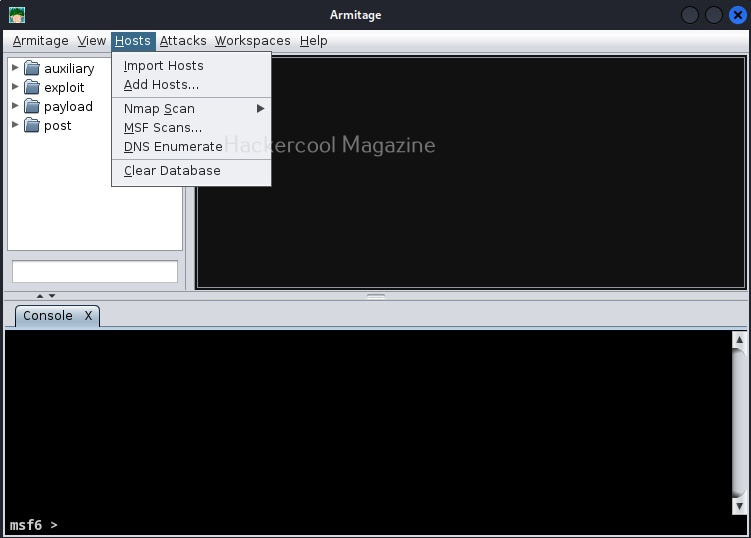
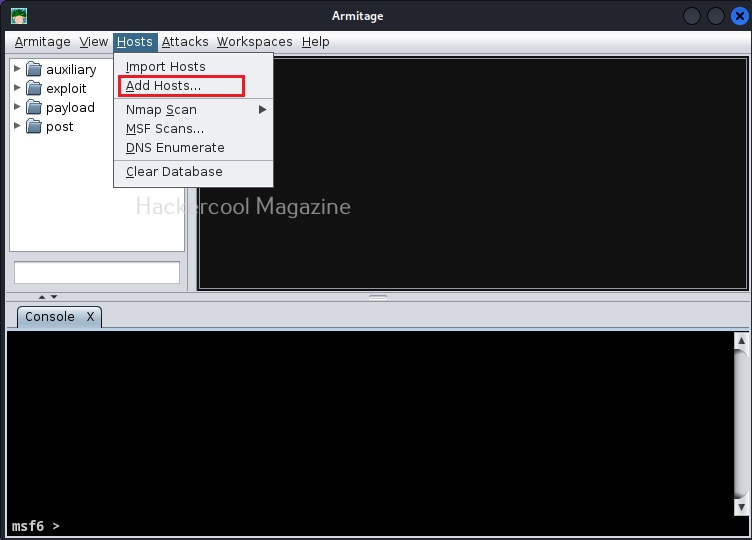
To start with Armitage, let’s first add our own attack machine to the display. To do this, we need to go to “Host” menu and click on “Add Host”.

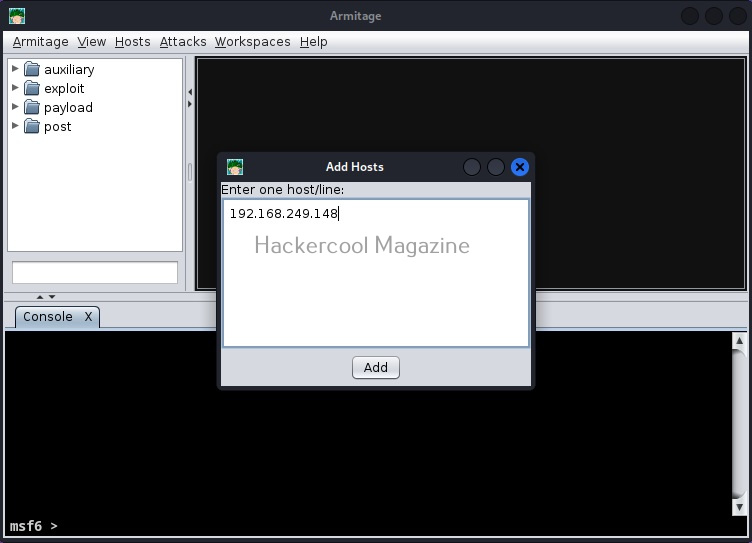
In the small window that is opened, add the IP address of the attacker machine and click on “Add”.

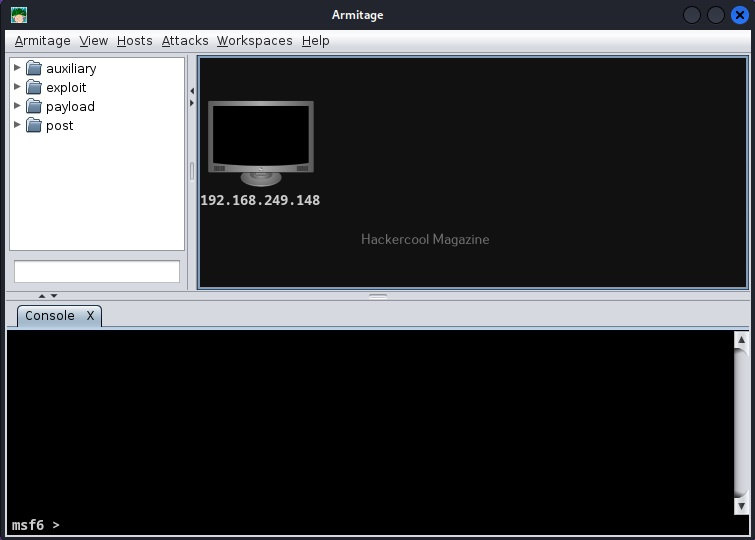
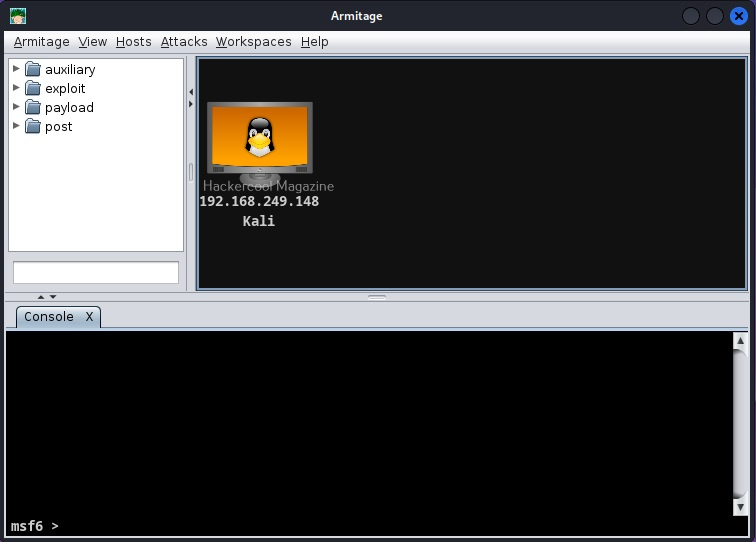
Now, Armitage looks like this with our attacker machine shown on display. Now, let’s add the OS and give a name to our Attacker system so that we can easily detect it.

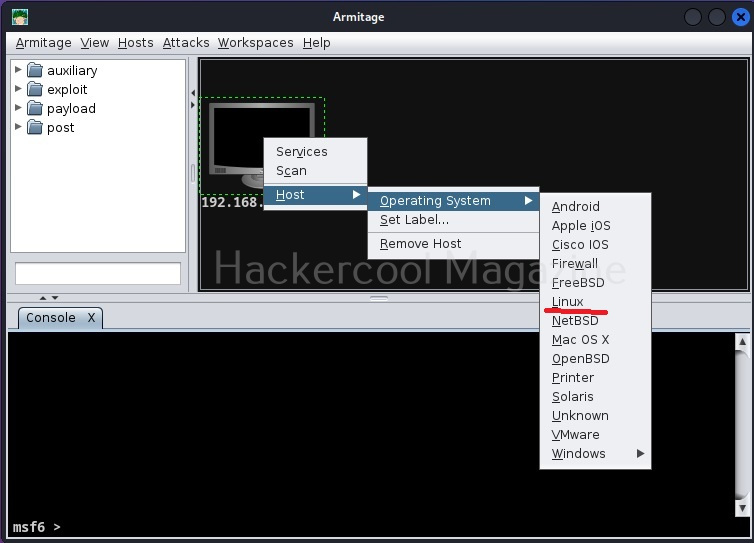
Right click on the attacker system. Go to Host>Operating system>Linux as shown below.

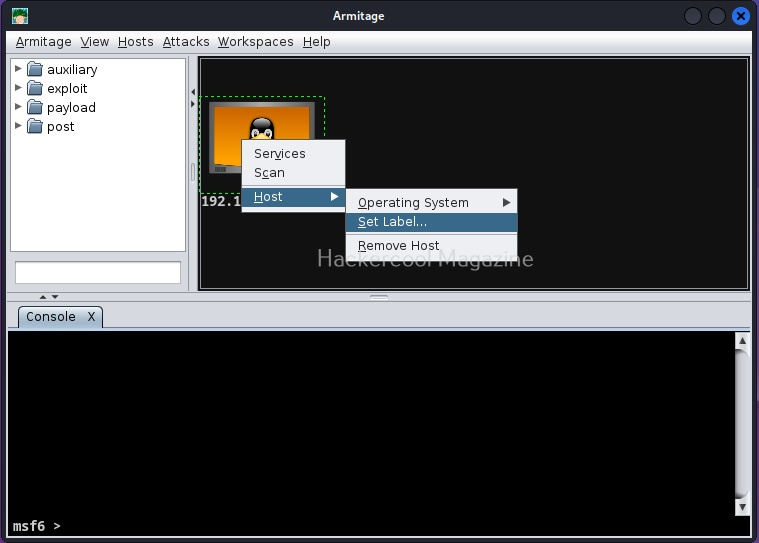
Similarly, to give name to your attacker systems, go to Host>set label. I named it Kali.

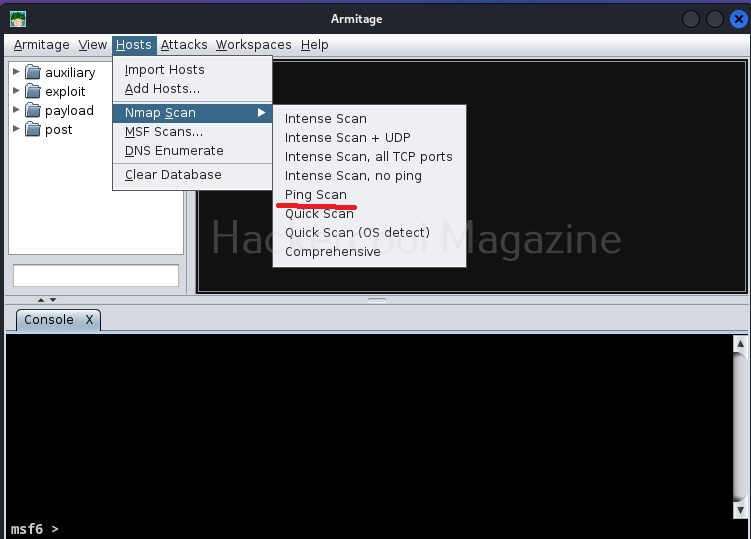
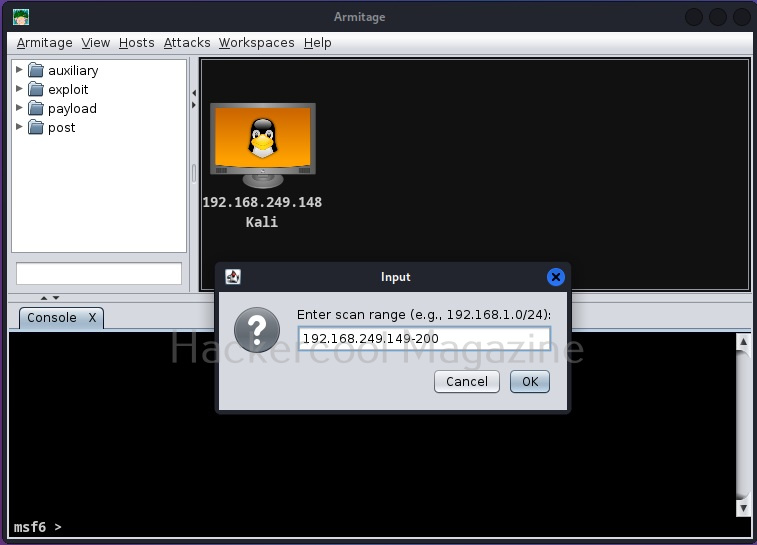
Since the attacker system is ready, we now need target system. For this tutorial, we will be using Windows XP SP2 as target. To get the target on armitage, all we need to do is perform a ping scan to detect the LIVE systems on the target network. To do this, go to Host menu> Nmap scan>Ping scan as shown below.

Enter the IP address range to scan. This information is usually obtained during footprinting. You want to scan for LIVE systems.

As soon as the scan is complete, the LIVE targets are displayed on the display of Armitage and you will be prompted with a message as shown below.

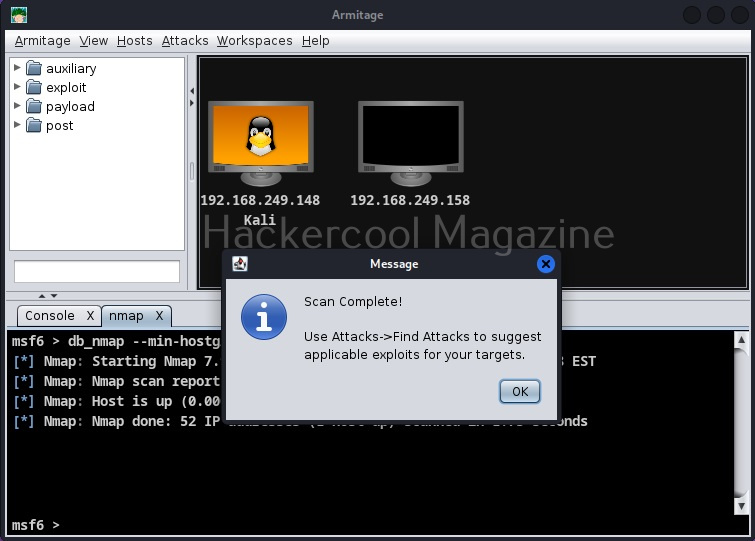
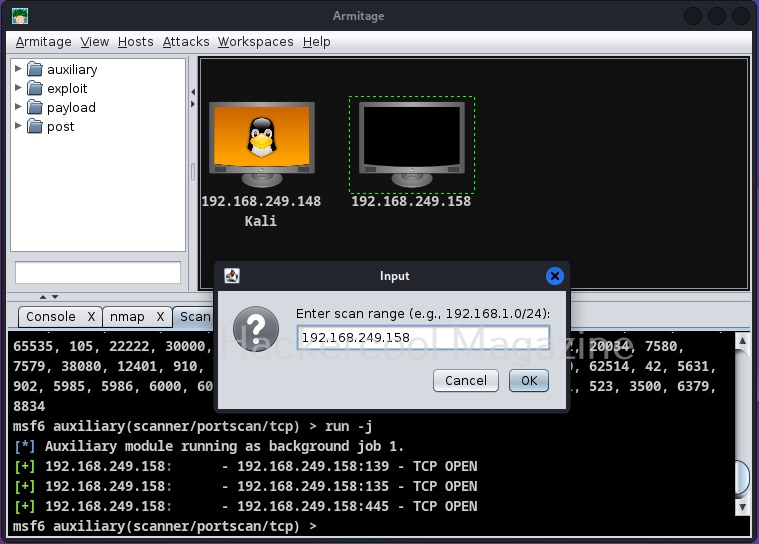
As you can see here, the Ping scan as usual failed to detect the operating system of the target and even open ports too. Next, let’s scan for open ports on the target. To do this, go to Hosts>Nmap> Quick Scan.

All the actions you perform are shown in console section. From the same menu, lets perform a comprehensive scan to detect the operating system of the target.

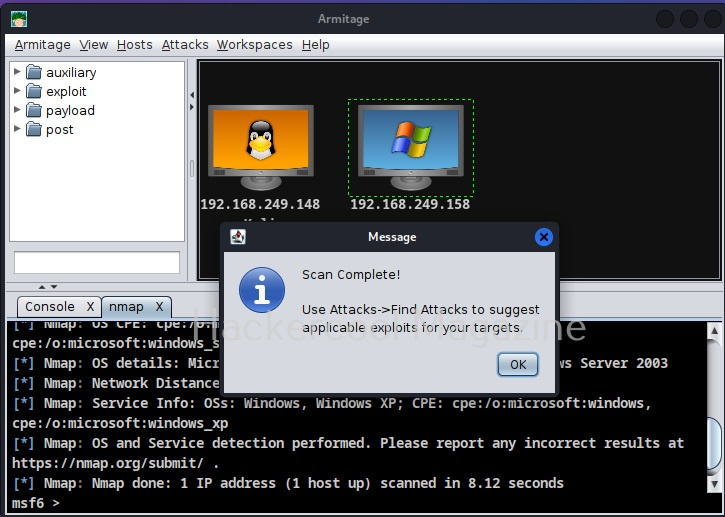
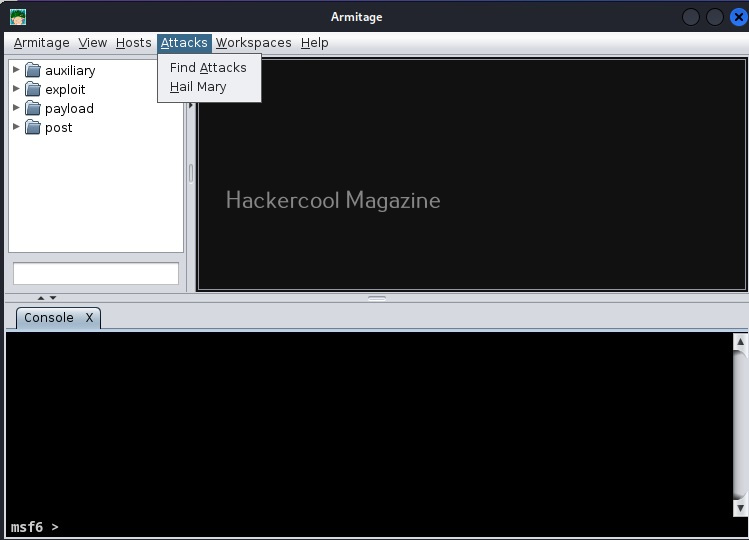
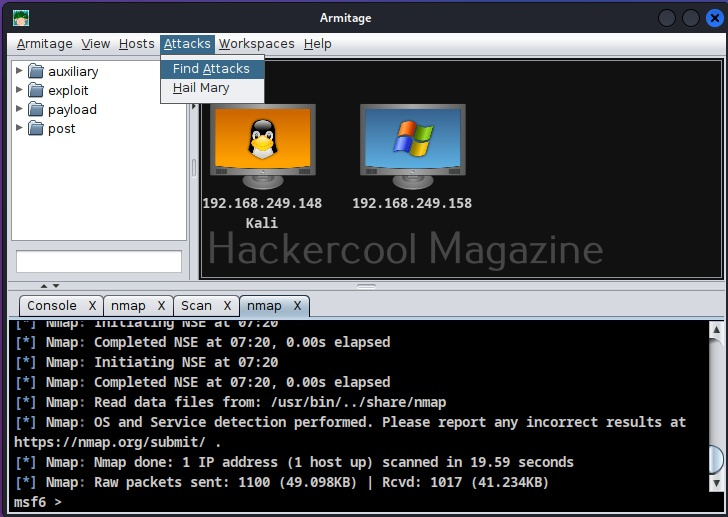
This time the operating system of target system id detected as Windows Next stage is to find some attacks related to it. To do this, go to Attacks menu>Find attacks.

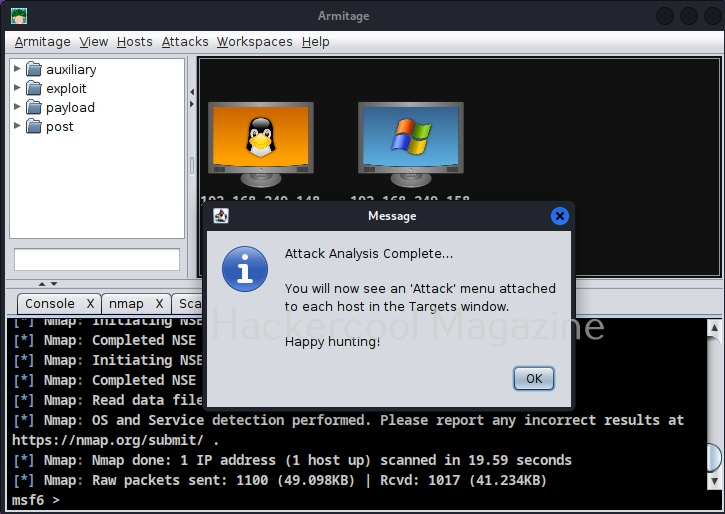
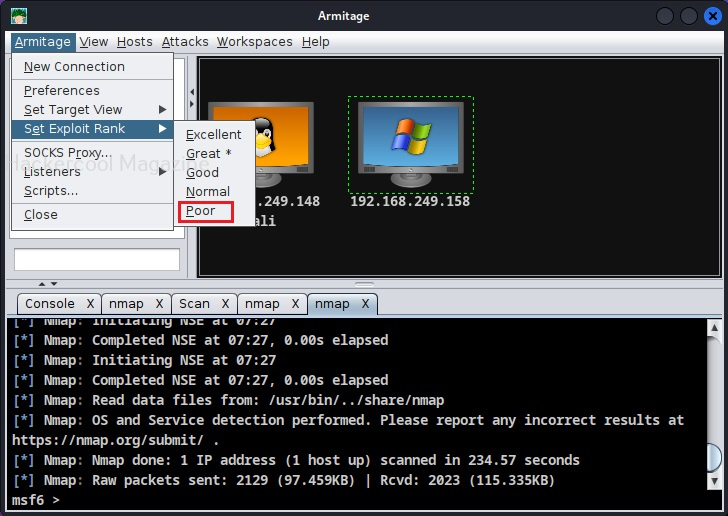
As the message in the above image says, you will find a new menu named “Attack” on the target system now. If you don’t find the “Attack menu” on the target system, go to Armitage menu >Set Exploit rank. Set it to “poor” as shown below.

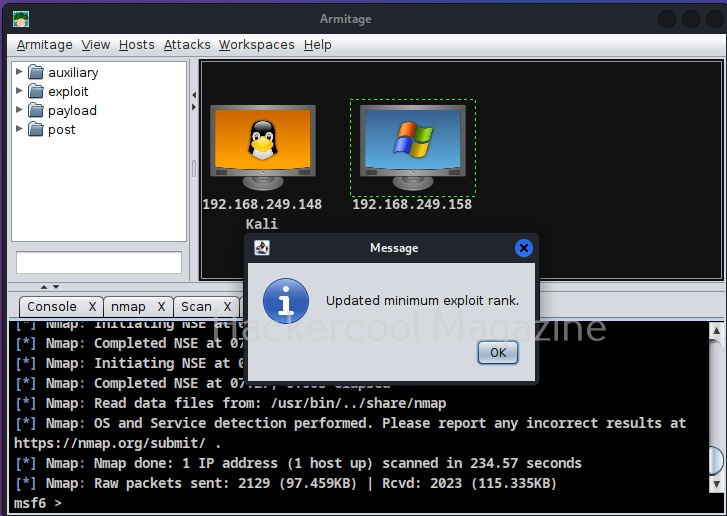
Find attacks again. This time you will see an Attack menu on the target system.

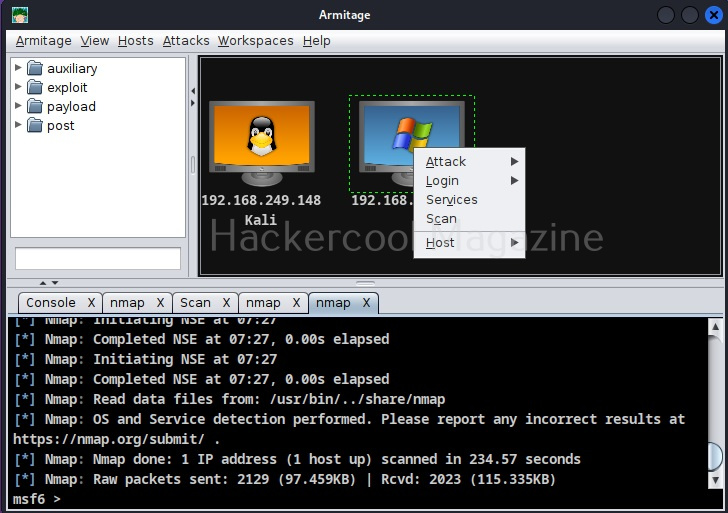
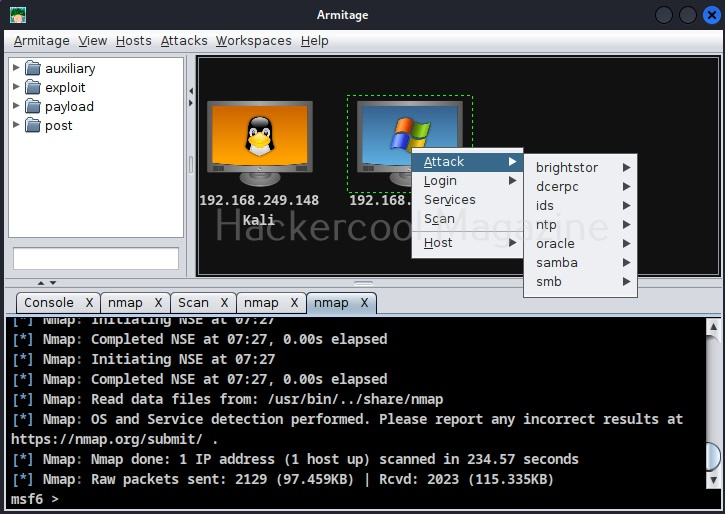
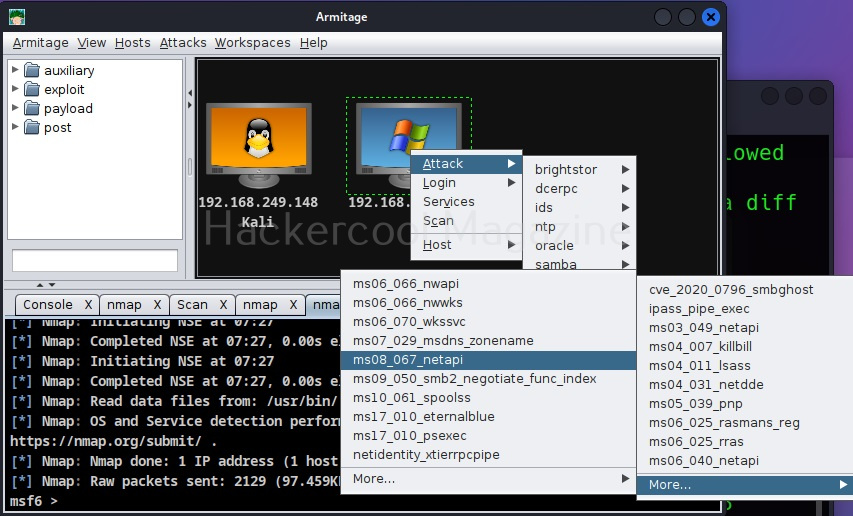
Go to Attack menu and you will see all the exploits we can use on the target.

I select the infamous ms08_067 vulnerability.

A new window opens. This is just like the options on Metasploit whenever you load an exploit. The only difference is, here it is in graphical mode and you don’t have to change anything.

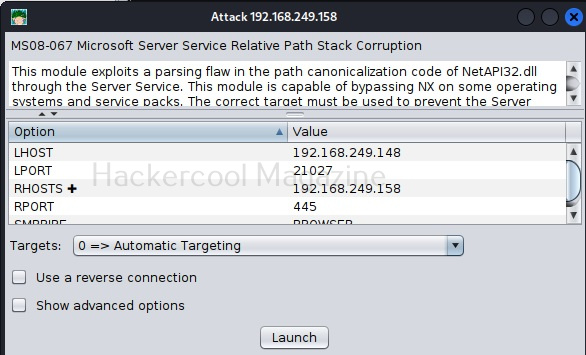
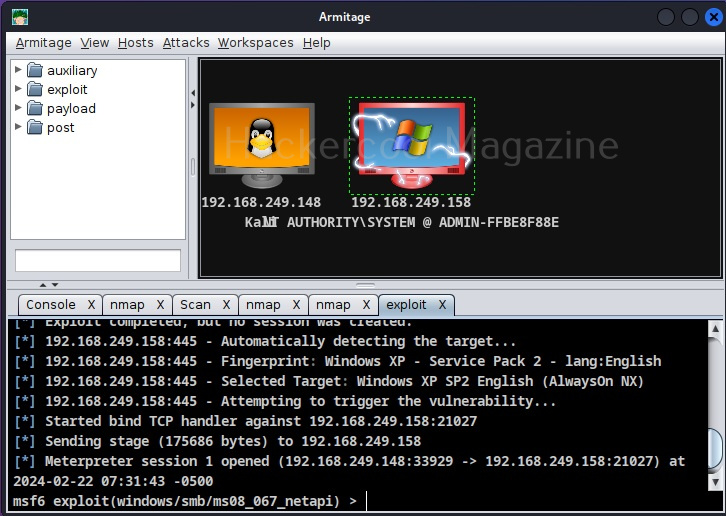
Just click on “Launch”. If the target system is compromised, then the look of the target system changes as shown below.

Posted on 1 Comment

Desktop phishing tutorial : Step by step guide

Have you ever read “Life on Earth” by David Attenborough. It’s a very nice book about the evolution of animals. What is evolution? Wikipedia defines it as the “change in the inherited characteristics of biological populations over successive generations”. Why are we talking about evolution now. This Desktop phishing tutorial is an evolution over Phishing. It evolved to overcome the disadvantages in phishing. Let’s see how.

The process in desktop phishing is same as in phishing. The only difference is in the method of uploading our phishing files. Whereas in phishing we upload our files to an external server, in desktop phishing we upload our files to the server on our desktop. Why? Because there are three disadvantages in the former method.

One, however hard we may try the URL always looks suspicious.

Two, modern day browsers are capable of detecting phishing sites.

Three, as soon as the webhosting provider detects that you hosted a phishing site, he will suspend your account. This will most likely happen within 24 hours. Desktop phishing overcomes all these defects. So now, let’s see how to hack a Facebook account with desktop phishing. As already told, this process is same as phishing, until the creation of phishing files which you can find here.Now Install Wamp Server on your windows machine. Next, install a VPN on your system to keep your IP static. See here. We are going to host our phishing files on our desktop and redirect the victim to our site.

Now copy our phishing files to the folder C:/wamp/www. This is the root directory of the Wamp server.

Here is the script of the “phish.php” we used.

Go to folder “C:/wamp/bin/apache/Apache 2.4.4/conf” and make changes to the ‘httpd.conf’ file as below. These changes give permission to external users to access your fake website.

Start your wamp server, open your browser and type localhost” in the url to see if your phishing site is working. Then open Notepad and create a batch file as shown below. We need to send this file to the victim machine and make him execute it. See how? Make sure you replace the IP address below with one assigned by VPN.

What the above script does is it changes the hosts file in the victim’s system to redirect to your fake website when user tries to access Facebook. Now, what is hosts file?

Hosts file is a text file located in the folder “C:/windows/system32/drivers/etc” which resolves IP addresses associated with domain names.

Usually when we try to visit any website say www.google.com our system sends a query for it’s IP address to the DNS server. When we make an entry in the hosts file of our computer, the query is not sent to the DNS server. When the victim clicks on the executable sent by us, it changes the hosts file like below.

Now when victim types “www.facebook.com” in his browser, he is redirected to our wamp server. Notice that the URL looks completely genuine and the browser didn’t detect it as a phishing site.

desktop phishing tutorial

When the unsuspecting victim enters his credentials,

a text file called pass .txt is created in the www directory.

Open the file and we can see the credentials.

That’s all in desktop phishing tutorial for beginners. See how to phish with Weeman Http server.

Posted on 1 Comment

How to hide an exe file in a Jpeg

I have been searching for a way to send an executable file to someone and make him to execute it. Sending the exe directly is not feasible. So let’s see how to hide an exe file in a jpeg and test its feasibility. First of all, create a new directory namedtestand download some images and name them similarly. I downloaded images of a popular Tollywood actress. The plan is to lure the victim into falling in the trap. I did this on a Windows 7 machine.

Go to Folder Options”, go to View tab”,deselect ‘ Hide extensions for known file types‘ and select option Show hidden files, folders and drives. This will allow us to see the extensions of the files we are working with.

Open Notepad, type the following text and save it with the extension .bat”. What the following code does is it creates a new user named “hacker” with password “abc123″ in the Windows machine this code gets executed.

Download BAT to EXE converter and convert the batch file we just created to an exe.

Rename the file “samy.exe” to “samy_3.jpg”. Windows will prompt a warning. Ignore it.

Right click on the file “samy_3.jpg”, drag it a little and leave. Select ‘Create Shortcuts here’. We are creating a shortcut for the file samy_3.jpg.

Rename the shortcut to “samy_0.jpg”.Whatever the name you give make sure that the shortcut is clicked first and not the exe file.

Right click on “samy_0.jpg” and select Properties. In the “Start in” column delete the entire text. In the “Target:” column type “C:Windowssystem32cmd.exec samy_3.jpg.” This will run the file samy_3.jpg when clicked on the samy_0.jpg.

Click on “Change Icon” tab. Replace the text inside with “%SystemRoot%system32SHELL32.dll”and click on “OK”.

Compress all files into zip archive with the name “samy unseen.zip”. Remember that name should be attractive enough to lure the victim into clicking the images.

how to hide an exe file in a jpeg

OK, package is ready. Now the bigger challenge is to send the package to the victim’s computer. I tried to mail the package to the victim but it didn’t work out.

So I suggest you to find your own way of sending it to the victim. To test if the package will work on the victim’s system or not openCMD” and type the command “net user” before executing the image. It will show us all the users on the system.

Then click on the image samy_0.jpg. Open “CMD” and type the “net user” command again.

A new user named hacker has been created. So the trick worked.

Posted on 2 Comments

Virtual pentesting lab : Step by Step guide

Virtual pentesting lab is a lab created on a single system using any virtualization software. It can be very helpful for people practicing for CEH or similar certification. Any penetration testing lab has two machines, attacker and victim. In this lab we will set up Kali Linux as the attacker and Windows XP( most favorite victim machine ) as the victim. I am going to set up this lab in Vmware Workstation 9. Hope this will be helpful.

First of all install Kali Linux and Windows XP in Vmware Workstation.

Shut them down. In the Vmware Workstation menu, Select Edit”and click on Virtual Network editor.

The window below will open showing the virtual network adapters. Click on “Add network”.

Vmware provides nine virtual networks from 0 to 9. Vmnet0, Vmnet1 and Vmnet8 are automatically assigned for bridged, Host-only and NAT types of network respectively. Select the network “Vmnet3″.

We can see that our network is added as Host-Type with a automatically assigned subnet IP.

virtual pentesting lab

Click on our network. We can see its settings below.

Deselect the option ‘Connect a host virtual adapter to thenetwork’. This’. This‘.This will make our network a custom type. Change the subnet IP to 10.10.10.0( choice is yours). Select the ‘Use local DHCP service to distribute IP address to VMs‘ option. This will automatically assign IP addresses to our machines. Click on ‘DHCP settings‘.

You will see the below window. Make changes if you like. I am going to leave it default. Click OK twice to exit.

We have successfully created our custom network. Now let’s add our machines to the network. Open the tab of Kali Linux and click on ‘network adapter‘ setting.

In the settings, select the ‘custom radio button and select the network Vmnet3 from the dropdown menu. Click on OK.

Do the same for Windows XP. Then let’s boot up our victim machine and check it’s IP address by typing ‘ipconfig‘ in the command line. The DHCP server has automatically assigned it the IP address 10.10.10.129.

Boot the attacker machine and check it’s IP address by typing ‘ifconfig’in the terminal. It has been assigned the address 10.10.10.128.

Ping the victim IP machine (10.10.10.129) to see whether the two machines can communicate.

We have successfully created a virtual pentesting lab. Happy testing.