WAPT or Web application penetration testing refers to evaluating the security of websites and web applications. Websites evolved from being simple static HTML pages to incorporate complex dynamic features with bells and whistles. These bells and whistles also brought with them lot of vulnerabilities and thus websites became common targets for hackers. So web application penetration testing is considered very important nowadays.
WAPT could be performed manually or through automatic tools. Automated tools provide lot of advantages over manual testing most importantly the speed. HP Webinspect is one such tool.
It is an automated web application security scanning tool from HP. It helps the security professionals to assess the potential vulnerabilities in the web application. It is basically an automated dynamic application security testing (DAST) tool that mimics real-world hacking techniques and attacks, and provides comprehensive dynamic analysis of complex web applications and services.
Today we will see how to perform website vulnerability assessment with HPWebinspect. Open the program and click on basic scan. We will see other scan options in the following parts of this tutorial. As its name implies, this option performs a basic security scan on a website.
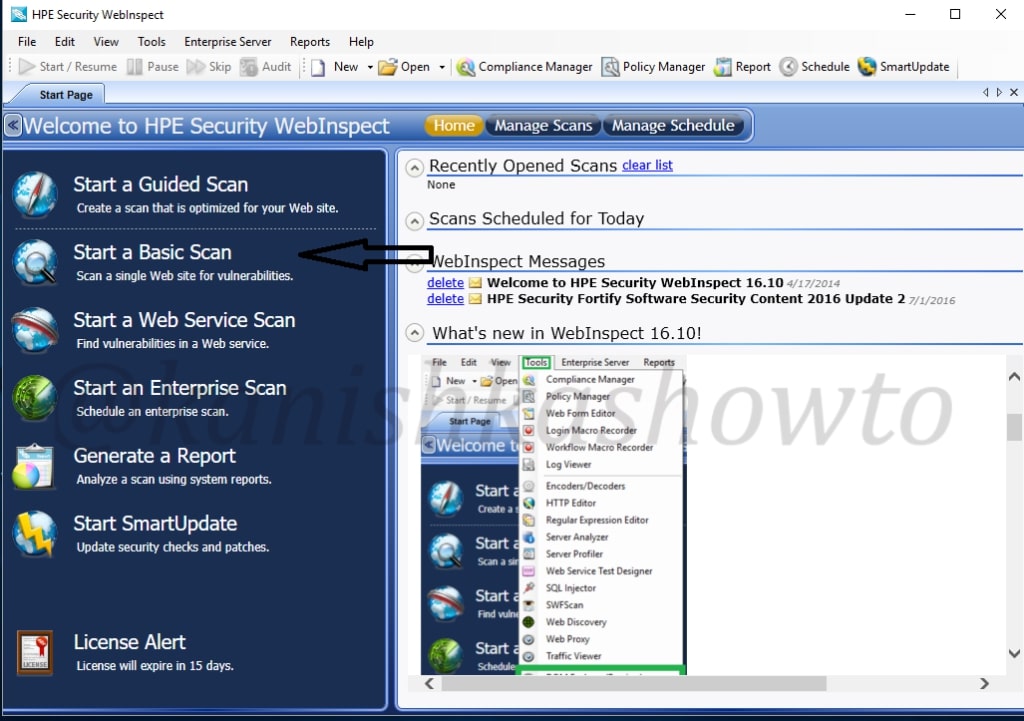
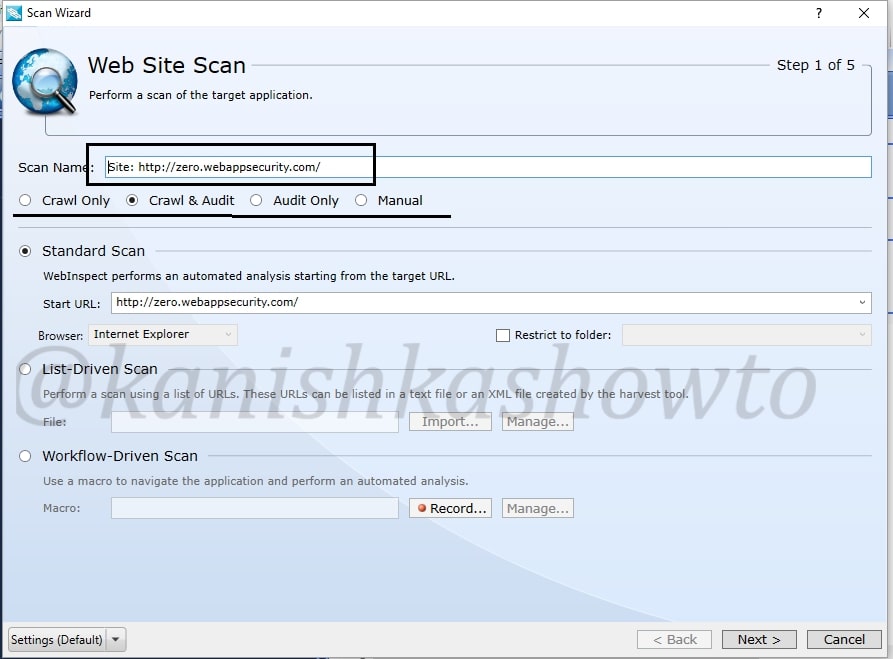
As we select the basic scan option, the “scan wizard” opens as shown below. As I am using a trial version of HPWebinspect I am only allowed to scan the website deliberately provided by HP for this purpose. This website simulates a bank ( named zero bank ) and this will be our target from now on.
I allot the given name. Below the scan name option, we have features with radio buttons. Let’s see these options.
crawl:-This process makes a list of all the pages on the entire website and builds its structure.
auditing:-Auditing is the process in which HPwebinspect will attack the website to find out the vulnerabilities.
I have selected the “crawling and auditing” option. HP Webinspect provides four types of scans.
Standard scan:- Normal scan.
List Driven scan:-You can specify the list of urls for the tool to scan. It will only scan those urls.
Workflow Driven scan:- Similar to list driven scan. You can scan a port of your website by specifying a macro.
Manual scan:-You can specify each link you want to scan. step by step.
Next specify the website you want to scan and click on “Next”.
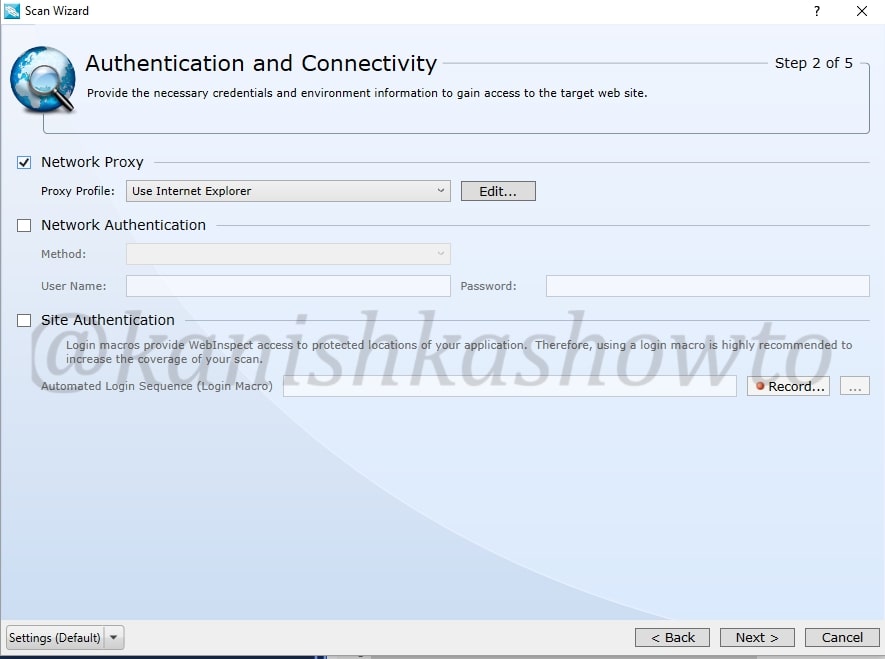
In the next window, you will be prompted for authentication. If your website or network requires authentication, provide them . Choose if you want network proxy or not and click on “Next“.
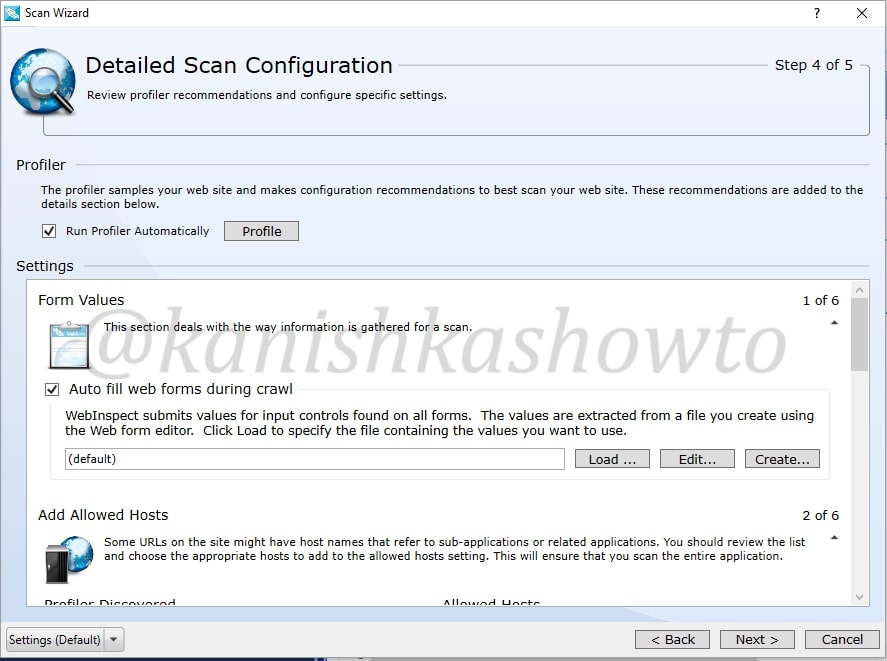
The profiler automatically samples the website and recommends best configuration for the scan. You can select the option. We will see more about profiler later. There are some other settings. Leave them to their default settings and click on “Next”.
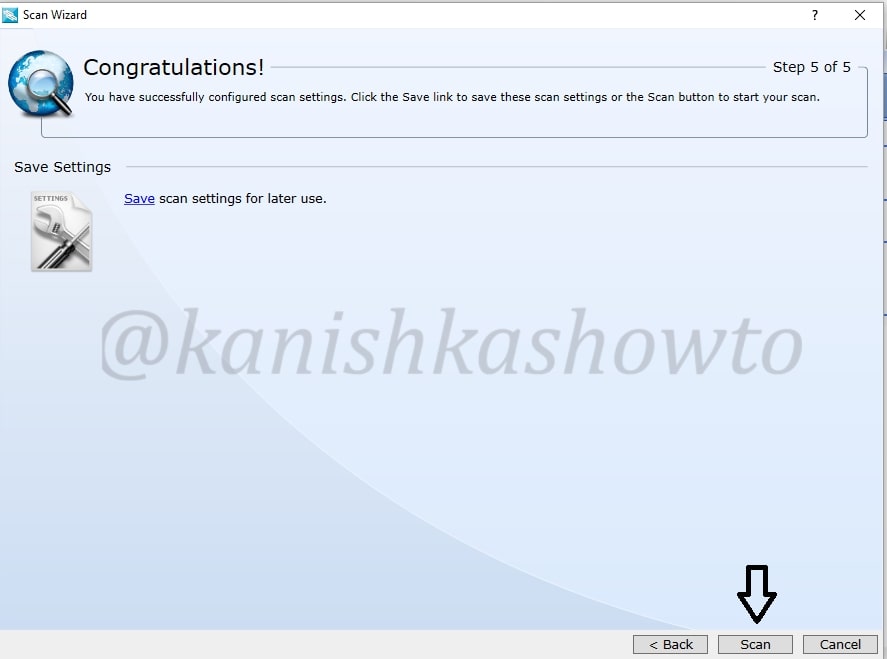
You will get a congrats message telling about the successful configuration of scan settings. It’s time to start the scan. Click on “scan”.
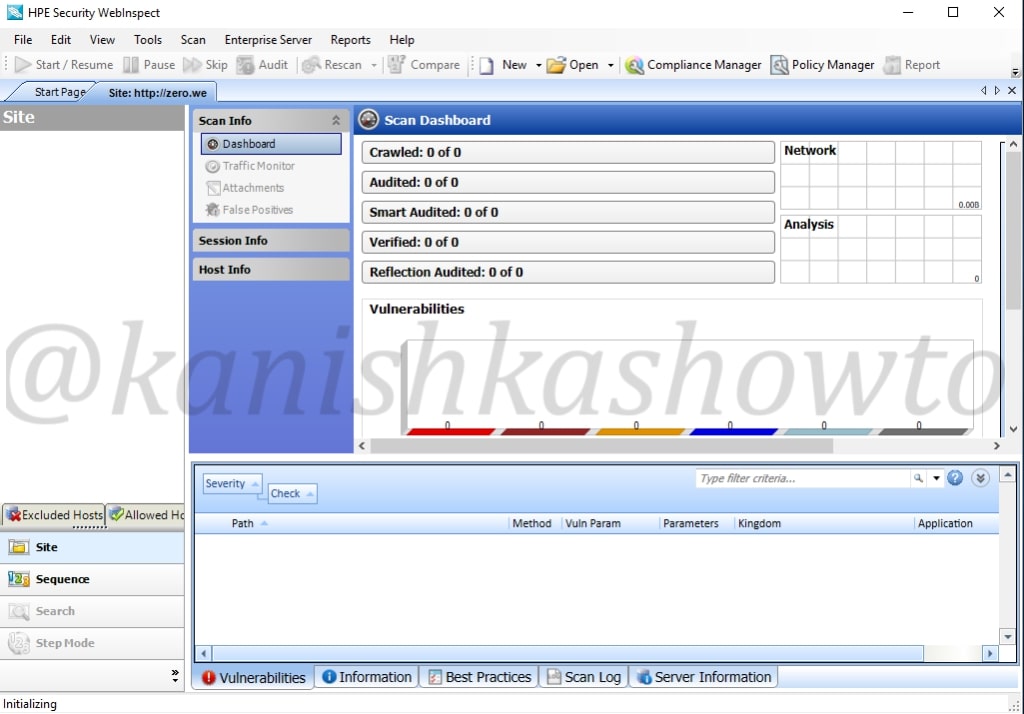
The scan will start as shown below. It will take some time dependent on the size of the website you are scanning.
After the scan is finished, it will show the results as shown below. This tool classifies vulnerabilities into critical, high, medium, low and info. That was about basic scanning of website with HPWebinspect.
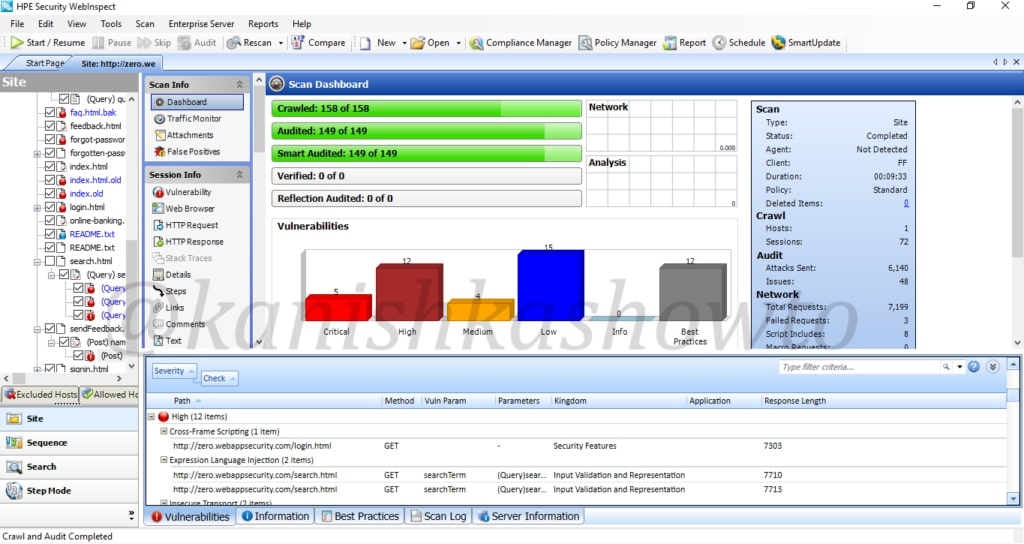


[…] Today we will see the second part of WAPT with HPWebinspect. If you didn’t go through the first part, we ended it by scanning a website for vulnerabilities. The results have given us vulnerabilities […]