Hello, aspiring ethical hackers. This blogpost is a complete guide to OWAS ZAP tool also known a zaproxy. OWASP ZAP stands for Zed Attack Proxy. OWASP ZAP is a widely popular web app scanner that is maintained by a volunteer. It is used by both novices in web security and professional pen testers. The features of OWASP ZAP include.
- Traditional & AJAX web crawler.
- An automated scanner.
- Passive Scan.
- Forced browsing.
- Fuzzer.
- Scripting language etc.
Let’s see how to use OWASP ZAP to scan a website. Zaproxy can be downloaded from here. OWASP ZAP is installed by default on Kali Linux. If it is not installed, it can be installed using the command shown below.
Once the installation is finished, it can be stored using the command “Zaproxy”.
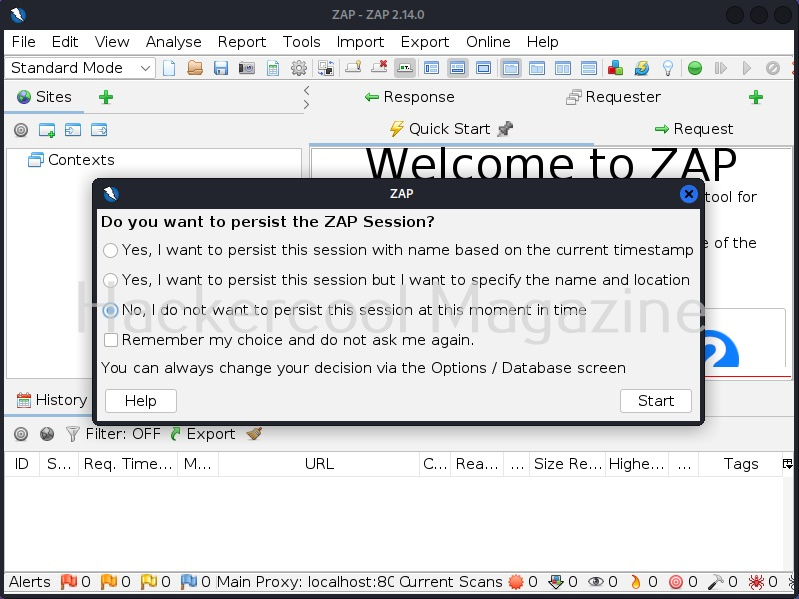
Everytime it starts, it asks you whether to save the current session or not. Make your choice and click on “Start”.
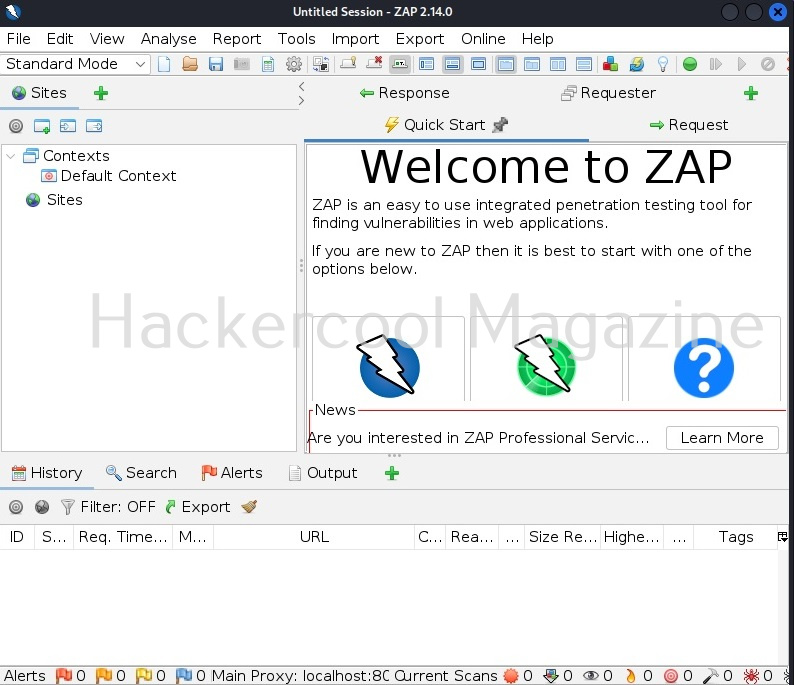
This is the interface of OWASP ZAP. Let’s perform an automated scan of a website. As target, I will be using mutillidae web app installed on Metasploitable 2. See how to install Metasploitable 2.
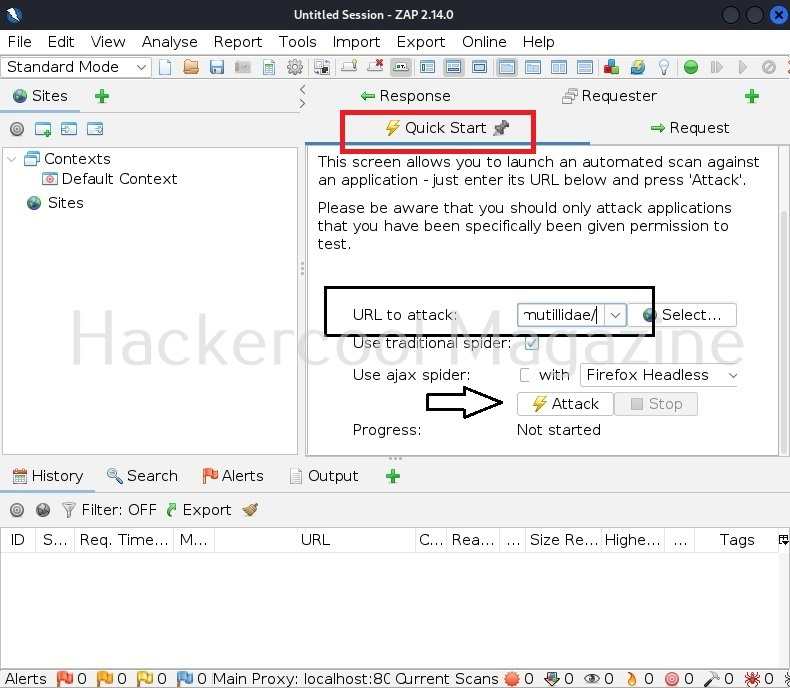
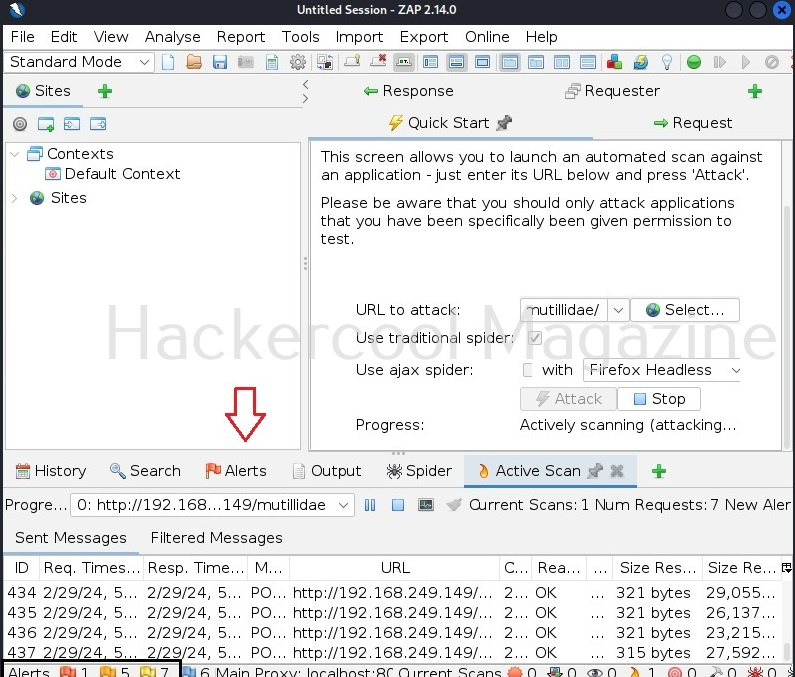
To perform as automated scan, click on “Quick start” and give the URL to attack and then click on “Attack”.
The time taken to scan the entire website depends on the size of the target website. The good thing about OWASP ZAP is that it displays results as soon as it finds them. Any vulnerability can be found on the alerts tab highlighted in the image given below.
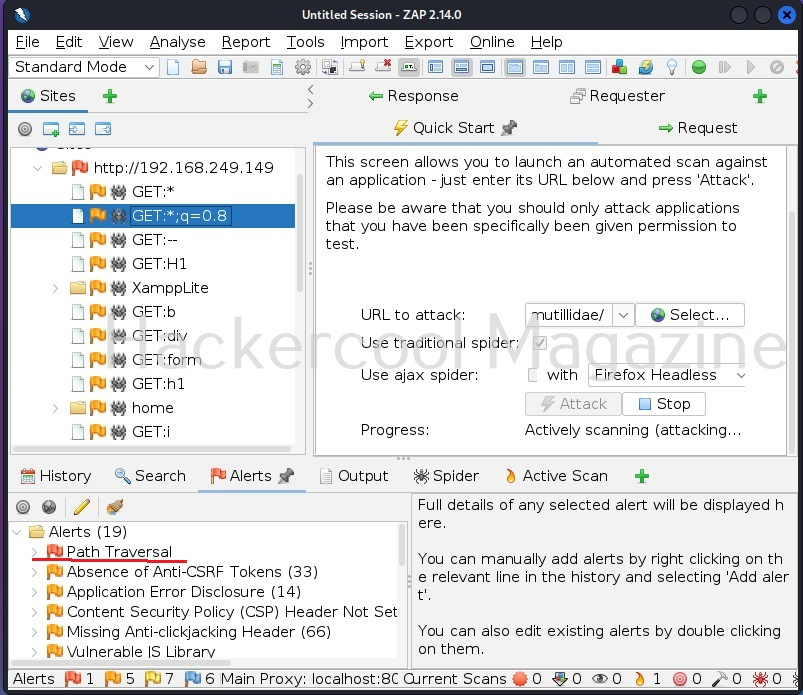
When you click on the “alerts” tab, all the vulnerabilities are displayed based on their severity. The one that interests you should by the one in red flags.
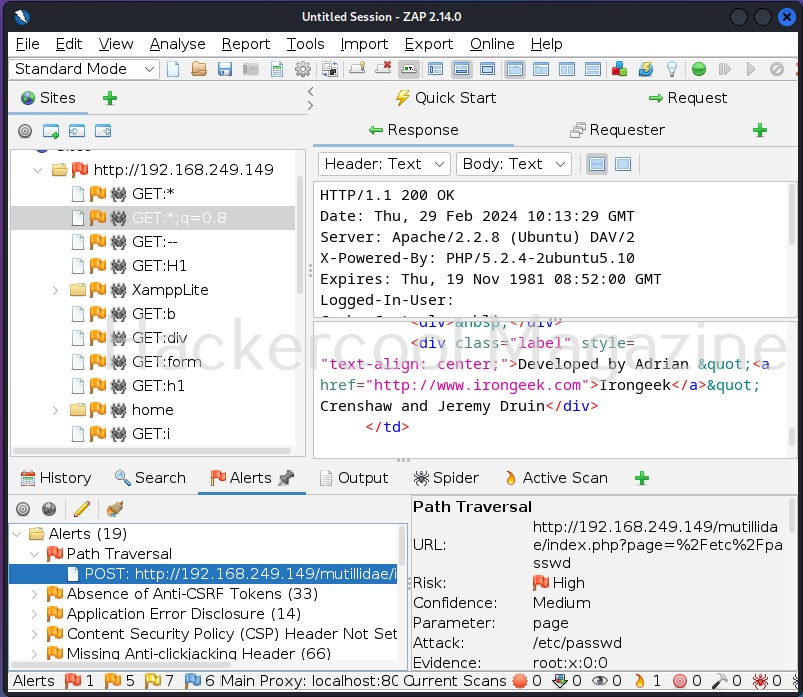
For example, here Zaproxy detected a path traversal or local file inclusion vulnerability. When you click on the vulnerability, it displays the URL where the vulnerability was detected.
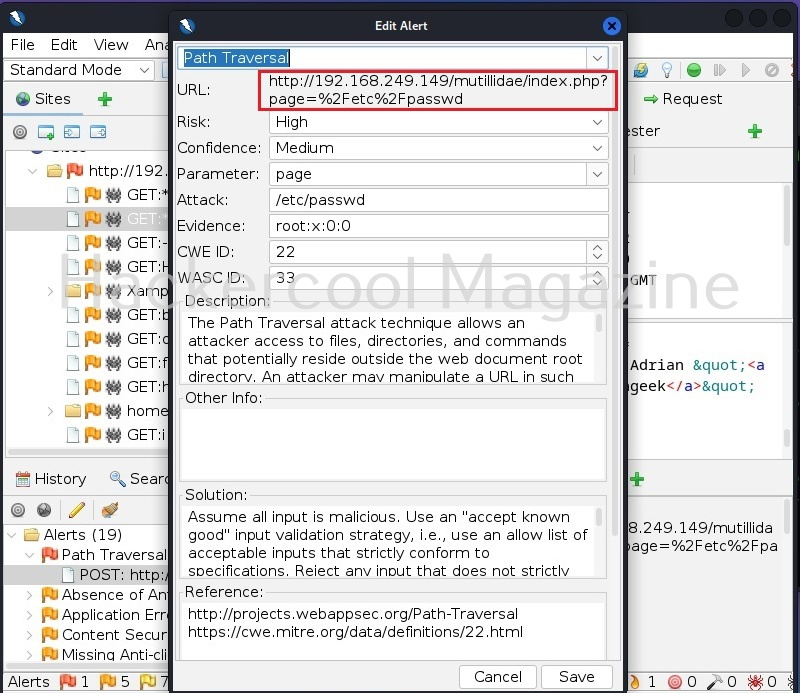
When you double click on the alert, a new window opens with an elaborate description of the vulnerability detected and with a POC to be see it in action and even the solution to the vulnerability.
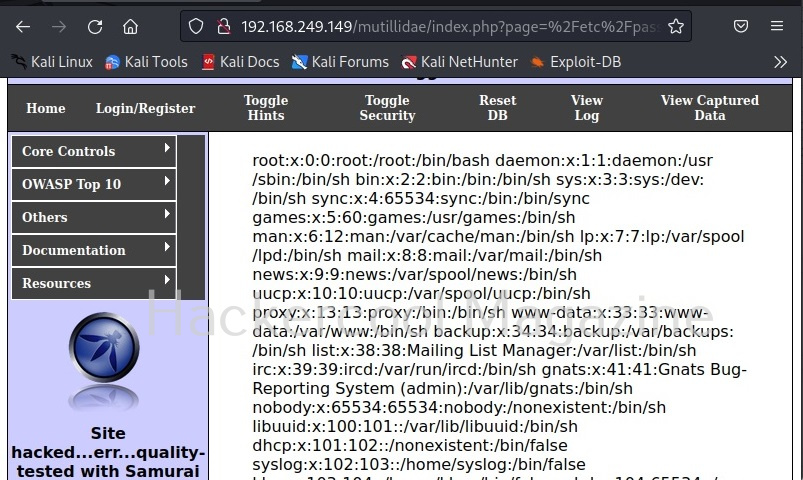
Copy the URL and paste it in a browser. Here as suggested by Zaproxy, the /etc/passwd/ of the target system can be seen.
Follow Us


